Don't miss a thing, subscribe today!
Don't miss a thing, subscribe today!
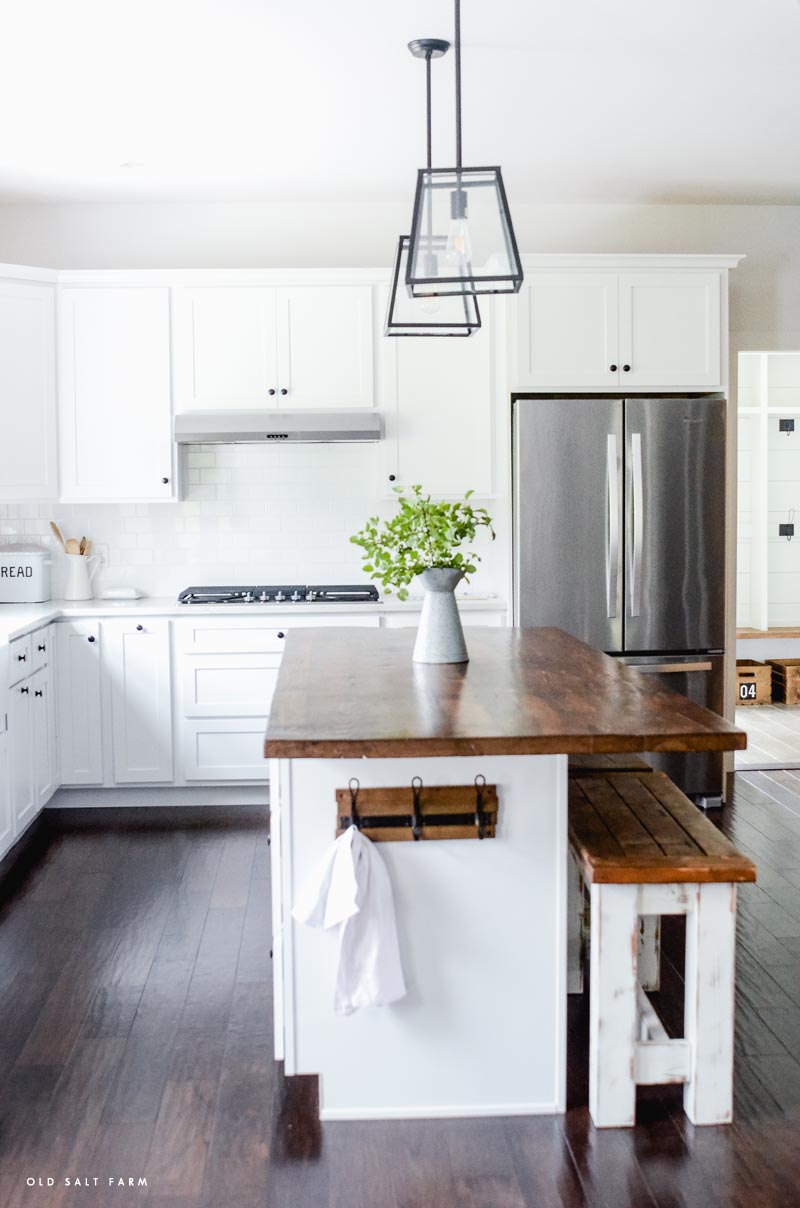
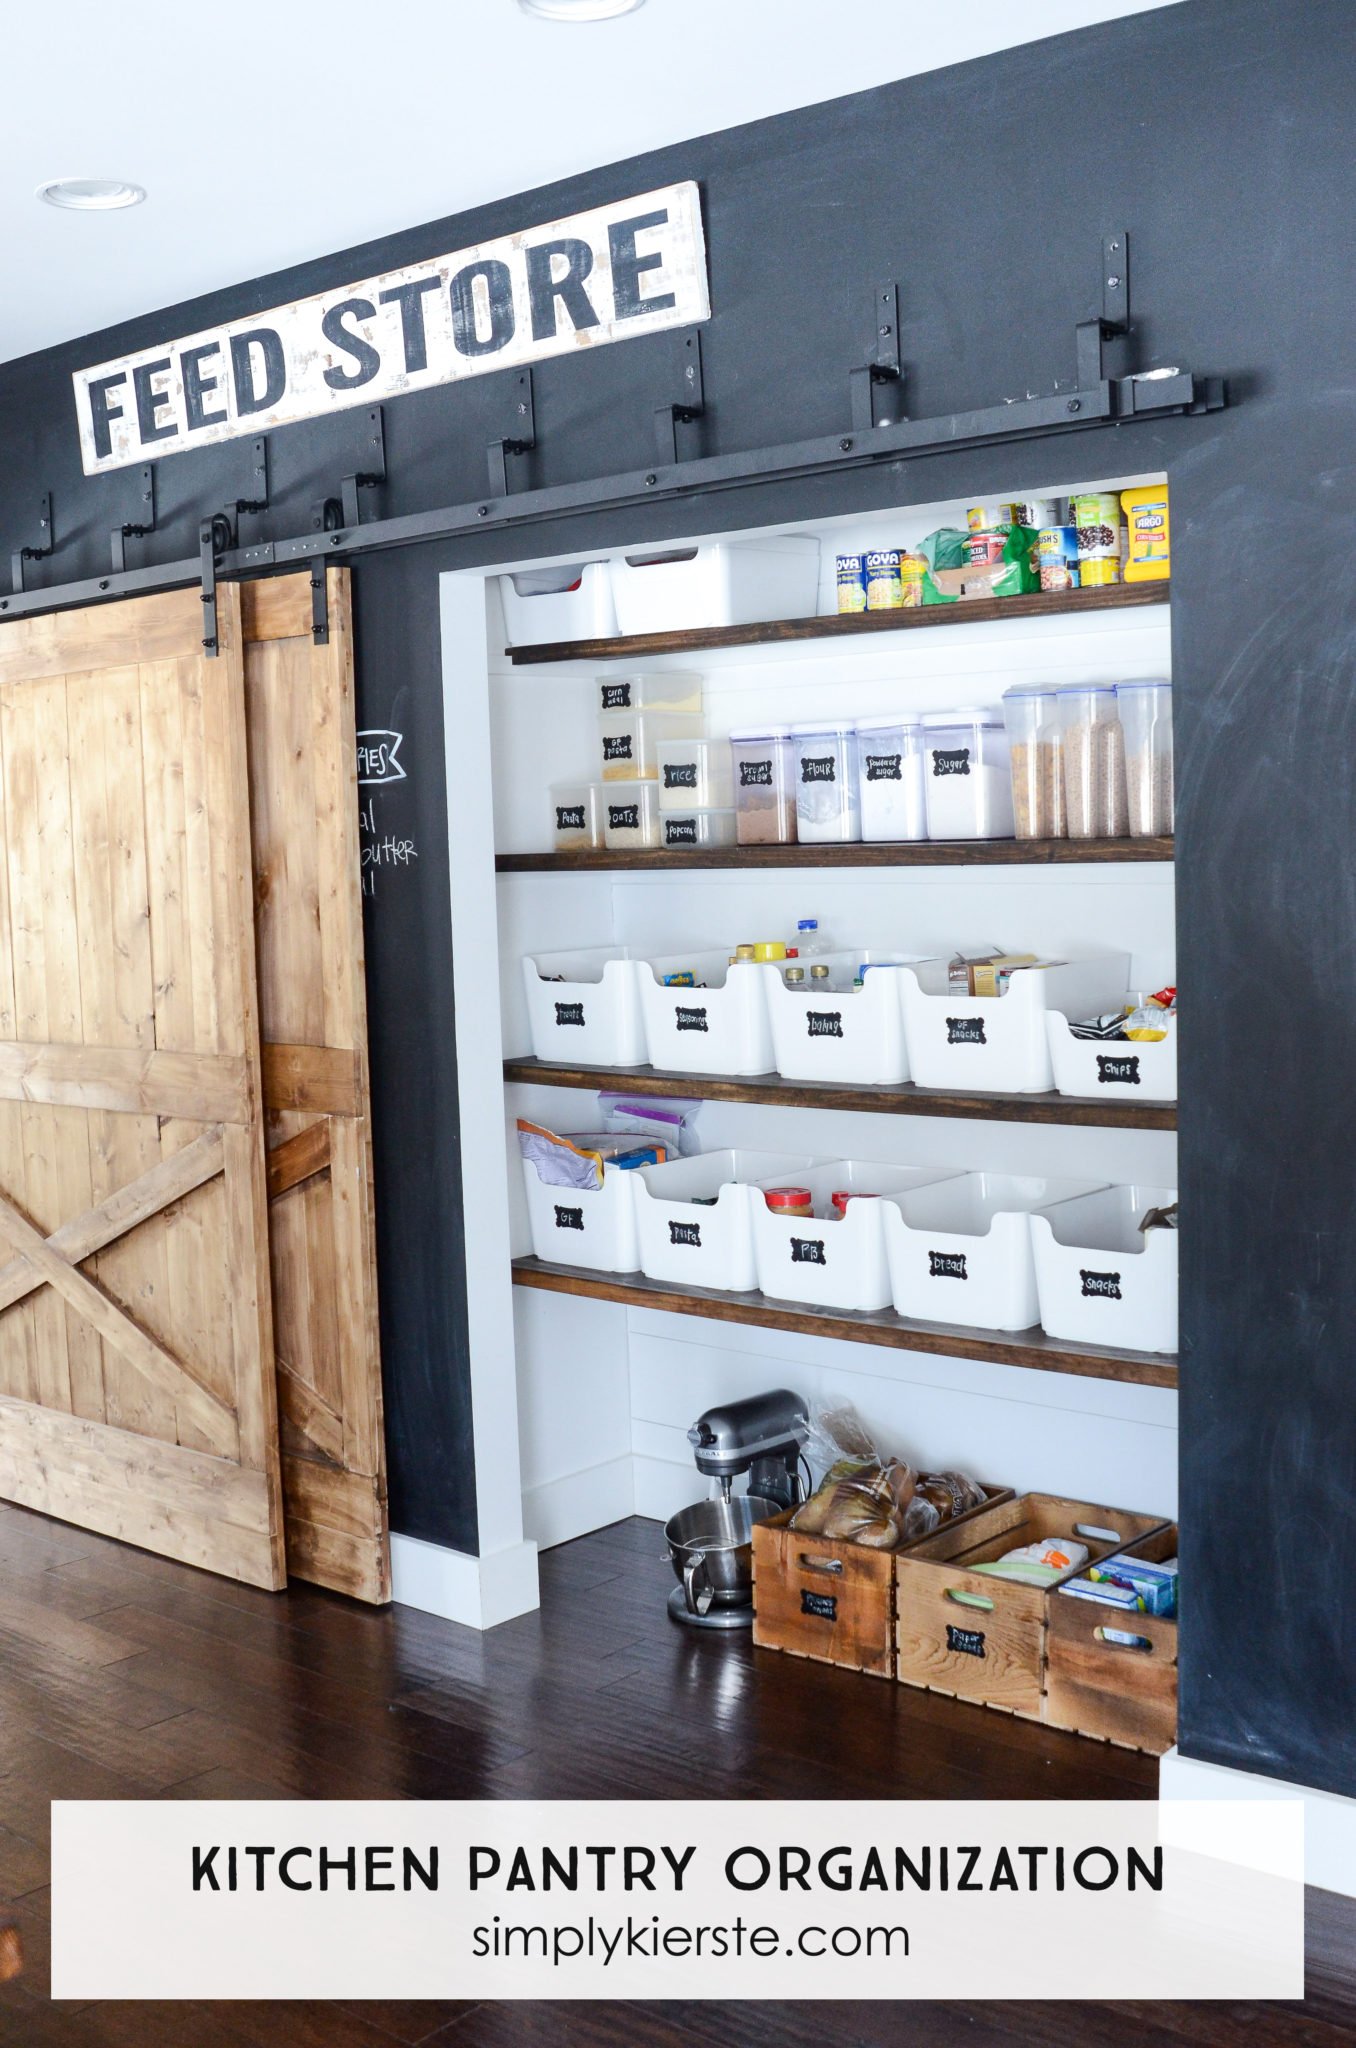
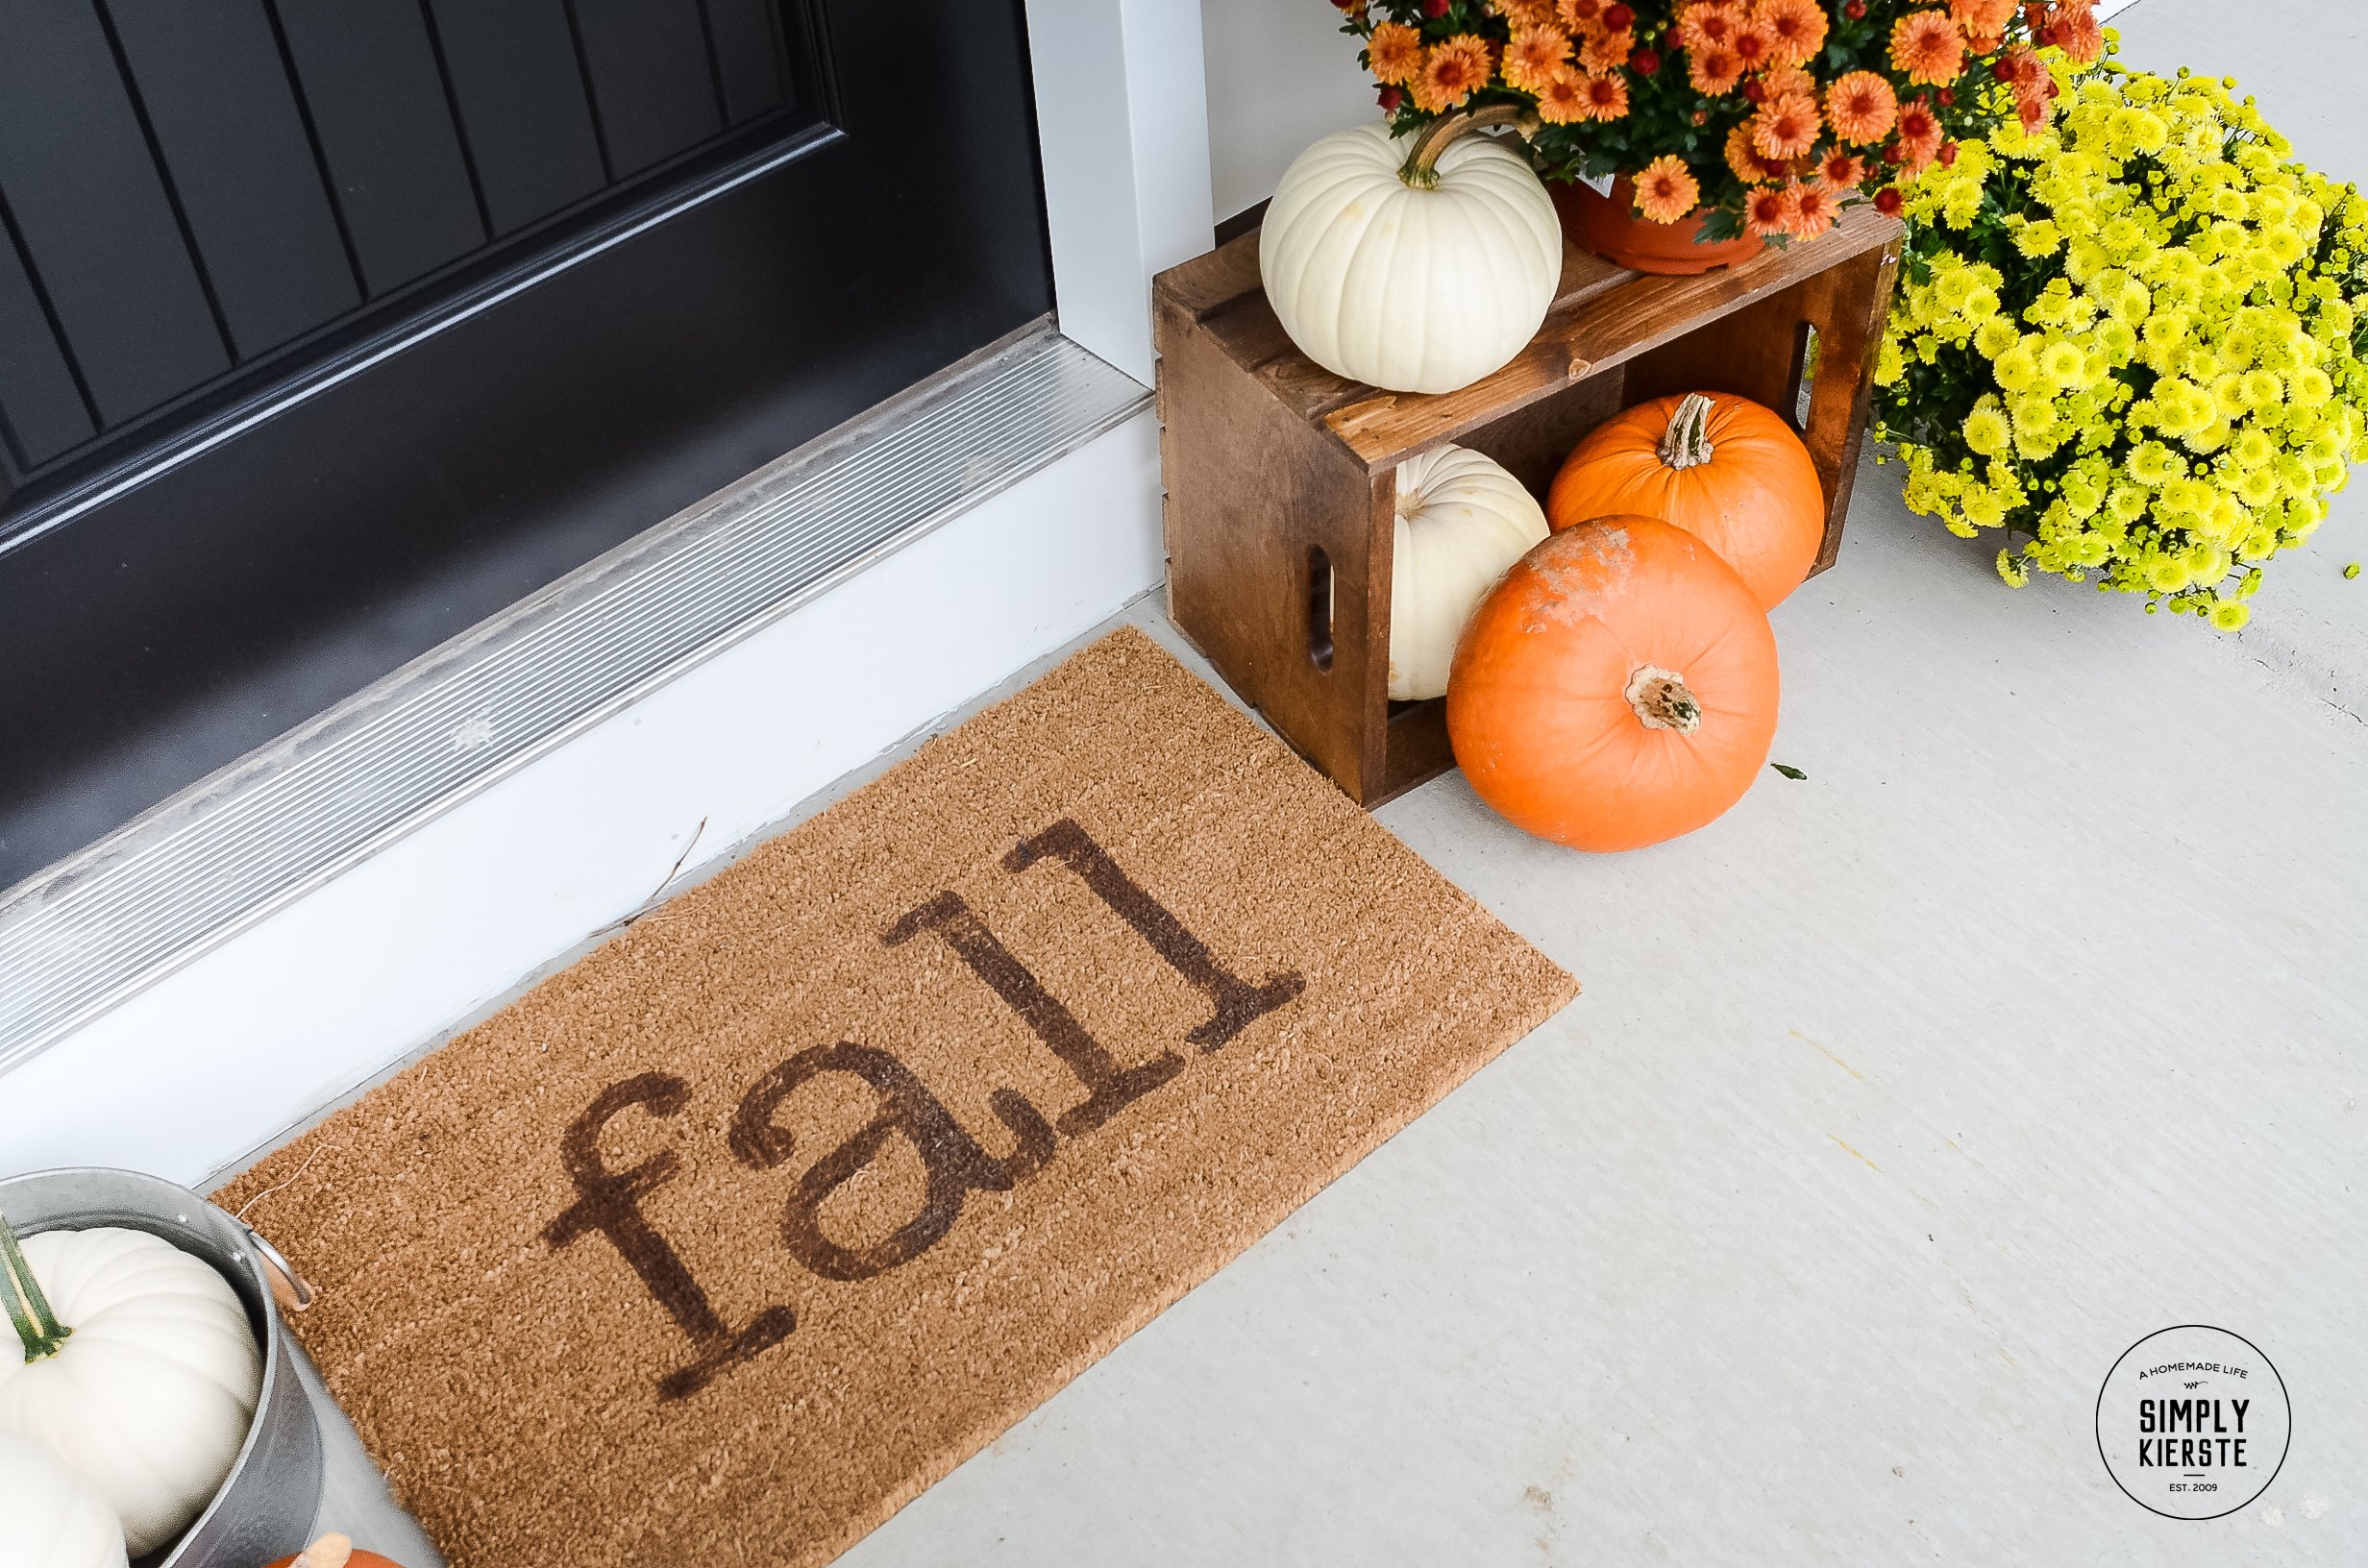
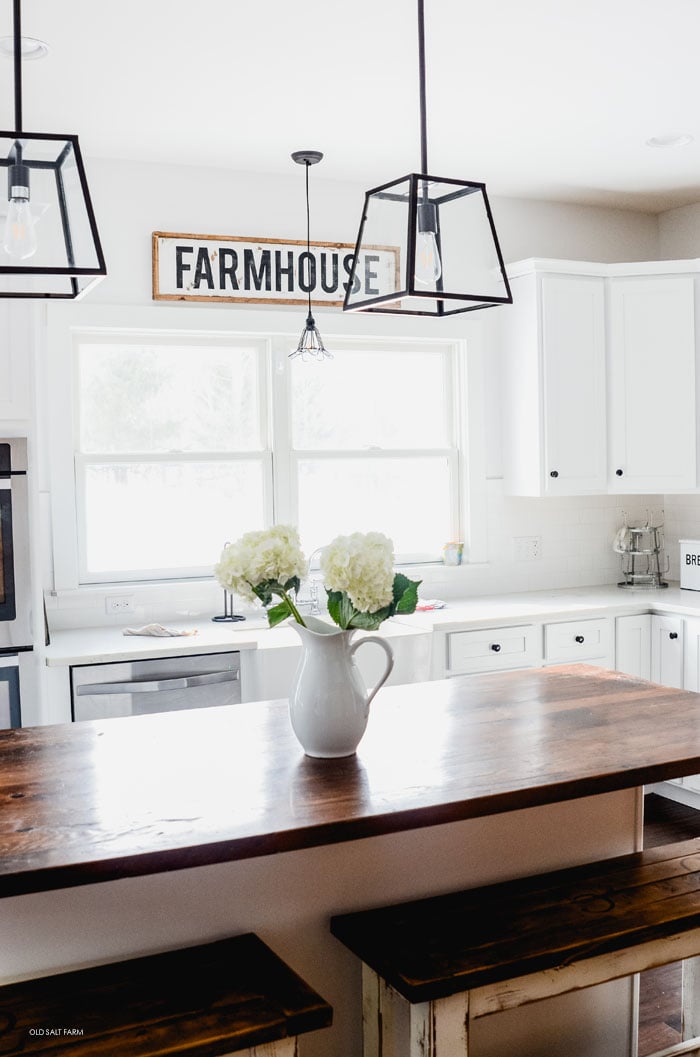
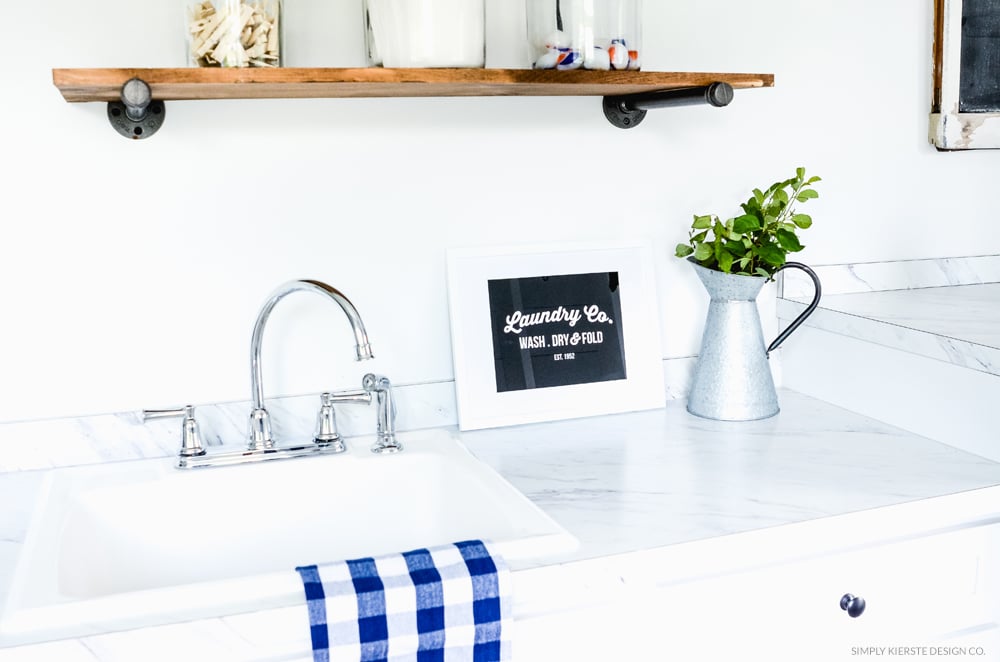
Give your home a refresh with these easy and budget-friendly DIY home decor projects. From building custom pieces to creating simple decorative accents, these ideas will help you add charm, style, and organization to every corner of your home—without spending a lot. Whether you’re looking to update a room, add functional storage, or bring in a handmade touch, these projects are a great place to start.
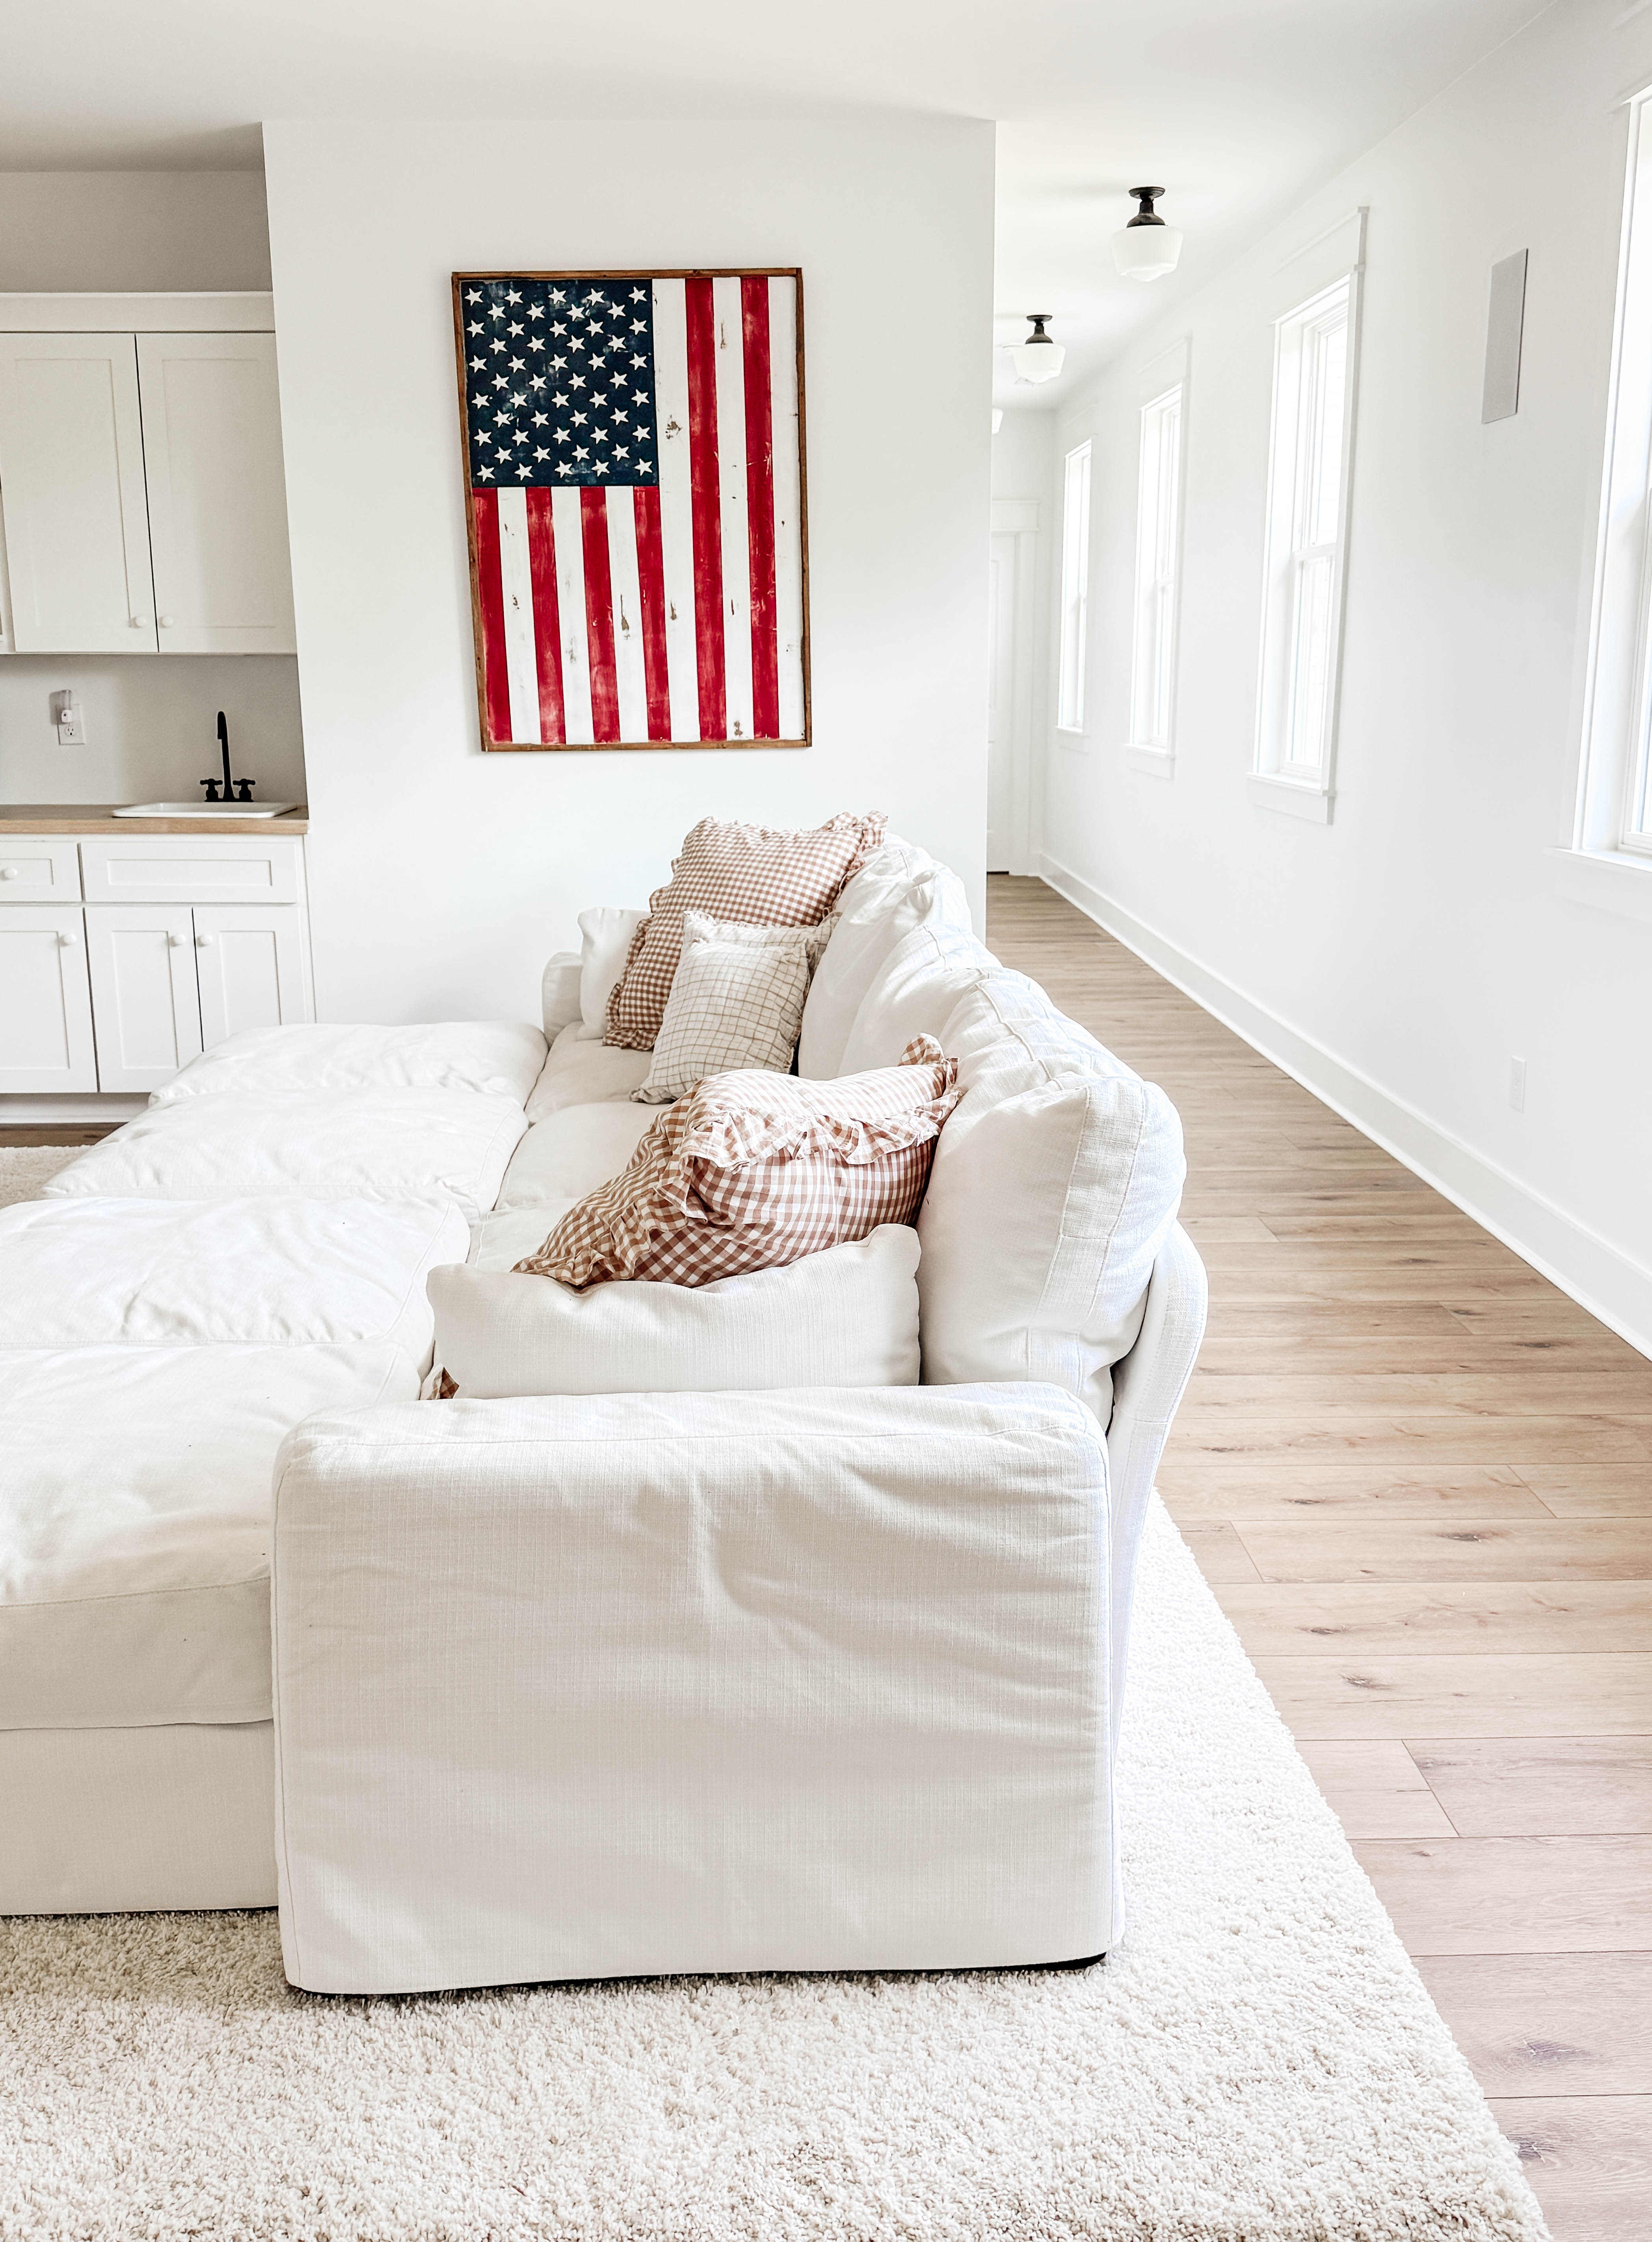
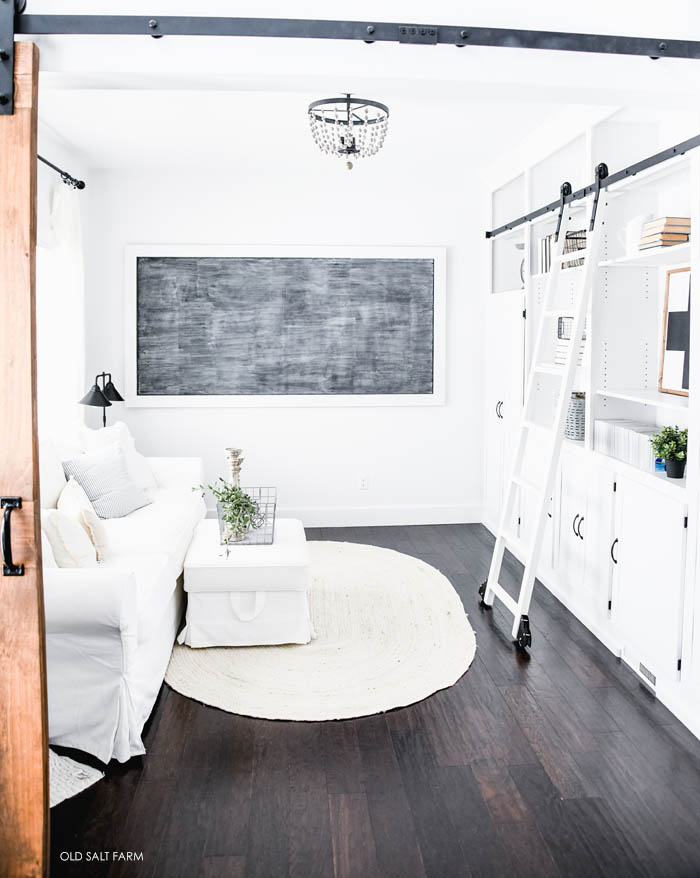
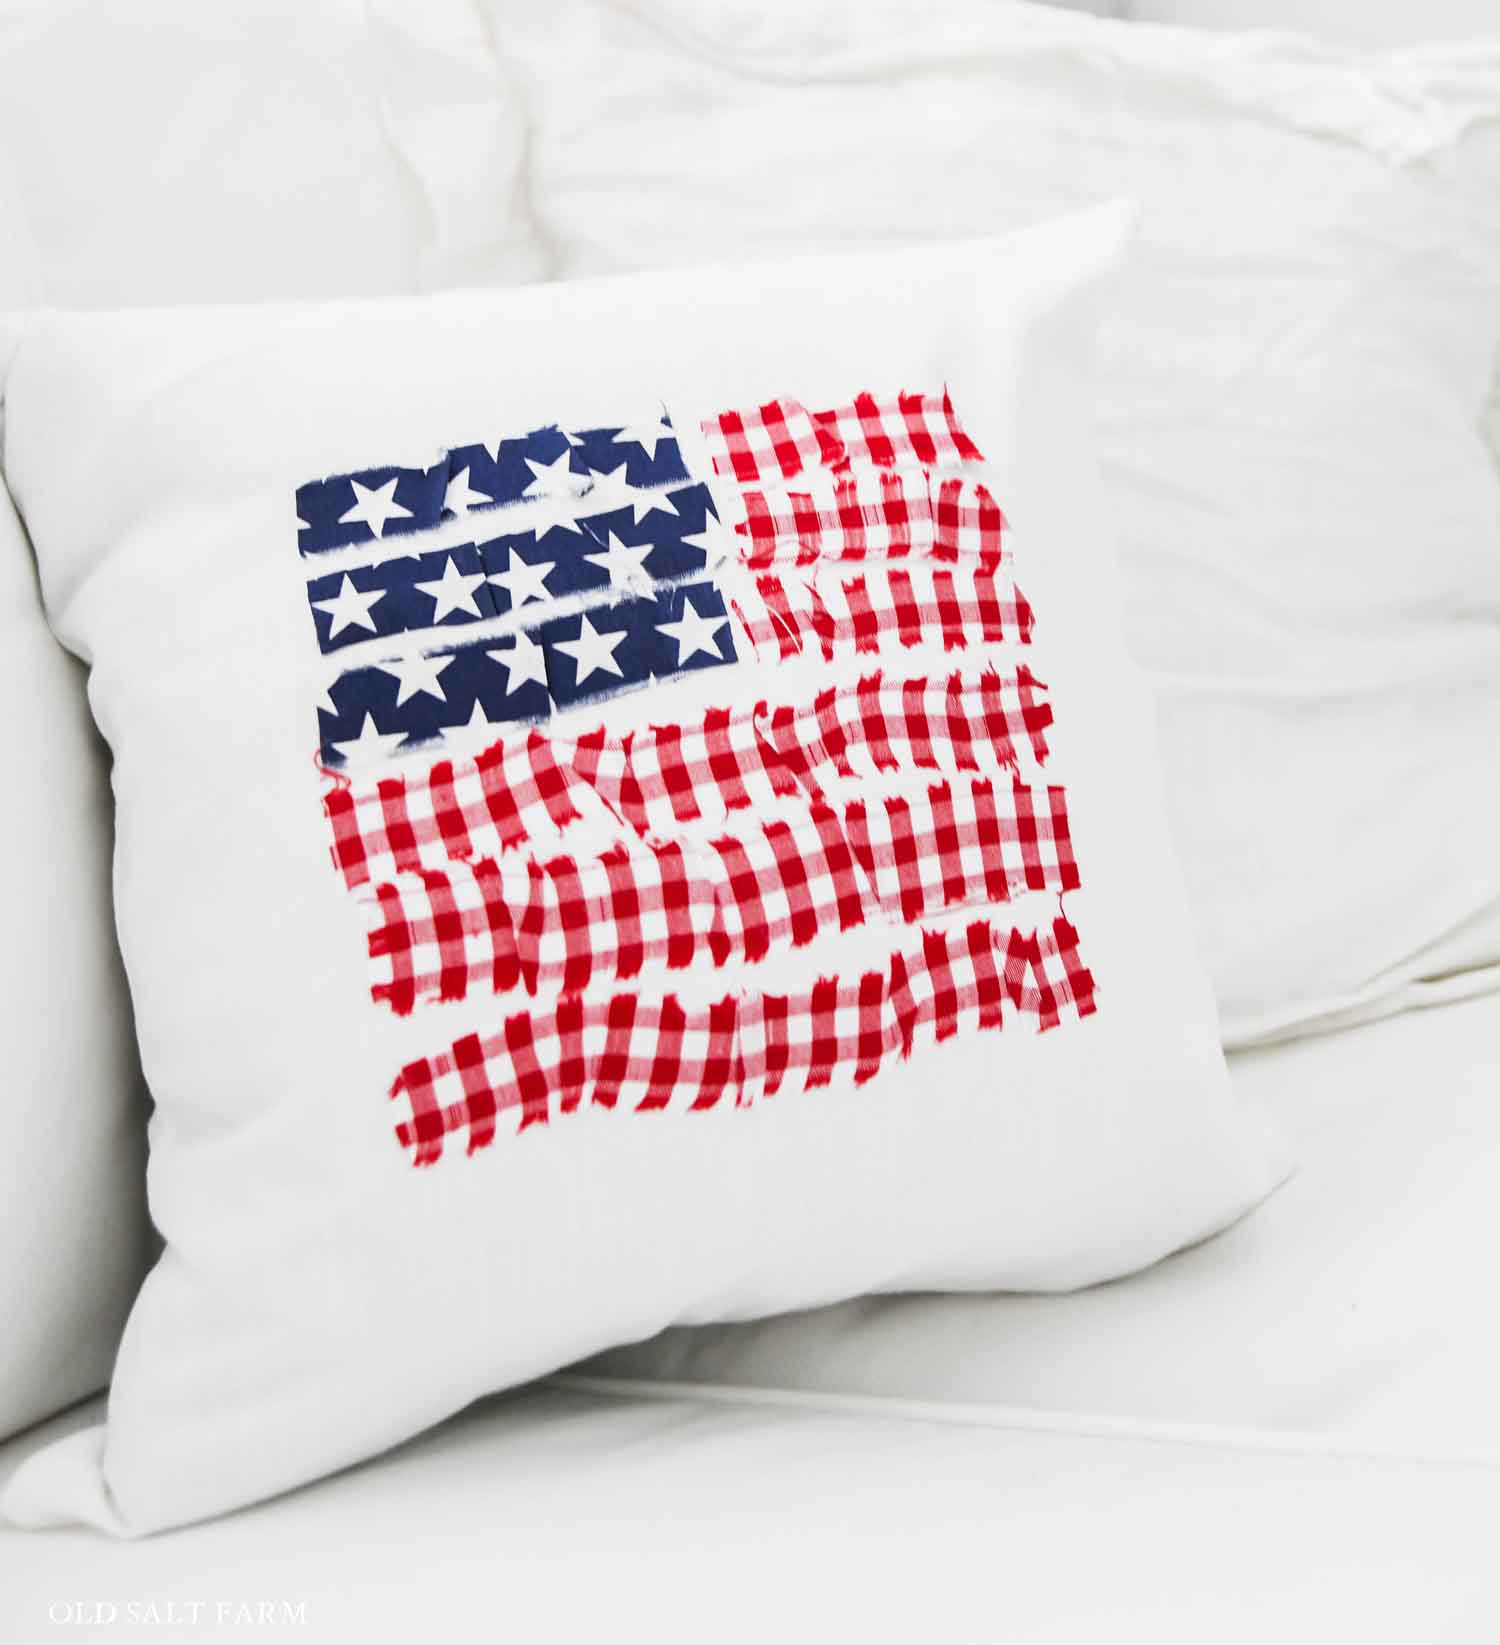
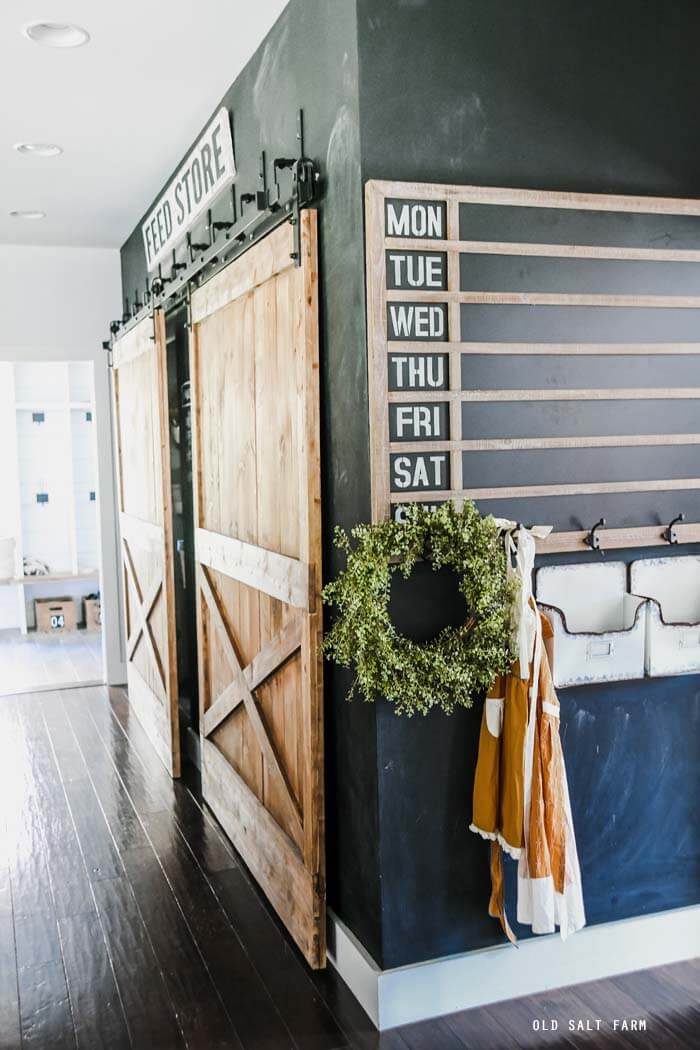
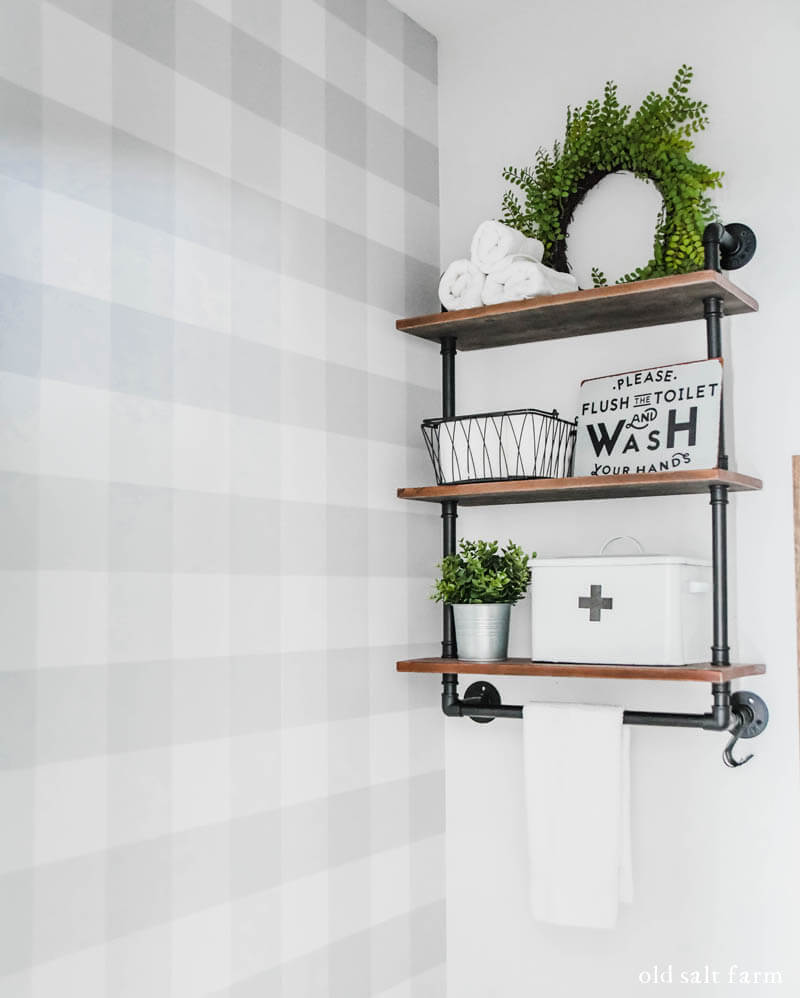
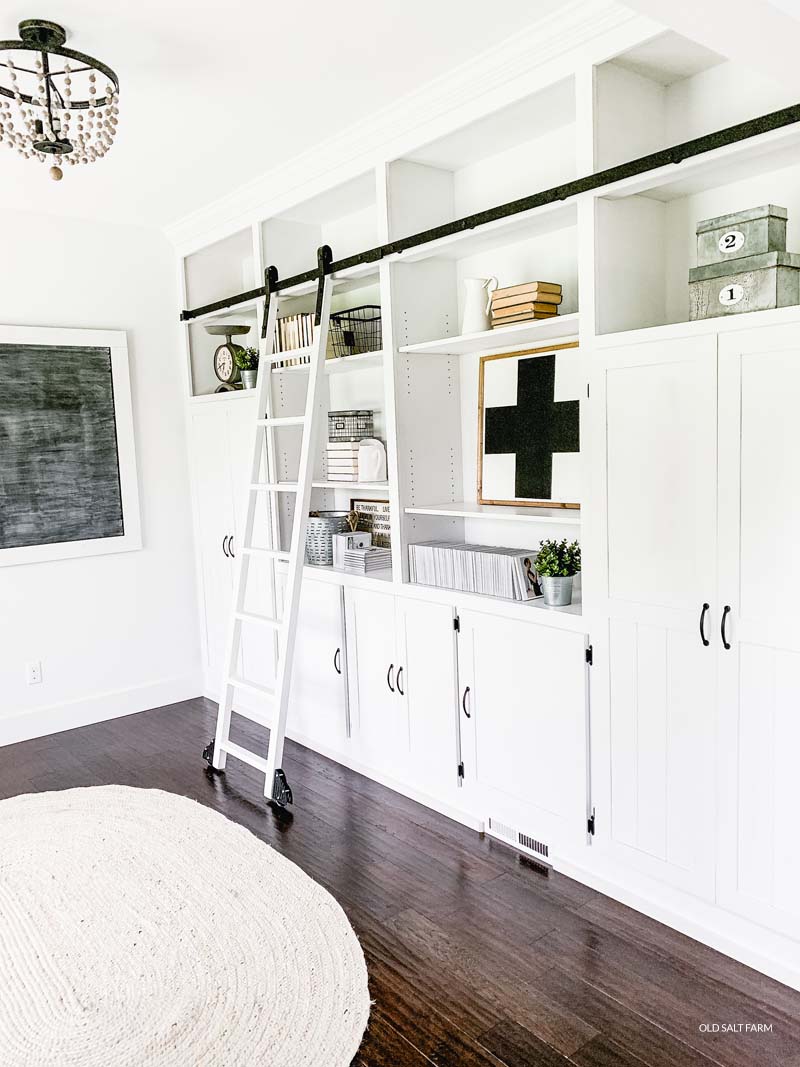
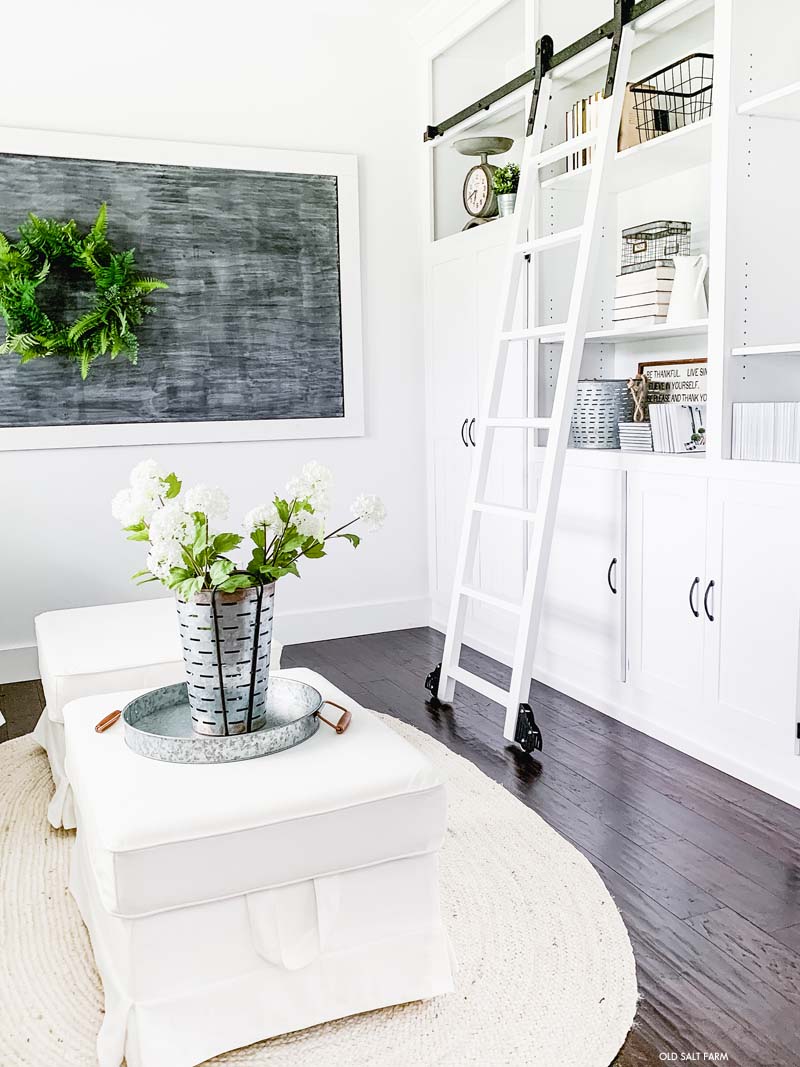
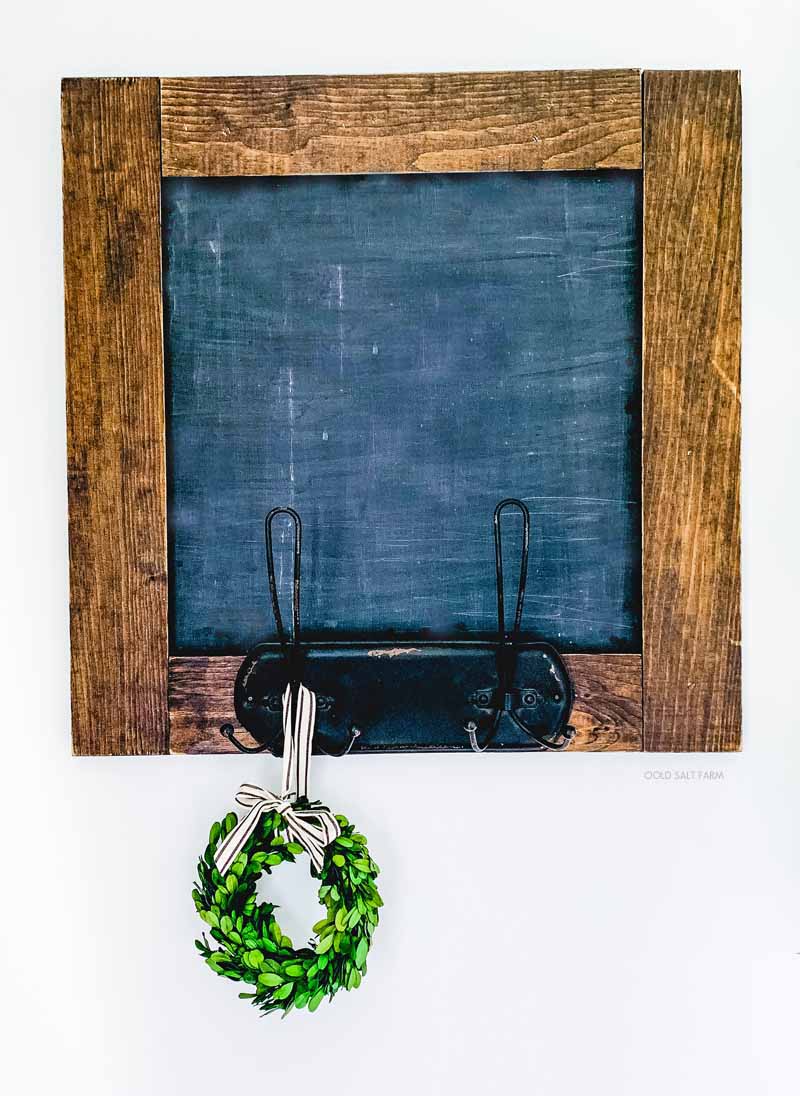
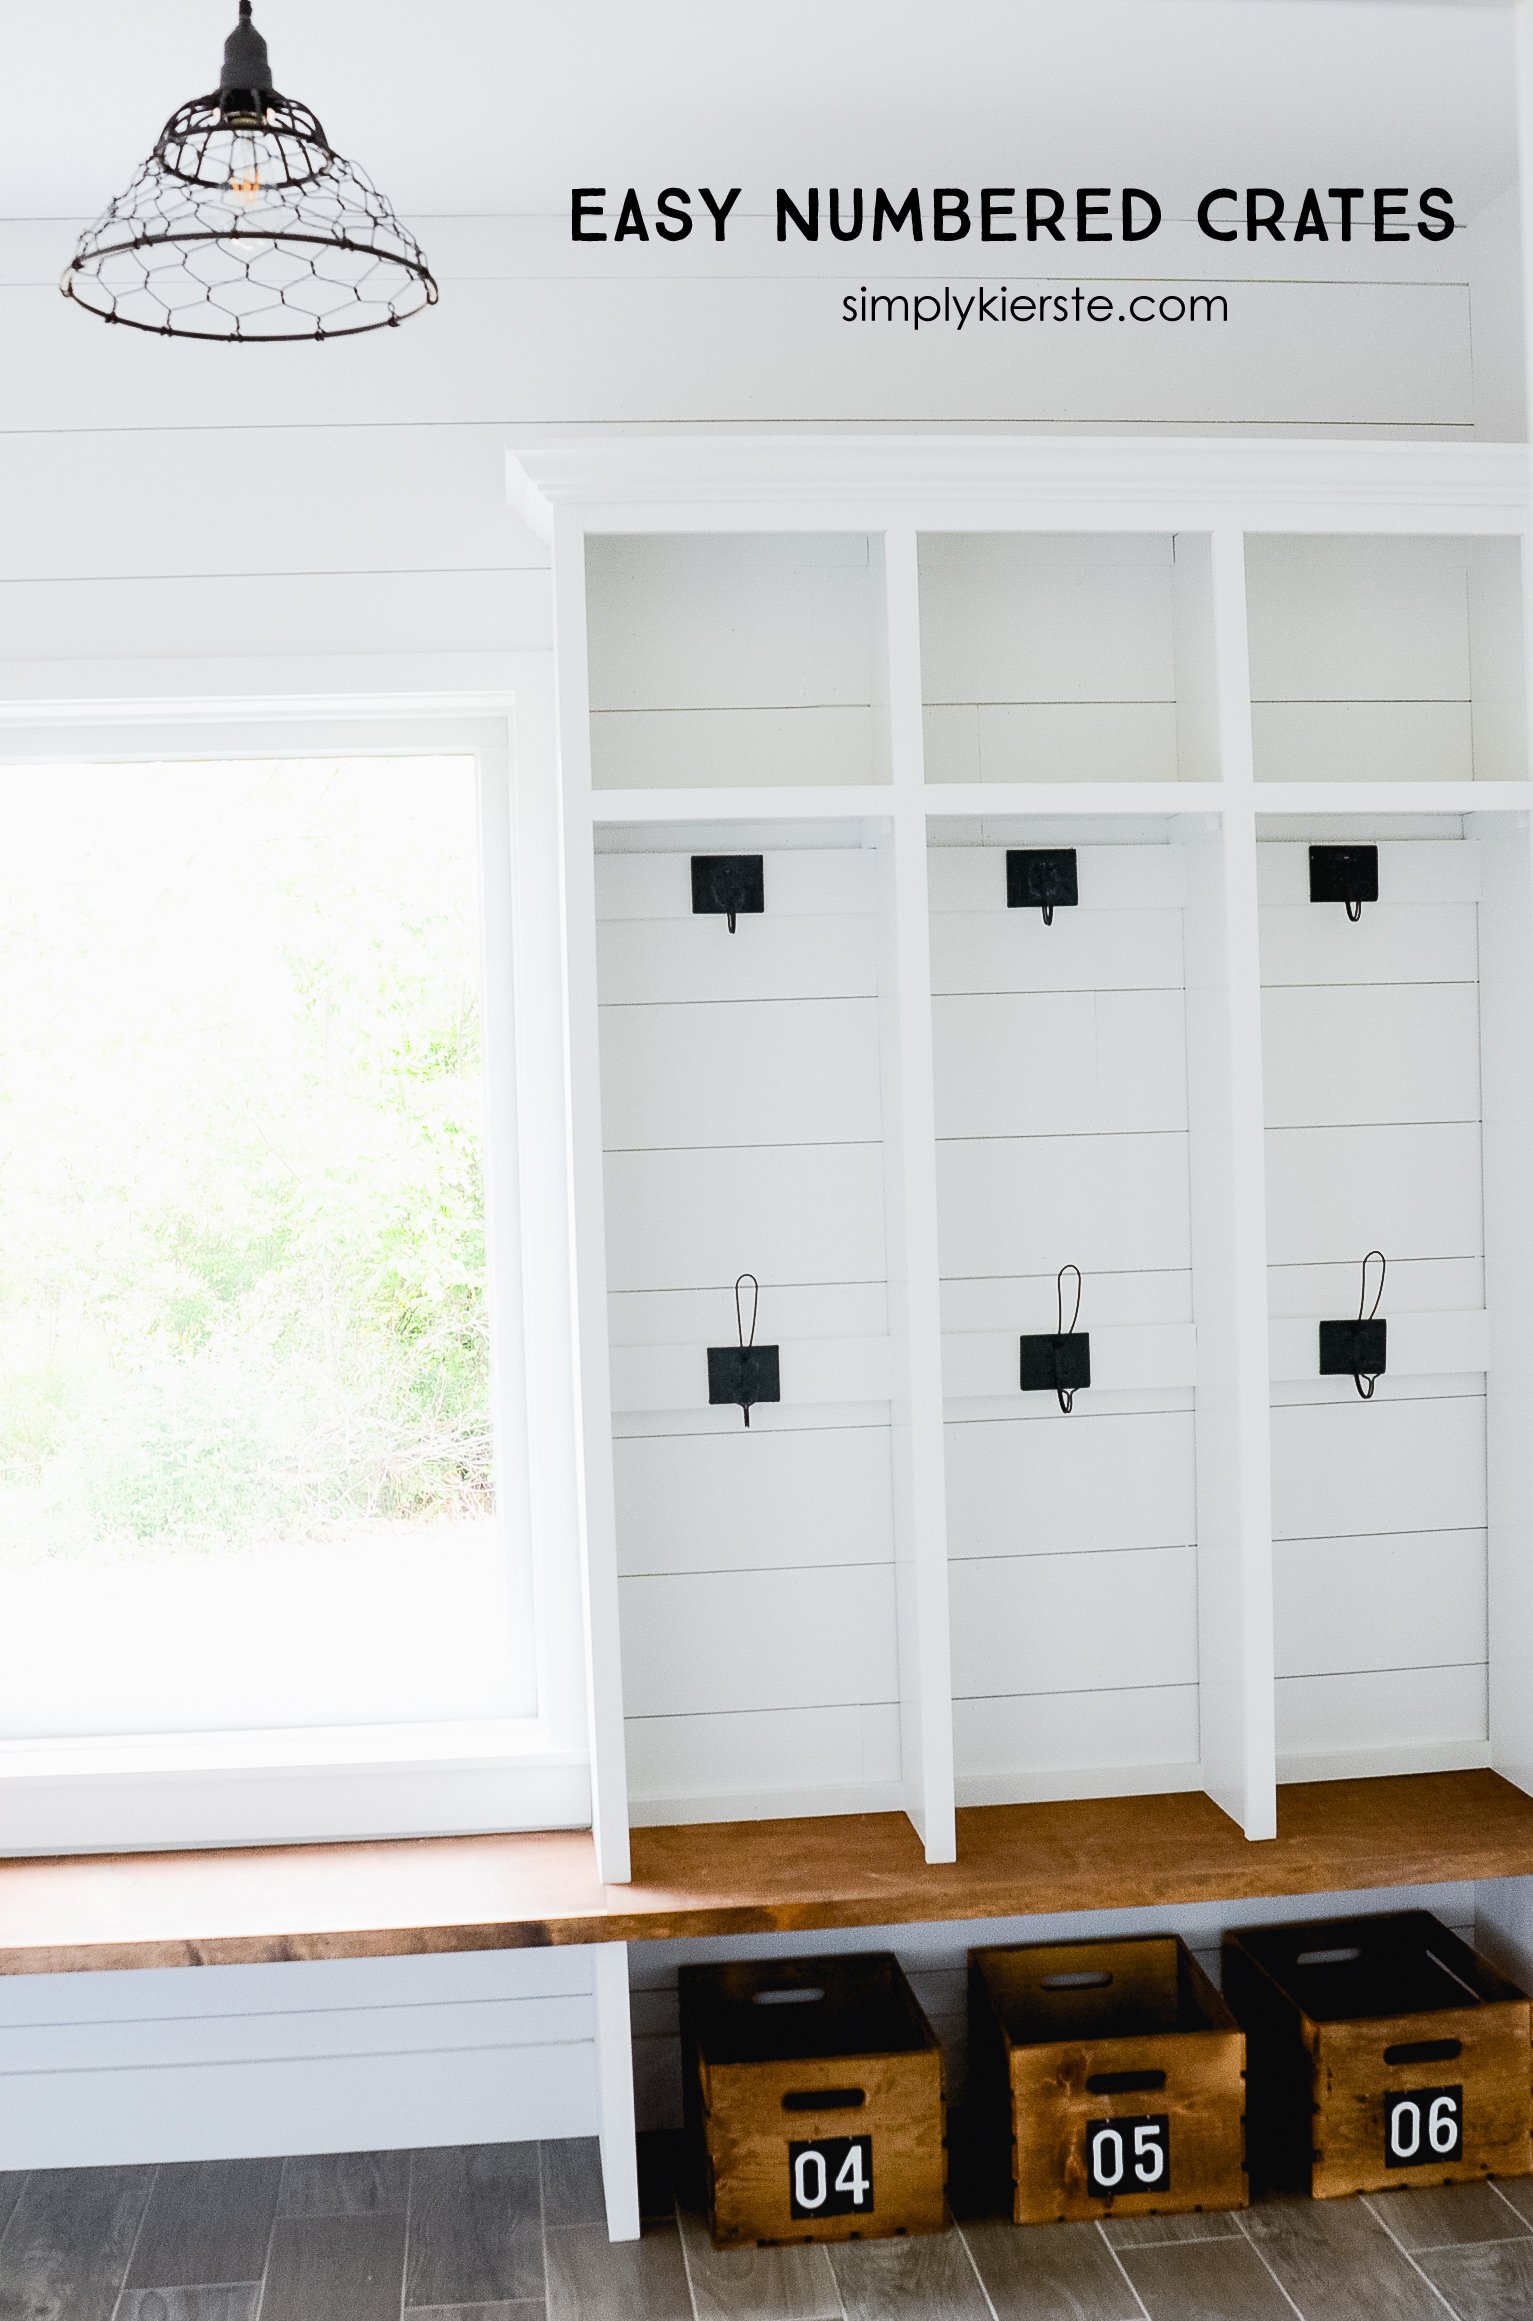
Some of my most popular DIYs include DIY Farmhouse Shelves, How to make a Giant Chalkboard (or any size), and a Rustic Wood American Flag.