Easy DIY Farmhouse Shelves
DIY Farmhouse Shelves are easy to build, and a quick afternoon project! Add functional storage and aesthetic to any space.
There are affiliate links included below. Please see my full disclosure.
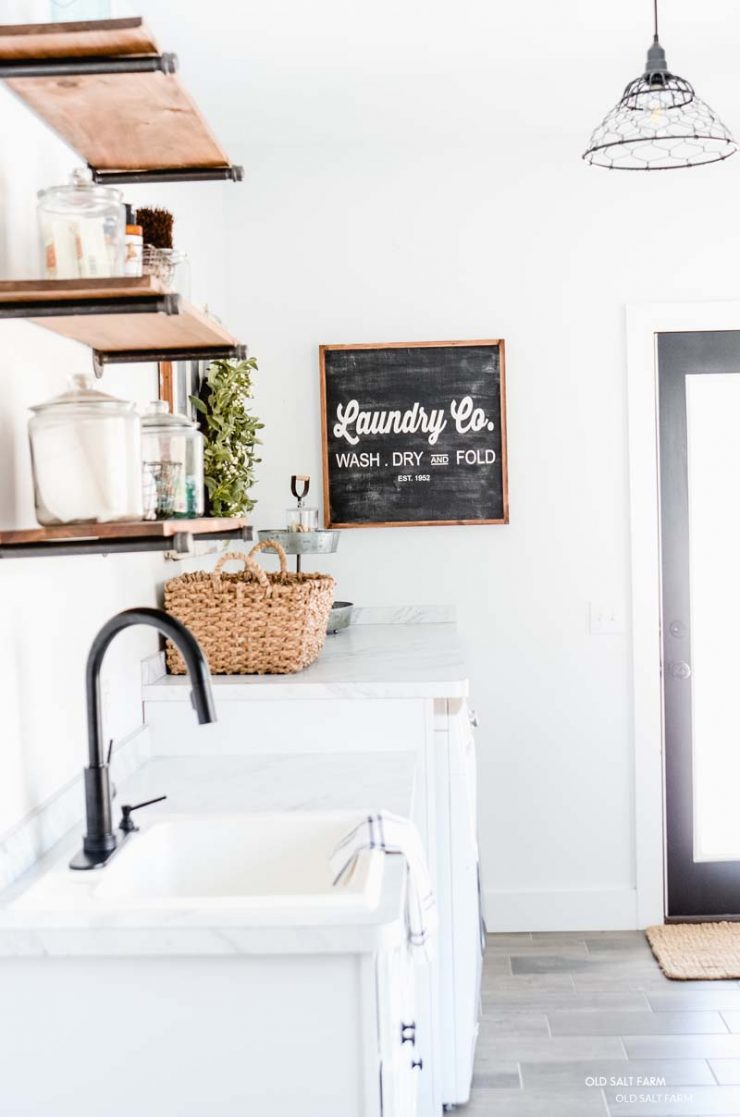
If you’re looking for extra storage space, a place for decor, or perhaps a combination of both, these farmhouse shelves are a great answer. They’re a simple and easy afternoon project, won’t break the bank, and add so much to the space. We built them in our laundry room, and they’ve added both storage functionality and aesthetic!
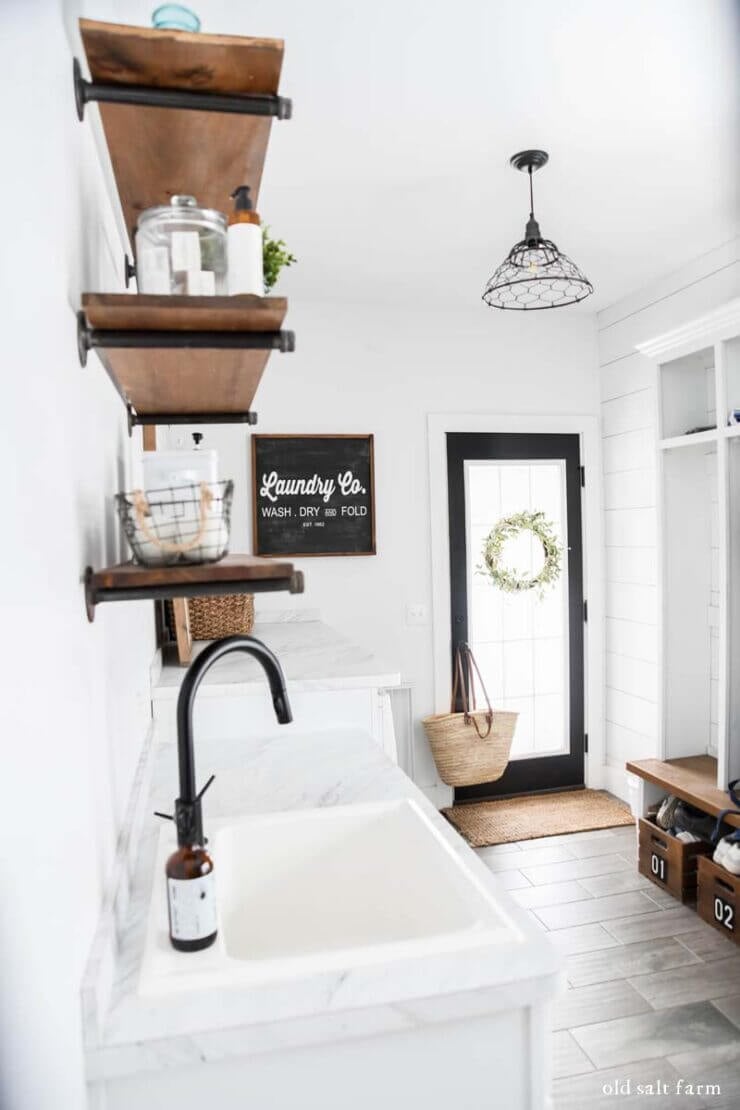
Best of all, they’re an easy afternoon project, thanks to the industrial pipes. That’s totally my thing—easy projects that make a huge difference, and that’s definitely the case here.
Table of contents
Supplies
Per shelf–(these measurements are based on the shelves we made, you can alter based on need)
- (2) 3/4 in. x 12 in. black pipe
- (2) black pipe flanges to fit 12 in. pipe
- (2) 3/4 in. black pipe end caps
- 1 x 12 in. pine board
- stain or paint
- hardware for pipe
- 2 in. black drywall screws
Equipment
- Drill
- Stud finder
- Paint or stain supplies
- Miter saw or chopsaw
TIP: If you don’t have a saw, you can ask Home Depot or Lowe’s to make cuts for you. I’ve had them do it for free, but they may charge a small fee.
Instructions
The hardest part of this whole project was lining up the shelves to fit in the space, and having the measurements work with the location of the studs. You have to screw the hardware into studs, and usually they’re about 16 inches part.
I used 12 inch boards for the shelving, but you can use a different width board–whatever you prefer and will work in your space. The shelves are stained, but I almost painted them white. You can do stain or paint–whatever works best in your space.
1. Measure your space (the measure again!), check for studs (the screws have to go in to the studs!), and figure out where your shelves will go. Mark with a pencil.
BUILDING TIP: Always, always check for studs first! We used a stud finder to locate the studs, and even though it wasn’t exactly where I would have put the shelves, we had to go with it.
2. Use a drill and drywall screws to screw in the flanges to the wall.
3. Screw in the pipe to the flange.
4. Add the end cap.
5. Repeat for each pipe.
6. Cut your board(s) to length. Stain or paint, then let dry completely.
7. Set on top of pipes.
That’s it! Easy, peasy! You’ve got super cute farmhouse shelves that are functional and practical–or for decor.
Watch the video
FAQ
Absolutely! Whatever your preference is will work the same. Just be sure to let dry completely.
Yes! This is a great beginner project, because you don’t need any special tools (a drill is needed), and there isn’t a lot of
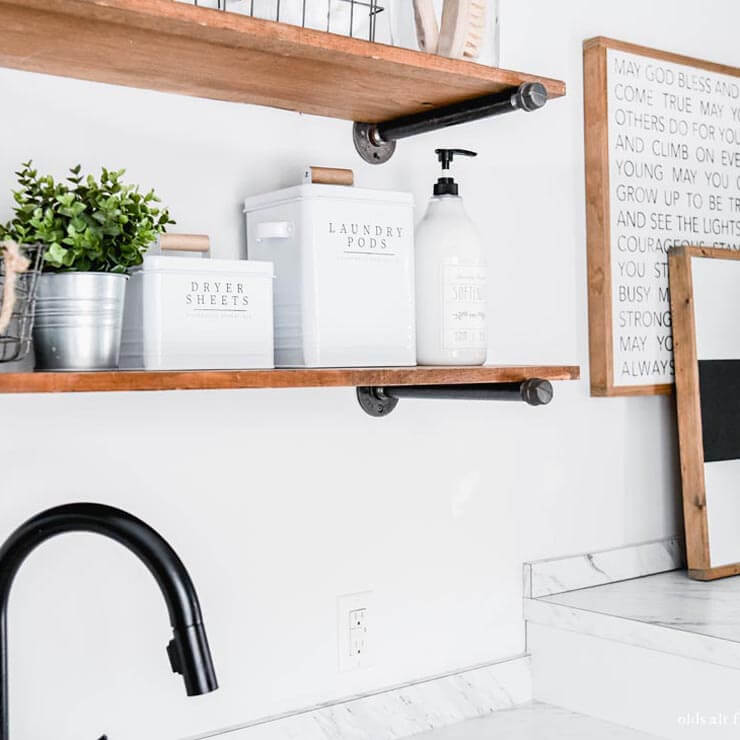
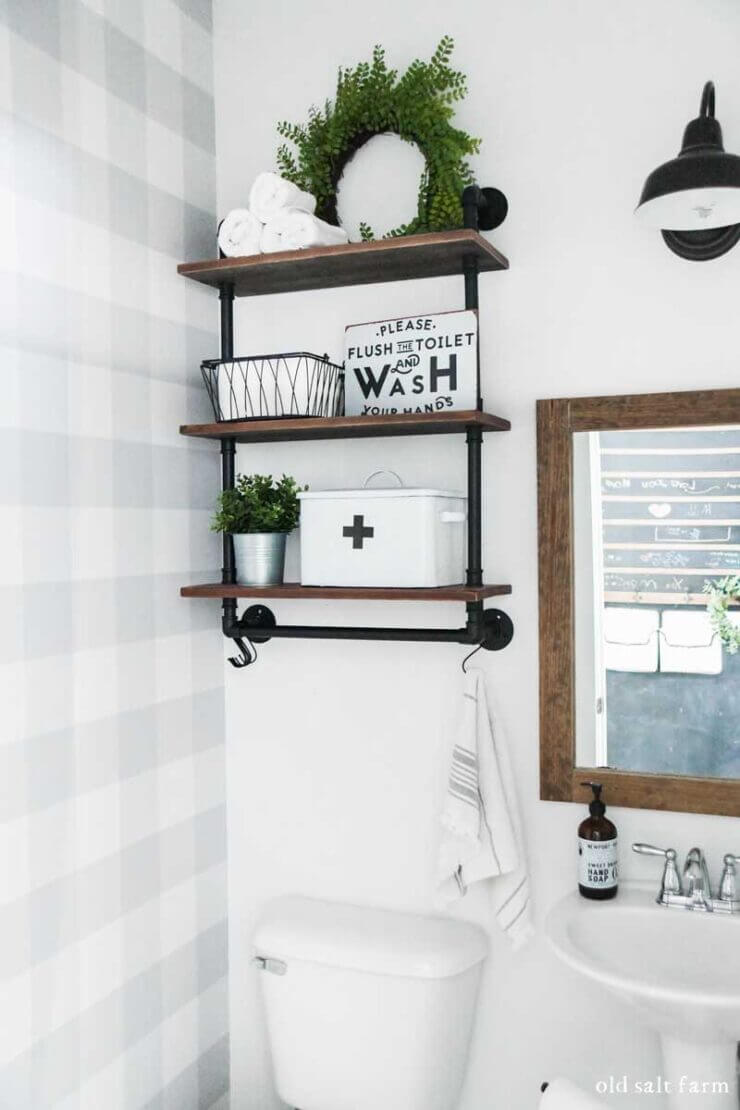
On the shelves I keep containers of laundry soap, fabric softener, and clothespins, and they’re used daily and work well for laundry room organization. I love having them in close proximity, but up and out of the way of little hands. I also added a few decor items, and it really adds a lot of charm to this room. I’m so happy with them!
Organization and Decor Sources
More Home + DIY projects
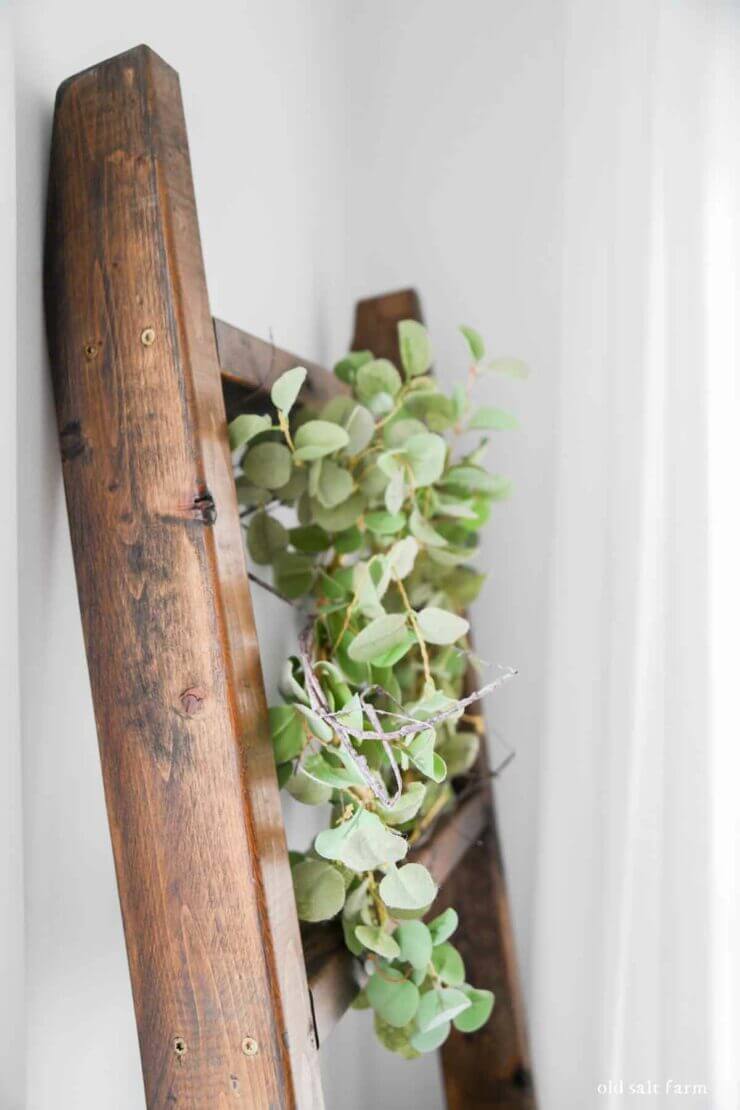
$15 Wood Blanket Ladder | Buffalo Check Wallpaper Guest Bath Makeover | DIY Kitchen Benches
Come say hi, and follow me on Instagram and Facebook for even more ideas and inspiration–I’d love to see you!

