Easy DIY Wall Hooks
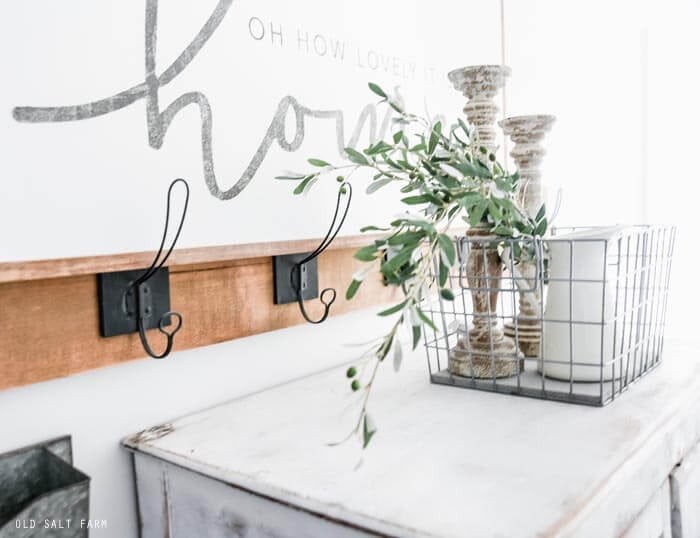
Make this easy DIY Wall Hooks and create a space for coats, backpacks, or as cute farmhouse style decor!
I love love wall hooks. I have them scattered all throughout the house–in the mud room, bathrooms, and playroom. They are in use every single day, and they just make everything easier. Plus, they’re easy for little ones to use, and pick up after themselves. You can even hang them at their level in their own spaces.
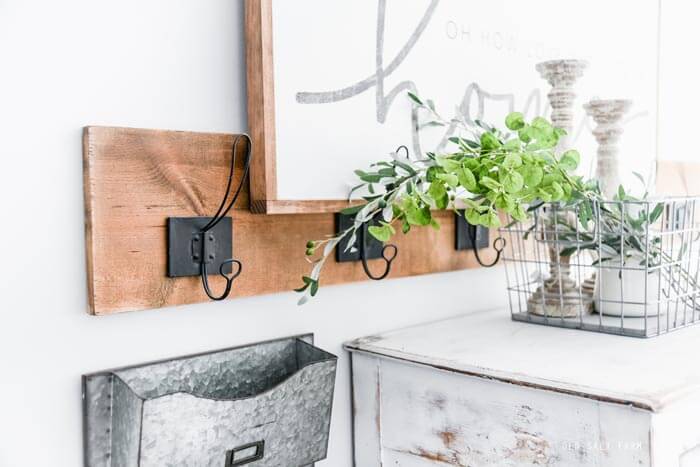
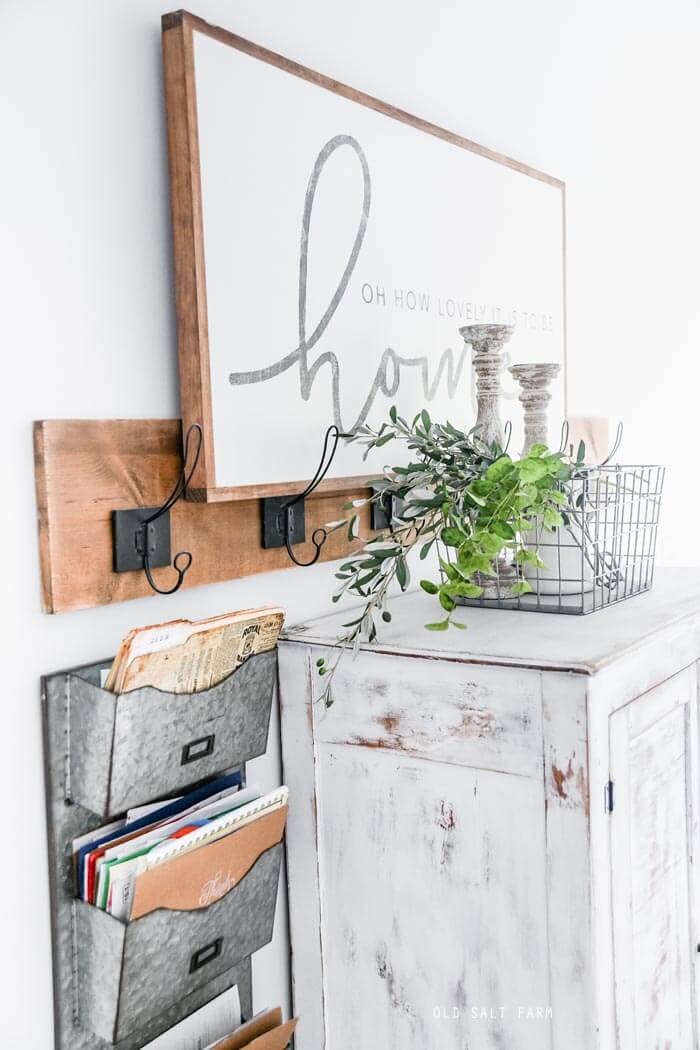
Not only are they great for organizing spaces, but they can be used for really cute decor as well. I have a space in one of my entry hallways that I adore, and I’ve used a hook board as part of the styling. I love them there too!
*Affiliate links are included below. If you click on a link and make a purchase, I’ll receive a small commission at no extra cost to you.
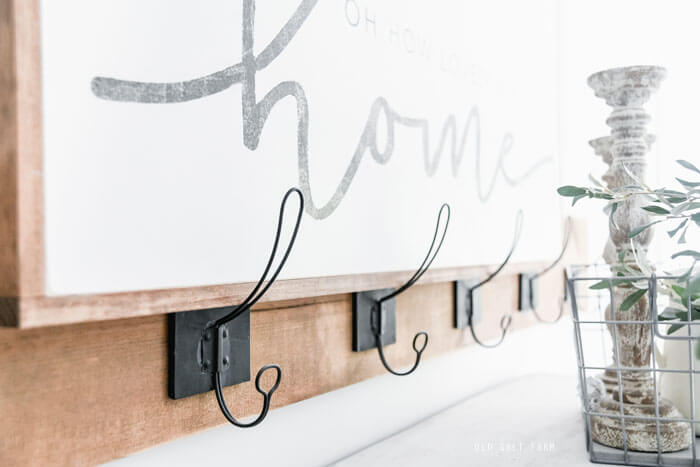
I’ve made these hook boards for years, and they always look a little bit different due to the hooks I’ve chosen. I found these hooks that I LOVE LOVE LOVE, and ordered them online when they were 50% off, so they were only $3 each.
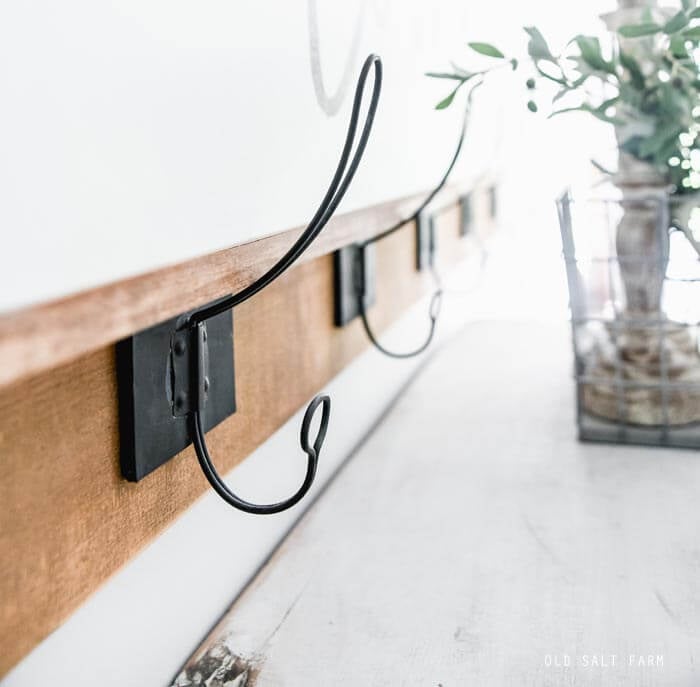
They’re the same hooks I used in my mudroom on the lockers we built, and I adore them. Amazon also has a collection of hooks if you like something a little different. I think finding the right hooks makes all the difference on this project, and will really give you the look that you want.
Once you have the hooks you want, it’s really a matter of staining your board, letting it dry, and adding your hooks. Easy peasy!
Here’s the step-by-step:
DIY WALL HOOKS
SUPPLIES:
- -1×8 pine board, cut to desired length
- –stain (I used Minwax Provincial)
- -hooks
- -any required hardware for hooks
- –sander and medium grit sandpaper
DIRECTIONS:
*Cut your board to the desired length. When deciding on a length, consider the space it will be hanging in, as well as how big the hooks are, how many hooks you have, and how far apart you want them. I bought a 1×8 in the 6 foot length (it comes in longer lengths as well), and I ended up using the whole thing! Once I laid out my hooks and looked at it against the wall, I realized that I needed it to be that long. I’m glad I didn’t cut it any sooner.
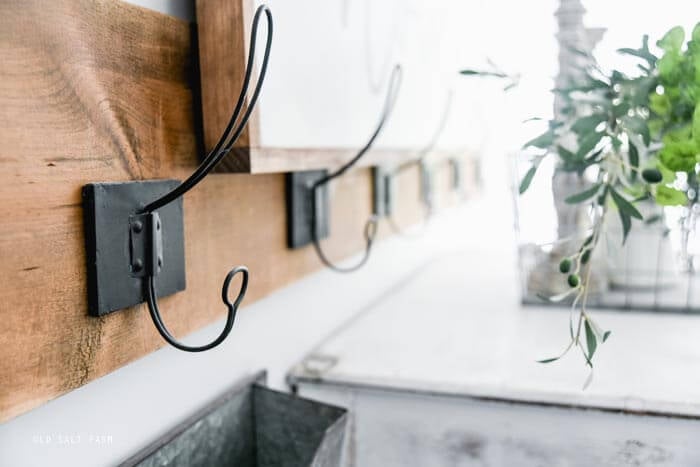
*Stain your board with a lint-free cloth and let dry completely. Once it’s dry, sand the front and edges as desired. I like mine to look a little weathered, so I went over it until it looked the way I wanted it too.
*Add your hooks! My hooks didn’t come with any hardware, and fortunately we had some on hand to use, but otherwise I would have had to wait until I went to the store. It’s a good idea to have them ahead of time, especially if you’re impatient like me!
And that’s it! I told you it was so easy!

*Originally posted September 2016, updated with new photos August 2020.