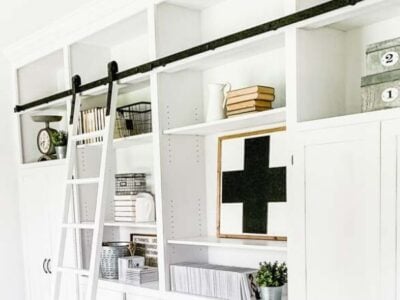
DIY Floor-to-Ceiling Bookshelves with Rolling Ladder
A step-by-step tutorial on how to build your own DIY floor-to-ceiling bookshelves complete with a rolling ladder. They’re a beautiful addition to any home.
I have wanted a library and bookshelves with a rolling ladder as long as I can remember. When we started building Old Salt Farm, I knew exactly where I wanted them to eventually go. We weren’t able to get them finished before we moved in, and it would be a couple of years before we had the time to tackle it (so many projects!), but I’m thrilled now that they’re complete. I absolutely love these floor-to-ceiling bookshelves, and they completely change the look of the room.
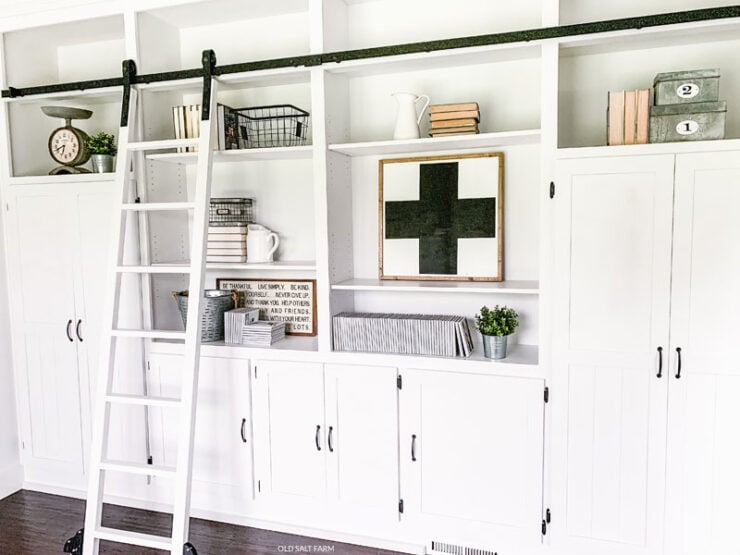
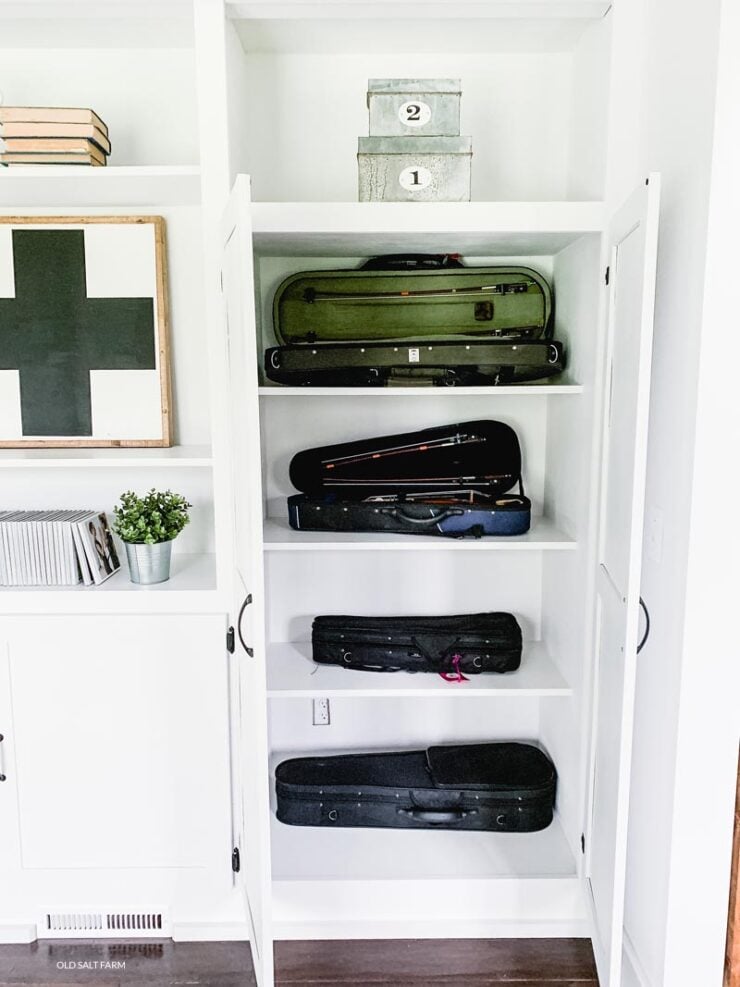
Once we moved in, the main motivation for the bookshelves also became storage for all of our instruments–we have a bunch of violins and a cello. I really needed a place to keep them safely and out of sight, but easily within reach. The tall cabinets on either side were designed specifically for that purpose. The one on the left holds the cello, and the one on the right has shelves for the violins. Those shelves are tall enough that each violin case can stay open for easy access.
And the rolling ladder? Sigh. I’m pretty much totally and completely in love.

This post contains affiliate links of products we use and love for your convenience. If you click on a link and make a purchase, I receive a small commission at no extra cost to you.
Steps to Build DIY Floor-to-Ceiling Bookshelves
- Estimated hours: 40-50
- Level: Intermediate-Advanced (based on this design)
Measured area and determined need
- Allow ½ inch to 1 inch space between side of box and wall
- My dimensions were 12 ½ ft x 9
Rough Sketch Plan
- Free – hand
This is my preferred choice as I make changes routinely and customize as I go.
- Sketch-up
This program is well known and easy learn with the help of watching the endless You Tube videos
https://www.sketchup.com/plans-and-pricing#for-personal
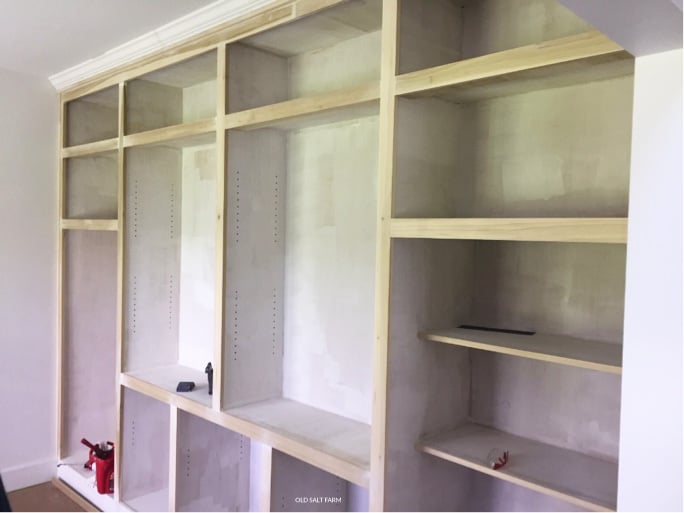
Build Boxes
- Per my plan I built 9 boxes
To assemble my boxes I used the following material as it was readily available at the local big box and poplar is very easy to paint.
I used a dado blade on my table saw add a “notch” build each box and to all locations with a stationary shelf.
For those locations with an adjustable shelf, I used a shelving jig I purchased online. I have made and used several different jigs over the years and this one is the best.
Build Box Frame
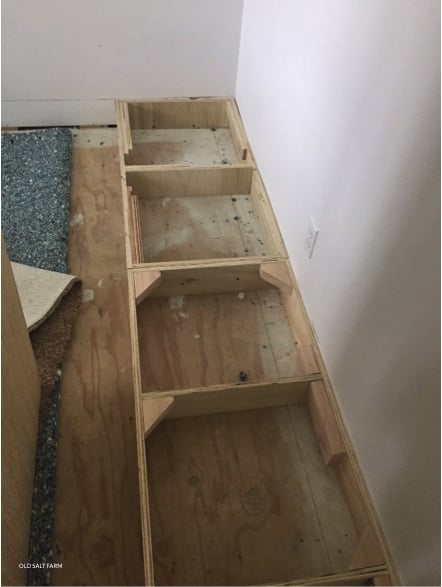
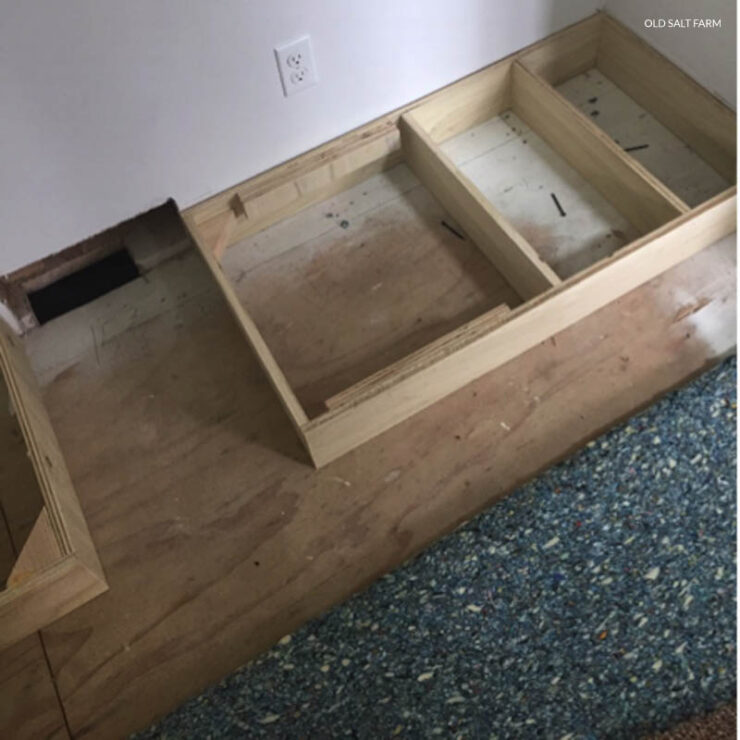
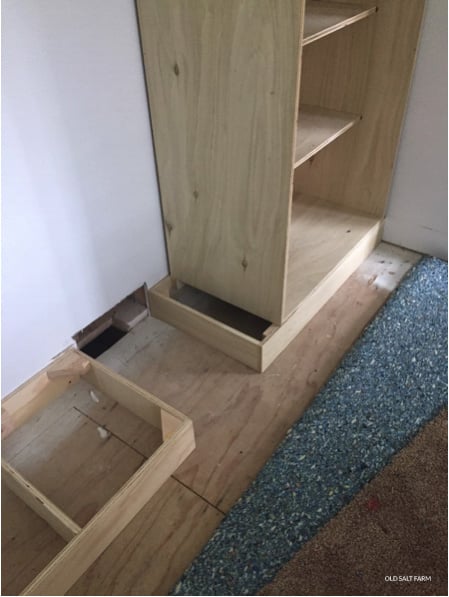
Once all the boxes have been built you will need to build a base for the bottom cabinets to sit on. My frame extends the entire length of the project.
One important item to note with this step is to not block any air ducts with the built in. For my project I had to allow for a return vent with my base . (Pics 1, 2, 3)
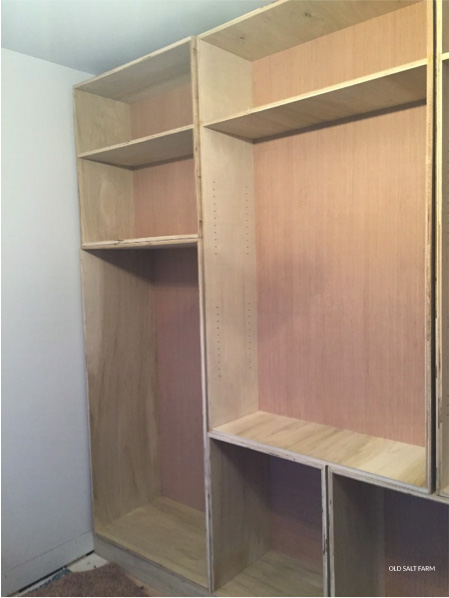
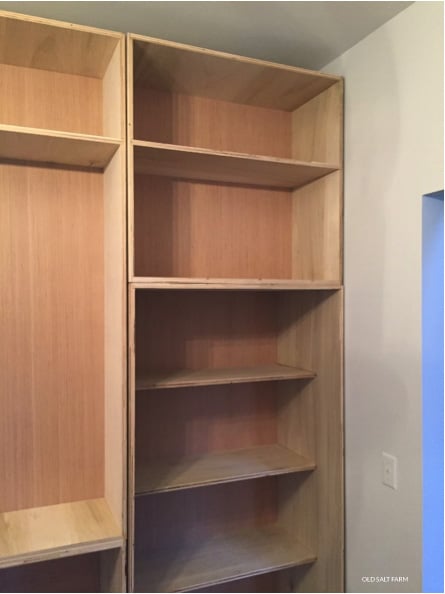
Stack Boxes
This is the fun part when your hard work begins to take shape! With this project, I had 5 bottom boxes and 4 upper boxes. (Pics 4, 5, 6)
Do not glue the boxes together as you may need to make slight adjustments when applying the face frame. I did nail the bottom boxes to the floor box frames and nailed the top boxes to the bottom base boxes using 1 ¼ inch nails. You will also need to nail the boxes to the sidewalls and back wall at this time. I used 2-inch nails at this point.
When you nail to the back our side wall you will need to add some “blocking material” if your boxes do not touch the walls. In my case, some of my boxes were shallower than others, therefore prior to stacking a few of the boxes I inserted “blocking” material to the back of the cabinets to provide more stability to the structure. I used scrap wood for all “blocking” material, as you would never see it again once all the boxes were stacked.
(Note: All nails referred to within these instructions were applied using one of the following nail guns
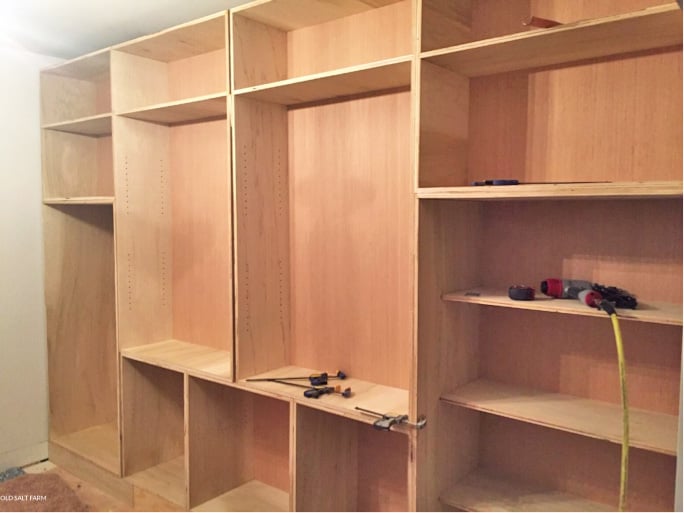
Attach Face Frame
Once all boxes have been stacked and all “blocking” material has been added the entire structure should be stiff, however if you need to make some slight adjustments you could with a rubber mallet at this point. When you are happy with the placement of everything, it is time to apply the face frame material. Start with the bottom face frame first and work up. I utilized popular for my material as it is considered a “paint grade” wood in that it has minimal grain and takes paint very well. I acquired all my raw material from a local big box store.
In most instances, I used 4 inch stock cut to length for the face frame material as it provided allowed me to cover the edges of the boxes and provided sufficient material cover any spacing gaps and edge beyond the cabinet box. In some instances, I utilized wider stock material, primarily along the top and bottom to sufficiently cover / hide the gaps. (Pic 7)
- Top face frame: One note for the top, I keep the top boxes 6 inches from the ceiling to allow for a molding. I applied 8-inch stock material for the face frame and then attached the selected molding to the face frame.
- Bottom face frame: I purchased 8 inch material and ripped the material on my table saw to fit exactly flush to the bottom inside edge of the bottom boxes. You will need to cover the front of the box frames assembled in Step 4 above and the edge of the bottom boxes.
One note: the side edges and top face frame parts do not need to exactly touch the side walls or ceiling as you will cover any gaps with molding material in Step 10 below.
Build Doors
Here is a step that I tried a technique that I have not utilized in building doors before, but am very pleased with the final product. There are many different ways to assemble doors depending on the desired final look or style you are trying to achieve. It also depends on the tools and level of skills you possess.
I used a “half lap-joint” technique, as I wanted to increase the strength of the joint, as the cabinets would get significant usage. I have included a few YouTube links providing tutorials.
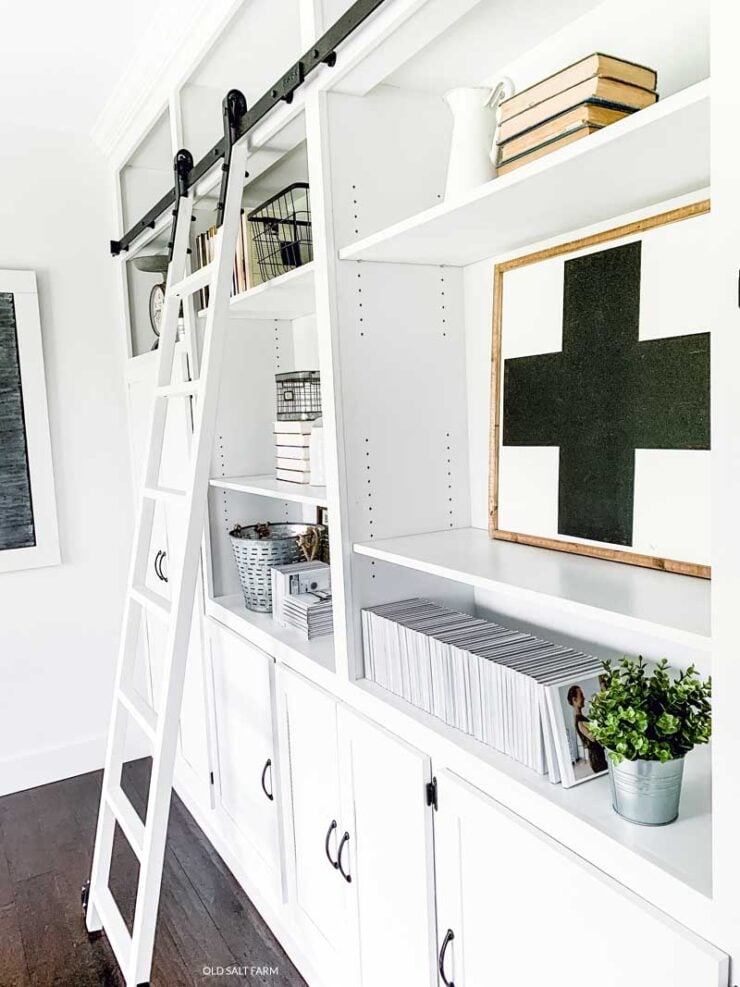
Build Ladder
This is a step that you can omit from your plans if you purchase a ladder on-line from various sites. It all depends on the final style you are trying to achieve. I decided to build mine. I utilized 4 inch stock material for the sides and rungs.
To provide additional integrity to the ladder, I glued 2 pieces of stock material together increasing the thickness of all the ladder material to 1 ½ inches from the normal ¾ inch. I cut the length of the rungs to 18 inches and then ripped the top edge of the rung at a 15 degree angle as that was the approximate pitch of the ladder to the built in.
The rungs are attached to the side rails of the ladder with glue and 2 ½ screws pocket holed on the underside of the rung.
(Note: You may want to adjust your ladder design or construction based on the anticipated level of usage or load. Your ladder is more decorative and used infrequent and the described construction appears to be suitable for our purposes).
Sanding and Patching
Sand and patch any gaps you may have. Most of my patching and final sanding was spent on the face frame and any small gaps where the face frame was not flush with the respective box. The primary grades of sand paper I used throughout the project was 100 / 150 / 220 grit and finishing with 320 grit on Step 11 between coats of finish (refer to Step 11). This is a step were you could spend a significant amount of time depending on the size of the project, grade of material used and the attention to detail taken during Step 6 and 7. Overall, I spent approximately 8 hours on this step.
I used the following putty to fill any gaps and was very pleased with the outcome as it dries quicker and takes paint well.
Trim/Moulding
This is the final step prior to priming and painting. You can switch step 9 and 10, however I found it easier to do in this order. Depending on your style and design the cost and time could be significant with this step. Our design was simple, therefore this step went really quick. I attached the side trim piece using the 23 gauge pin nailer.
I ripped some ¾ stock poplar 3/8 wide and used this for the side trim. The only purpose of the side trim is to hide the gap between the face and wall, as there will be a small gap due to imperfections with the wall. I used the below linked material for the top trim and used 3 inch popular stock material for the base trim.
Prime / Paint / Top Coat
I primed the entire cabinet after attaching the trim / molding. I could have painted the cabinet directly, however I wanted a more durable finish and the primer improves the adhesion of paint and thereby increases the durability. I used a Kilz brand product for the primer and sanded it lightly using 220 grit after the product dried.
I purchased a new paint sprayer for this product:
One note when using an hvlp sprayer is that you will need to add water to the paint to allow for the product to flow from the sprayer. I applied three coats of paint and sanded after the second coat with 320 grit to increase the overall quality of the finished product.
As I used a water based paint I used the following product for a top coat:
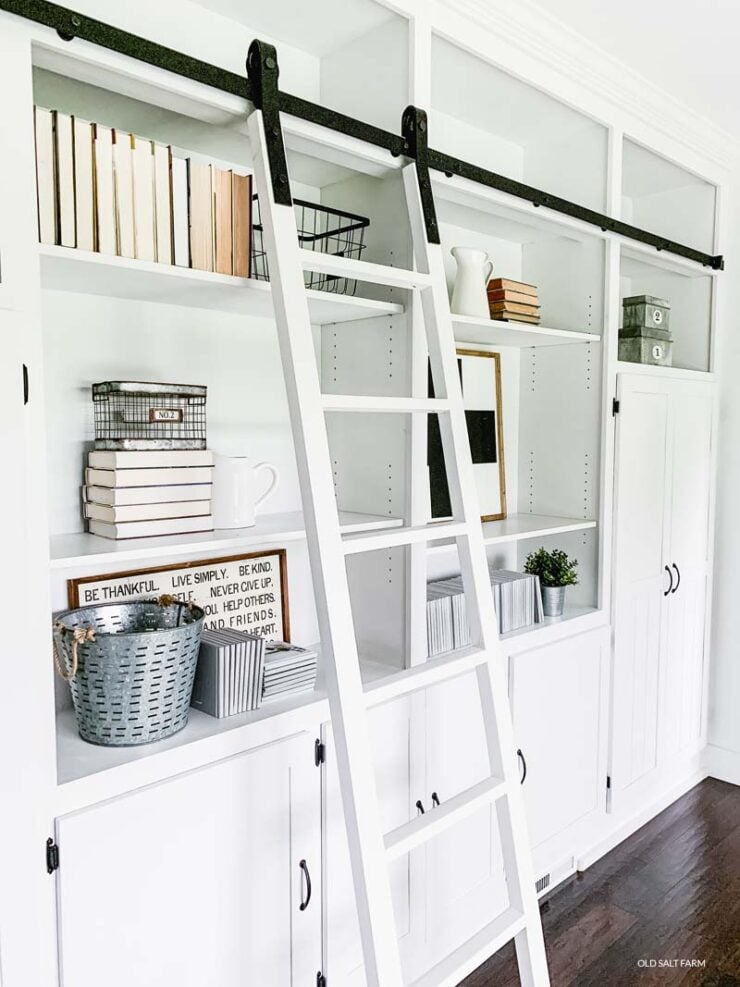
Attach Doors and Hardware
I found rolling ladder hardware on Amazon for a very reasonable price. It comes in different lengths as well.
The handles came from Home Depot, but you can also find them at any hardware store, and Amazon too.
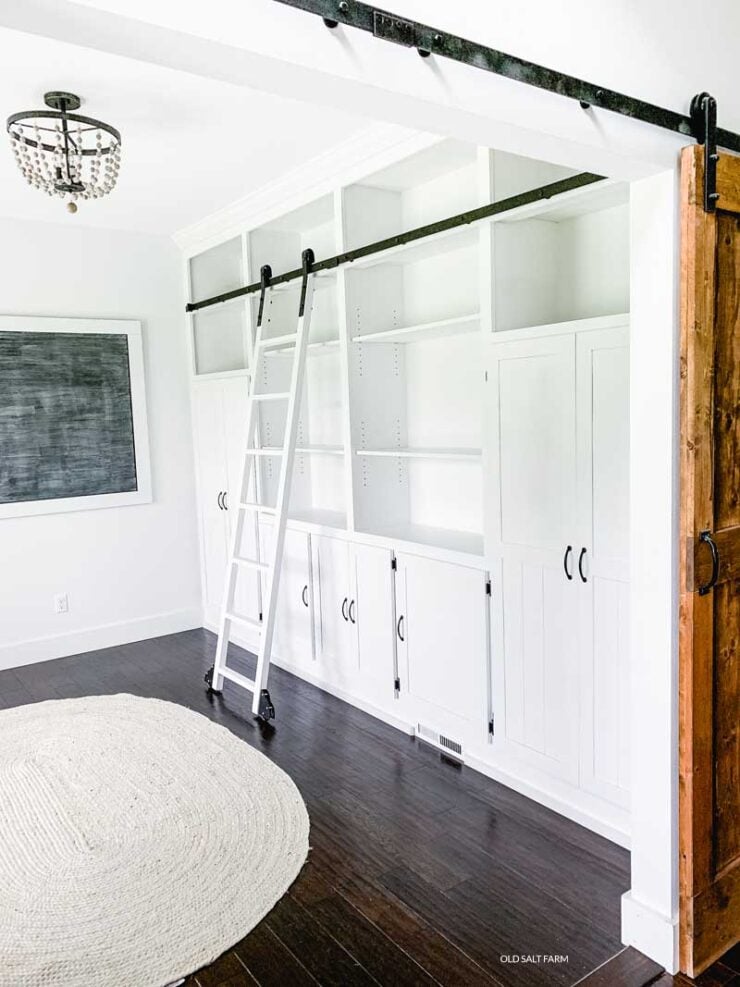
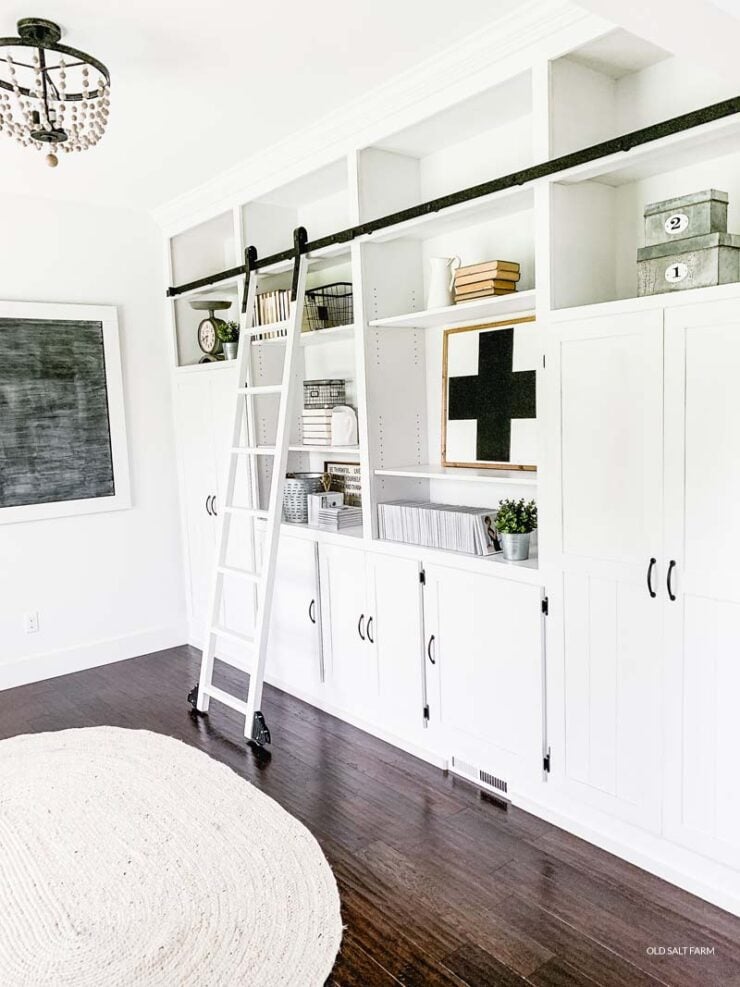
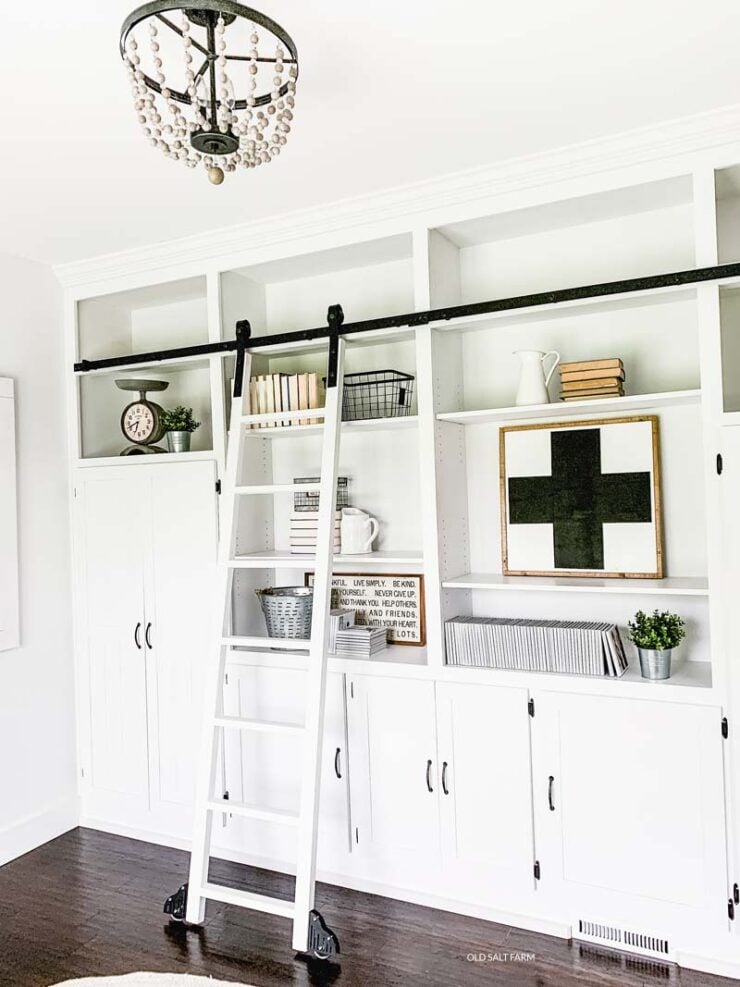
There you go…DIY Floor-to-ceiling bookshelves! They completely transformed this room, and they’re both functional and beautiful. SO happy!
If you’re interested in all the decor details…lighting, furniture, etc., you can check out my post HERE.