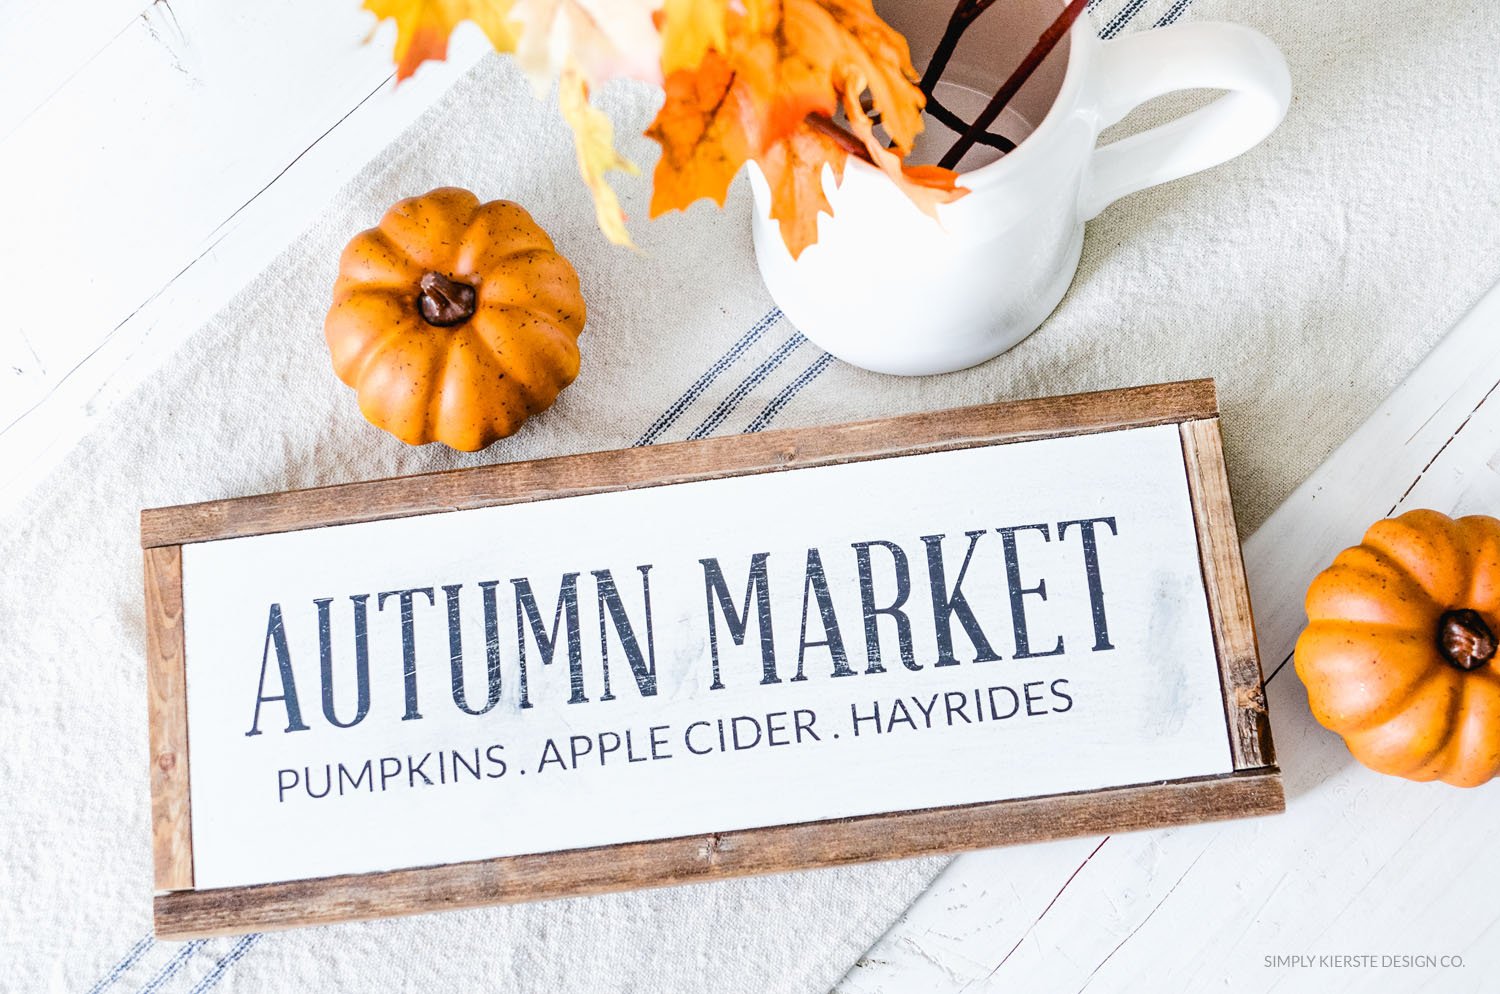
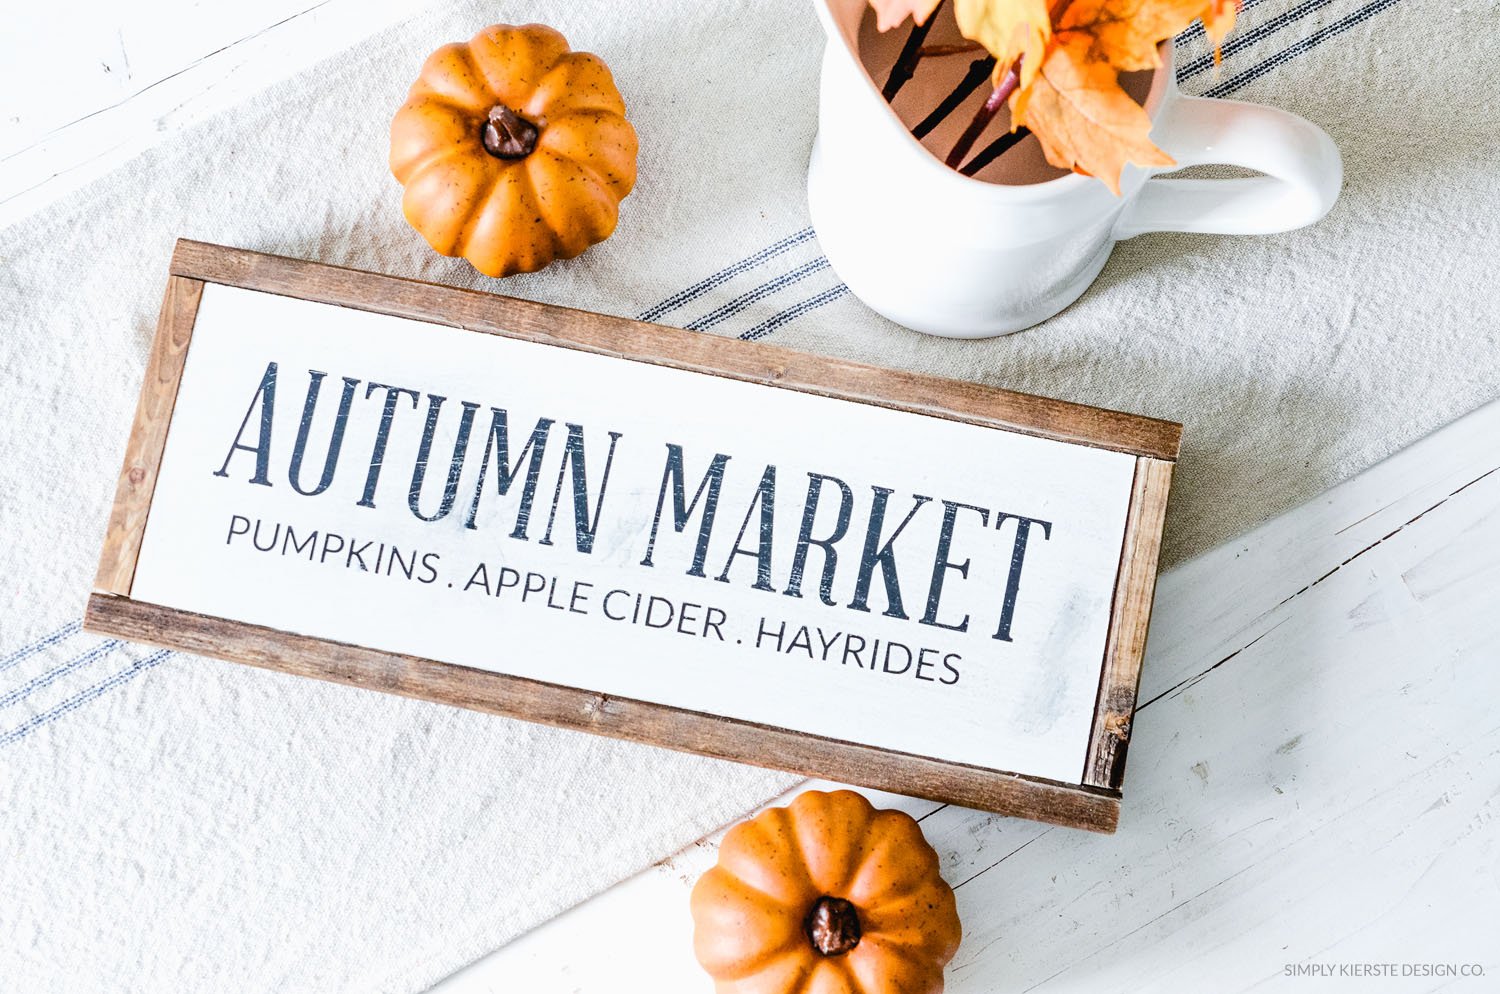
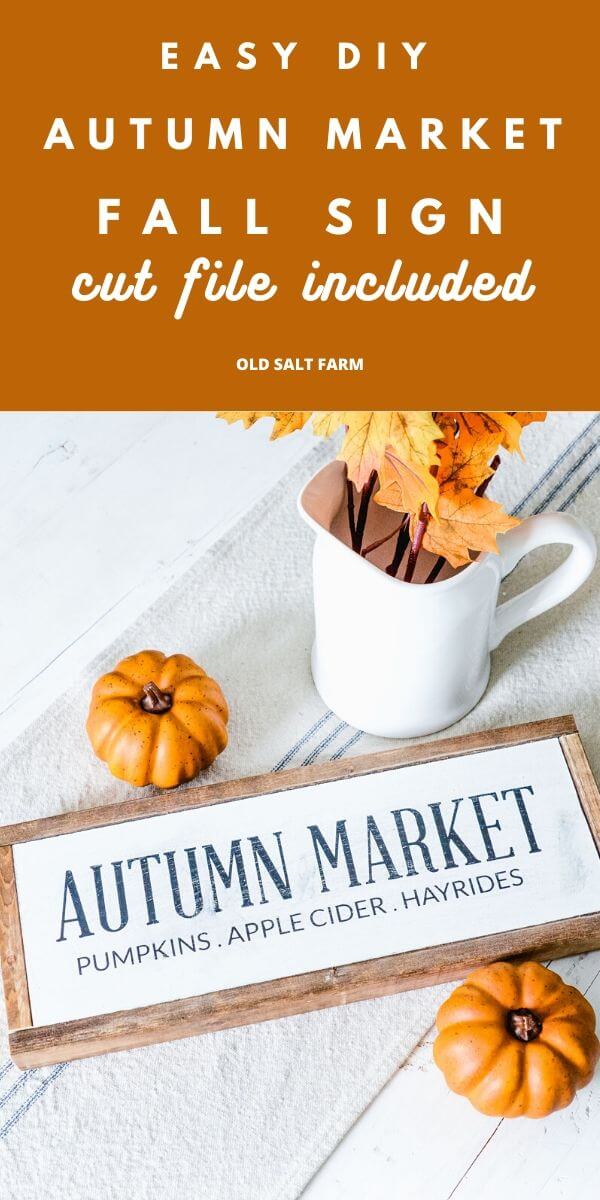
Farmhouse Fall Wood Sign: Autumn Market
You all know I love wood signs, and I can’t resist making them for the holidays. What’s more perfect than a farmhouse fall wood sign? I had a list of signs I wanted to make, but I started with his one. It’s an Autumn Market fall sign that’s perfect for so many places in my home!

Affiliate links are included below. If you click on a link and make a purchase, I’ll receive a small commission at no extra cost to you.
FARMHOUSE FALL WOOD SIGN: AUTUMN MARKET
It’s an easy sign to make, and I’ve got the entire tutorial on how to make it in this post about my Farmhouse sign. I made it the same way, with a couple of differences.
Directions:
*I used MDF (3/4 in.–because it’s not hanging up) instead of a wood board, so I could be very specific with the sizing. I ripped it down to the size I wanted. You can do that, but you can also use a 1×6 or 1×8, and then cut it down the to the length you need. With the Silhouette cut file, you can resize it as needed.
*When I framed it, I put the furring strips flush with top of the sign, rather than the bottom, like I did with the Farmhouse sign. I like doing that with smaller signs, so it’s smooth all the way across.
*I sanded the top of the letters a little more than I did with the Farmhouse sign. When I was sanding, some of the black paint that had been sanded off (and on the sandpaper) came off on my letters. It actually lent itself to exactly what I was looking for! If you want it less weathered, that’s okay–just sand it less.
I’m also a big believer in using spray paint for stenciling–it reduces bleeding quite a bit in my experience. Spray a paper plate (not foam) with paint, the use a foam brush to dab the paint on to my stencil on the board. Repeat as necessary. Spray paint also dries a lot faster, which is a huge bonus! I’ve also used latex paint, craft paint, and chalk paint–all with their advantages and disadvantages.
I’m also sharing the Silhouette cut file. If you have a Silhouette Cameo or Portrait, you can save this file to your computer, then open it up in your Silhouette software. You can change the size there if you wish to, before cutting.
Cricut users, I did my best to save my Silhouette file as a SVG file, so you can use it too. It looks a little different on a couple of the letters, like the A, but I’ll share it in case it works for you.
DOWNLOAD FILES:


You might also like these fall projects…
Cute,Cute,Cute!!
Curious if you painted the sign on MDF? And what are the dimensions of “furring strips”? Trying to figure out if you had to rip the pieces you framed it with….?
Enjoy the fall :)
Thank you for your question, Kerry! I realized that I didn’t mention that part, even though I intended to. I went ahead and updated the post for everyone, but in answer to your question, I did use MDF, and ripped it to size. You can do that, or use a wood board instead. Hope that helps, and happy fall to you too!! xoxo
I love your stuff! It appeals to me…I am going to share the block pumpkins on my blog today and link it back to you! They are my faves!
Thanks so much, Patty!! xoxo