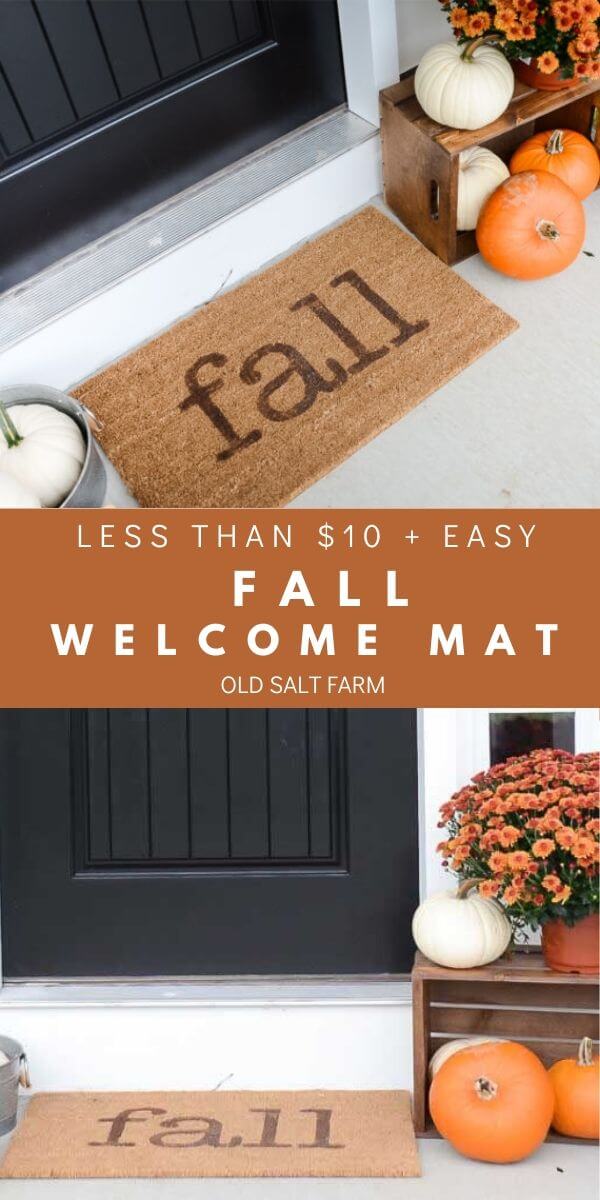
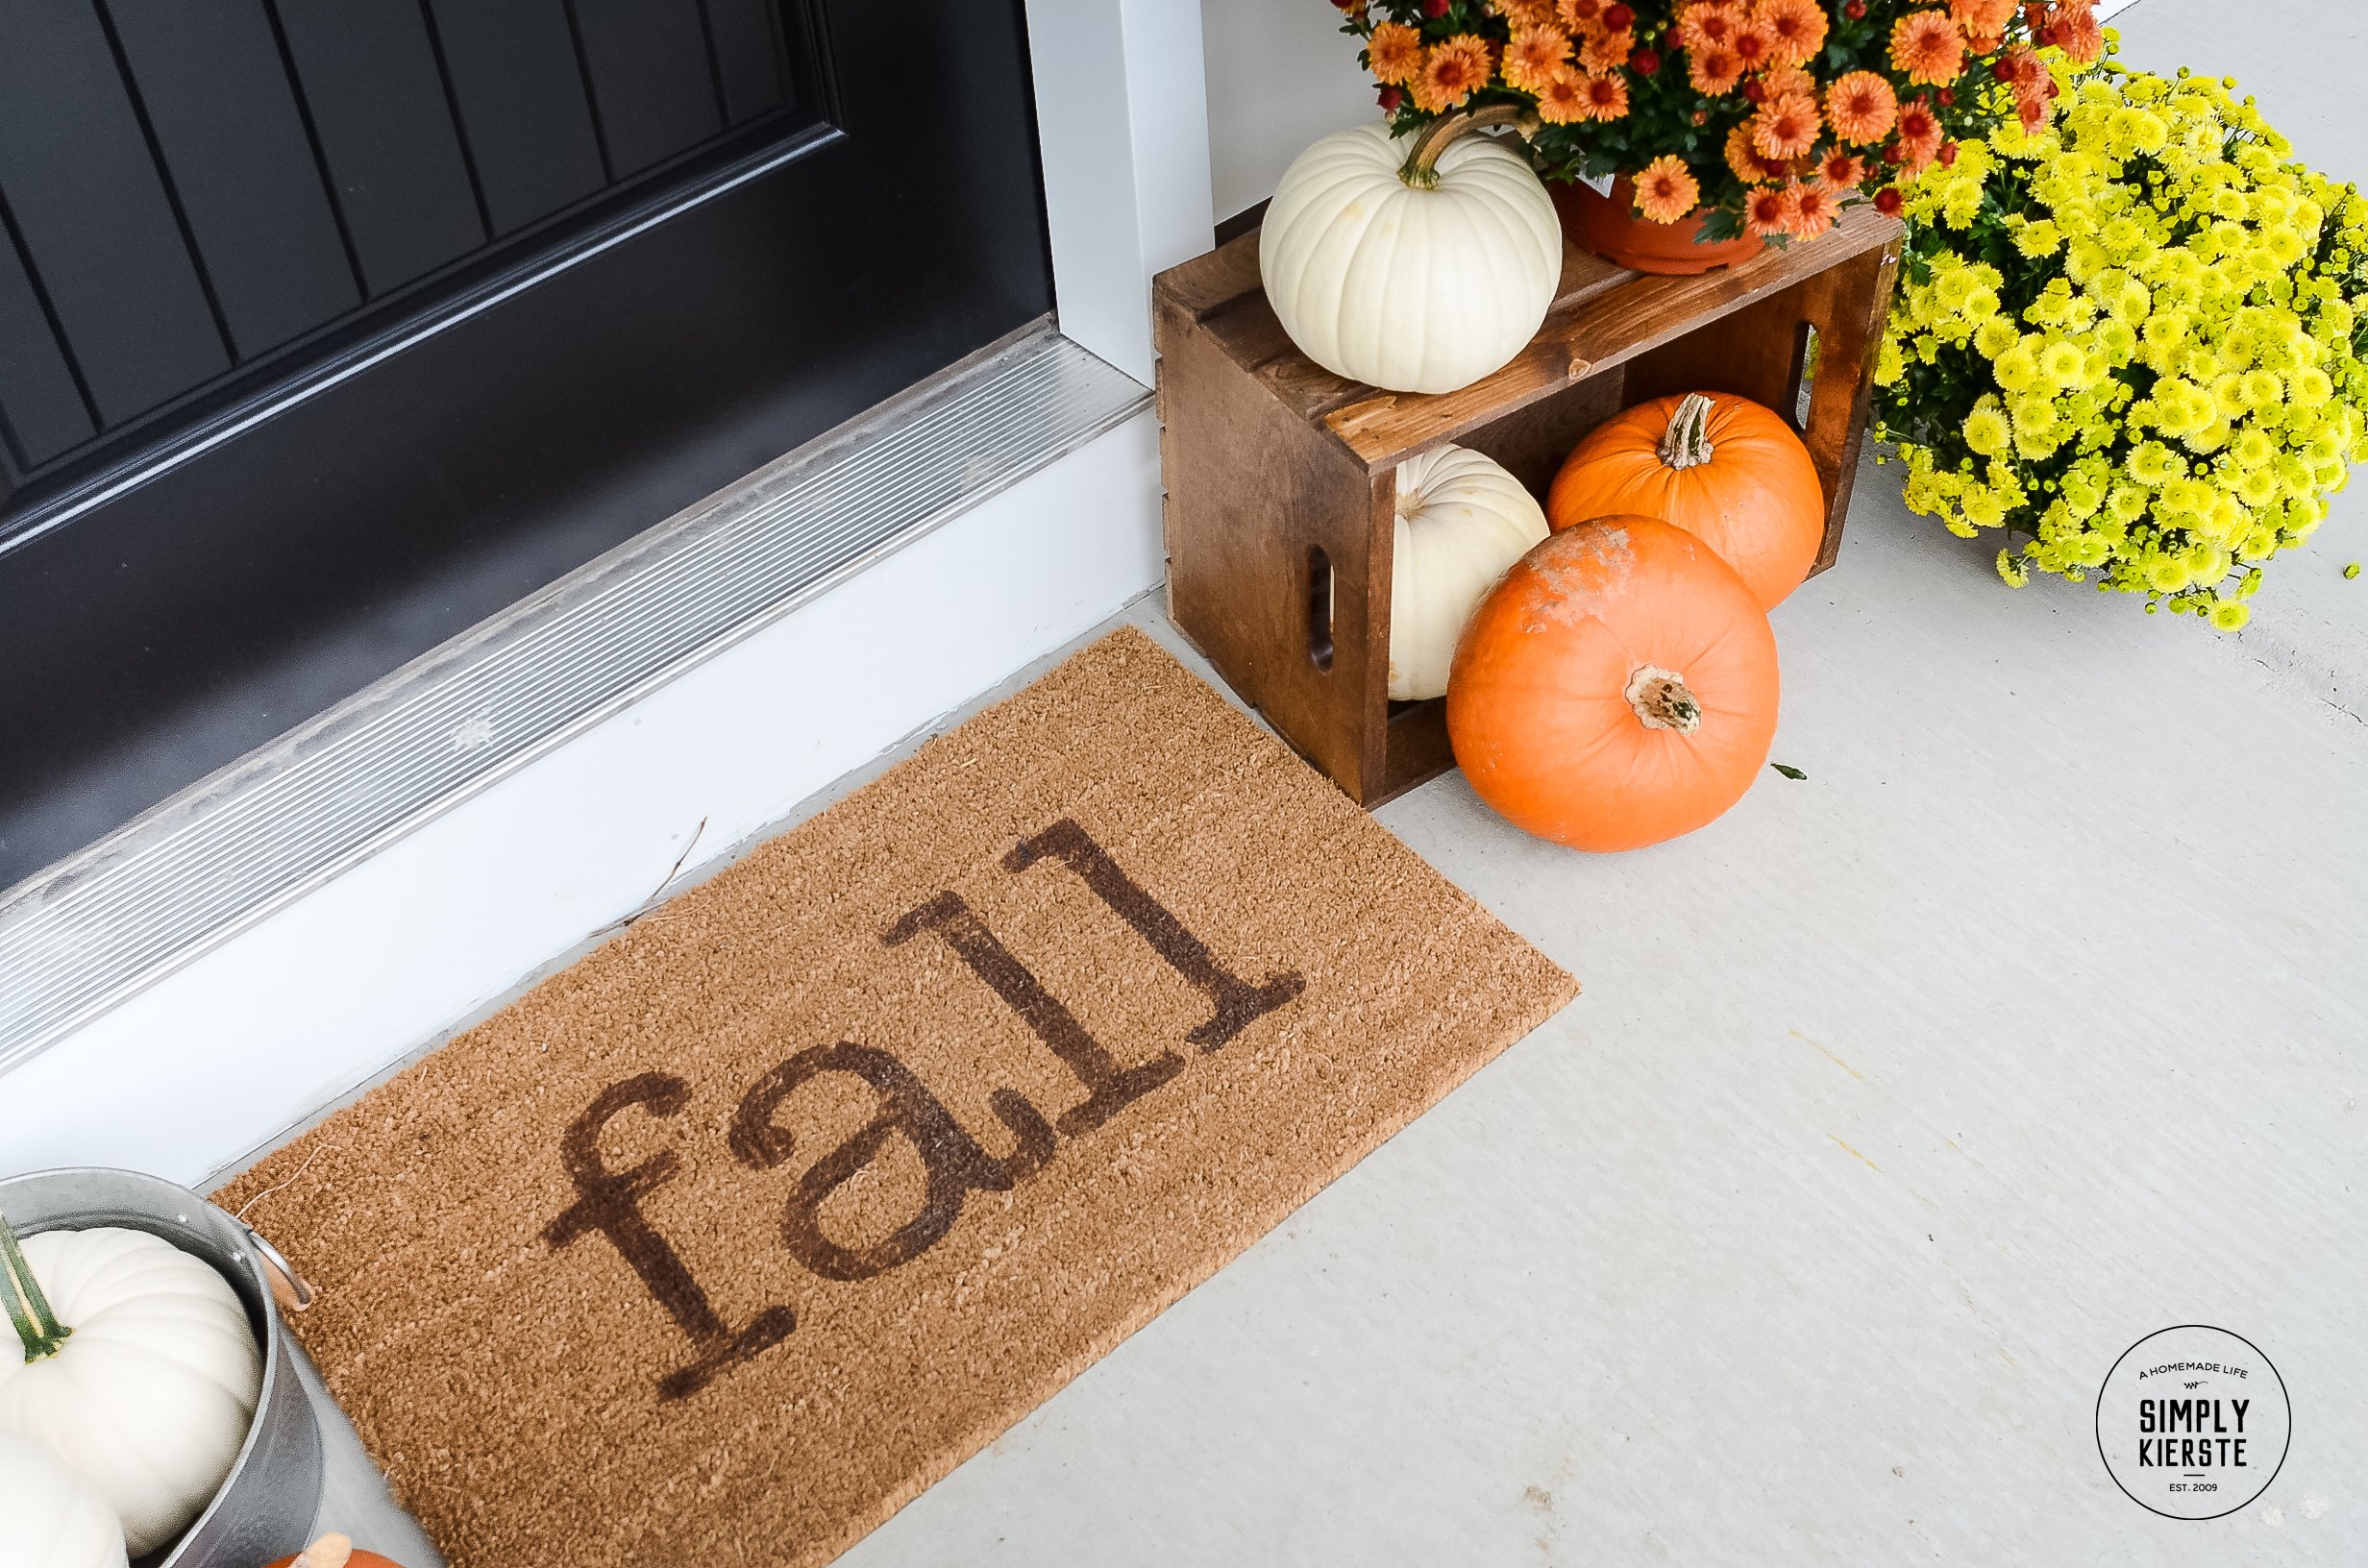
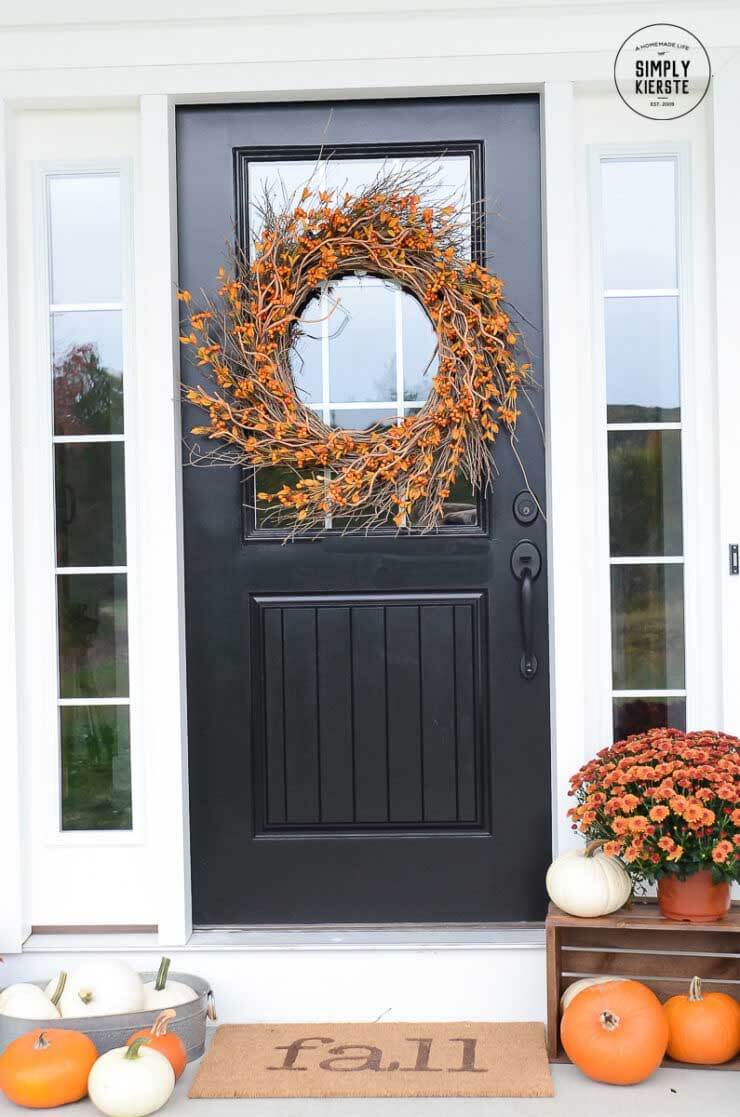
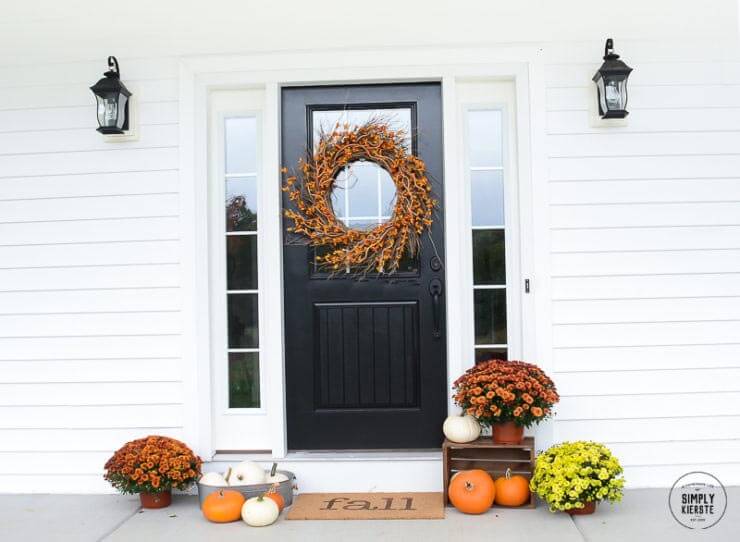
Easy 10-Minute Fall Welcome Mat
This adorable fall welcome mat literally takes 10 minutes from start to finish, and adds the perfect touch to your front porch!
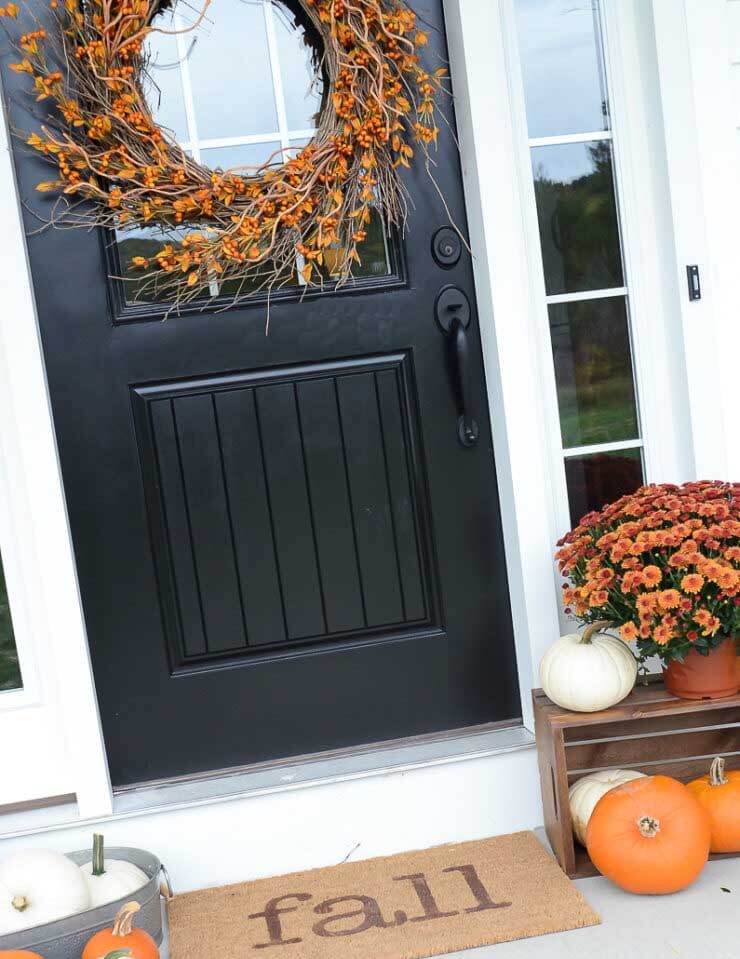
SUPER CUTE & EASY FALL DECOR
Adorable, right? And such a fun and simple project too! It just makes my whole front porch, and the fact that it’s so fast and easy is the icing on the cake.
10 MINUTE FALL WELCOME MAT
SUPPLIES: (affiliate links are included below for your convenience!)
-“fall” vinyl stencil (I used my Silhouette)
DIRECTIONS:
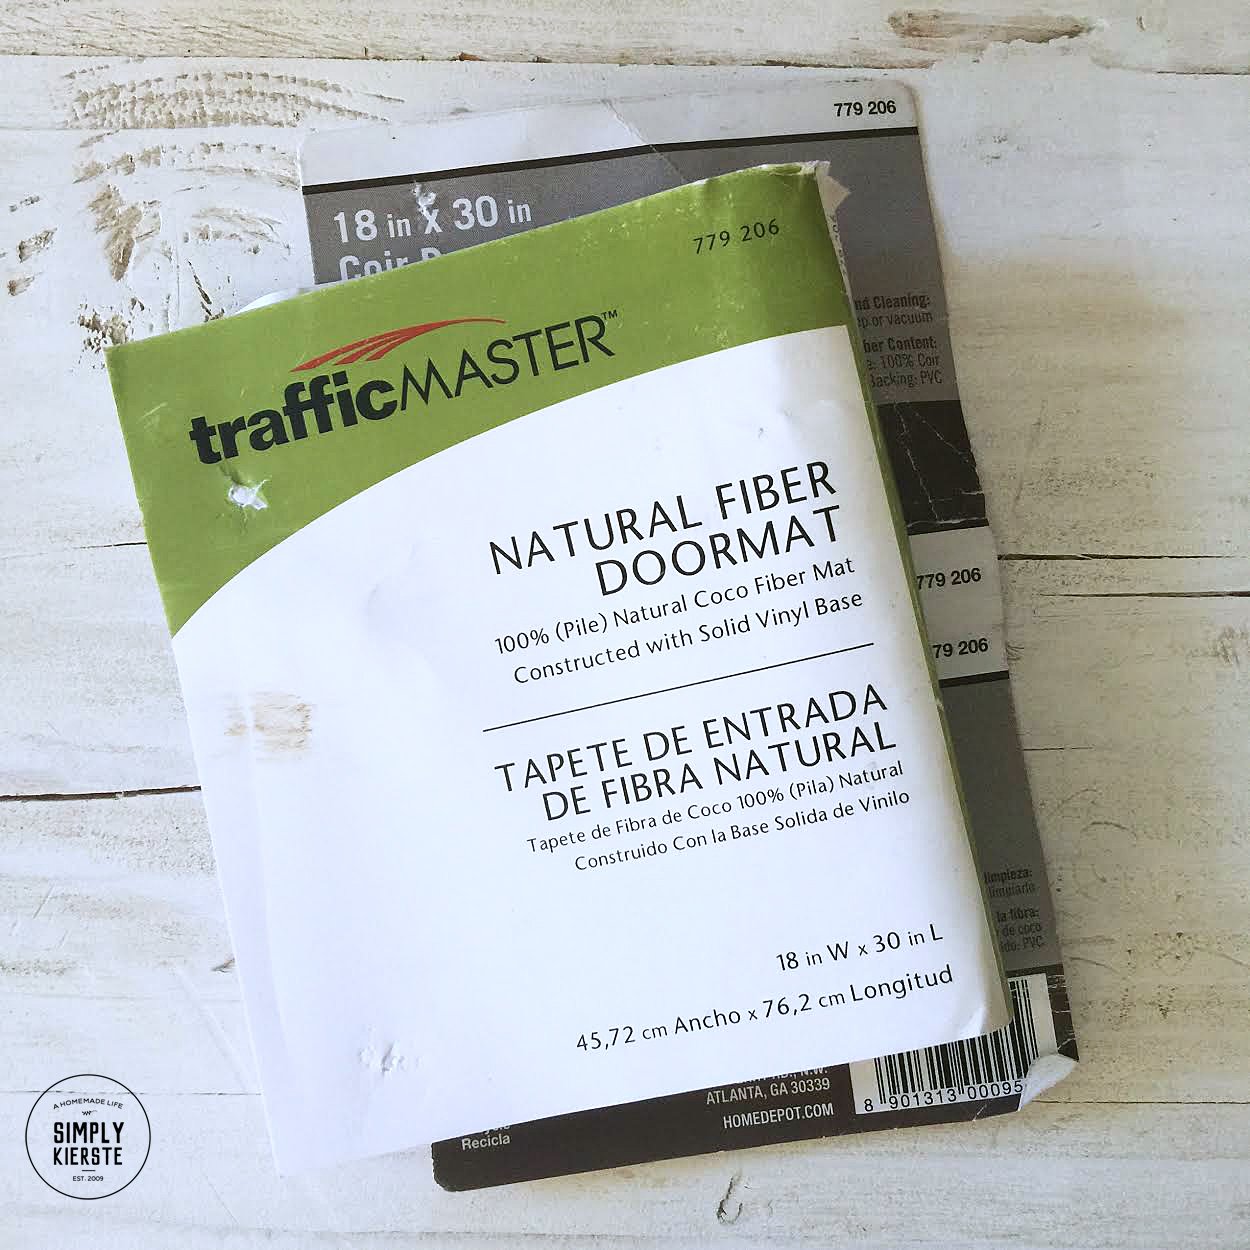
- I found my door mat at Home Depot for less than $10! You an also get one HERE on Amazon!
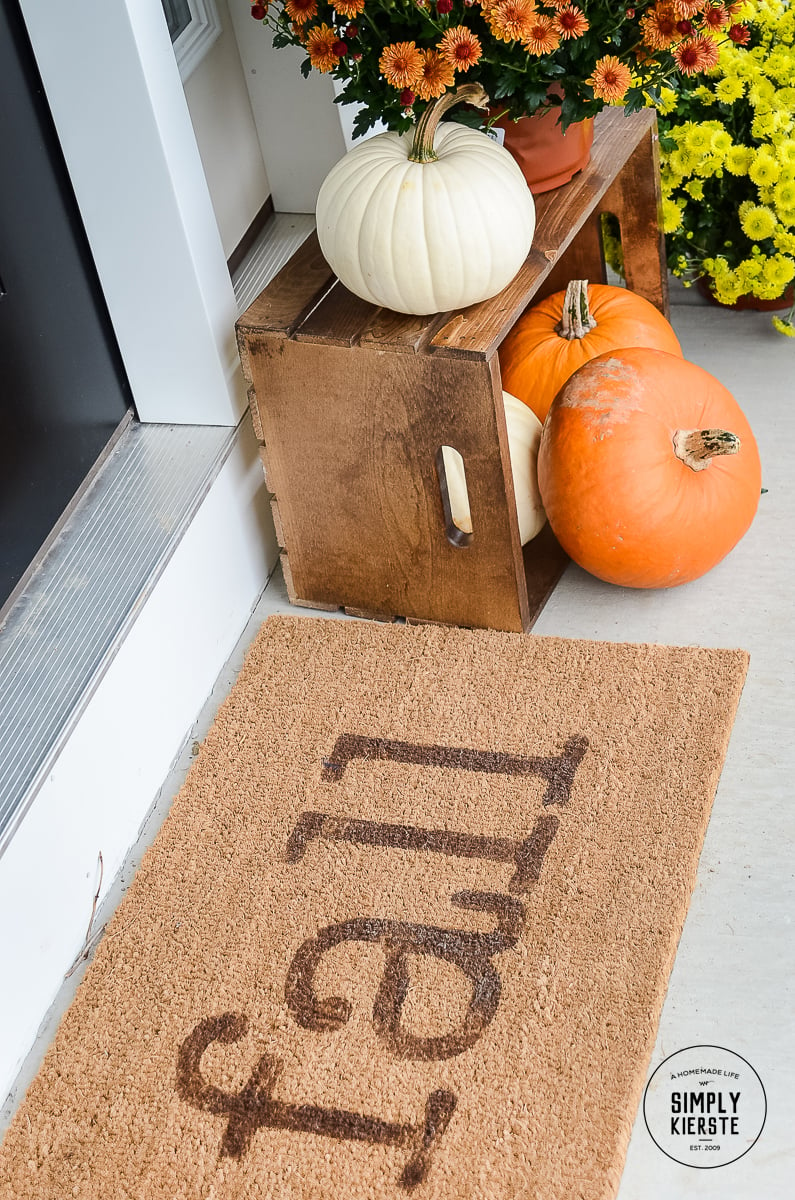
2. I cut my stencil out on my Silhouette Cameo, using the font American Typewriter. I wanted it to fill most of the rug, so I made it pretty large.
It was really tricky to try and make the vinyl stencil “stick” to the mat, and it never really did. I pressed it down the best I could, and because the mat I used was really, really stiff, (which is common for outdoor rugs), it was actually fine in the end. Even though it wasn’t sticking really well, because the fibers were so stiff, the paint went on really easily.
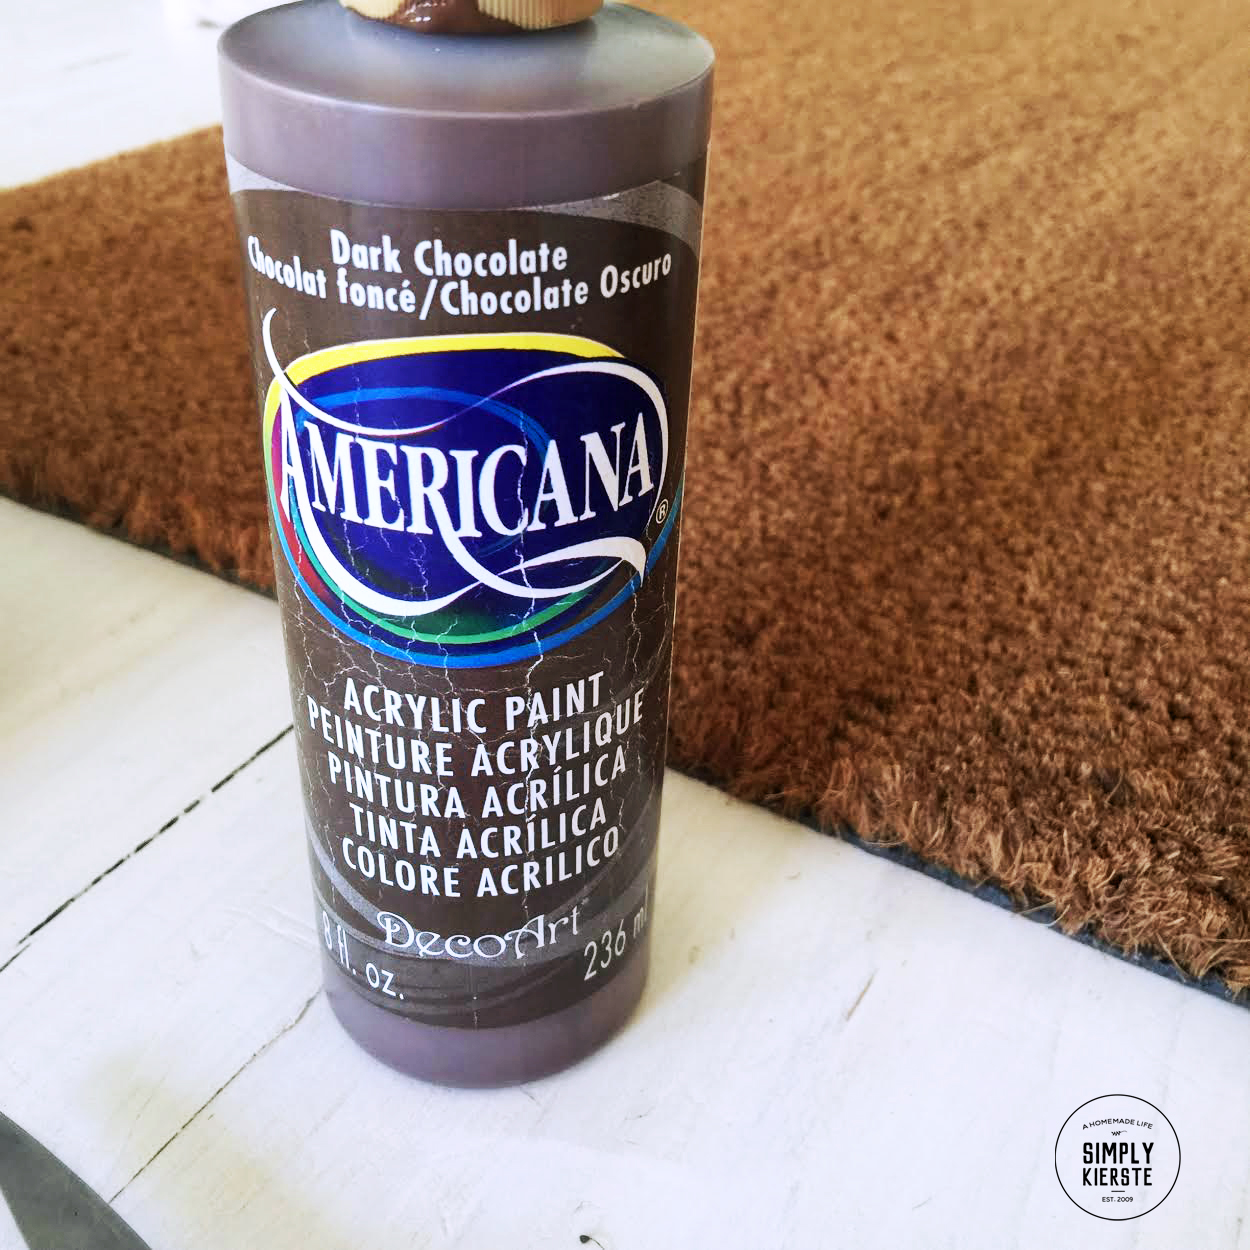
3. I used Americana Dark Chocolate craft paint and a foam brush to apply the paint to my stencil. Like I said above, I was worried at first about the stencil not sticking really well, and the possibility of the paint seeping underneath it. But I dipped my brush in the paint, then just dabbed it up and down, never making any side-to-side motions. The mat’s stiff bristles were really absorbent, and the paint went on really well–it didn’t go under the stencil at all.
4. As soon as I finished adding the paint, I removed the stencil and let the paint dry. It took about 10 minutes to make, and maybe another 30-45 for the paint to dry–that’s it!!
If you don’t have a Silhouette or Cricut, there are a couple of other options. You can always print out the letters on your printer–as big as you need them (fill the page if necessary). Cut them out, then tape to your mat. Trace around them with a marker or sharpie that matches the paint you’ll be using. Then you can use a brush to fill in the lines. It will take a bit longer, but this is a great project to try it, because the text is so short.

Other fall decor & posts you might like…
- Farmhouse Fall Pillows & Wreaths
- Farmhouse Fall Wood Sign: Autumn Harvest
- Pumpkin Bread Fall Gift Idea & Recipe
- 20 Fabulous Crockpot Soup Recipes