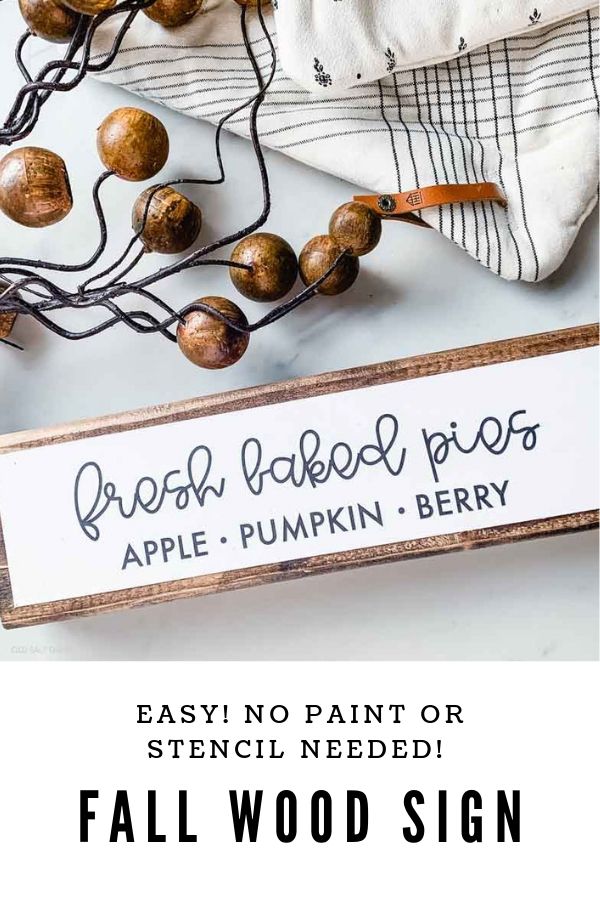
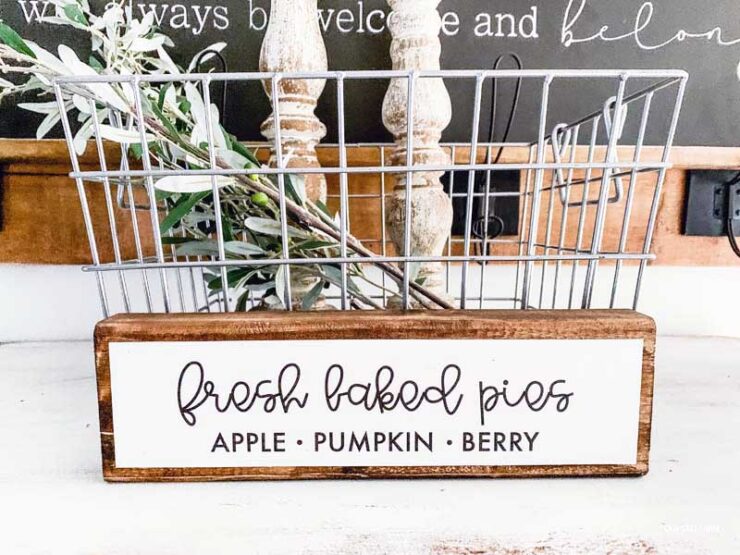
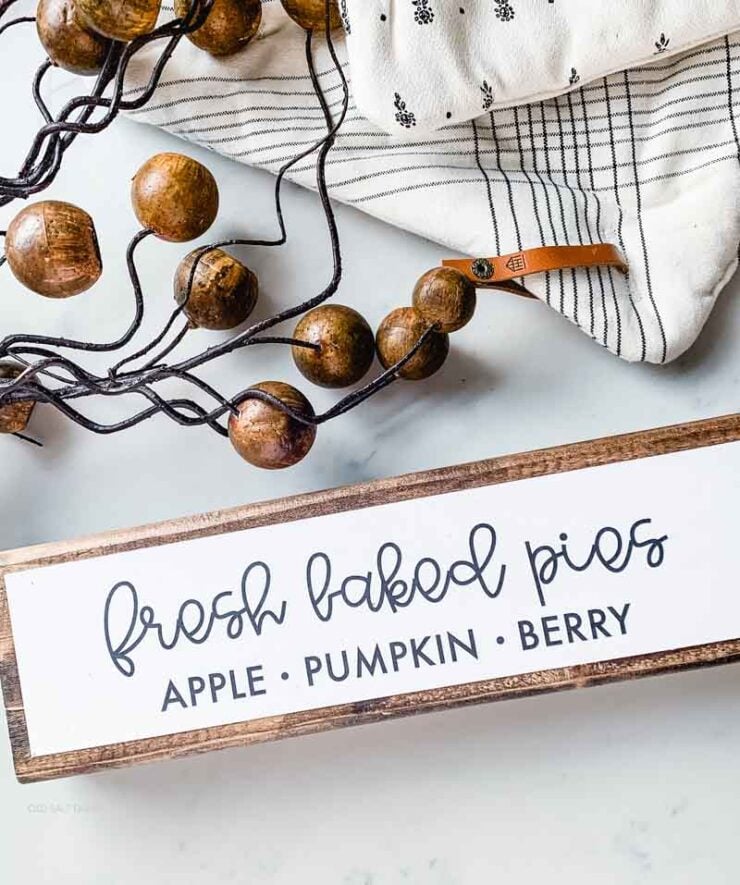
DIY Fall Wood Sign: Fresh Baked Pies
Make this super easy DIY Fall Wood Sign in no time…no paint or stencils needed! Darling “fresh baked pies” farmhouse charm to add to your fall decor.
Wood framed signs have been a trend for quite some time, and I don’t think they’re going anywhere, especially if you love farmhouse style. I adore them, and have made quite a few for my home. Usually it means paint, stencils or vinyl lettering, wood from both the frame and the center.
But guess what? I’ve got the EASIEST way to make a sign in no time flat…plus, you don’t need paint or stencils!

Isn’t it SO cute? And it totally looks like a painted sign with a wood frame around it. But for this frame, all you need is white cardstock, a little Mod Podge, a piece of 2×4 wood, a bit of stain, and about an hour. That’s it!
I created this super cute Fresh Baked Pies text that you can download and use, but you can also create any text you like to make a full customized sign. Think of all the possibilities!

DIY Fall Wood Sign: Fresh Baked Pies
Supplies:
This post contains affiliate links of products I use and love for your convenience. If you click on a link and make a purchase, I’ll receive a small commission at no extra cost to you.
- white cardstock
- mod podge (I like matte finish)
- foam brush
- 2×4 wood, cut to size
- stain (this is the color I used)
Directions:
- Print your text onto a piece of cardstock. If you design your own, then make sure it’s no taller than about 2 inches. A 2×4 is actually 3.5 inches tall, and you want enough border on the wood to make it look like it’s been framed. You also want to make sure you have enough space above and below your text on the cardstock–you don’t want to have to cut the cardstock too close.
- Cut your 2×4 to size. I always cut out the text/design from the cardstock first, then lay it up to the wood and make a pencil mark where to cut. However much border I have on the top and bottom, I leave that same amount on the sides, so it looks even.
- Stain your wood, and let dry completely.
- Use a foam brush and mod podge to adhere the cardstock to the top of your wood. Let dry.
Here’s a video that might help…
SO quick…you can make it in about an hour, including drying time. Perfect for a girls’ craft night too!

More fall ideas you might like…