DIY Built-in Bunk Beds with Stairs
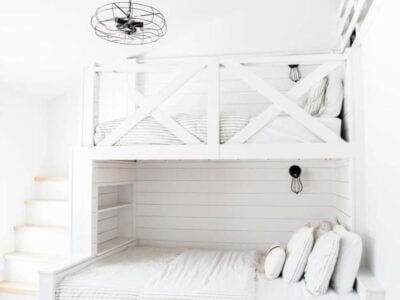
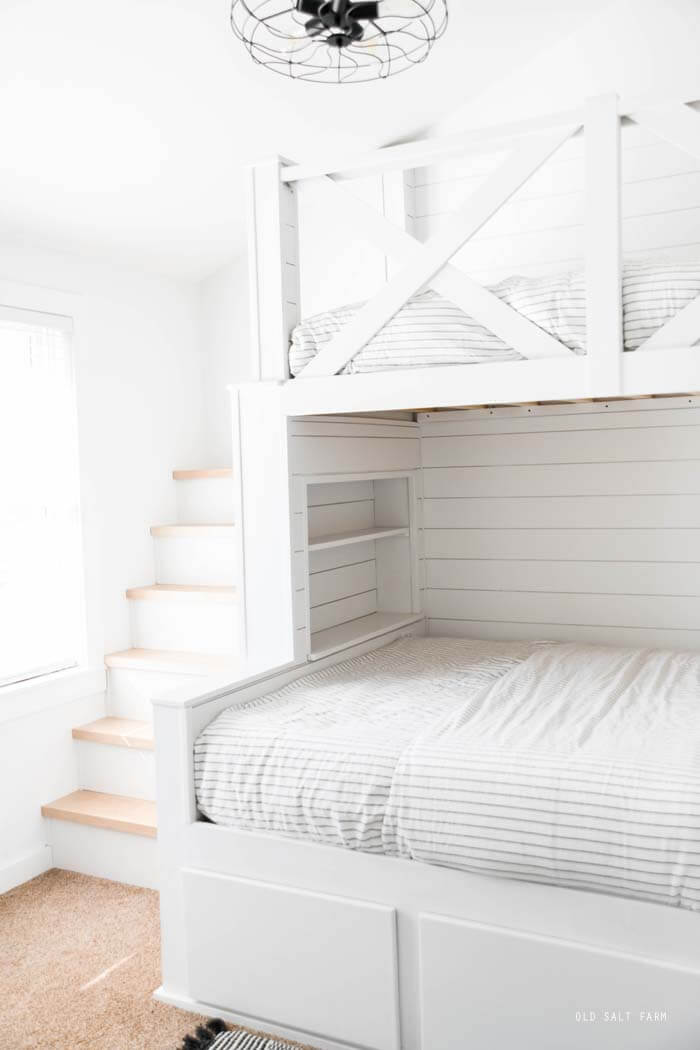
DIY built-in bunk beds with stairs are the perfect addition to our twin boys’ room, featuring plenty of storage, shiplap accents, and dimmable lights for bedtime reading.
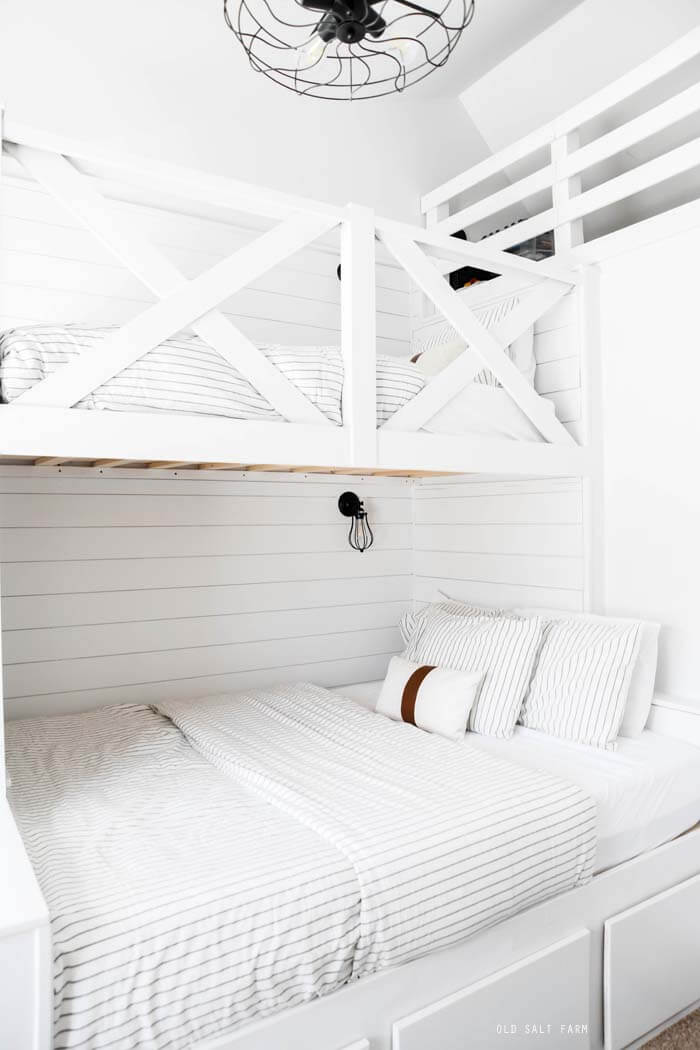
We built DIY bunk beds in our twin boys’ room, to give them so much-needed room and extra space, especially as they got older. With built-in stairs, queen mattress on the bottom and twin XL mattress on the top, these bunk beds are built to last all through their teenage years. They also give a custom look to the space, with extra features for both function and aesthetics. Perfect for all ages, these bunk beds are sturdy and withstand the growing up years!
My twin boys’ have a small bedroom, and up until this point they’d each had a twin bed. We also had bunk beds, but the current beds weren’t going to work for much longer as they got bigger and older. One of my boys is really tall for his age, and he was ready for a queen bed, so I needed to factor that in as well.
We needed to make a change. What I needed, I wasn’t sure I could find, and even if I did, I knew it would cost a lot more than us making it ourselves. I decided to design something that would be exactly what we needed. We aren’t new to DIY projects–in this house we’ve done many, including built floor-to-ceiling bookshelves, a white barn, and kitchen benches. We were ready for the challenge, and I’m excited to show you how we did it.
Table of contents
Design details
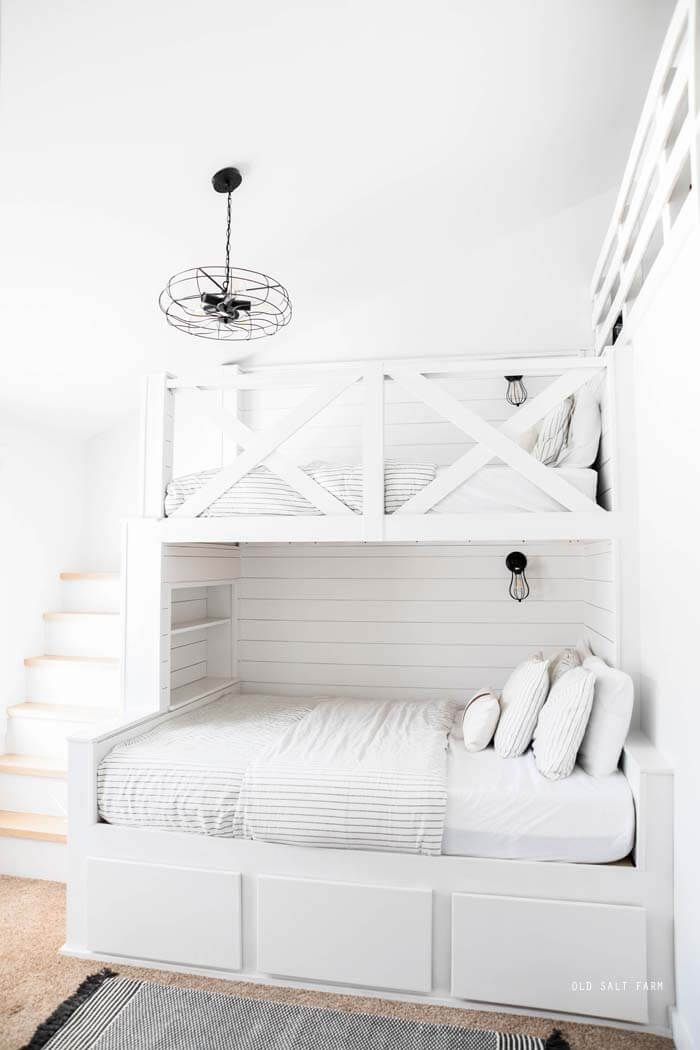
Queen on the bottom, twin XL on the top. Instead of twin bunks, the top bunk is a twin XL, and the bottom bunk is a queen. We chose the twin XL because it has the same measurements in length as a queen mattress. As they both grow, the longer length will definitely be utilized.
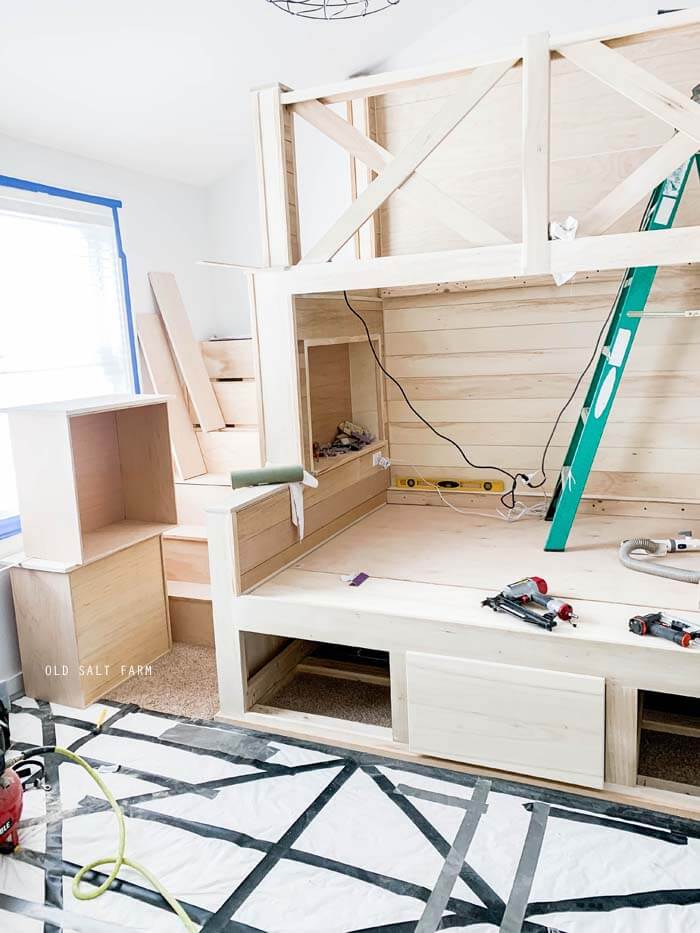
Extra deep drawers that hold all of their clothing were a must. To utilize the space under the bed for storage, we built three large drawers. Each drawer is wide enough to hold 4 of the 13x13x13 fabric storage bins. These hold all of their clothes except those hung in the closet. It gives them a lot of space, and means they don’t need a dresser, making the room more open.
Sturdy and strong building materials. With the intent that they would be grow into these beds, and have them as they were even teens, durability and strength for long-term use was important. We’ve had other twin bunk beds in the past, and even strong ladder rungs are more difficult to navigate as you grow bigger and taller.
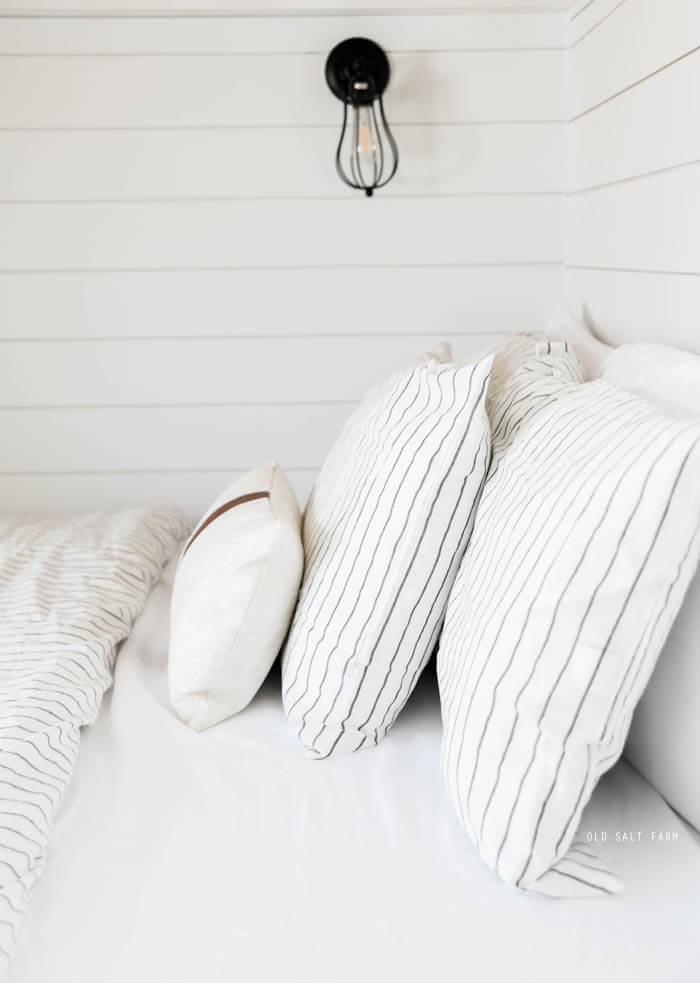
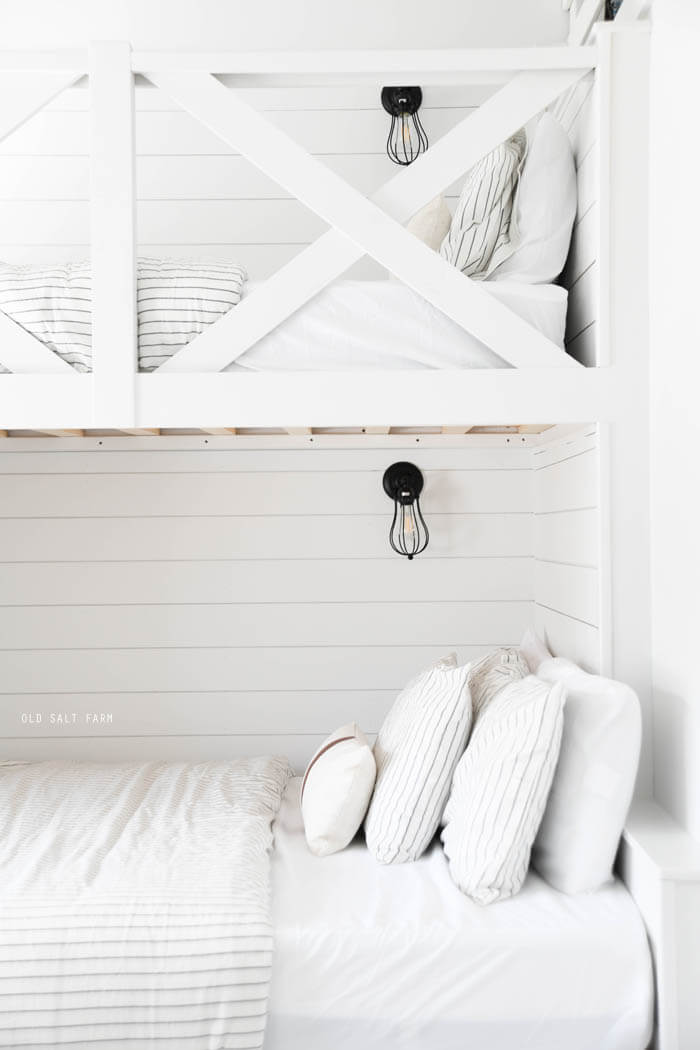
Dimmable lights make it perfect for sharing a room, and bedtime reading. If one needs the light, but the other doesn’t, this is a really great solution.
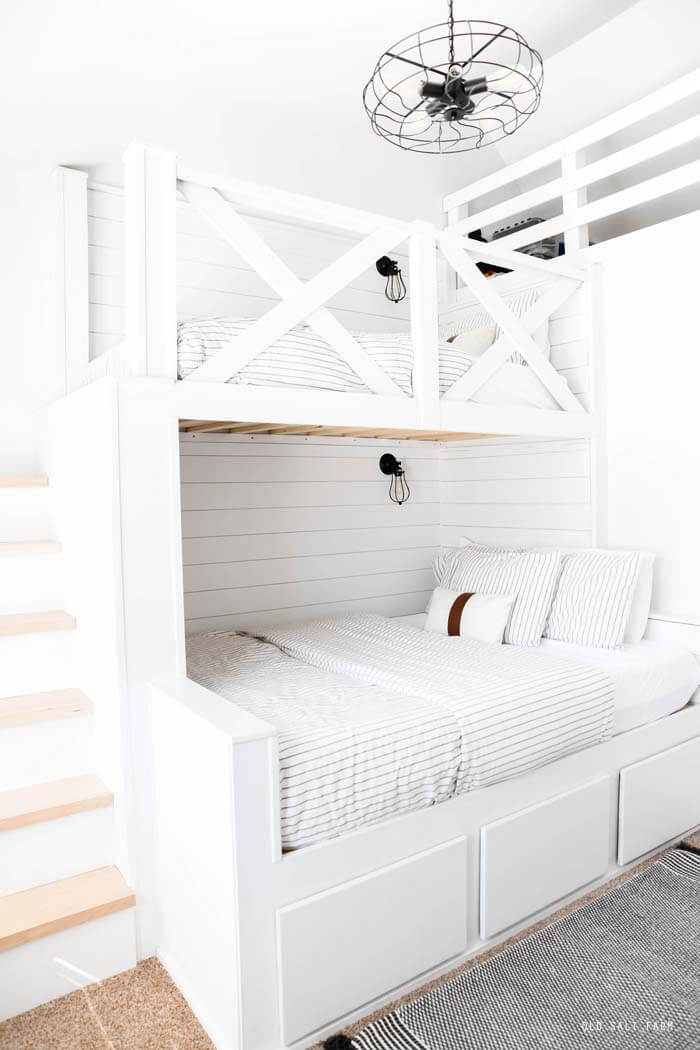
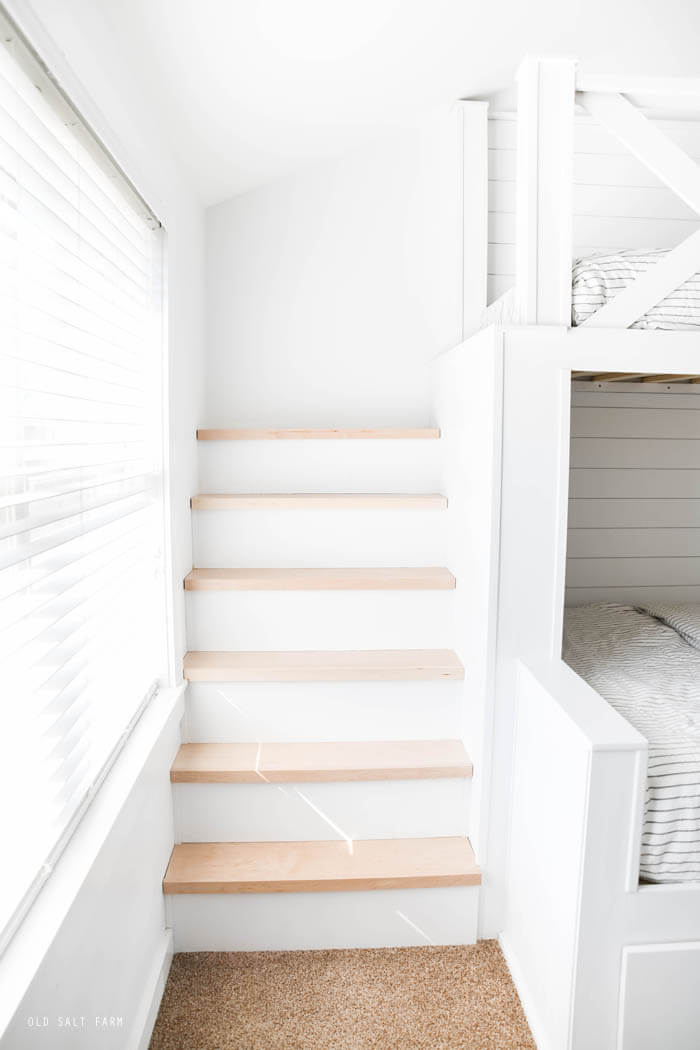
Stairs instead of a ladder. They’re only 11, but they’ll be using these beds into their teenage years, so instead of a ladder, we designed the beds to have a set of stairs on one end.
Built-in shelves were also a part of my vision, so they’d have a place for books, sports stuff, and any other treasures they wanted to display. I also made sure we had more than one outlet in strategic spots (where they couldn’t be seen).
Modern farmhouse style with shiplap, industrial lighting, and painted white wood.
It’s one of my favorite DIY projects to date. It’s a simple bunk bed, but has everything I was looking for.
Affiliate links of products used in this room are below for your convenience. Please see my full disclosure.
How to build
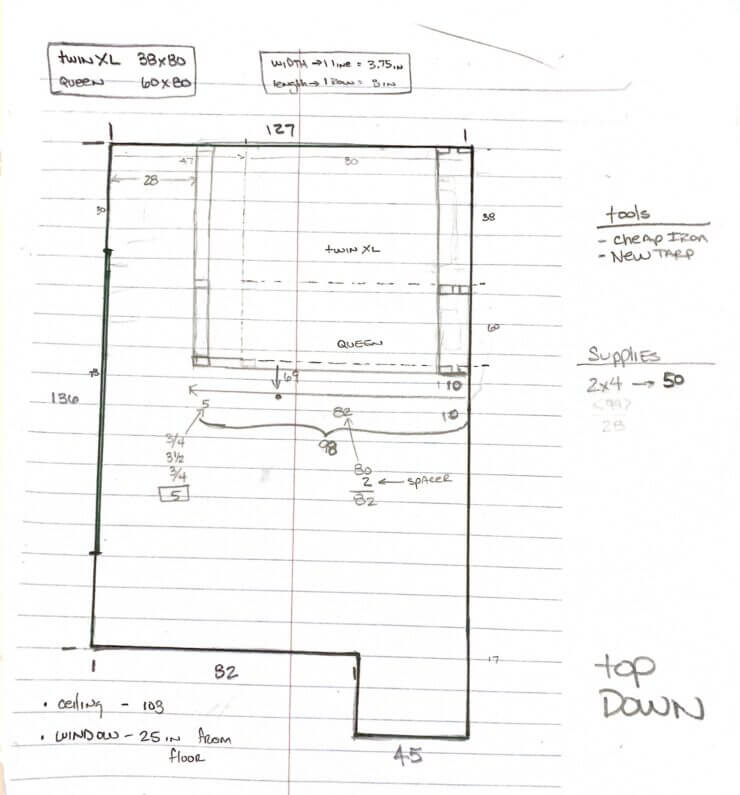
We created our own bunk bed plans, and I’m sharing pictures that will show you the process from the different viewpoints, and the steps we took in making them. I’m also sharing our hand drawn specs and measurements so you can see how everything came together.
Material List
Our shopping and material list included:
- 2×4 pine studs
- 3/4 in. plywood
- MDF for trim
- Electrical wire and supplies
- Dimmer switches
- Framing nails
- Brad nails
- Screws
equipment
Plans


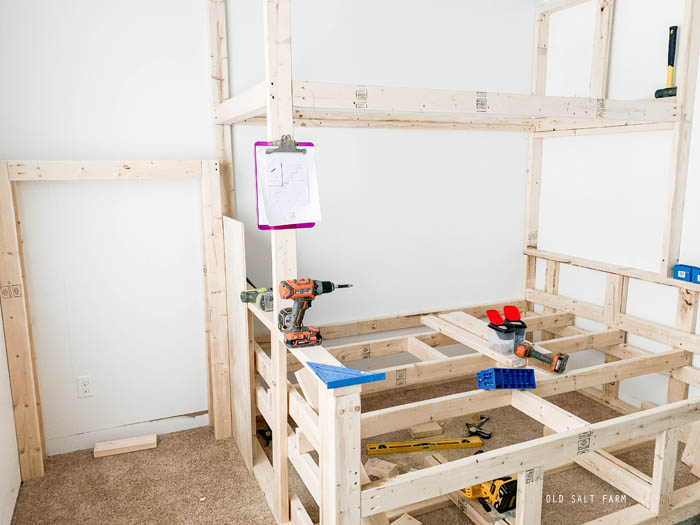
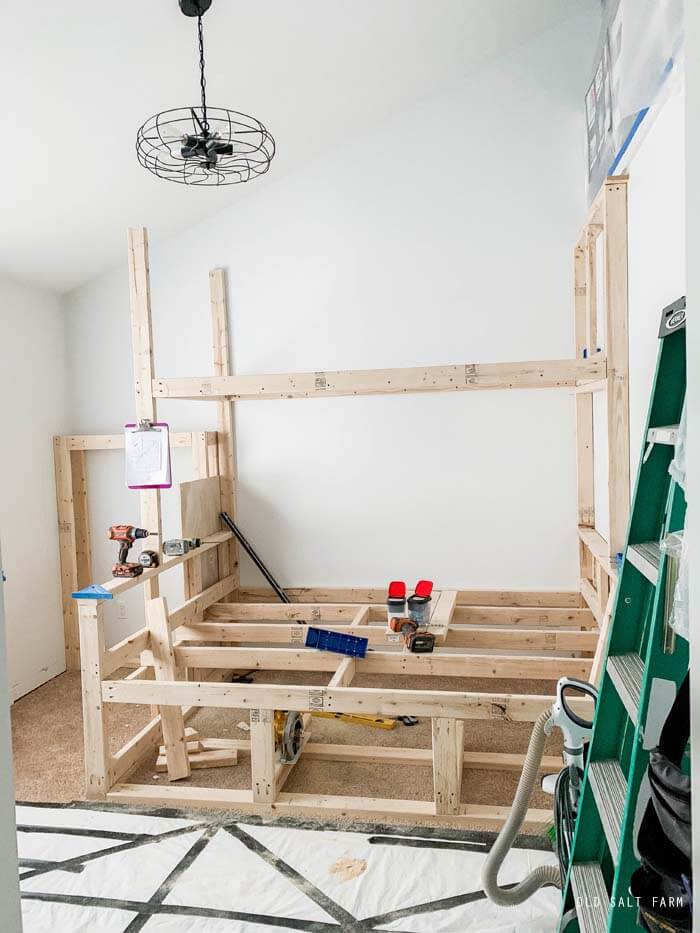
Framing
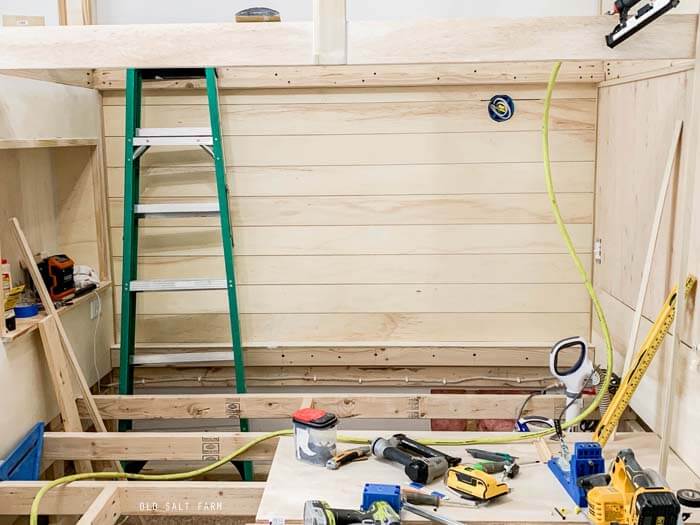
The pictures of the bunk bed frame show the bones of this project, and how it started to come together. We also used 2x4s for bed slats, to give as much strength and durability to the bed as possible. You’d rather have a bed be too strong than not strong enough! A really good stud finder is essential for this project, to make sure that your lumber is in the right place.

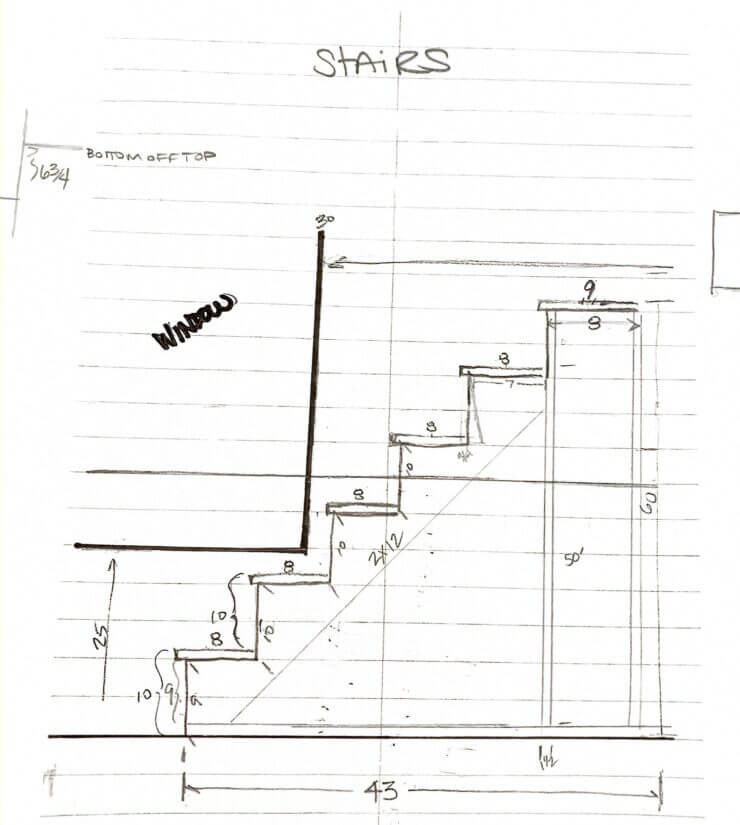
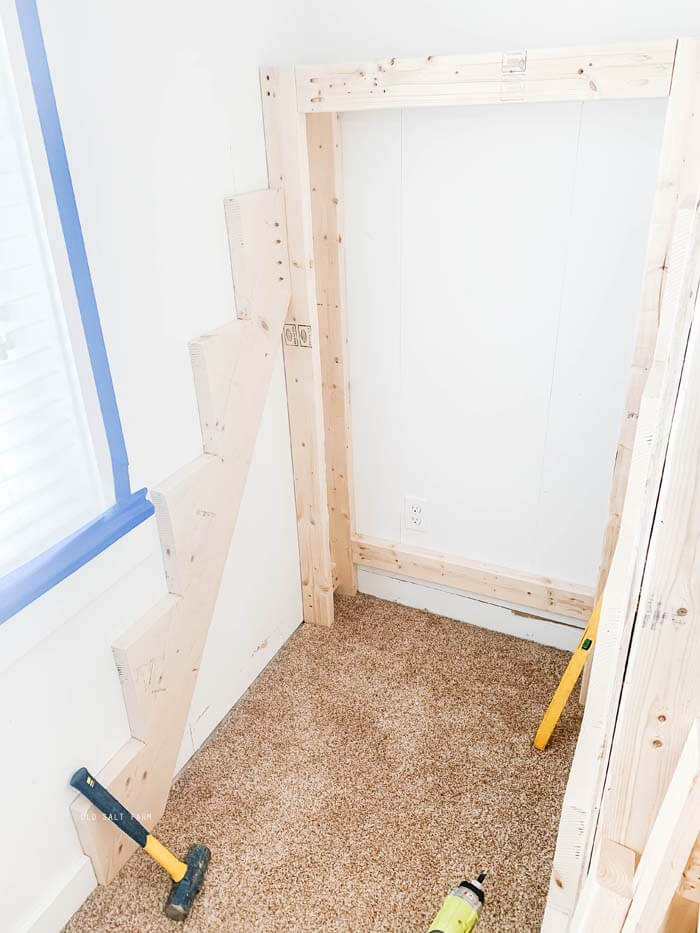
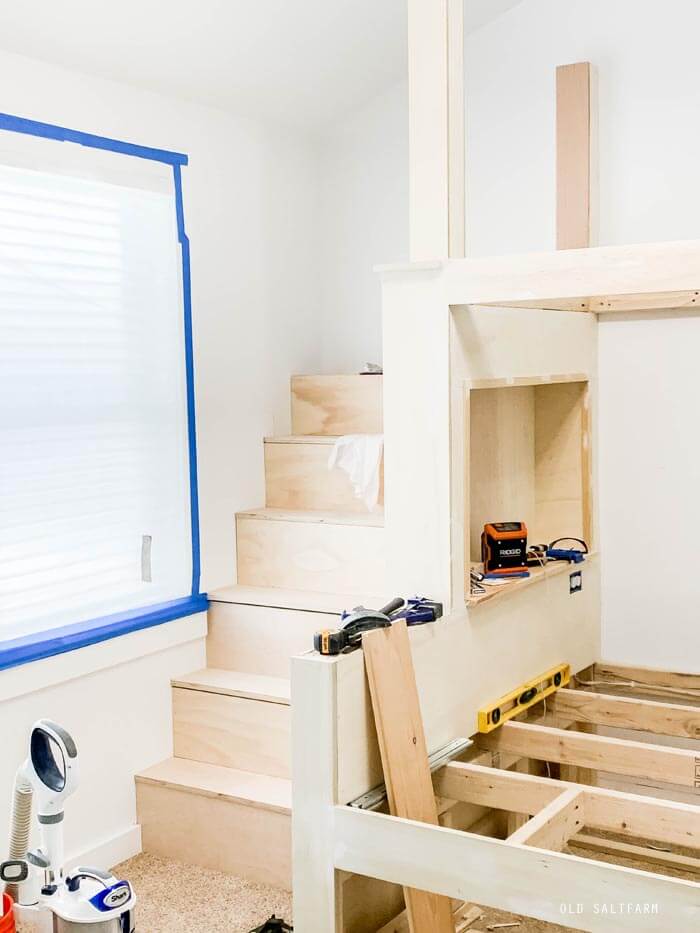
Building stairs
This was literally the only place the stairs would work, and we had to work with the measurements so the lower steps would fit under or at the windowsill level. We did not use stair tread, but cut out own instead.
Shiplap
We ripped plywood into 5-inch wide planks. I originally tried wider, which is what I usually prefer, but it just didn’t look right on this project. This size works well! Shiplap is really great for covering up any seams in plywood. (Although we try and use whole pieces as much as possible for any large sections).
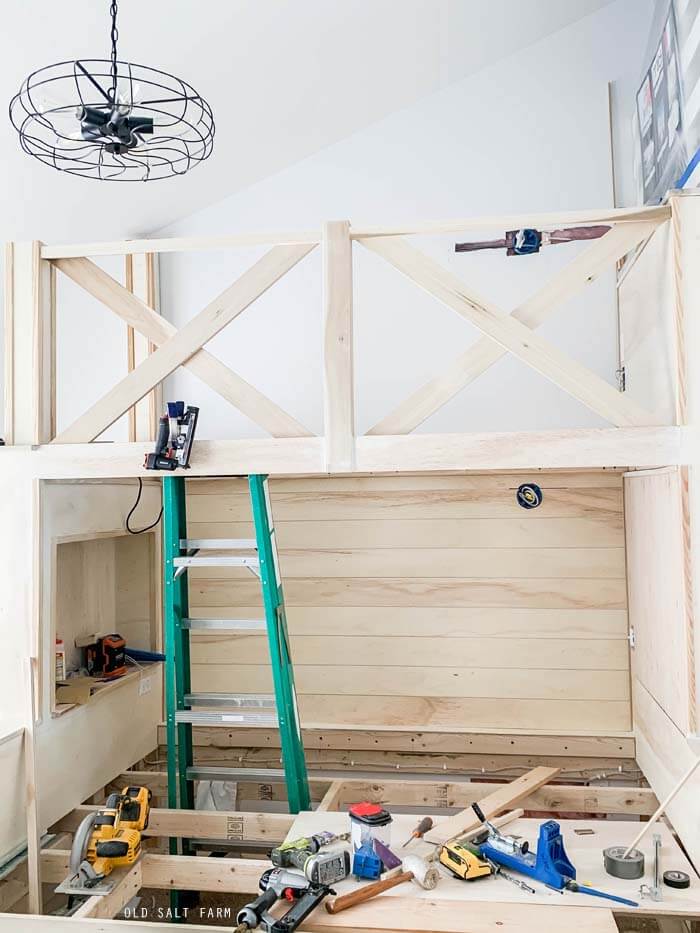
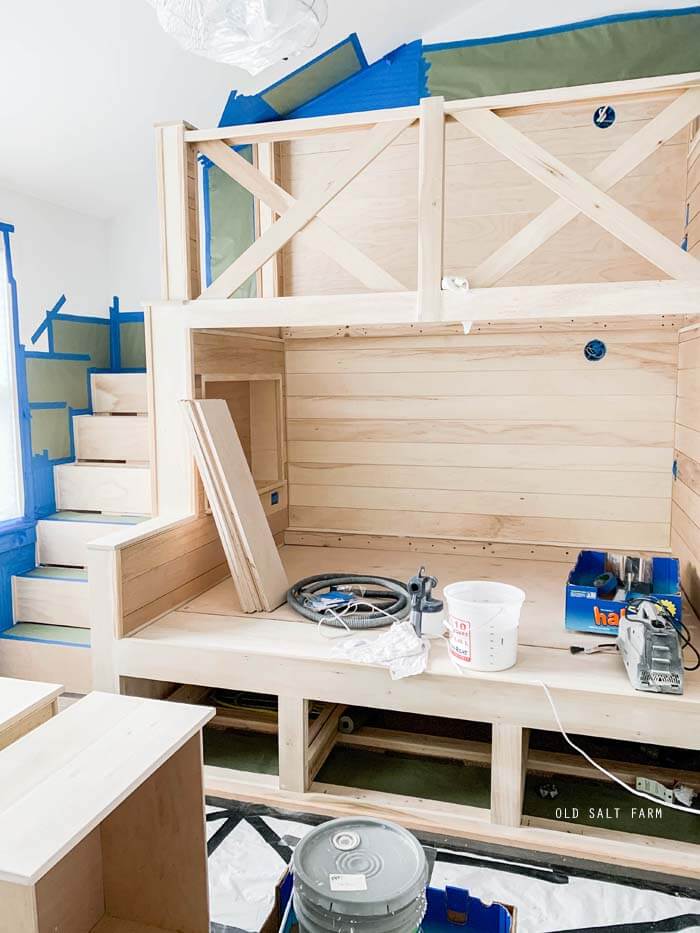
“X’ railing on top bunk
I’d seen a lot of different options for bunk bed railing, but I thought the “x” fit this design the best. It was also easy to do, and less expensive than other options.
Prep and Paint
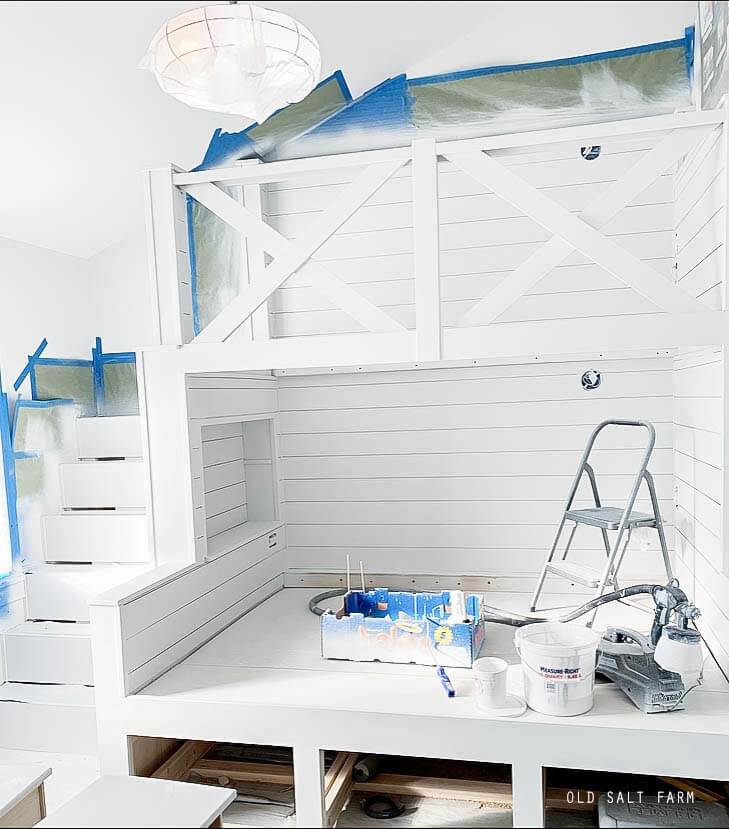
Lots of sanding to prepare for painting was next, along with filling in nail holes with wood putty. We taped off the lights and walls around the bunk beds. A paint sprayer is really a must for this kind of a large project, and will save HOURS of time. It’s worth the investment, even if for a one-time use. Some hardware stores (Home Depot is a possibility) rent them out, so it’s worth looking into that option as well, if you don’t want to purchase.
Between coats, we sanded with a fine grit sandpaper to get it nice and smooth. This was an extra step, but so worth the lovely finish. After the paint was dry, we applied a clear protective coat. You can always choose to stain your beds instead of paint them, but you would still want to do a lot of sanding and prepping before doing so.
More design options
This design is even more customizable. Other options include building a loft bunk, with the space underneath as a desk and reading area, with bookshelves all the way around. Or flip it around, and have the bed on the bottom, with stairs going up to a reading or study space. Kids love them–they’d be perfect in a cottage or cabin too.
Bedding and decor
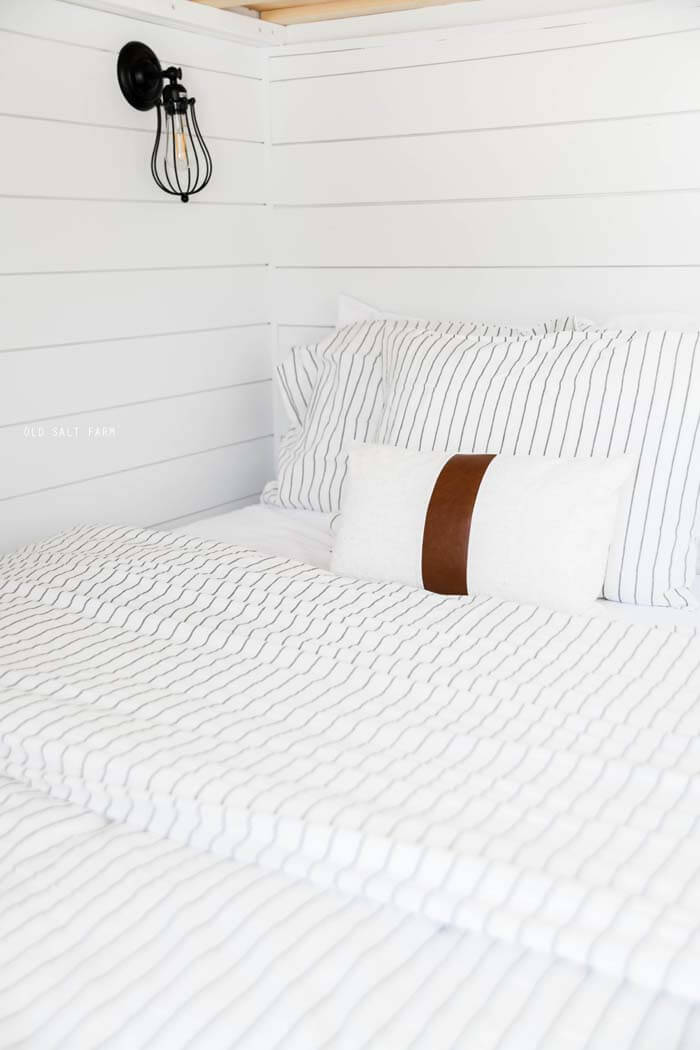
I went with simple comforters with a striped duvet cover in grey and a creamy white. They go work really well in the space, and the the style will grow with them. A leather striped pillow brought the look together. My kids have had both quilts on duvet covers on their beds, and all of them prefer a duvet because of the coziness. They’re more of a pain to wash, but using them also cuts down on the amount of blankets they pile on!
I often get questions about bedding on bunk beds, so here’s the scoop…
I’ve used Beddy’s on our bunk beds for a long time, and that’s what the boys were using on their separate beds before these were finished. I really love them, and still highly recommend them. However, my boys (and other kids) just don’t use them in the way they’re designed. They were consistently sleeping on top of the bedding, and just using a comforter to cover up with. Even if they unzipped the bedding and used the top blanket, it wasn’t heavy enough to keep them warm, so they’d use a comforter anyway.
You still have to put Beddy’s on the corners of the mattress just like a fitted sheet, which have to be removed in order to wash the sheets, so it wasn’t going to save me in that respect either. So I just decided to use a bottom sheet, and cozy comforter on top. All they have to do is smooth out their comforter and fold it down in the mornings, which is pretty easy to do. And it saved me a lot of money too!
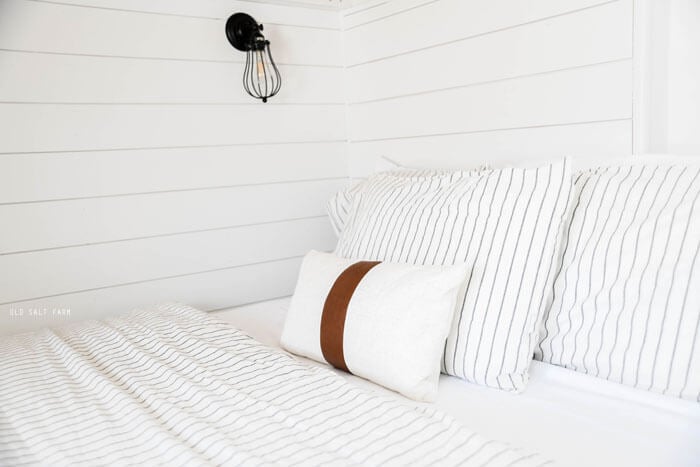
I spent less than $100 on each bed for the comforter, duvet comforter, and sheets for each bed. The lights were an awesome deal–just $25 for both. Cute farmhouse leather striped pillow was less than $20. I was able to decorate this space on a budget, which is always a huge plus! (Details at the end of the post.)
I’d still like to add some curtains to the space, or maybe replace the blinds for roman shades. I’m also looking for something to go on the wall next to the front of the bed. But a cute rug ties in the modern farmhouse theme, and the boys love the whole space. It’s a win!
FAQ
Yes, and yes!!
Approximately 40 hours.
Advanced level.
Source List
- Paint color: Decorator’s White by Benjamin Moore
- Duvet cover & pillowcases set
- Down comforter
- Leather stripe farmhouse pillow cover
- Pillow insert (pack of 2)
- Light fixtures
- Stripe Area Rug
More DIY projects

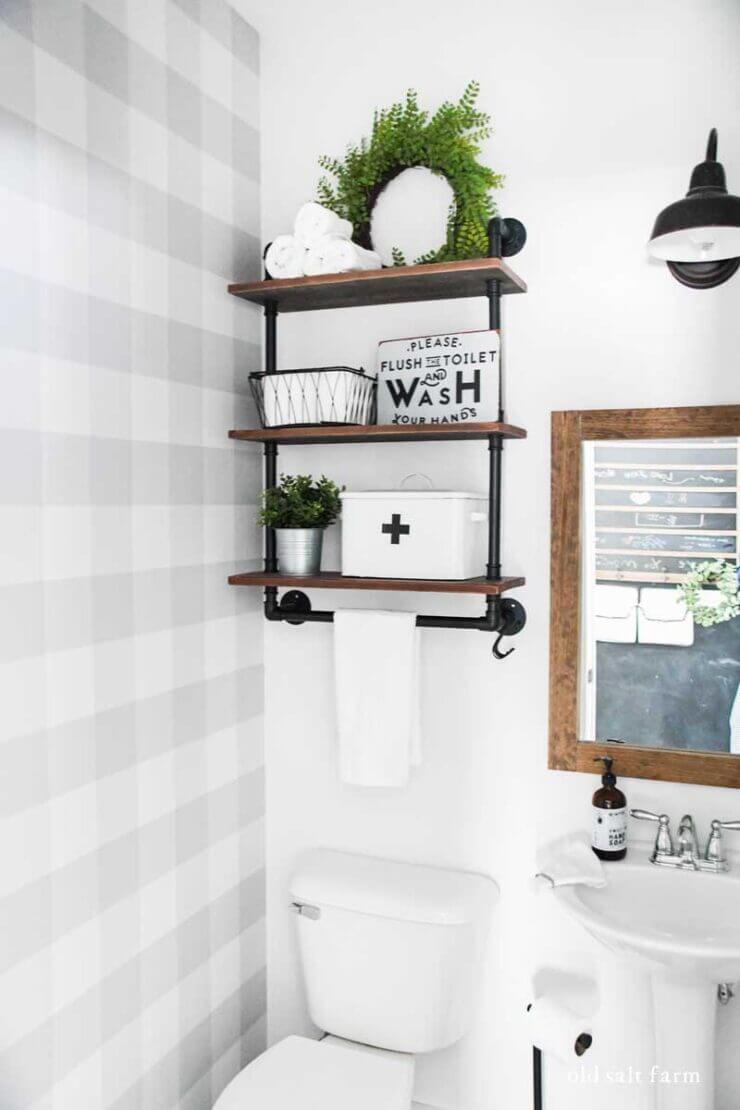

DIY Wood Swingset / Buffalo Check Wallpaper Guest Bath Makeover / Barn Wood Kitchen Island
Now that you’ve made it this far, we are pretty much best friends! 🖤 If you make this project, or have a question, I’d love you to leave me a comment below. Make sure you follow me on Instagram, Pinterest, and Facebook!
This has been one of our favorite projects. My boys love their beds, and I’m so happy with how they look in the space.