Homemade Chocolate Bars
Homemade Chocolate Bars are so easy to make, and such a festive and fun gift to give for the holidays. Customize them with your favorite chocolate and add-ins for the perfect holiday treat.
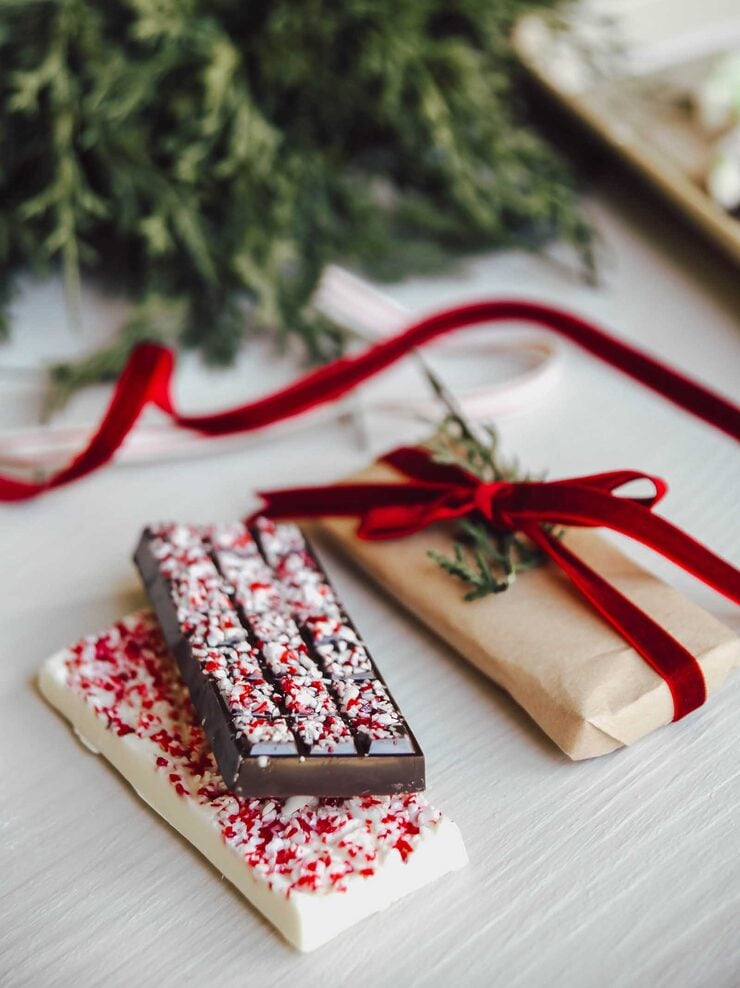
When I was making my list for Christmas baking and treats this year, I had my favorites at the top. Reindeer Pretzels, Homemade Hot Fudge, Peppermint Chocolate Cookies and Snowball Cookies are a few of my tried-and-true Christmas recipes that are a must. I also included a few recipes that I really wanted to try, including these Homemade Chocolate Bars. I stumbled across some molds a few weeks ago, and just knew they’d be perfect for holiday giving.
I’m so excited about how they turned out — and about how simple and easy they ended up being to make. Wrap them up in some cute packaging, and you’ve got darling holiday gifts. Give them on their own, add to a treat plate, or even tie on to a gift bag or box.
Table of contents
Affiliate links are included below for your convenience. Please see my full disclosure.
Ingredients
- Melting chocolate
- Melting white chocolate
- Chocolate bar molds
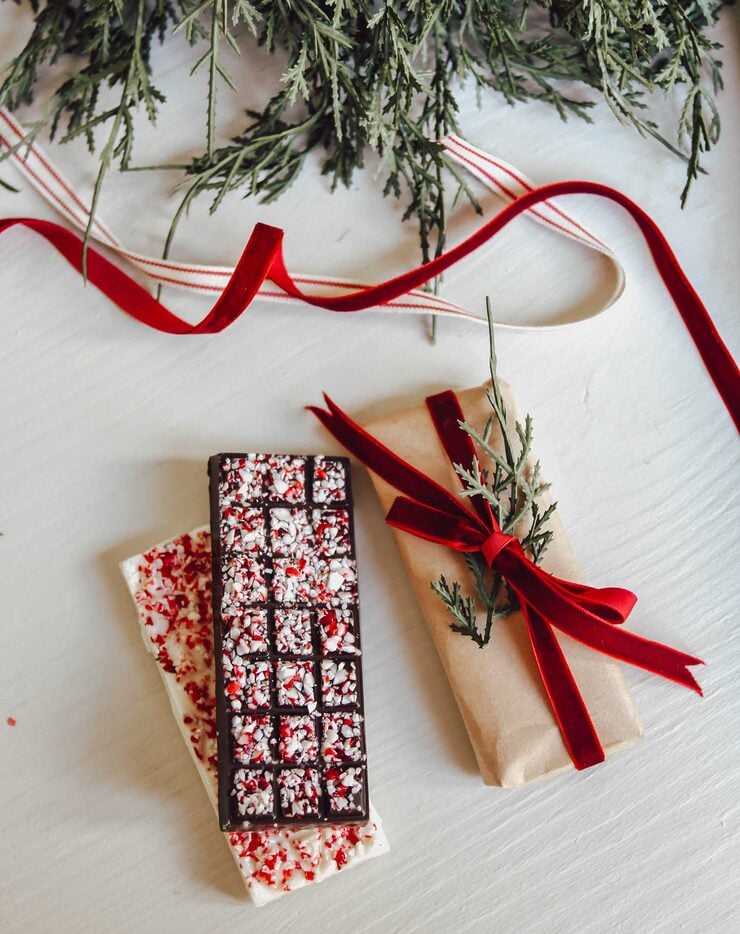
- Crushed peppermint, Christmas sprinkles, chopped nuts, other desired add-ins
In many instances, you can use chocolate chips for dipping instead of melting chocolate, but I don’t suggest using them for chocolate bars.
How to make
Please find the full recipe card at the end of the post with the full details, and option to print.
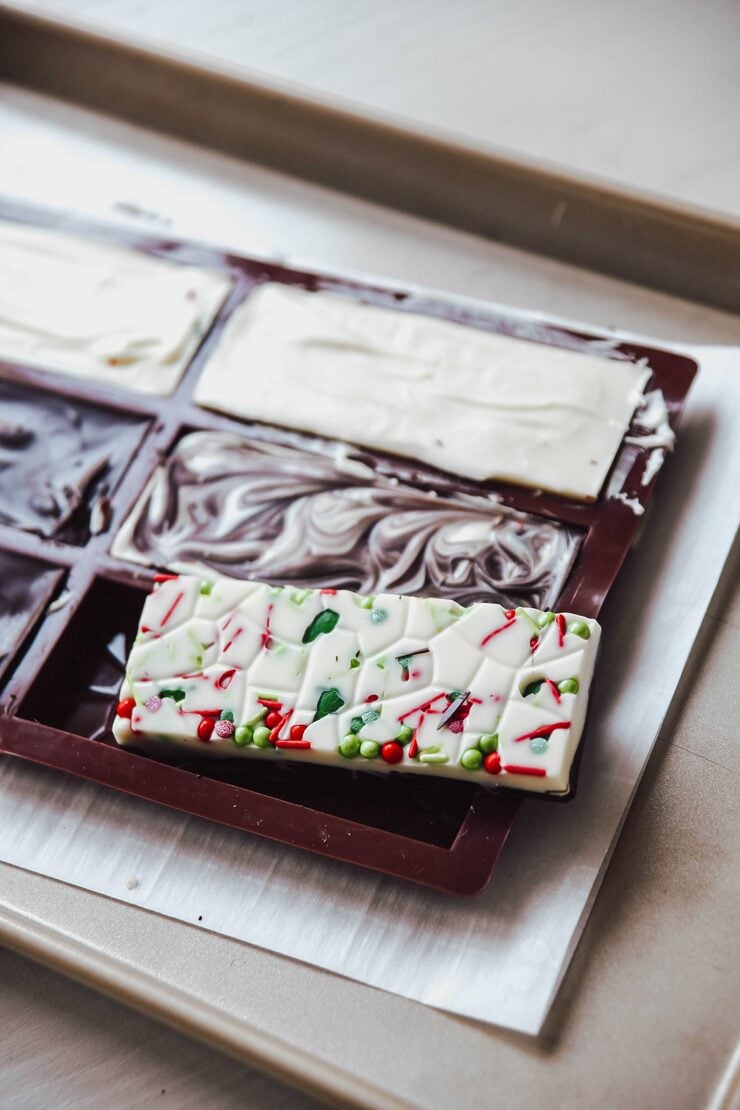
Set out clean and dry chocolate molds on to a cookie sheet that’s been lined with parchment paper.
In a double boiler or microwave, melt the chocolates according to the packaged directions. I like using a makeshift double boiler–a glass bowl over a pot that’s big enough for it to rest on top of and leave room for the water below.
For the add-ins to be on top of the chocolate bar, sprinkle them evenly in the bottom of the molds first (this will be the top after removal). Use a spoon to fill the mold with your desired chocolate. Be careful not to overfill. Use a table knife or scraper to smooth the chocolate. If you want chopped nut, fruit, or candy in the bar itself, you’ll need to mix them together first in small bowl before adding to the mold.
My mold has six separate cavities, and I did something different in each one. I alternated the chocolates, did a chocolate swirl (chocolate and white), and changed up the sprinkles and peppermint.
Once you’ve filled all of your molds, place the cookie sheet in the fridge for 15 minutes for the chocolate to harden. The chocolate bars will slip out easily of the molds, and you’re ready to package.
Packaging
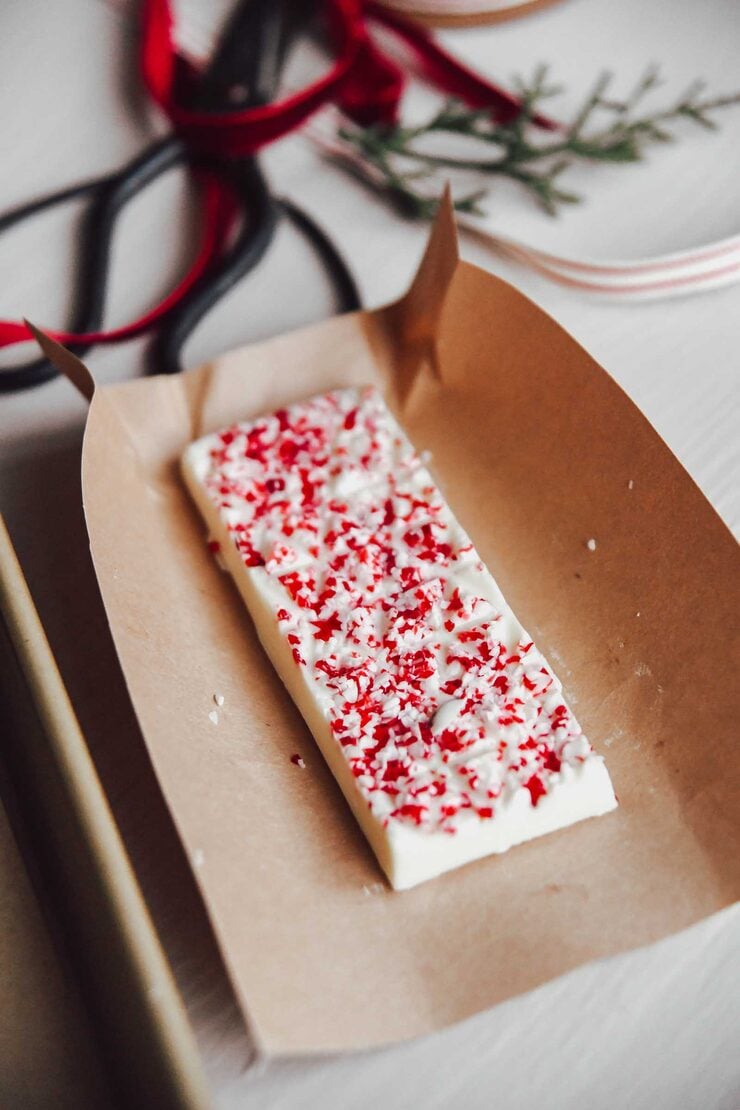
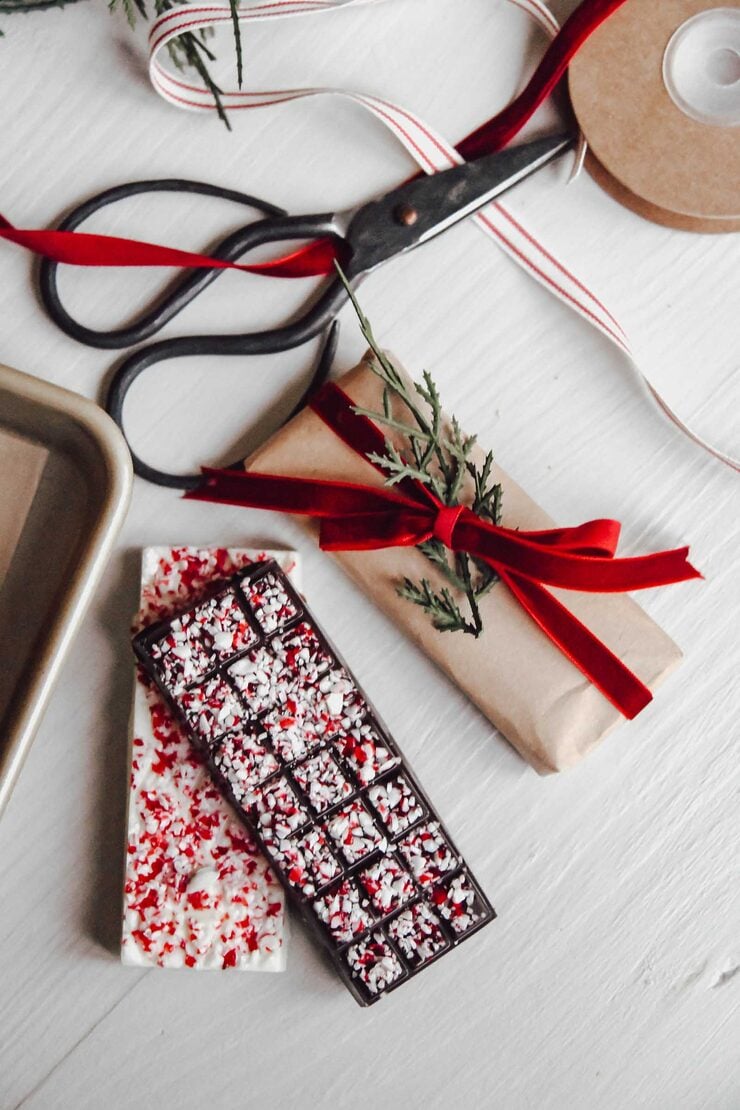
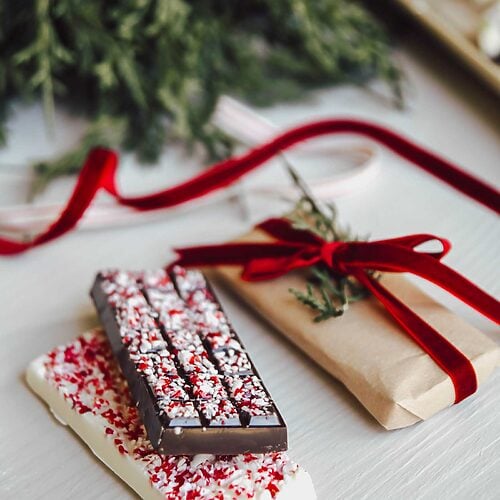
There are a variety of ways you can package your chocolate bars. I love using simple brown kraft paper and velvet ribbon, with a sprig of pine or other greenery. You can also use clear treat bags, or fill a bakery box if you need to wrap a bunch.
Storage & Freezing
Store the chocolate bars in an airtight container at room temperature. Low humidity (below 55%) and between 60° and 70° is optimal. Avoid the refrigerator if possible, as it can cause the bars to discolor. They will last up to 12 months if properly stored.


Thanks so much for stopping by! Join me on Instagram for even more ideas and inspiration…I’d love to see you there. 🖤

Homemade Chocolate Bars
Equipment
Ingredients
- Melting chocolate milk, semi or both
- White melting chocolate
- Crushed peppermint
- Christmas sprinkles
- Any desired add-ins such as chopped nuts, dried fruit, etc.
Instructions
- Set out clean and dry chocolate molds on to a cookie sheet that’s been lined with parchment paper.
- In a double boiler or microwave, melt the chocolates according to the packaged directions. I like using a makeshift double boiler–a glass bowl over a pot that’s big enough for it to rest on top of and leave room for the water below.
- For the add-ins to be on top of the chocolate bar, sprinkle them evenly in the bottom of the molds first (this will be the top after removal). Use a spoon to fill the mold with your desired chocolate. Be careful not to overfill. Use a table knife or scraper to smooth the chocolate. If you want chopped nut, fruit, or candy in the bar itself, you’ll need to mix them together first in small bowl before adding to the mold.
- My mold has six separate cavities, and I did something different in each one. I alternated the chocolates, did a chocolate swirl (chocolate and white), and changed up the sprinkles and peppermint.
- Once you’ve filled all of your molds, place the cookie sheet in the fridge for 15 minutes for the chocolate to harden. The chocolate bars will slip out easily of the molds, and you’re ready to package.