How to Tie a Fancy Bow the Easy Way
If you’ve ever tried and failed to make a bow for holiday decor, wreaths, or a gift, give this a try. You only need a pair of scissors and some ribbon. Learn how to tie a fancy bow the EASY way! In just a few minutes, you can have a beautiful bow that’s perfect for decorating, adding to wreaths, or wrapping packages.
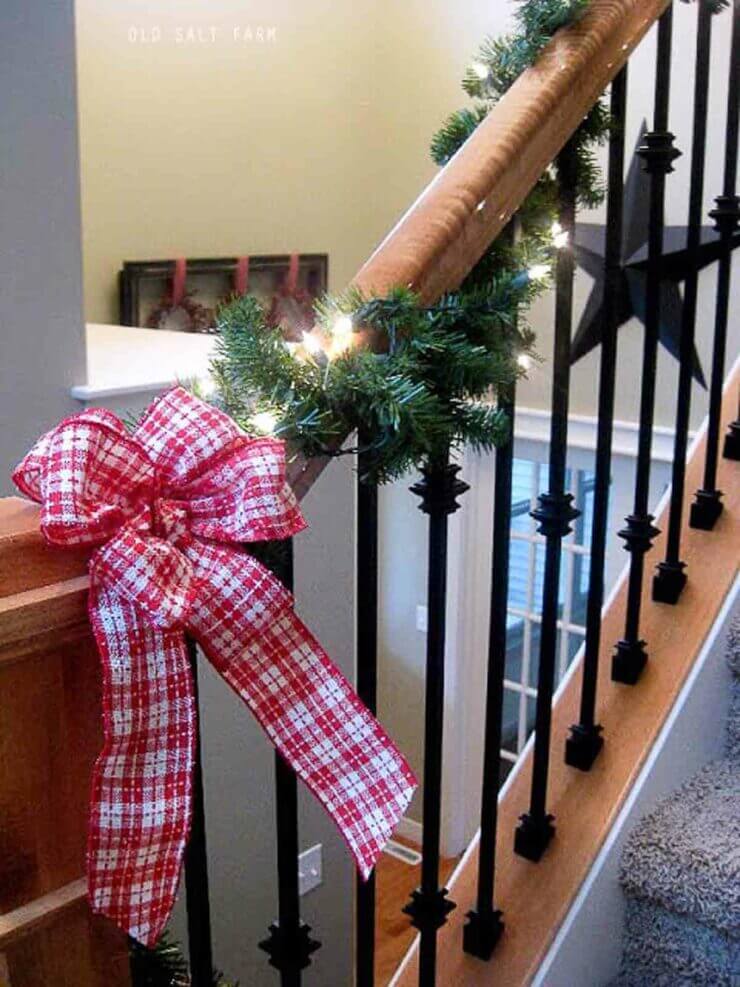
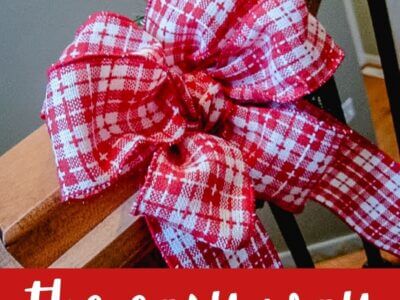
Sometimes you just need a cute bow to give something that extra something special. I have always loved the big fancy bows, but have never been able to master the art of lots of loops and floral wire. I just had to come up with another way to do it. Finally one day around the holidays I sat down and figured it out–and came up with a super easy way to make a fancy bow. I was so excited to be able to hang them on my staircase, along the banister, on holiday wreaths and garland, hanging wreaths on exterior windows, or for the finishing touches on a gift. It’s so simple, and you only need two items!
I’m going to show you how to tie the perfect bow…the easy way. It’s a cinch! No floral wire, just some ribbon and a pair of scissors. You can make them as small or as large as you like, and it takes just a few minutes to make one. It takes a little bit of practice, but you’ll be tying them in no time, and impressing everyone with your bow-making skills. You’ll be utilizing skills you already have. If you can tie your shoes, you can make a pretty bow for so many other things! No need to worry about how to fold the ribbon perfectly, or follow a long list of step instructions. This is a very straightforward DIY ribbon bow, and they’ll be perfect for formal occasions, holidays, gift-giving, or home decor.
Table of contents
Affiliate links are included for your convenience. Please see my full disclosure.
Supplies
You only need a few things…
- Wired ribbon or regular ribbon
- Scissors
- Floral wire
The width of the ribbon will help determine how large or small your bow is. If you’re doing a larger bow, I’d use a wider ribbon. A smaller bow could be done with a more narrow ribbon. Wired ribbon helps keep the shape of the bow, which makes it easier to create.
That said, you can use unwired ribbon, but the end product will look different. Neither one is right or wrong, just a personal preference. I find my ribbon at Michaels, JoAnn Fabrics, Hobby Lobby, and Amazon. It doesn’t have to be floral ribbon—but wired ribbon will work best.
I actually do it both ways. Since I love more rustic, farmhouse style, a looser bow sometimes works a bit better with the aesthetic I’m going for. I also like the looser bows for gift wrapping. If I’m also going for a more formal and “fancy” look, I’ll use the wired.
TIP: Use grosgrain, gingham, or a farmhouse stripe on gifts and for decor. Silk or velvet give it a fancier look!
You will need at least a 4 foot length of ribbon for a medium-sized bow, and you can go up from there, depending on how big want to make. Instead of cutting a long piece of ribbon, and risking either excess ribbon or not enough, I like to keep it on the spool as a I tie it, then I can trim the end of the ribbon once I’m finished. If you have extra ribbon and making these, then it’s a good idea to know how much you have, and how large the bow will be.
How to make
Start with a “regular” bow
In the video, I refer to the first step as making a “regular bow”. There have been some questions about that, and I wanted to leave an explanation just in case. What I mean by that is a bow just like you’d tie your shoes–-very basic. If you have any other questions, let me know!
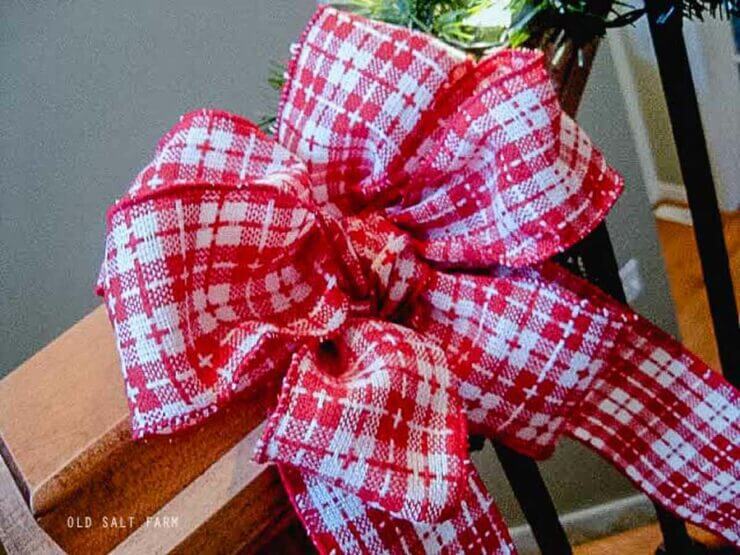
Once you have the bow tied, fluff the ribbon–loops of the bow– to its fullest (if you are using wired), so that it gives the best effect.
Repeat the bow
You’ll want to watch the video to understand exactly what this looks like, but essentially you are just creating that regular bow over and over again, stacking them on top of each other, which creates all the different loops. The second loop comes from the ends of the first bow, and goes in a different direction than the first loop. The rest of the bow continues in this pattern, repeating that step until you have a complete and full bow.
I love using fresh-cut wreaths on my front door for the holiday and decorating my staircase, banister, and mantel. These bows are the perfect touch!
Attach your bow
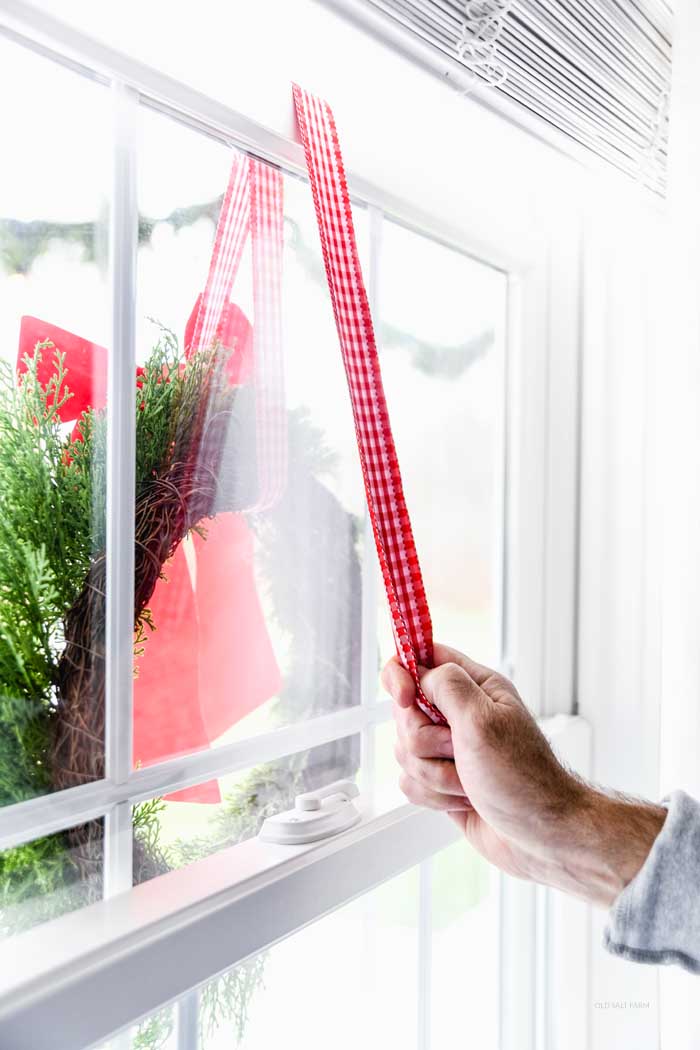
I use floral wire to attach the bow where I want it to go. Just make sure to twist the ends of the wire so it will remain secure. To add to a gift or package, I thread another piece of ribbon through the back knot. I use that ribbon to tie it on the gift, and the bow rests on the top of the gift.
It does take a bit of practice just to get used to the process, but after much trial and error, this was ultimately the easiest and simplest way to tie a decorative bow. Because it doesn’t use floral wire or glue, if you need to undo it to start again, or just to practice, it’s super easy to do and redo.
Video
Because it’s hard to tie a bow at the same time, I made a video! (As a side note, I made this video in 2011! It was very unplanned, and totally spontaneous, hence the pajamas and little kiddos running around. But hopefully the visual will be better than written out instructions–which can be tricky to understand– and help you make a super cute “fancy bow” in no time!)
FAQ
I’m just referring to the bow you’d make when you tie your shoes!
You’ll need about 4 feet of ribbon to make a medium-sized bow, more or less depending on the size you want to make it.
No, in this version you only need scissors and ribbon. The way you tie the bow will secure itself, with no need for wire. You only need it to tie the bow on to a wreath for display.
More Christmas ideas
- The EASY Way to Hang Christmas Wreaths on Exterior Windows
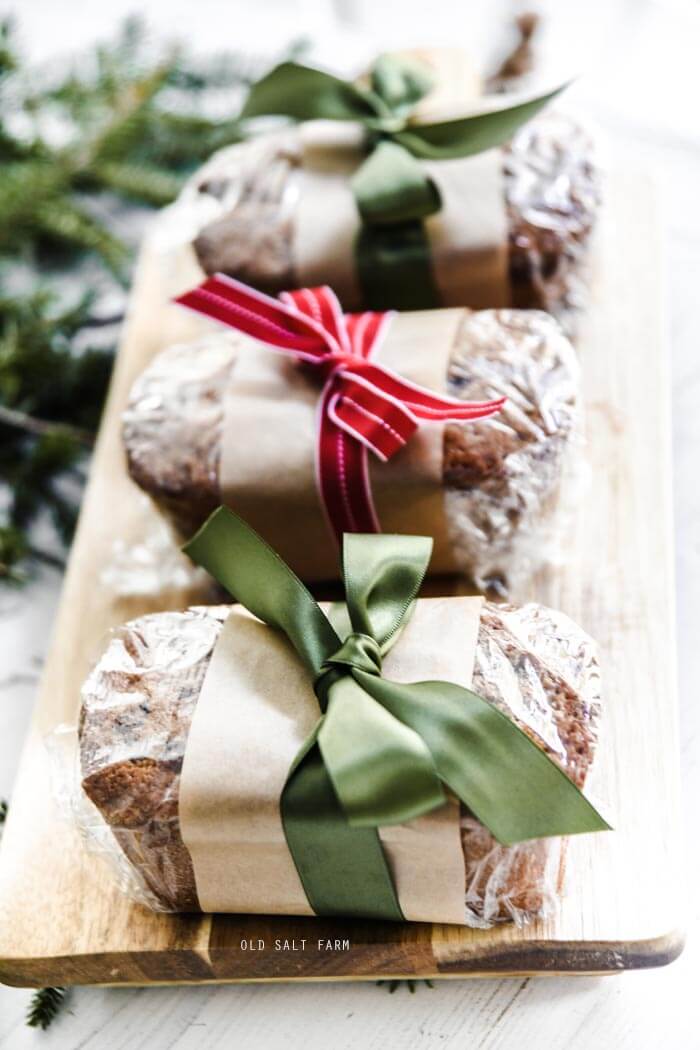
- How to Wrap Baked Goods for Christmas
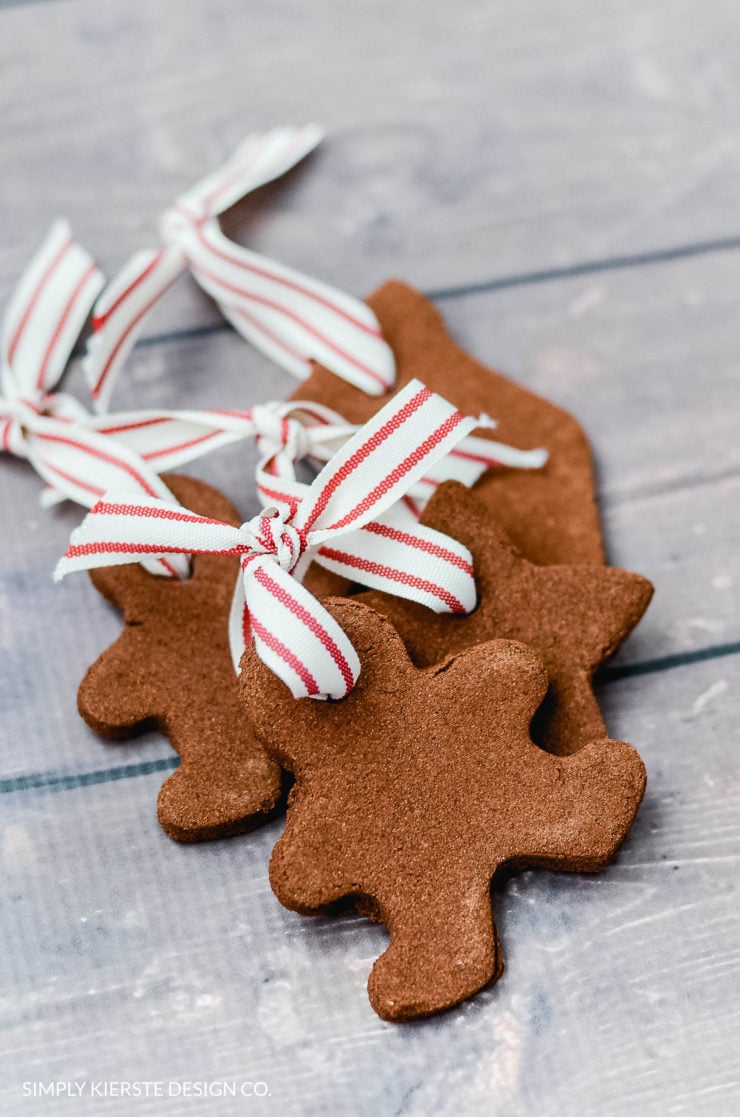
- Homemade Cinnamon Ornaments
Now that you’ve made it this far, we are pretty much best friends! 🖤 If you make this project, or have a question, I’d love you to leave me a comment below. Make sure you follow me on Instagram, Pinterest, and Facebook!
Now that you’ve learned how to tie a fancy bow, you’re ready to start wrapping packages and hanging wreaths!

How to Make a Fancy Bow
Print Recipe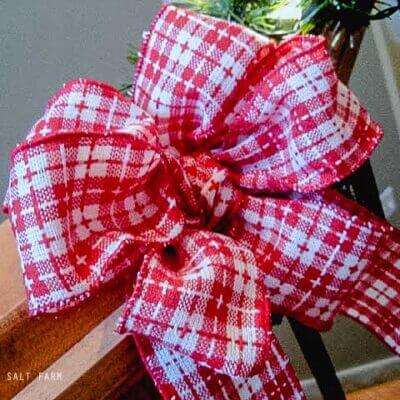
Ingredients
- Wired ribbon (4 foot per medium bow)
- OR regular ribbon
- Scissors
- Floral Wire
Instructions
Start with a “regular” bow
- In the video, I refer to the first step as making a “regular bow”. There have been some questions about that, and I wanted to leave an explanation just in case. What I mean by that is just a bow just like you’d tie your shoes–-very basic. If you have any other questions, let me know!
- Once you have the bow tied, fluff the ribbon–loops of the bow– to its fullest (if you are using wired), so that it gives the best effect.
Repeat the bow
- You’ll want to watch the video to understand exactly what this looks like, but essentially you are just creating that regular bow over and over again, stacking them on top of each other, which creates all the different loops. The second loop comes from the ends of the first bow, and goes in a different direction than the first loop. The rest of the bow continues in this pattern, repeating that step until you have a complete and full bow.
- I love using fresh-cut wreaths on my front door for the holiday and decorating my staircase, banister, and mantel. These bows are the perfect touch!
Attach your bow
- I use floral wire to attach the bow where I want it to go. Just make sure to twist the ends of the wire so it will remain secure. To add to a gift or package, I thread another piece of ribbon through the back knot. I use that ribbon to tie it on the gift, and the bow rests on the top of the gift.
- It does take a bit of practice just to get used to the process, but after much trial and error, this was ultimately the easiest and simplest way to tie a decorative bow. Because it doesn’t use floral wire or glue, if you need to undo it to start again, or just to practice, it’s super easy to do and redo.
First published in December 2011.