Easy DIY Blanket Ladder
Make this farmhouse style DIY Wooden Blanket Ladder for about $15…and in less than an hour! Wooden blanket ladders are full of farmhouse charm, but they can be utilized in other decorating styles as well, making them really versatile. Use them as decor or to store blankets–they’re adorable and functional. For about $15, this super cute ladder works in just about any space–family room, playroom, bedroom, and even the office. With a farmhouse aesthetic, plus adding functional blanket storage, it’s a fun weekend project you’ll love.
Affiliate links included below for your convenience. Please see my full disclosure.
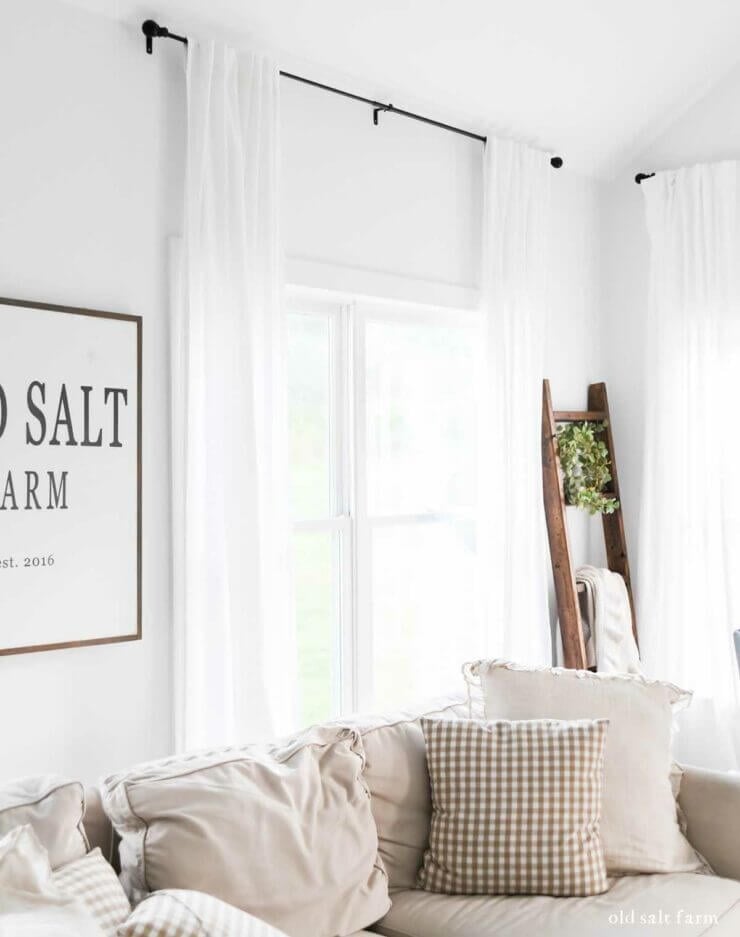
We have a lot of windows in our family room. They go all the way around the room, except where the fireplace goes, leaving me very little wall space. I adore all the windows and light, but it does limit me when it comes to decor. Something for the corner, between the windows was what I was looking for. This space inspired me to build a wooden ladder, and since then I’ve had one in many other spaces in my home. They just add a coziness that I love, and infuse a warmth wherever they are.

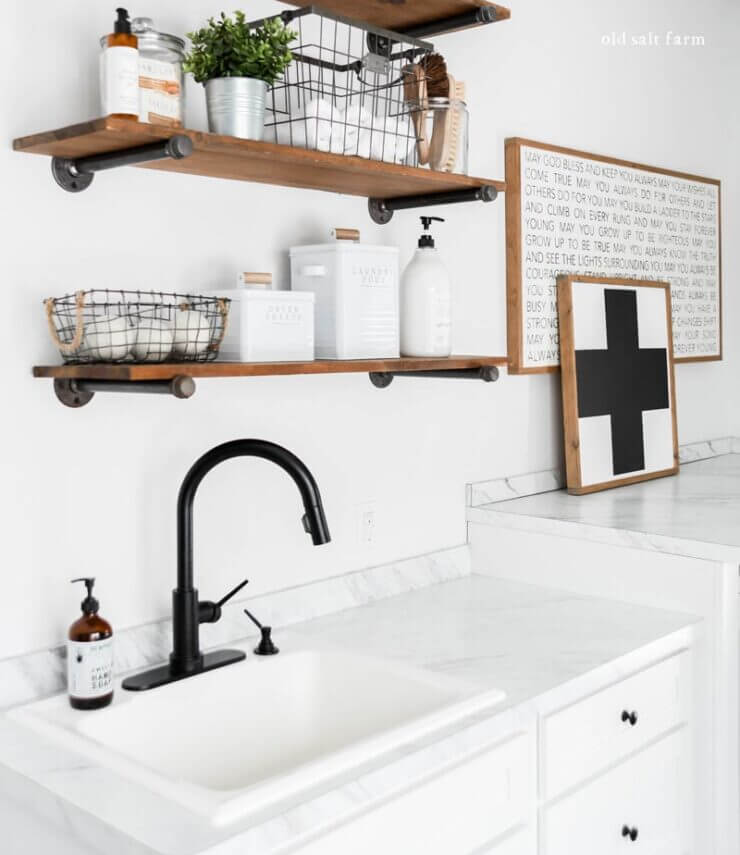
I’ve seen plenty of blanket ladders I really liked, and some I even loved, but I just could not bring myself to pay $40-$50 (or more) for one. They can be really pricey! I knew that I could make my own for much less expensive. The best things about DIY is that you can not only save yourself some money, but also build to your own specifications and needs. We’ve done with many things, Farmhouse Shelves in the laundry room, Kitchen Benches around our island, and a Wooden Swing Set in our yard.
This ladder is a great DIY—an hour (or less) project, and you can make one for around $15. It actually cost me less than that, because we already had the screws–but it was around $9 in wood. You really can’t beat that!
Table of contents

Supplies
- 2×4 posts / pine boards
- Stain or paint
- Felt pads
- Miter saw
- Tape measure
- Stain
- Deck screws (wood screws)
I like a chunkier look, so I used 2×4 posts, instead of thinner wood. I’ve also seen some ladders with slanted rungs, but I prefer them straight. It’s definitely a matter of preference, and you can substitute out the 2x4s if you’re going for a more delicate look.
Directions
Preparation
First you need to decide how tall and how wide you want your ladder to be. That’s another great thing about making your own…you can build it the perfect size for your space. For reference, my ladder is 6 feet tall, 18 inches wide, and about 12 inches between the rungs.
Once you’ve decided those two things, cut the wood to size using a chop saw. If you don’t access to a saw, head to your local Home Depot or Lowe’s to buy your wood. Many locations offer to cut your wood for a nominal fee.
Gather all of your supplies, and have tools ready to go.
Step-by-step instructions
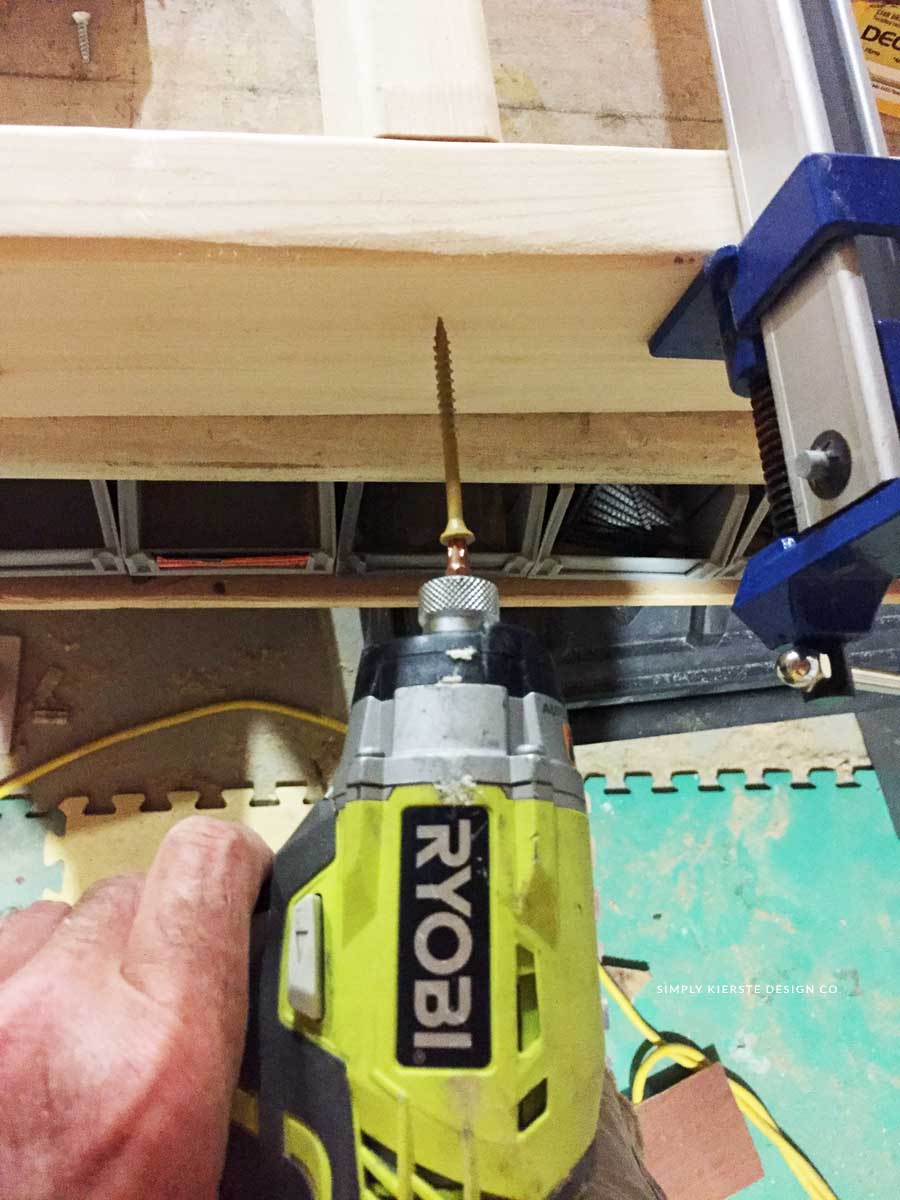
- Lay out the ladder pieces on your work surface, and get your drill and screws ready. Measure your ladder, and mark where your rungs need to go. Use clamps to keep your rungs in place as you drill in the screws.
- Use a drill and 3 inch deck screws (2 per rung, per side) to attach the rungs to the sides. Repeat for each rung. No wood glue was used, because it wasn’t needed.
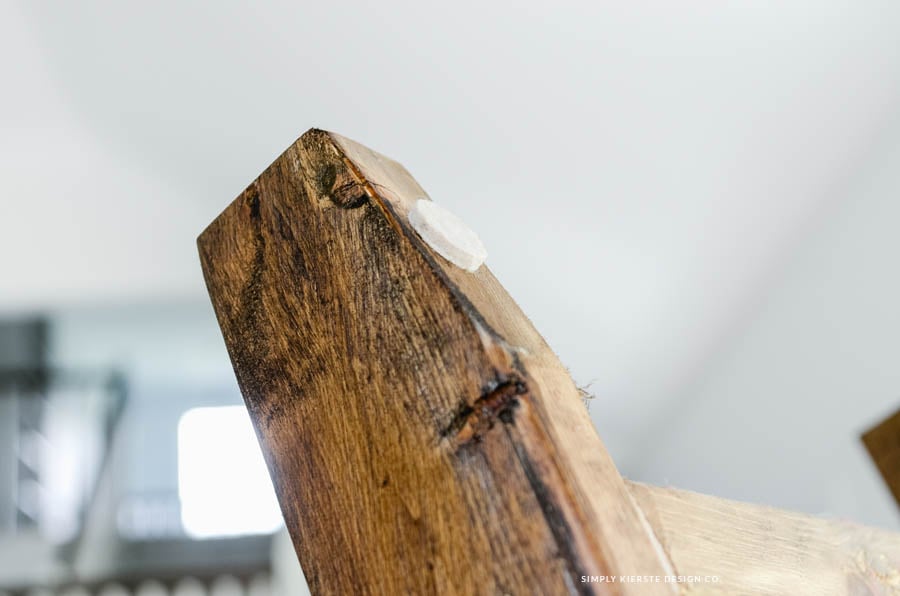
- Cut a slight angle (20% degrees) at the top of each piece of wood using a miter saw, I so it will rest easily against the wall. I added felt pads as well, so they wouldn’t scuff my wall.
- Sand the ladder with a medium grit sandpaper, then wipe off any excess dust.
- Stain or paint as desired. I like Minwax brand, and for this ladder, used a combo of dark walnut stain (my favorite stain) with a touch of gray. Use lint free rags to make sure you don’t get any little white strands stuck in the wet stain. It’s a good idea to wear gloves, since it’s hard to get the stain off!
- I also like to sand a bit after I’ve finished staining, to give it more of a rustic and worn look with a little distressing. Sanding and staining are best done outside, or in a workshop. If you’re doing it inside, make sure you have a tarp or plastic on the floor, and open a window for ventilation.
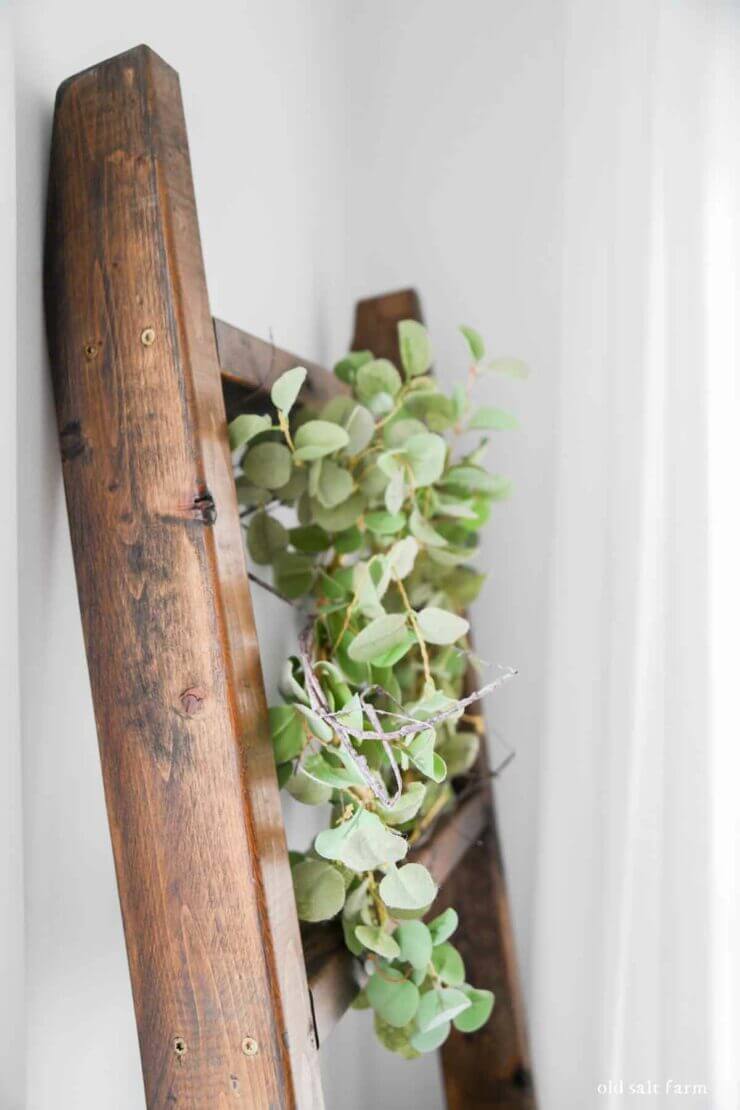
You can see where we added the screws in this picture–straight into the side! I stained over them, and they blend in really well.
Blanket ladder decor tips
A blanket can serve both an aesthetic purpose and functionality at the same time. Whether you want to utilize one for extra storage, or add a little farmhouse charm to your space, it’s a great option.
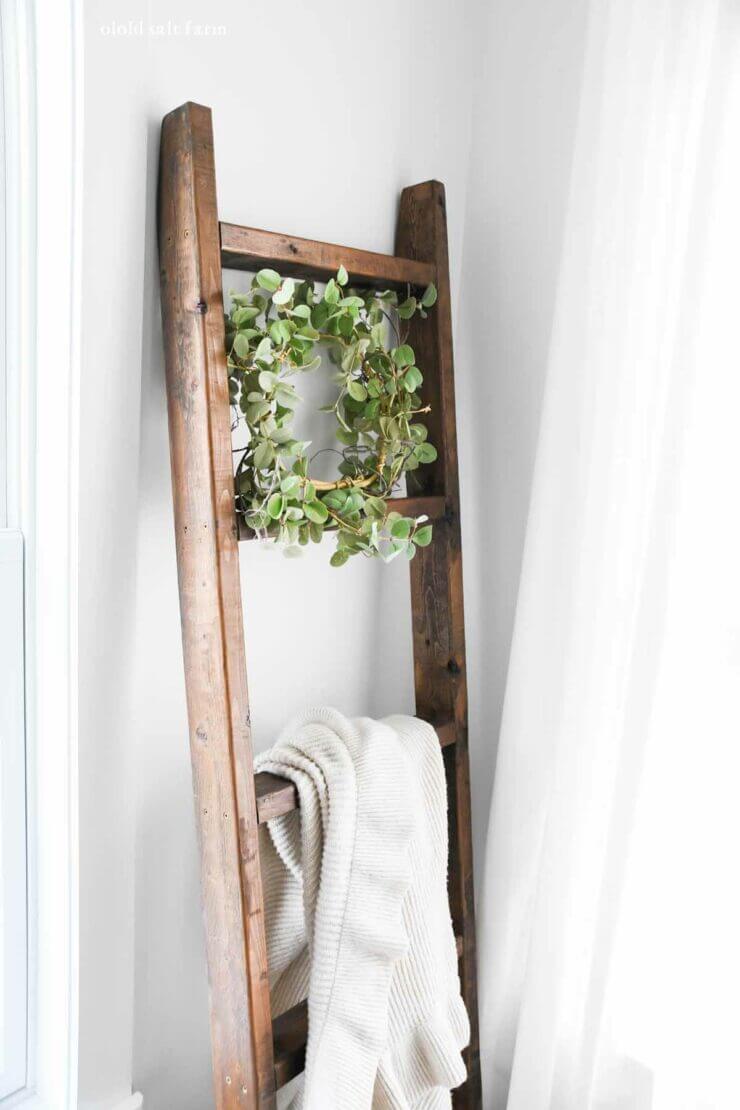
Add a wreath to the top of the ladder for a pop of color and texture. I use it for both decor and function, and it’s the perfect place to add greenery to my space. Change them out during each season or holiday–fall, Christmas, etc.
A ladder is great for an open, blank wall or space that needs to be filled. You can build it a bit taller, thinner, shorter…whatever you need to fit your particular space.
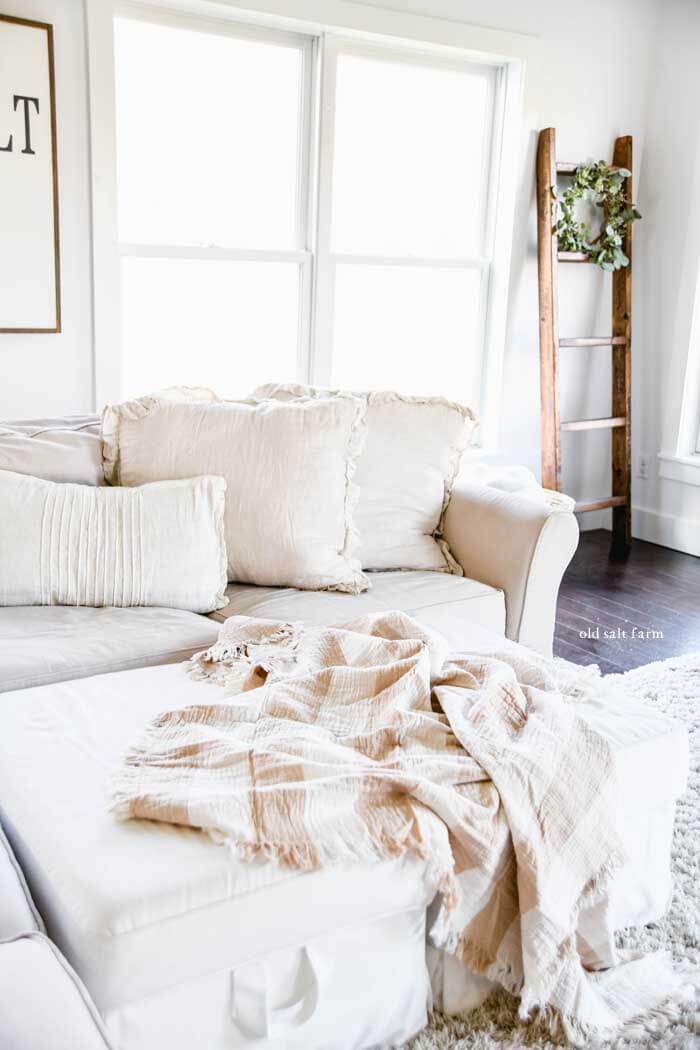
Look for blankets or throws that will not only work in your space, but are comfortable too. I want them to look good when they’re hanging on the ladder, but also be usable when we are snuggling on the couch watching a movie.
Don’t rule out painting your ladder instead of staining it. My next ladder is going to be white, which will match the space perfectly.
FAQ
Four years later, this ladder is still a favorite! I keep it in my family room, with cozy blankets for my kids to use while we’re snuggled up on the couch. Adding wreaths throughout the different seasons has also been so fun, including fall and Christmas. One of my favorite projects!
You can definitely use a different thickness of wood if you want a smaller and more delicate ladder. As an option, instead of 2x4s, use 1x4s.
Neither of them are available anymore, but here is a similar wreath (I love it–and have several!), and blanket.
I would rate this at a beginner level.
Check with your local Home Depot or Lowe’s. They will often offer to cut your wood for you, for a nominal fee. I’ve even had them do it for free. It’s worth checking into, especially for a smaller project like this one.
More DIY Projects you might like:
- Easy DIY Farmhouse Shelves
- DIY Posts for Outdoor String Lights
- How to Make a Giant Chalkboard
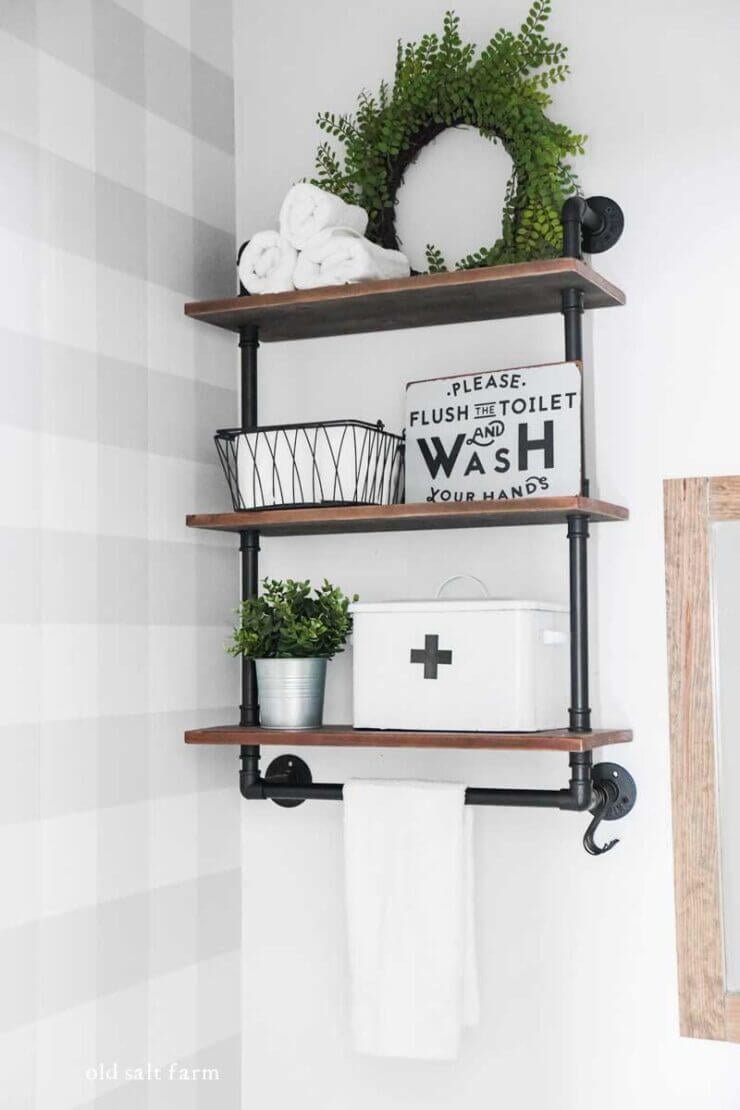
- Buffalo Check Wallpaper Guest Bath Makeover

Now that you’ve made it this far, we are pretty much best friends! If you make this project, or have a question, I’d love you to leave me a comment below. Make sure you follow me on Instagram, Pinterest, and Facebook!
I absolutely love how it turned out, and the fact that it’s so inexpensive just means I can make more! Throw blankets and quilts look so cute on the ladder rungs, but it’s also functional and works for blanket storage as well. If you’re looking for a way to add some farmhouse charm to your home, this darling Wooden Blanket Ladder is a great option. It’s also a perfect beginner project, especially because it can be made in an afternoon.

*Originally posted 2018.

Love it!! Going to try and make one! Could you tell me where you found your wreath and blanket? Those are gorgeous
I’ve updated the post with the links for the wreath and blanket!! :)
Did you use pine wood for your blanket ladder? Did you do anything special to get the varying color of stain? I love the hints dark blackish color.
I did use pine wood–not select pine, just the regular pine wood boards. I used two stains…the first was Minwax Provincial, and then I went over it with Minwax Dark Walnut.
When you added the second stain (dark walnut), did you just apply in some areas or go over the whole thing with the darker stain? I love how it looks.
I did go over the whole thing with the darker stain. I put it on, then used a rag to wipe off a bit of it, so it wasn’t quite so dark.
Did you angle the feet also? If so, about to what degree?
We didn’t angle the feet. They pretty much sit flat on the floor, since the top is angled.
How wide are the 2 ladder sides & how thick are the rungs? Thx for sharing. ?
The rungs are 1x2s–two of them for each rung, glued together. So they’re close to the size of a 2×4. The two ladder sides are 18 inches apart. Hope that helps!
Did you use 2×4 for the entire ladder? The two sides and the rungs?
yes, it’s made of all 2x4s!
What stain did you use for this?
It’s a mix of Minwax Provincial and Minwax Jacobean!
Did you let the first stain dry before applying the darker stain?
I did let it dry first!
Thank you for this! I’m going to have my husband build it. I have been looking at ladders and they tend to be so expensive like $80 and I know they are cheap to make haha.
Totally! That’s why I decided to make my own too!
Did you sand any of the pieces?
I sanded as needed, yes. I try to choose pieces that are the smoothest when I’m buying wood, but if there are rough spots, then I’ll sand them a bit. I usually end up sanding some after I stain, since I like it to be distressed, so I really only tackle the super rough spots in the beginning. Hope this helps!
Did you do anything to the bottom of the ladder? Like how you angled the top and put little pads for when it sits against a wall. We have hardwood floors and am wondering if I need to angle to bottom of the ladder or add anything to keep it from skidding along the floor and falling.
I didn’t angle the bottom, but I did put pads on the bottom–we also have hardwood floors—and I’ve had zero problems with it slipping and falling over. Hope that helps!
Did you Poly after the stain was completed????
I didn’t, but you definitely can if you want to.
Did you stain before putting it together?
No, I stained it afterward, but you can do it either way!
May I ask how you hung the wreath on the ladder?
I just stuck in the middle of the two rungs and it stays there! :)