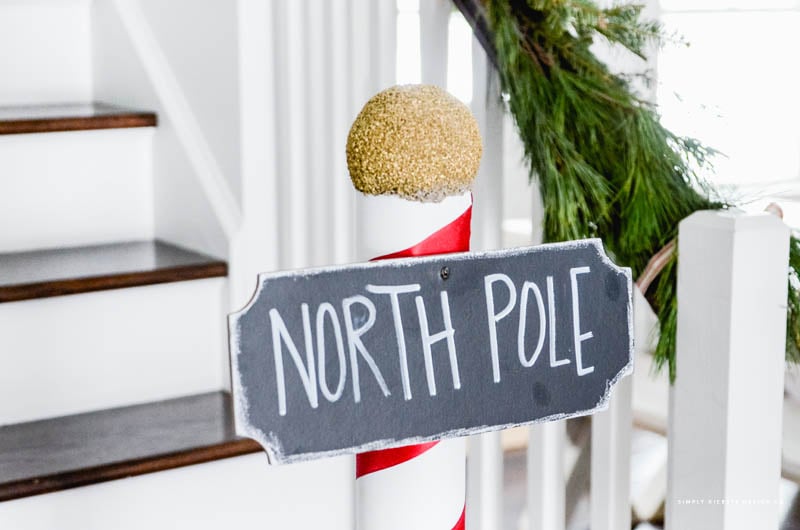
DIY North Pole Sign
Create a charming north pole sign for your Christmas party or porch. Easy to make, and perfect for Christmas decor, parties, and welcoming Santa!
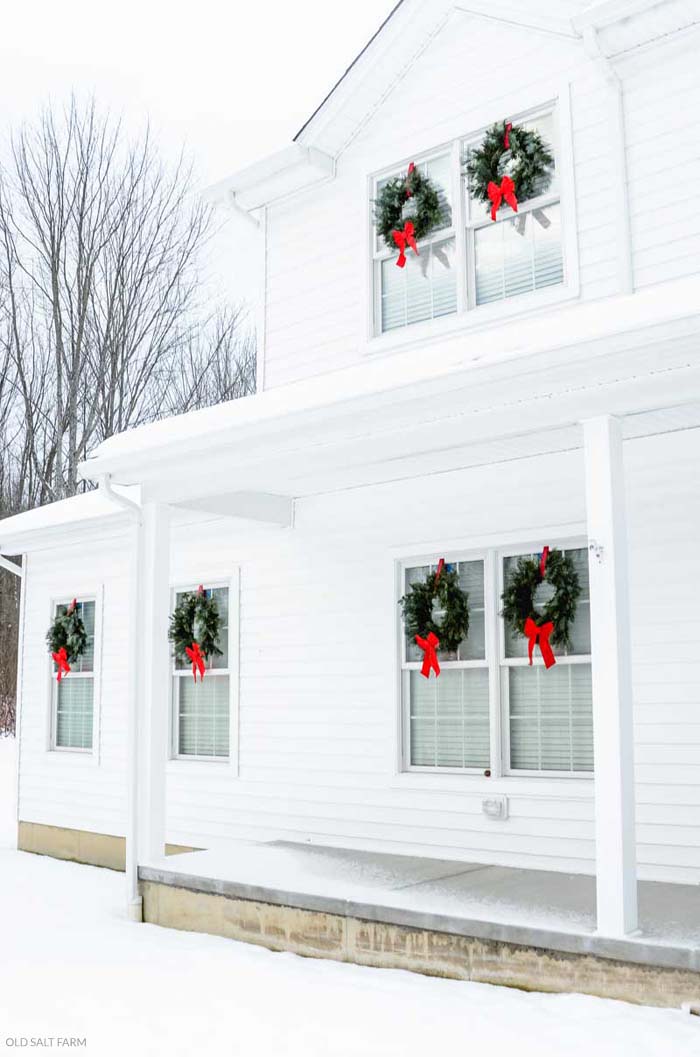
I love decorating for Christmas, and for parties! Hanging Christmas wreaths on the exterior of the house, tying fancy bow for wreaths, making homemade cinnamon ornaments are some of my favorite ways to really add to the festive decor in an easy way.
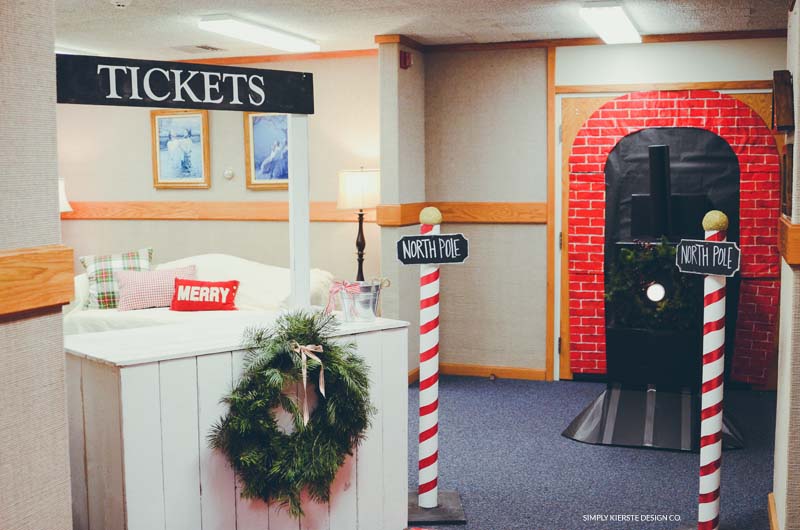
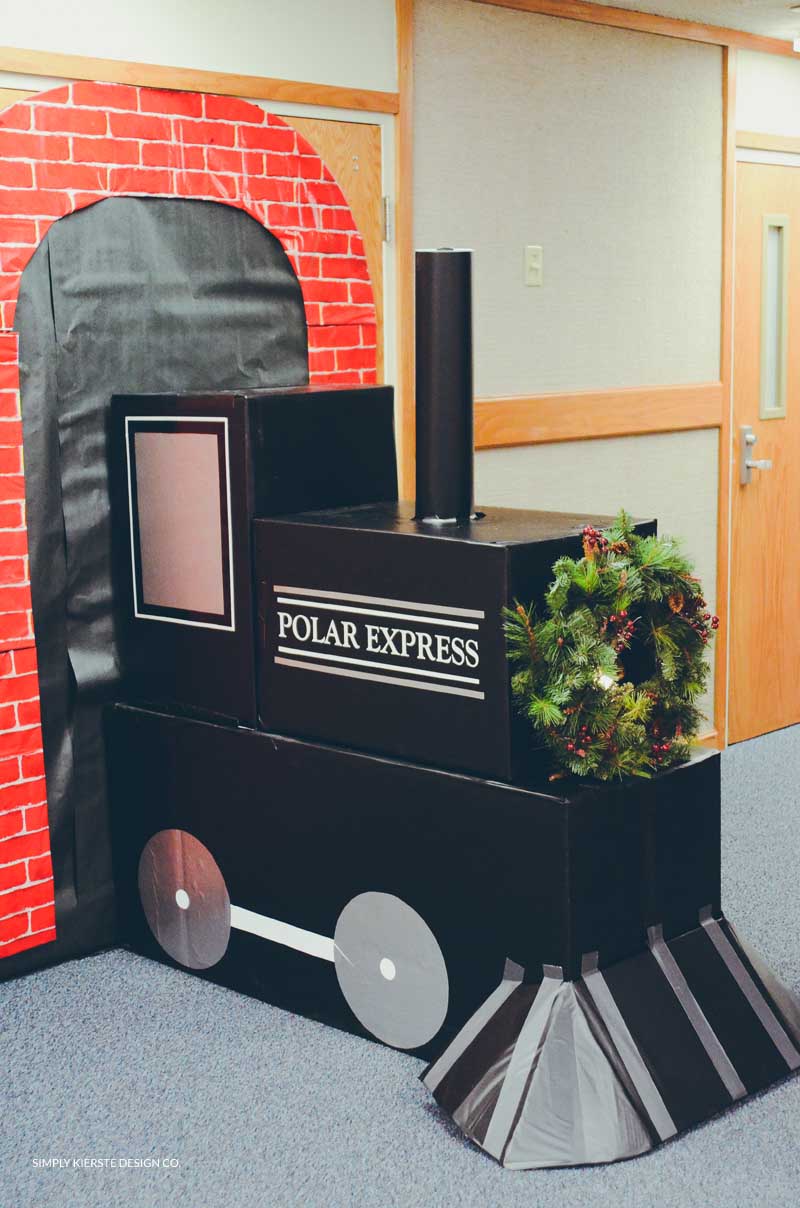
Every year our church has a Christmas party, and the theme this year is The Polar Express. I’m on the decorating committee, and I wanted to make a few cute signs to lead everyone down the hall and into the main area. I made this DIY North Pole Sign, which I absolutely love. They’re easy to make, don’t cost a lot, and make perfect decor for home, parties, or wherever Santa is!
Table of contents
Affiliate links are included for your convenience. Please see my full disclosure.

TIP: If you’re going to make one, it’s just as easy to make a few more. The supplies on the list will make more than one sign, so your money will go farther if you do. If you don’t need three or four, consider making them with a couple of friends, and split the cost.
Supplies
- plywood or MDF, cut to size for the base (mine is 12×15)
- 2×4 wood…about 12 inches high
- bolt
- cardboard shipping tube (mine are 3 x 48)
- white spray paint
- black spray paint
- 3.8 inch-4 inch styrofoam ball
- gold spray paint
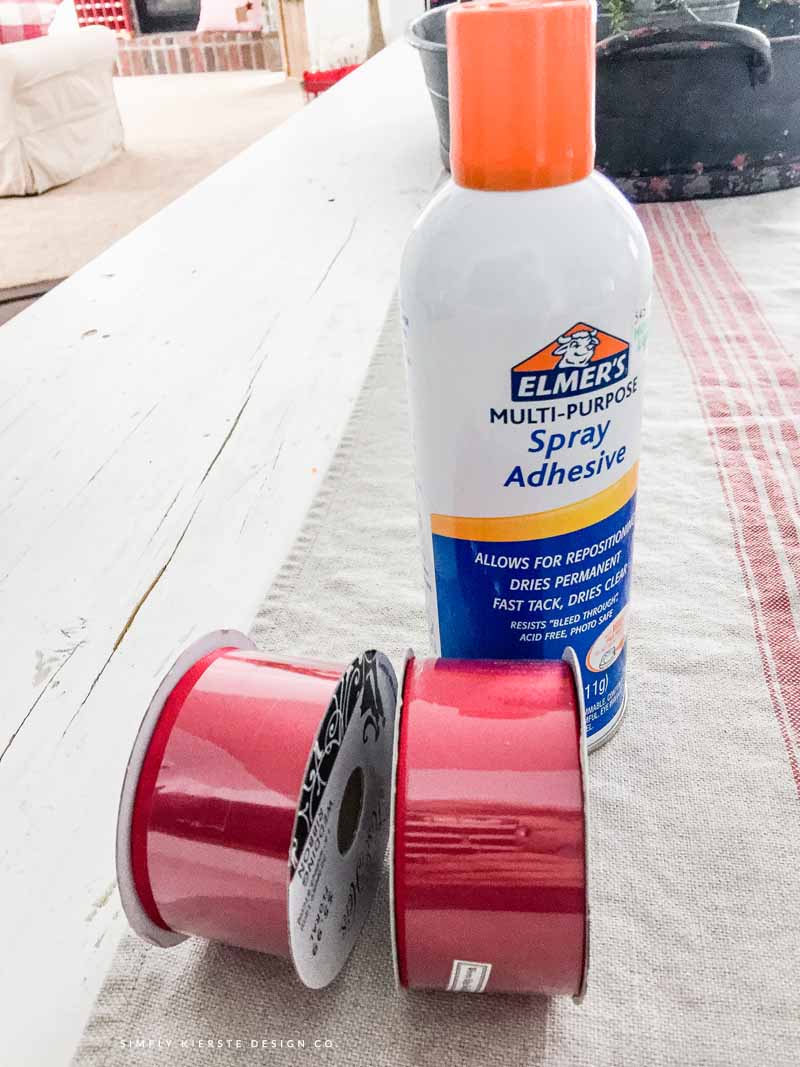
- adhesive spray
- red satin ribbon
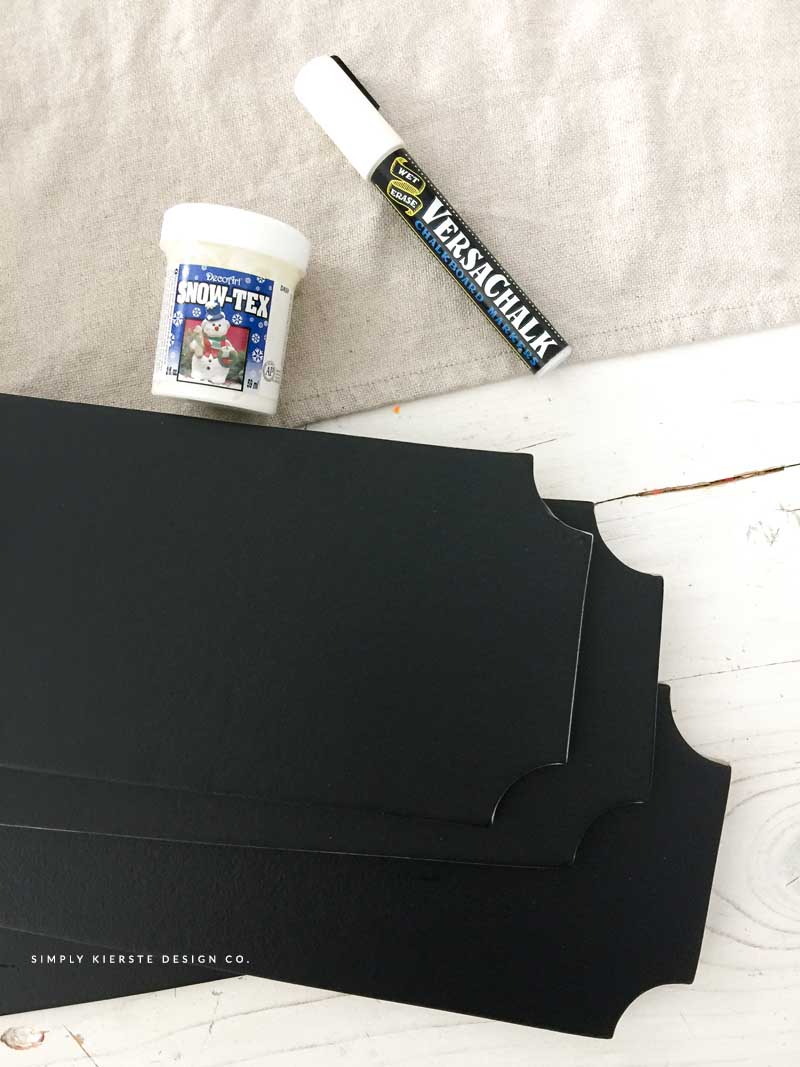
- chalkboard sign (similar–I used a chalkboard sign made of chipboard)
- Snow-tex
- chalk marker
- long black nail
A friend of mine already shipping tubes that she gave me to use…they are about 4 feet tall, and 3 inches in diameter. I’ve also heard you can get them from a carpeting store—that you can go in and ask for any extras that they have. I was going to try that next, but ended up not having to. You can find 3×48 inch shipping tubes on Amazon, but only in large quantities (24), so if you’re making a bunch of them it would work.

Directions
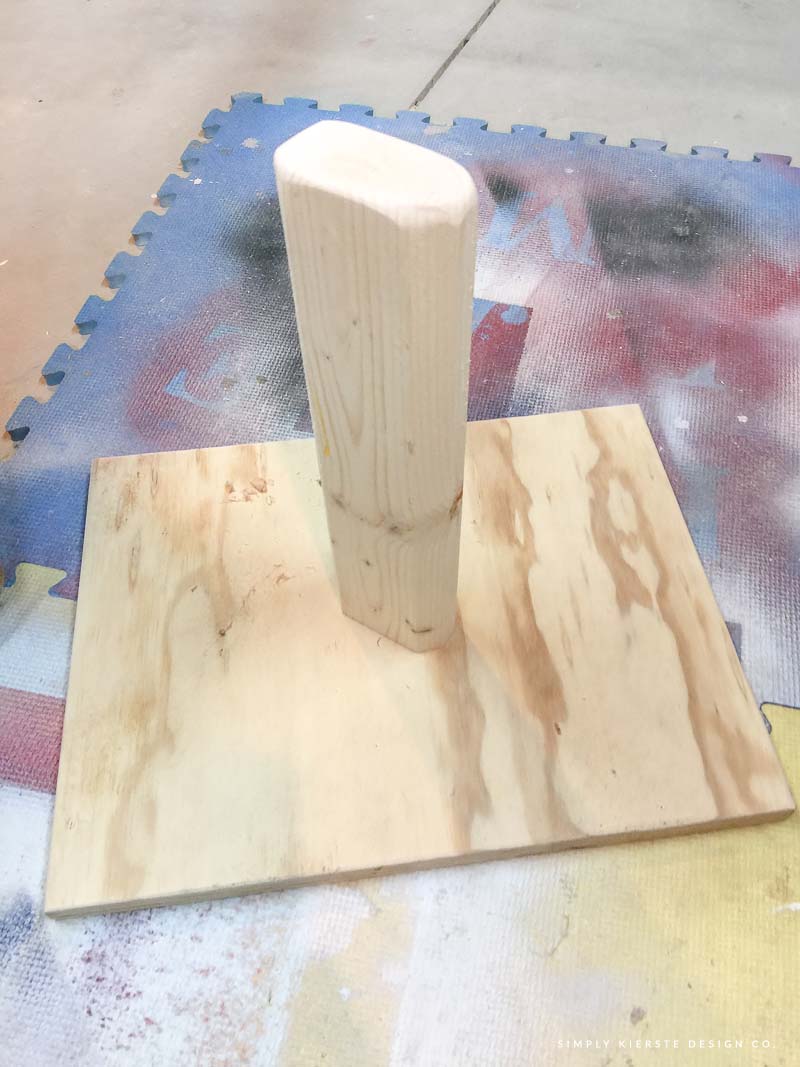
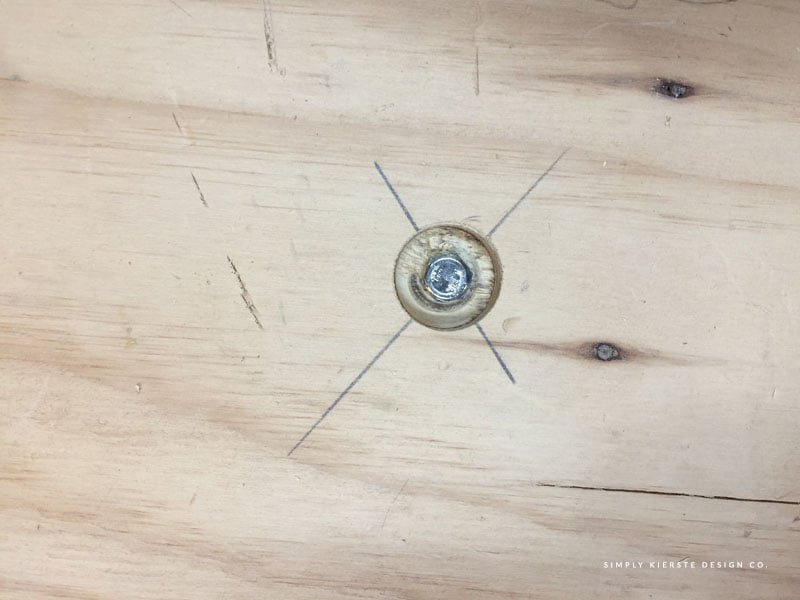
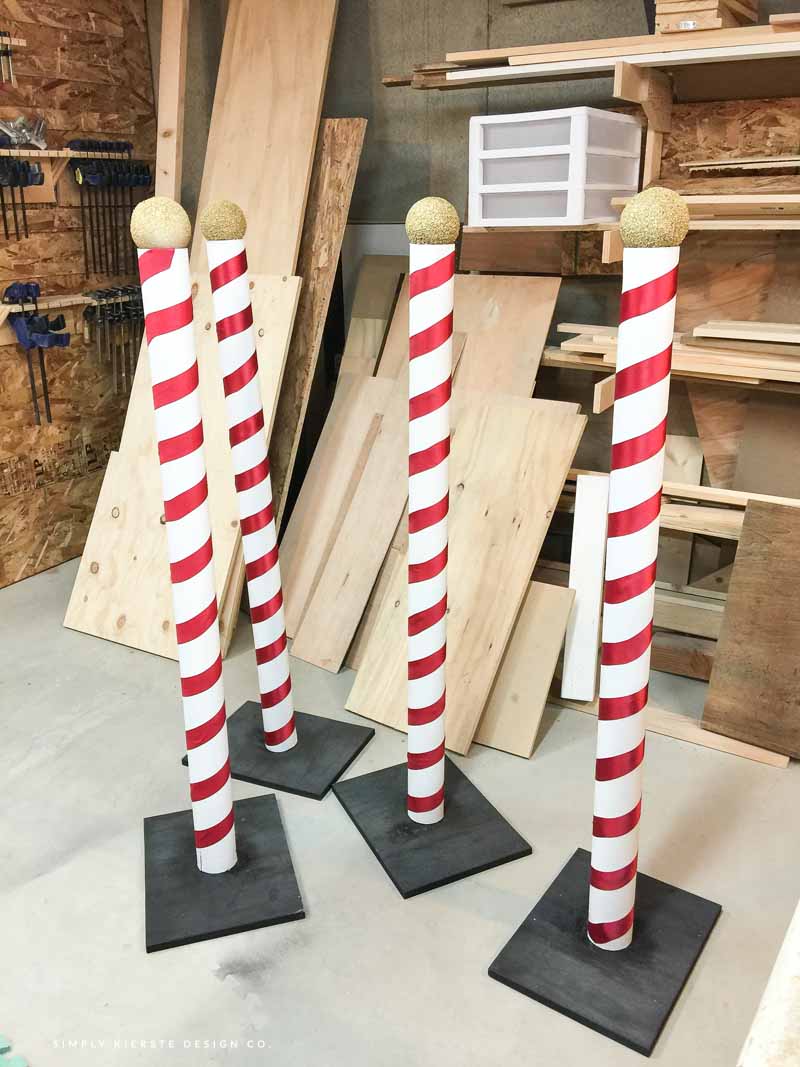
Cut a 12×15 base out of plywood, and then bolted a 2×4 (about 12 inches high) to the top of the base.
To help the tube slip easily over the 2×4, but still be secure, we rounded the edges with a sander.
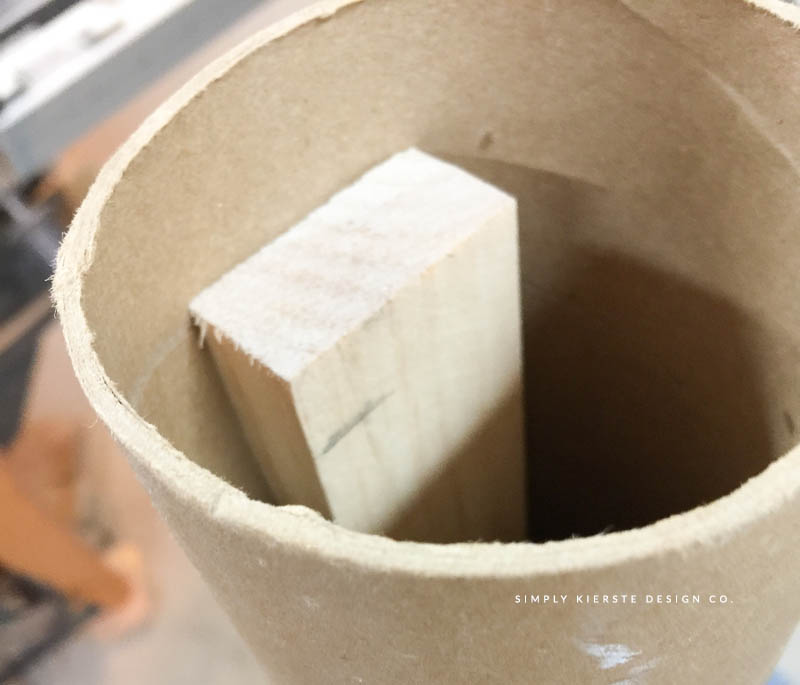
If you’re going to hang a sign from the tube, consider attaching a small piece of wood inside the tube. If the sign weighs much at all, over time it could cause the tube to collapse. The wood stabilizes it, and helps to hold the weight of the sign.
Paint the shipping tube white, and the base black. You can also spray your styrofoam ball at the same time.

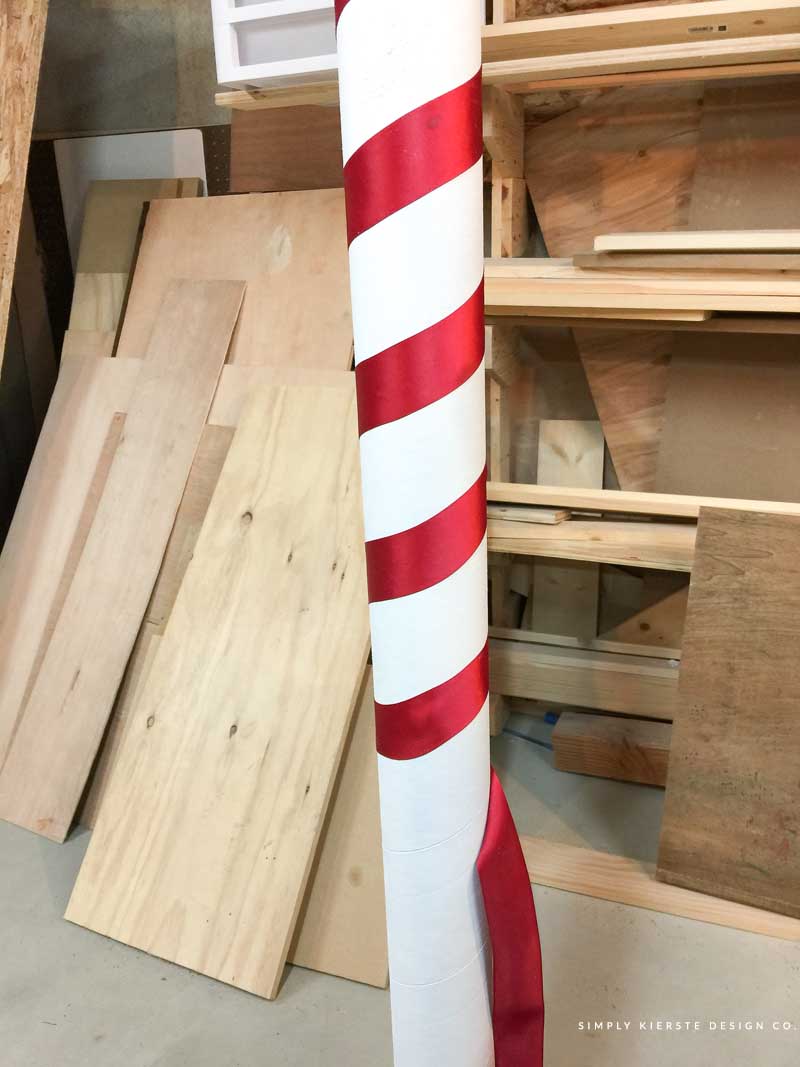
Once the paint is dry, you’re ready to add the ribbon. The nice thing about using a shipping tube is that there are already diagonal lines in the tube, making it super easy to add the ribbon evenly…just follow those lines!
I wanted a red satin, because it looks the best on the pole. To attach the ribbon, I started at the top, sprayed adhesive spray to the ribbon, then followed the lines on the tube. If you don’t have those lines, I would probably mark the tub ahead of time, to make sure that your ribbon is straight, and spaced evenly.
TIP: I found the ribbon at Hobby Lobby in the wedding section–it was 30 feet for only $5.99, which was WAY cheaper than any I found in the regular ribbon section or with the Christmas ribbon. Those were the same price, some spools only 4 feet. It can save you a bundle!
When your ribbon is on, you can adhere the ball to the top of the tube. Don’t use the adhesive spray–it will eat the foam. I recommend a craft glue, like E6000—and you don’t need a lot.
For the sign, I found chalkboard signs made of chipboard at Hobby Lobby. I used a chalk marker to write “NORTH POLE” on each sign, then used a foam brush to add Snow Tex around the edges of the sign.
TIP: If you can’t find any chalkboard chipboard that works for the sign, you could also use a light balsam wood sign that’s perfect for crafting. Spray it with chalkboard spray paint (or brush it on from a bottle of chalkboard paint), let dry, and you’re good to go!
Originally I wanted to add snow to the bottom of each “o”, “p, and “t”, but I just couldn’t get it to look the way I wanted it to. I may still try it again…we’ll see. But you definitely can!!
Use the black nail to attach the sign to the top of the pole.


FAQ
I’ve heard that you can try going into carpet stores and asking for their leftover tubes, so it’s worth a try! You can also order them in larger amounts on Amazon if you’re making a bunch. If you know anyone that works in shipping, they may have some you can use.
Yes! I laid them up in the rafters of our basement where they wouldn’t be bothered, and I can pull them down each year. I’d suggest covering the gold ball with a cloth–if dust gets on it, it would be impossible to clean.
Polar Express Party Ideas


More Christmas ideas
How to Hang Christmas Wreaths on Exterior Windows | How to Wrap Baked Goods for Christmas | Homemade Holiday Stovetop Potpourri

Don’t forget to check out my book, Simply Tradition: 70 Fun & Easy Holiday Ideas for Families. It’s chock full of holiday traditions and ideas, and recipes for every family. It makes a great gift! Follow me on Instagram and Facebook for more ideas!


Hello love this idea! What width ribbon did you use please ?
I believe it was 2 inch or 2.5 inch!!