DIY Apple Wreath for Autumn
A simple DIY Apple Wreath that’s easy to make, uses just a few supplies, and is perfect for autumn. Check out the easy tutorial below.
Apples are the epitome of autumn. Apple picking, apple crisp, caramel apples…they’re all on our fall bucket list, and we look forward to each one. Once September arrives, I’m ready! I also love them for fall decor, and this year I decided to make an apple wreath to hang in my home. It’s a very simple wreath, and you need only three items to make one! It’s a perfect afternoon project…make one with a friend!
How to Make a Fall Apple Wreath
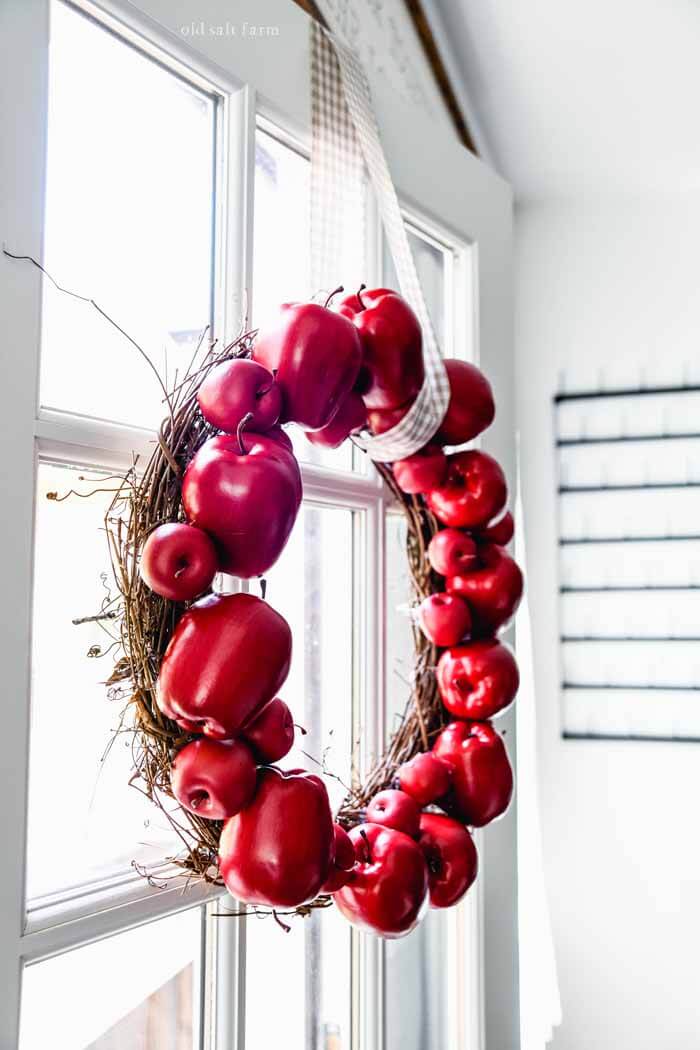
I absolutely love it. Now I just have to decided where to hang it! It would be adorable hanging on a front door, interior door, mantel, window, in your kitchen…the list goes on. Hang it with a wide ribbon, or on it’s own–either way, it will be darling. Best of all, you will love how easy this wreath is–nothing fancy required!
Affiliate links of products I use and love are below. Please see my full disclosure here.
Supplies you’ll need to make your apple wreath:
- Grapevine wreath
- Faux apples
- Hot glue gun & glue sticks
- Ribbon for hanging (optional)
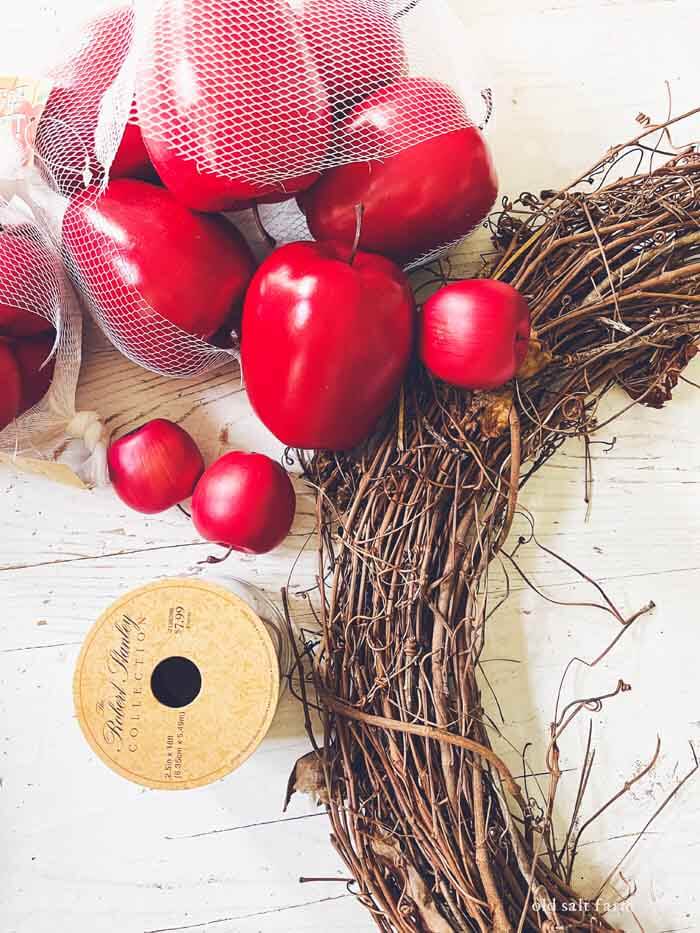
The grapevine wreath and faux apples are from Hobby Lobby, but if you don’t have one near you, there are also some options on Amazon. I used a 14-inch wreath, 12 large apples, and around 16 mini/small apples. I was wishing I had a few more by the end, but I made it work!
DIY Apple Wreath Tutorial
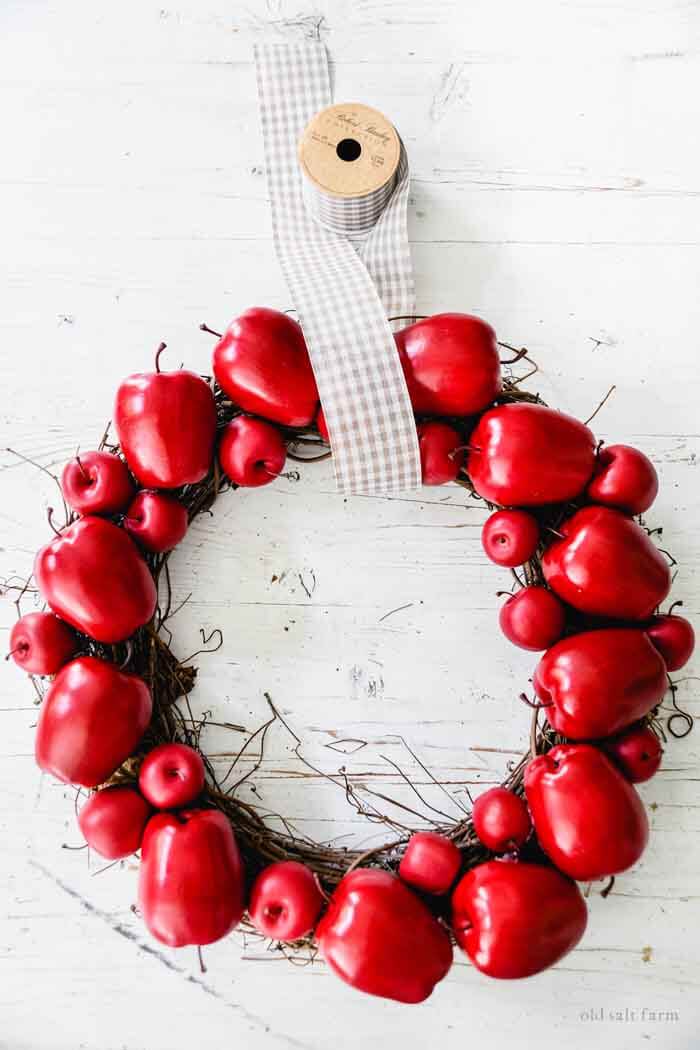
Lay out your wreath, and estimate where your apples are going to go.
It doesn’t have to be exact, and you can certainly change things around. For me, knowing how many apples I had–especially the large ones–helped me map out how far apart I needed to space them.
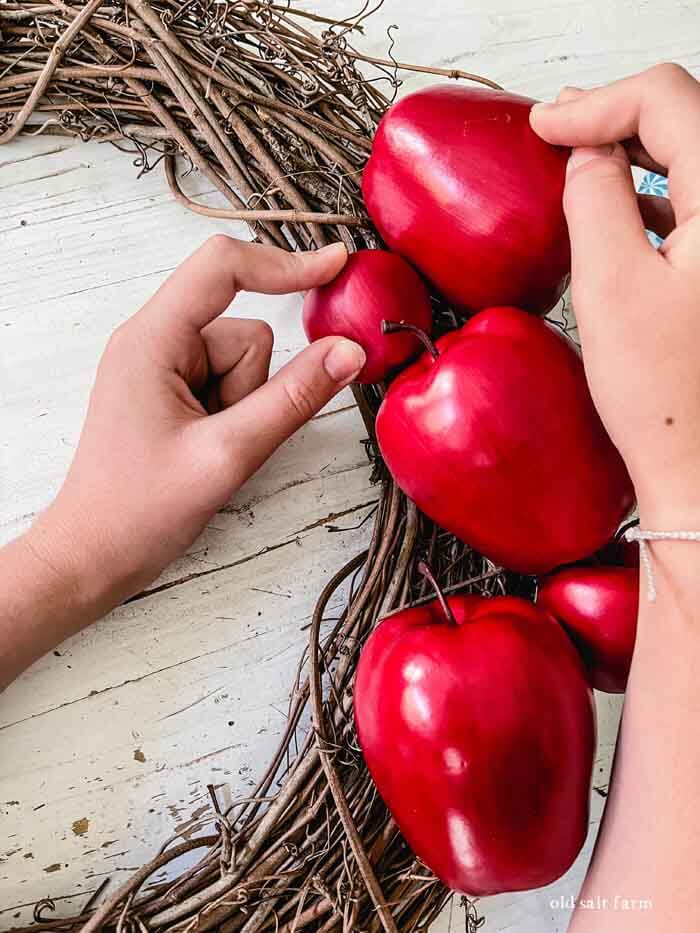
Use your hot glue gun to adhere the apples to the wreath.
My strategy started out by placing the large apples first, then going back to add the smaller/mini apples in the gaps. About a quarter way into it, I switched it around and changed my mind. From that point on, I worked with a small section at a time, to see how they both sizes would go together best. It helped immensely that I already knew how many large apples I had, and the basic spacing to make it all the way around. I didn’t follow a certain pattern, but I did rotate the apples to allow for more interest to the eye.
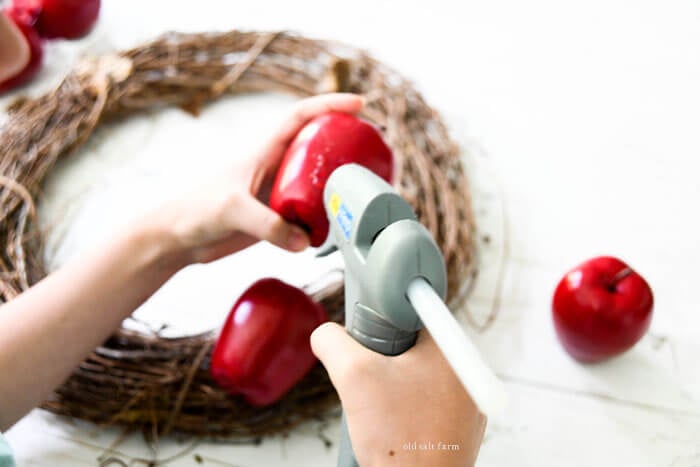
TIP: You may need to hold your apples in place for a few moments until the glue starts to cool. The apples are heavy and will most likely need that support. Sometimes I had to add a bit more glue, not just to the wreath, but to the apple next to the one I was placing.
Hang your wreath with ribbon if desired.
I suggest a wide, heavier style ribbon, or else it won’t lay as nicely against the bumps of the apples. Jute webbing is really nice, but it can be expensive.