Homemade Caramel Apples
Quick and easy homemade caramel recipe that takes just about as much time as unwrapping caramels–and totally worth it! Plus all the best tips & tricks for making the best caramel apple.

Living in upstate New York, picking apples is one of the best fall activities of the year. It really seems like the epitome of fall–sweaters, crisp air, rows and rows of apples, apple baskets, cider, and our favorite apple orchard. We look forward to it all year! After our apples are picked, caramel apples are always next on the list! We’ve been making homemade caramel apples for years now, and it’s still a beloved fall tradition. They’re always on our fall bucket list, and we definitely look forward to making them each year. They make the perfect weekend or Sunday afternoon activity, and it’s always fun to invite friends over to join in the fun.
Over the years I’ve picked up some tips along the way. I had tried several different caramel recipes over the years, including the good old Kraft caramels. While I’ve liked several of them, I didn’t love any of them. Another problem? My caramel would always slide off the apples and leave more on the plate than on my apple.
After a few changes, it all came together and made all the difference. Making the caramel doesn’t take too much longer than melting wrapped caramels. You just can’t beat the taste of homemade caramel, and the few extra minutes it takes to make a batch of caramel is totally worth it!
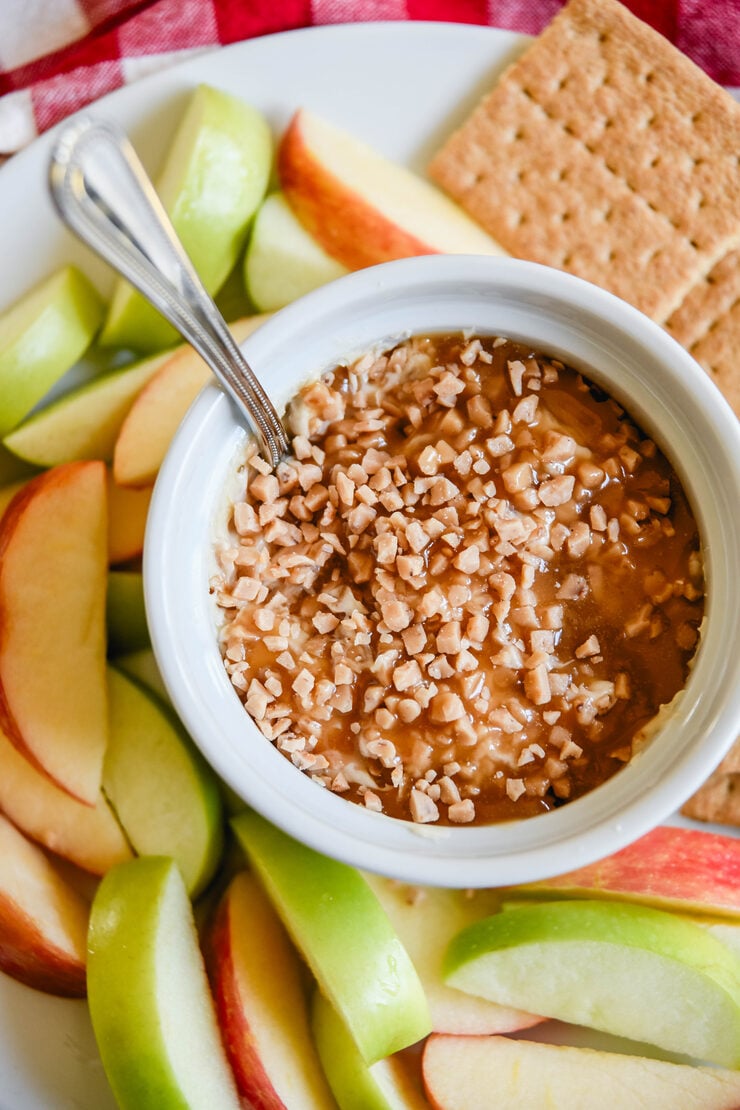
If you want to dip apple slices instead, try my Caramel Apple Dip — it’s perfect for fall parties, and for serving with other treats like ice cream, apple crisp, and more.
Table of contents
Affiliate links are included below for your convenience. Please see my full disclosure.

Ingredients
- Brown sugar
- Butter
- Light corn syrup
- Sweetened condensed milk
- Vanilla
- Salt (if using unsalted butter)
Equipment
- Candy thermometer
- Baking sheet
- Caramel apple sticks

How to make
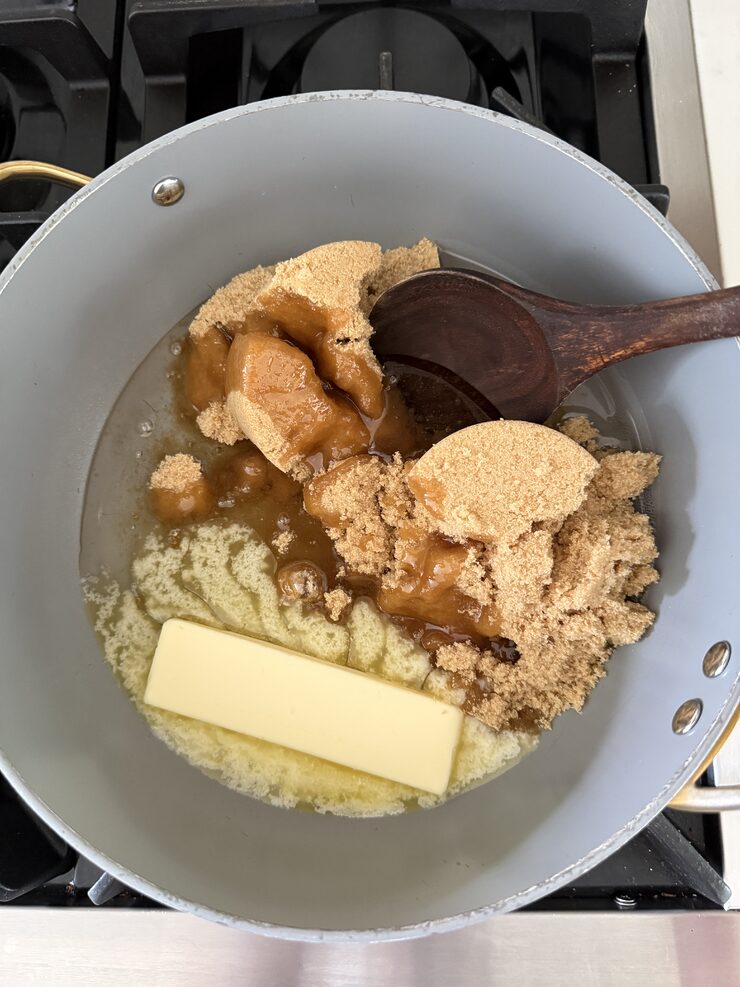
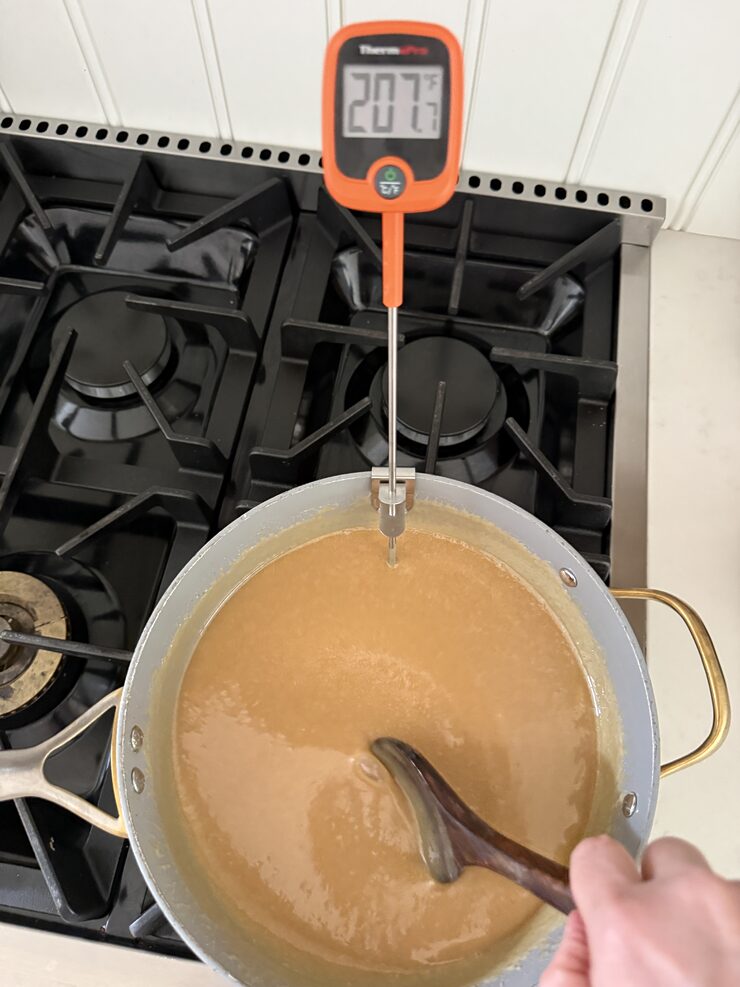
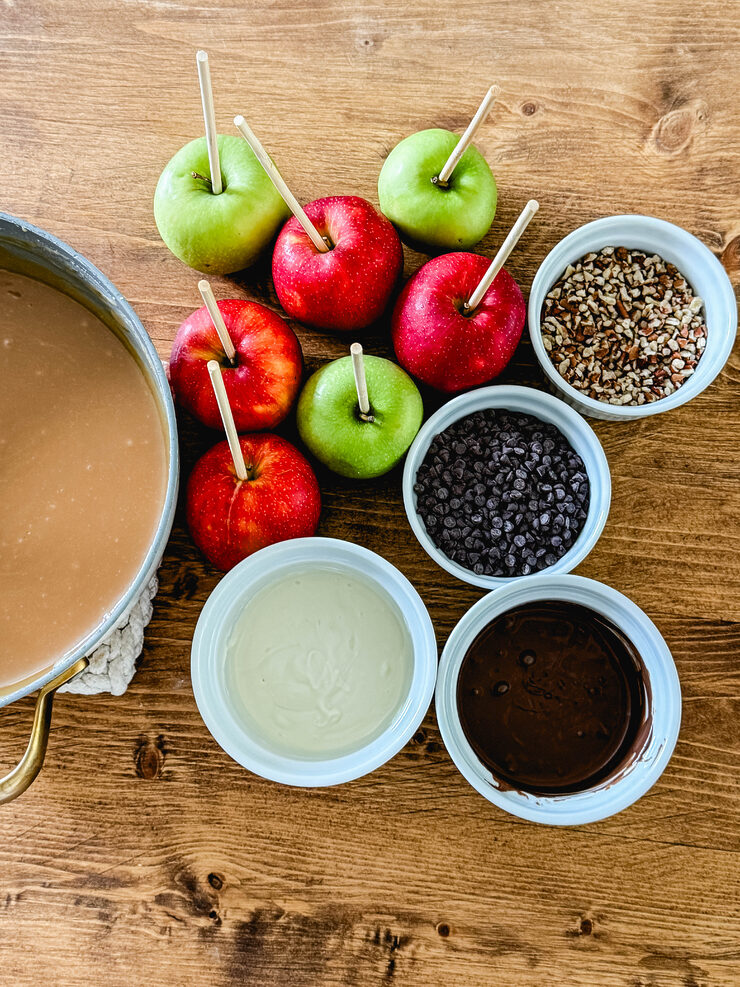
Combine the first three ingredients in a large saucepan. When the butter is melted, add the condensed milk. Stirring constantly, cook to 230 degrees (soft ball stage).
Take off heat, and stir in vanilla. Before dipping, see my list of tips and tricks below that will help the caramel stick better!
Tips & tricks
- Wash your apples well, and let dry completely. This removes the wax from the outside of the apple so the caramel will stick better. I love Granny Smith apples best for caramel apples, but I’ve used lots of different kinds and loved them all! We prefer medium size apples, but it’s really a personal preference.
- Place your apples in the fridge a couple of hours before dipping. Cold apples also help the caramel to adhere.
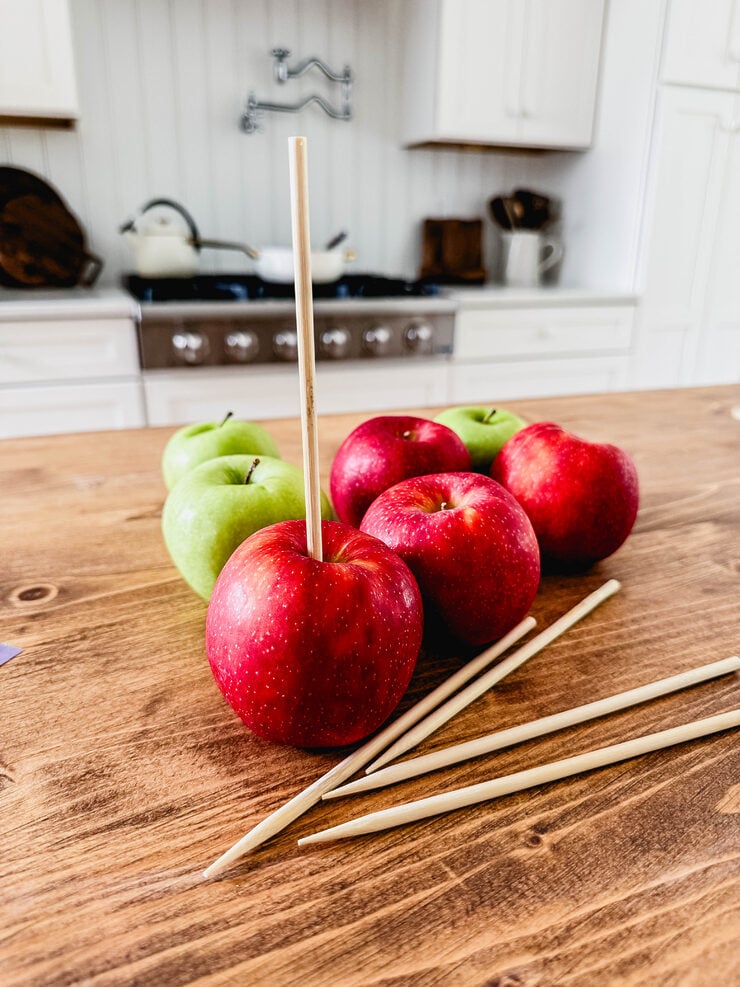
- Push in a caramel apple stick the center of the apple after removing the stems. I also like to use twigs/sticks from our woods for apple sticks–it gives it fun, rustic look.
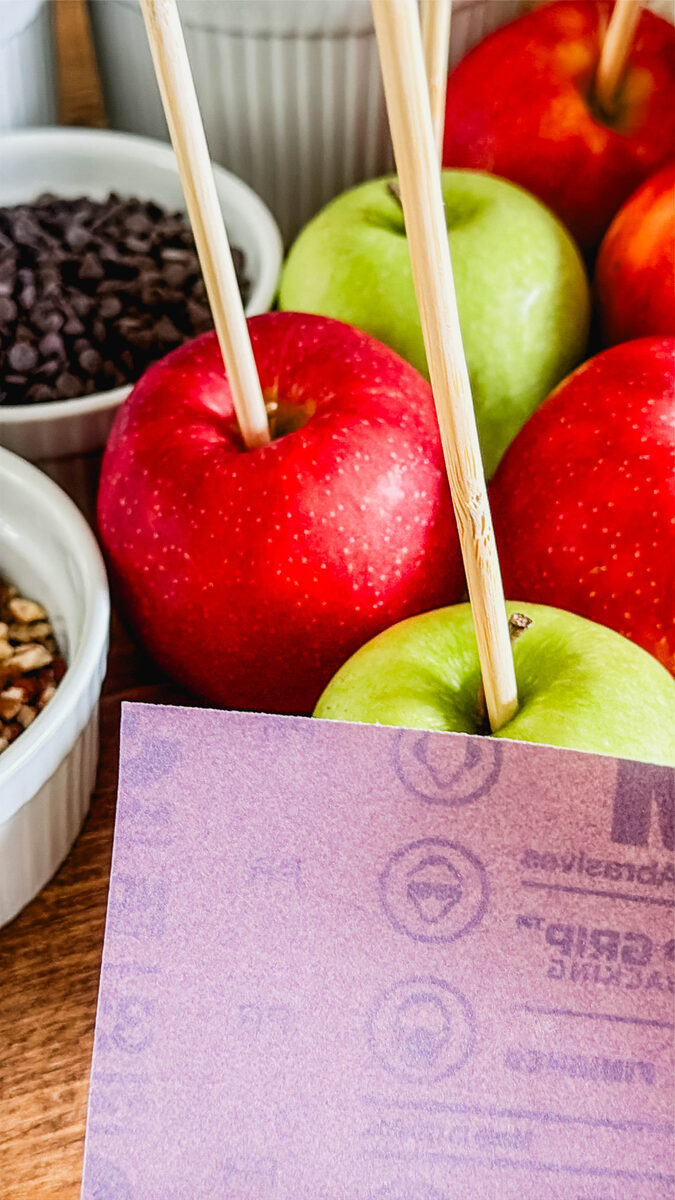
- Okay, ready for the best tip ever? Lightly sand your apples! I cannot believe the difference this makes. It really works! I use a fine grit sandpaper, and gently rough up the apple–not taking off any of the skin. Doing this removes some of the waxiness, and allows the caramel to stick. After sanding, I take a damp cloth and wipe off the apples, then let dry.
- Rub a baking sheet with butter. This is where you’ll put your apples to cool after they’re dipped. I’ve found that the apples will stick even to parchment paper or wax paper, so I don’t use either one.
- Make your caramel, following the recipe exactly. You really do need to stir constantly, scraping the sides often. If you don’t have a candy thermometer, I would invest in one–I use mine all the time. I also use the cold water test–dropping some of the caramel into a cup of cold water is an easy way to see which stage your caramel is at. (Recipe below)
- I’ve used popsicle sticks in the past, but they are a bit short to work as well as I’d like. I love these caramel apple sticks–they’re sharp on one end and flat on the other–and the perfect length.
- Waiting a few minutes after your caramel is done to dip apples really makes a big difference. When the caramel is super hot, it has more of a tendency to slide off. You don’t need to wait too long though–less than 5 minutes.
- Dip your apples at an angle, then rotate. You can dip into the pot you made the caramel in, or place a smaller amount in a bowl if that’s easier to
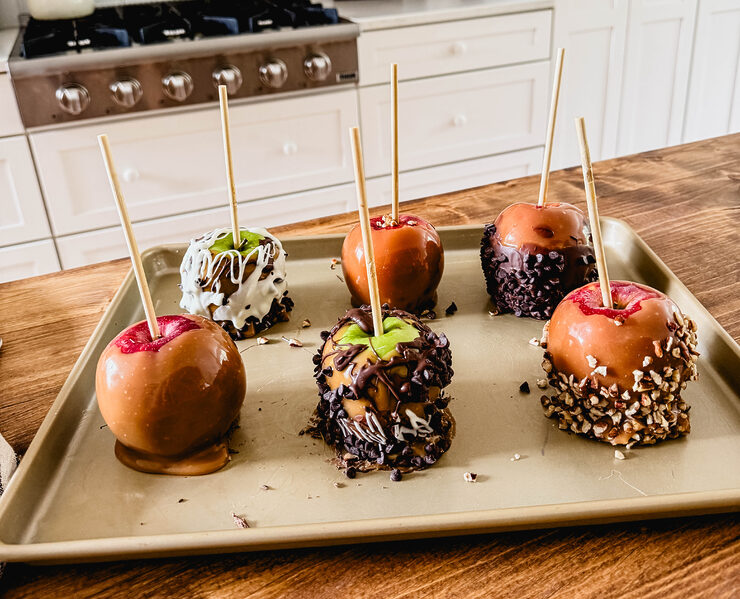
- Once your apples have been dipped in the caramel, place them on your prepared baking sheet. I let mine sit for about 5 minutes or so to harden before I add any other toppings.
- Leftover caramel can be poured in a buttered dish to be cut and eaten later, or wrapped as individual caramels in wax paper.
- Place apples in the refrigerator to firm up–then you’re ready to eat and enjoy!

Caramel apple topping ideas
White chocolate + cinnamon & sugar
Chocolate + peanut butter and PB cups (or peanuts)
White chocolate and Chocolate drizzles + toffee bits
Chocolate/White chocolate + crushed Oreos
Chocolate/White chocolate + mini M&M
Turtle: Chocolate + chopped pecans
Chocolate/White chocolate + sprinkles (fall or Halloween-themed is fun)

TIP: For an easy piping bag, I melt chocolate chips in the microwave, then spoon into a sandwich bag. Push the chocolate into the corner of the bag, then snip a tiny bit off of the corner–an easy piping bag that makes the best drizzles!
More fall recipes

Thanks so much for stopping by! Join me on Instagram for even more ideas and inspiration…I’d love to see you there. 🖤

Homemade Caramel Apples

Ingredients
- 1/2 cup butter
- 1 cup light corn syrup
- 2 cups brown sugar
- 1 can sweetened condensed milk
- 1 teaspoon vanilla
- 8-10 apples
Instructions
- Combine the first three ingredients in a large saucepan.
- When the butter is melted, add the condensed milk.
- Stirring constantly, cook to 230 degrees (soft ball stage).
- Take off heat, and stir in vanilla.
- Let it cool for a few minutes before dipping—super hot caramel is more likely to slide off. See notes for more tips!
Notes
- Wash your apples well, and let dry completely. This removes the wax from the outside of the apple so the caramel will stick better. I love Granny Smith apples best for caramel apples, but I’ve used lots of different kinds and loved them all! We prefer medium size apples, but it’s really a personal preference.
- Place your apples in the fridge a couple of hours before dipping. Cold apples also help the caramel to adhere.
- Push in a caramel apple stick the center of the apple after removing the stems. I also like to use twigs/sticks from our woods for apple sticks–it gives it fun, rustic look.
- Okay, ready for the best tip ever? Lightly sand your apples! I cannot believe the difference this makes. It really works! I use a fine grit sandpaper, and gently rough up the apple–not taking off any of the skin. Doing this removes some of the waxiness, and allows the caramel to stick. After sanding, I take a damp cloth and wipe off the apples, then let dry
- Rub a baking sheet with butter. This is where you’ll put your apples to cool after they’re dipped. I’ve found that the apples will stick even to parchment paper or wax paper, so I don’t use either one.
- Make your caramel, following the recipe exactly. You really do need to stir constantly, scraping the sides often. If you don’t have a candy thermometer, I would invest in one–I use mine all the time. I also use the cold water test–dropping some of the caramel into a cup of cold water is an easy way to see which stage your caramel is at. (Recipe below)
- Waiting a few minutes after your caramel is done to dip apples really makes a big difference. When the caramel is super hot, it has more of a tendency to slide off. You don’t need to wait too long though–less than 5 minutes.
- Dip your apples at an angle, then rotate. You can dip into the pot you made the caramel in, or place a smaller amount in a bowl if that’s easier to
- Once your apples have been dipped in the caramel, place them on your prepared baking sheet. I let mine sit for about 5 minutes or so to harden before I add any other toppings.
- Leftover caramel can be poured in a buttered dish to be cut and eaten later, or wrapped as individual caramels in wax paper.
- Place apples in the refrigerator to firm up–then you’re ready to eat and enjoy!
Nutrition
Originally posted 2018.