Burlap Flag Pillow
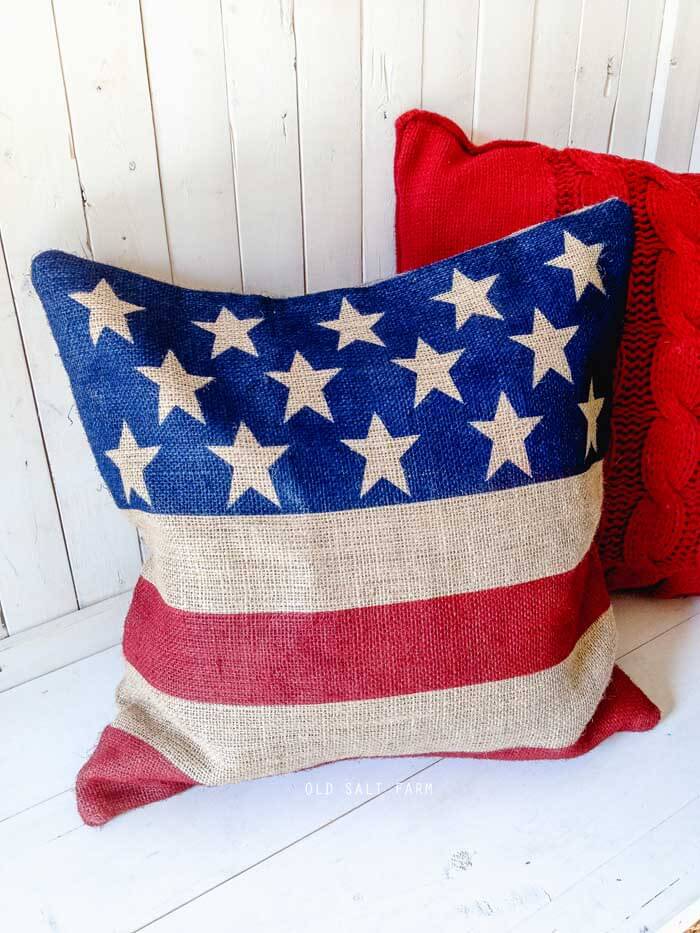
Make this easy and darling Burlap Flag Pillow for all of the patriotic holidays, or even year round! It doesn’t take long, and you only need a few supplies and a couple of hours (mostly for drying time). Perfect on a porch, couch, bed, or bench!
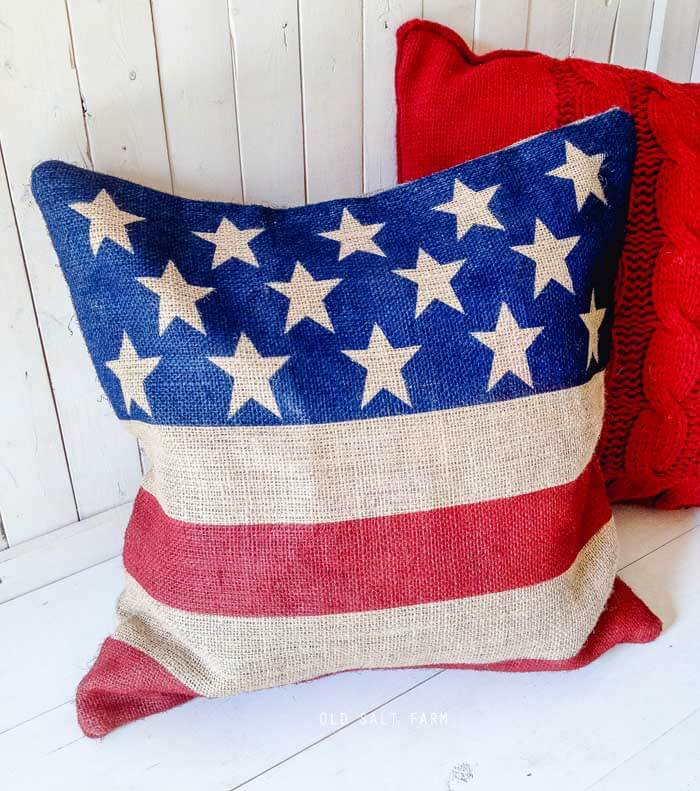
With Memorial Day the end of May, then Flag Day on June 14th, and the 4th of July, flag & patriotic decor can be up for awhile, which I LOVE. Independence Day has long been my favorite holiday (next to Christmas), and I get so excited when I can start decorating. I made this darling burlap flag pillow for my front entry bench, and it’s perfect!
It’s really easy to make, and I used the same method as my burlap flag bunting. I already had a burlap pillow cover that’s been sitting in my closet, but I would have made one otherwise. I actually need to make a couple for my boys’ beds, so hopefully I’ll be able to post a tutorial on those soon. In addition to the pillow cover, all you need is just a couple of supplies, and you’ll have your own super cute burlap flag pillow!
Table of contents
Affiliate links are included below for your convenience. Please see my full disclosure.
Supplies
I use spray paint on this project because it’s so much faster, but craft paint will definitely work too. You’ll likely need more than one coat for the proper coverage.
- Burlap pillow cover (linen or other fabric will work too)
- Painters tape
- Vinyl stars or stickers
- Spray paint, red & navy blue OR craft paint
How to make
Before you start, insert a piece of cardboard inside your pillow, so the paint doesn’t soak through. If you can get a piece that’s just about as big to fit inside the pillow, it will also keep it spread out the pillow and keep it’s shape while you paint it.
1. I cut out vinyl stars with my Silhouette, but you could always try and find star stickers the right size, which would also work. My burlap pillow cover is 20 x 20, and I cut my stars to be about 2.3 inches wide and 2.7 inches tall. I cut 14 of them—for two rows of five, and one row of four. I placed my vinyl stars on the pillow cover, keeping them on the top third. To make the stripes, I used painters’ tape, and layered two pieces to get the thickness I wanted.
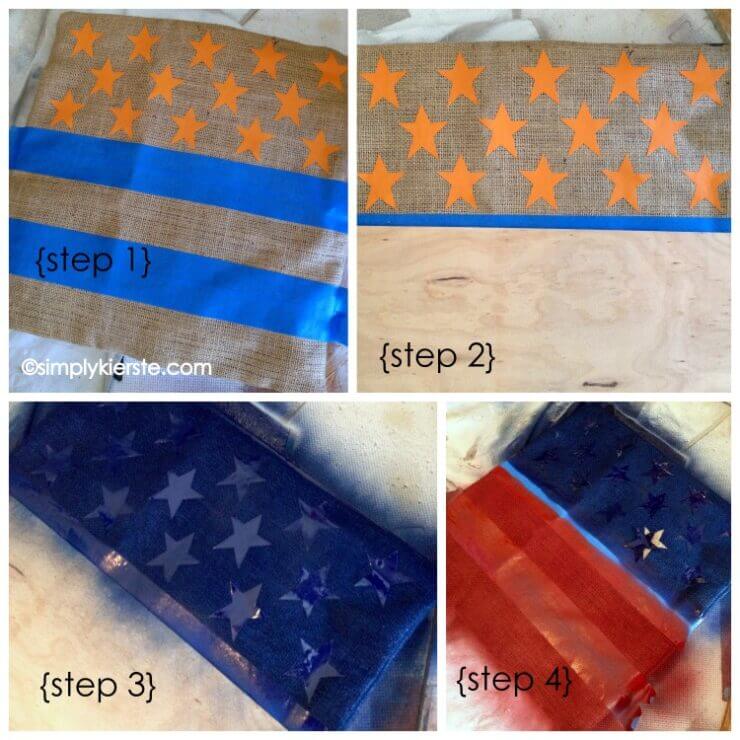
2. You need to paint this in two stages–the stars, and then the stripes. I covered up the stripes with a board, so I could paint the stars and not get any blue paint on the bottom part.
3. Spray the top part navy blue (I used Rustoleum Navy), and let dry.
4. Once the blue is totally dry, move the board to the top, cover up the stars, then paint the stripes red. (I used Rustoleum Regal Red) Remove the board, and let dry.
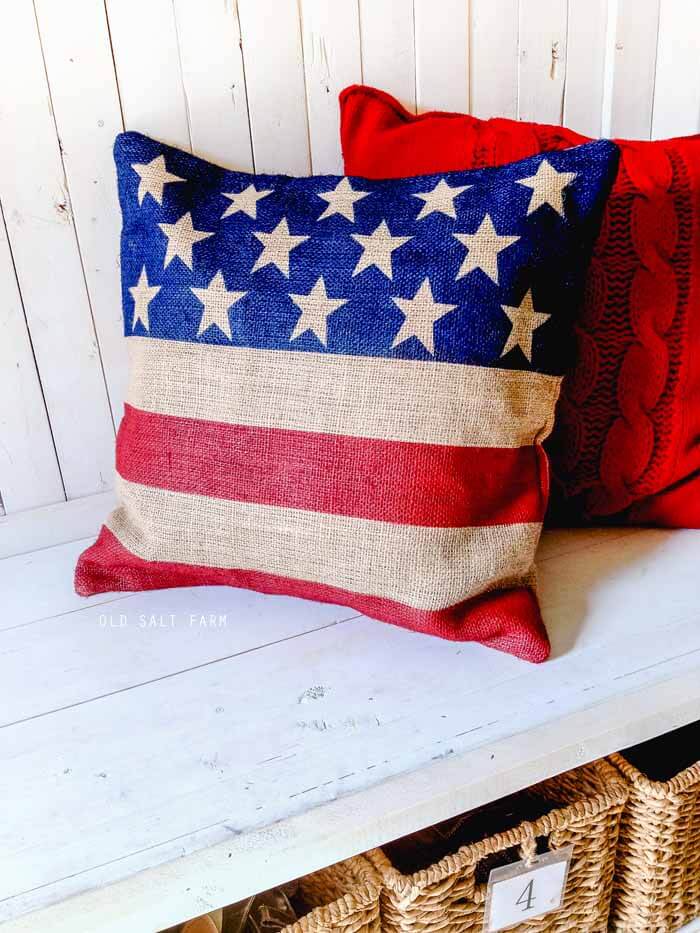
Pop in your pillow insert, and you’re done!!! Super easy, and SUPER cute!!!
FAQ
No, you have other options. I originally made this in 2013, when burlap was very popular. If you love the pillow, but not the burlap, you can certainly use linen or another type of fabric pillow cover. I suggest using a natural or white color to make sure you can see the colors of the flag.
I typically use spray paint for this project because it’s so fast, but craft paint is great too, and I’ve used it on projects similar to this one. It may need an extra coat for the correct coverage.
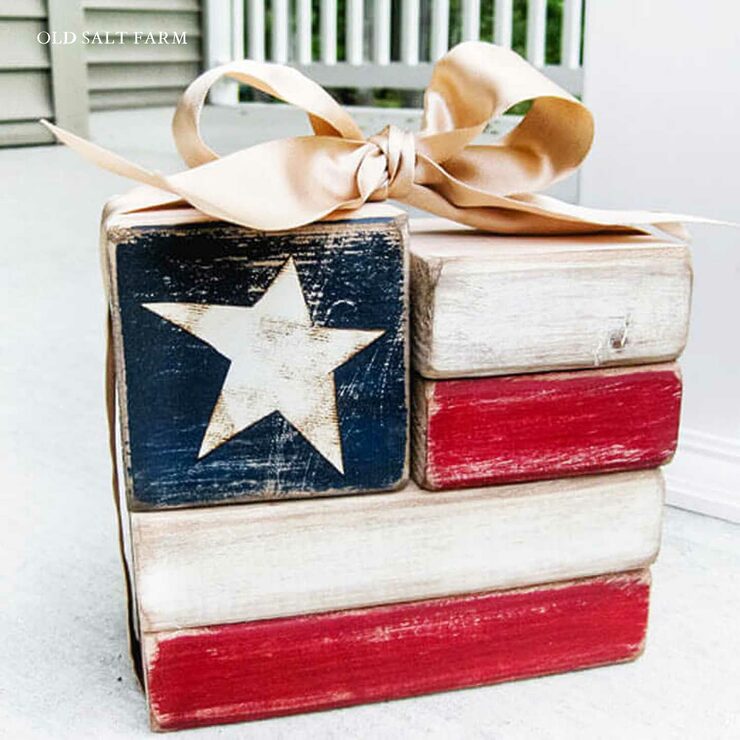
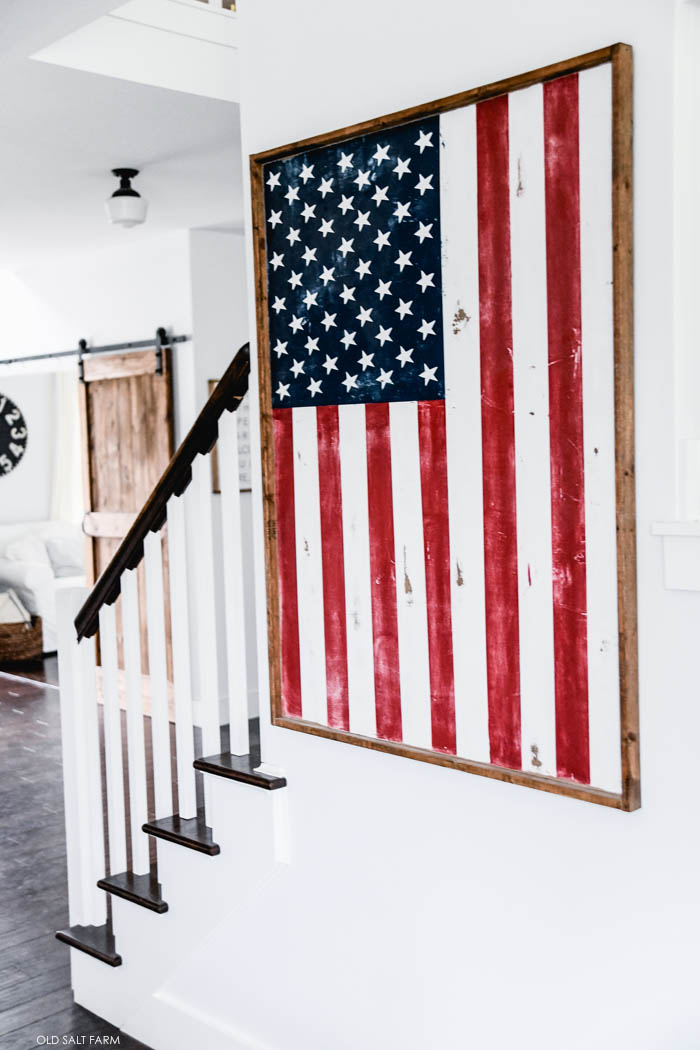
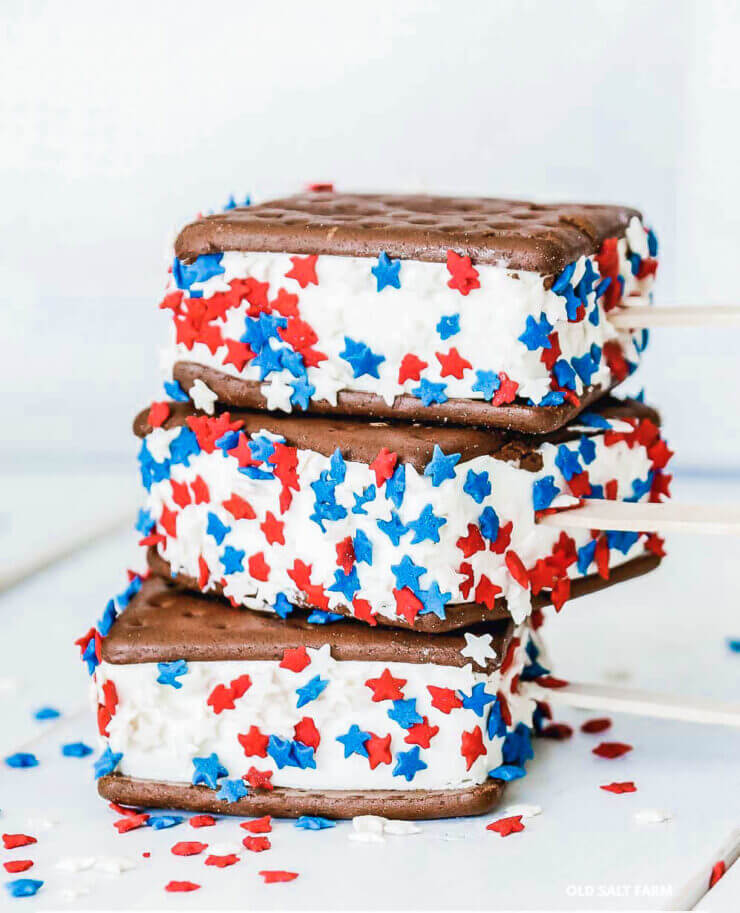
More patriotic ideas
Thanks so much for stopping by! Find me on Instagram and Facebook for even more easy ideas for home. I’d love to see you there!
Updated post…originally posted in May of 2013!