4th of July Rice Krispie Treats
Spark your celebration with these darling 4th of July Rice Krispie Treats. Super easy to make, and sure to be a hit. Plus…this recipe has a secret that makes them even yummier!
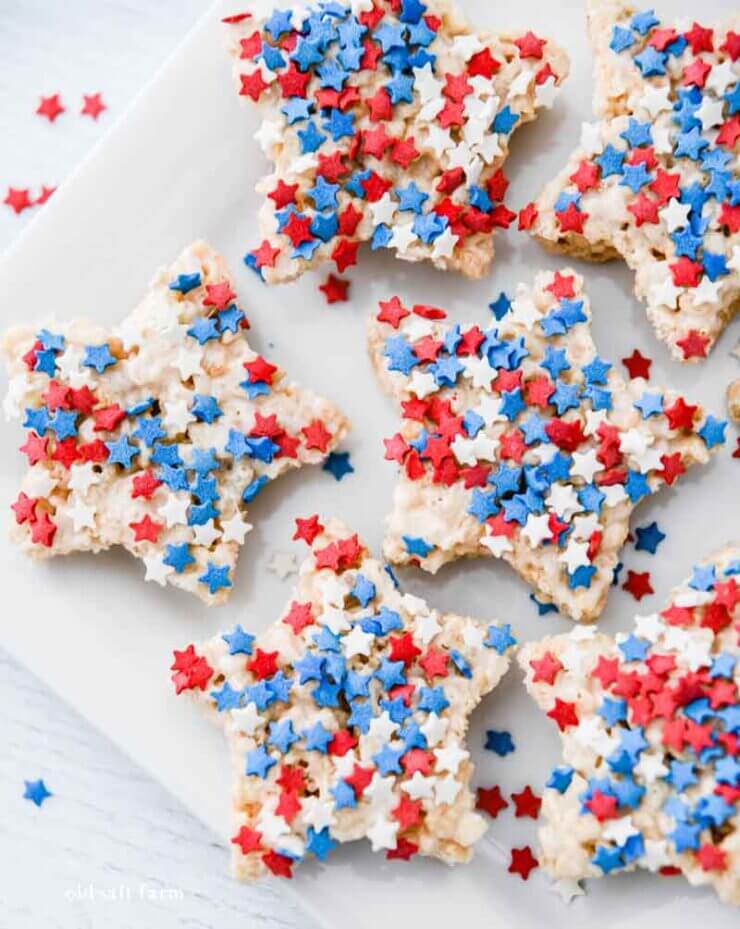
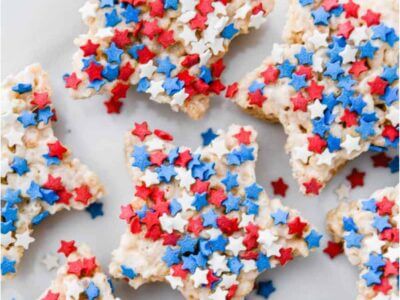
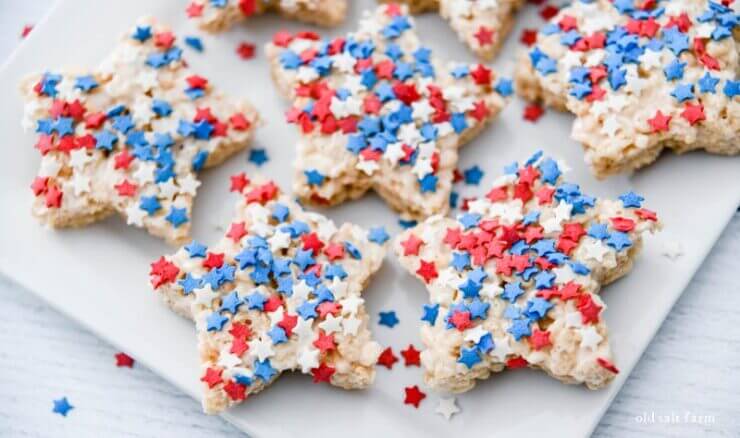
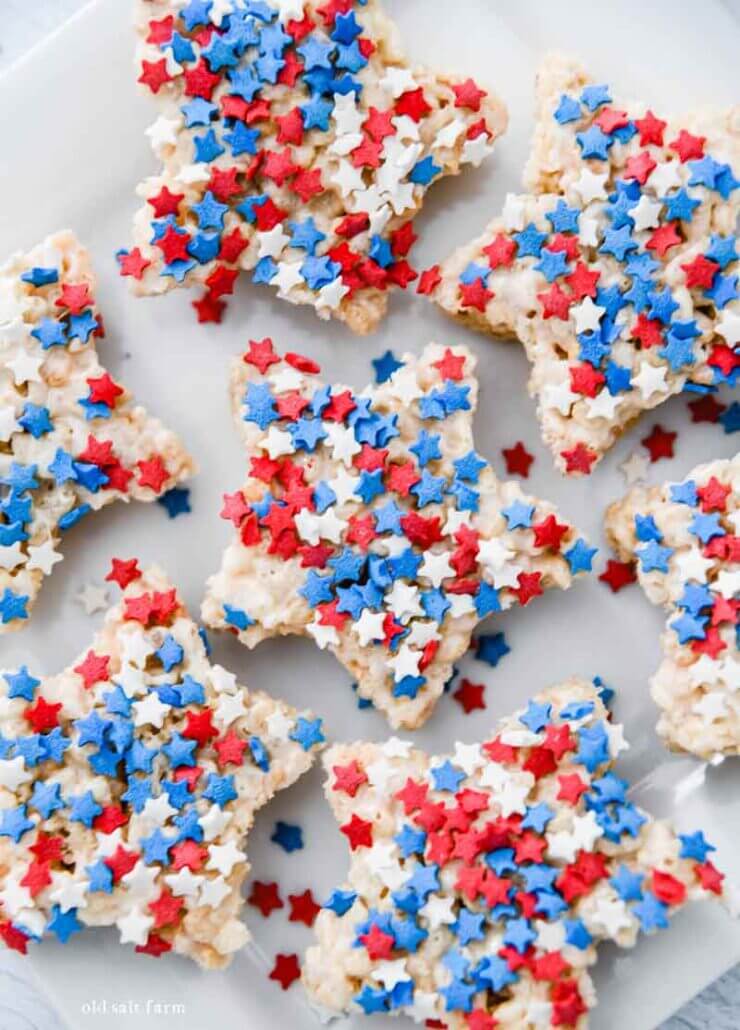
This week was Flag Day, and I wanted to make a fun treat for my kids to have when they got home from school. Since it had been a busy day, I didn’t have a lot of time, but I knew exactly what I could make. Rice Krispie Treats are a huge favorite at our house, and it doesn’t take long to whip up a batch. Armed with a star cookie cutter, sprinkles, and a special ingredient, I made a batch of Red, White, and Blue Rice Krispies Treats perfect for Flag Day, 4th of July, and all summer long.
Aren’t they so fun and festive? They’re perfect for any kind of patriotic or summer event or celebration. They definitely scream summertime, and any time I make them, they’re gobbled up. I love serving them with other red, white, and blue favorites, like Fruit Sparkler Kabobs and Popcorn Lollipops.
Table of contents
Affiliate links of products I use and love are below. Please find my full disclosure HERE.
Ingredients
- Rice Krispies cereal
- Butter
- Mini Marshmallows
- Patriotic sprinkles (my favorite!)
When I thought about how to make these red, white, and blue, I knew I had to use sprinkles. My kids are obsessed with sprinkles, and love them on everything. We use them often– on cookies, ice cream, Rice Krispies treats, and more–sometimes even waffles.
Instead of mixing the sprinkles into the melted marshmallows, I dipped the treats instead. Sometimes when adding sprinkles into a hot mixture, the color can melt off into the mixture. I wanted the marshmallows to remain white for this recipe, so I didn’t want to take that chance. And when I asked my son and gave him the choice, it’s what he picked too.
How to make
I hinted about a secret that will make these even yummier, and it all starts with the very first step! If you’re comparing the traditional Rice Krispie Treats recipe, yes I use a lot more butter. I like softer, chewier treats, and more butter helps with that.
In a large pot, melt 1/2 cup butter over medium-low heat. As it cooks, it will start changing color as it browns. Keep moving it around the pan until it turns into a light brown and has nutty smell.
At that point, add in the marshmallows, and stir until melted. Pour in the Rice Krispies and mix well. Start with 7 cups, then add a bit more if needed. Less cereal will make them softer, more cereal will make them crisper. I prefer softer not harder, so I start with less and add a bit more at a time if needed. They will also harden as they cool, so keep that in mind as you’re adding more.
Press into a buttered 9×13 baking dish, and let cool.
Once they’ve cooled, use a cookie cutter to cut out stars.
TIP: Dip the bottom of the star into the sprinkles, then place that side up onto a plate. The reason I dip the bottom is because it’s more sticky than the top, since the top will dry out while cooling. The sprinkles won’t stick to the top, but they’ll stick to the bottom! (Soon to the be the top.)
The extra scraps can be pressed together to cut out more stars. Or just eaten. :)
Everyone loves these yummy, festive treats. Bring them to a BBQ, 4th of July party, take them to neighbors!
My kids love helping to make these, and they’re easy enough that beginners can make them with a bit of supervision with the stove. Even little ones can help with the “dipping”, which is always a favorite at my house.
More 4th of July recipes and ideas…
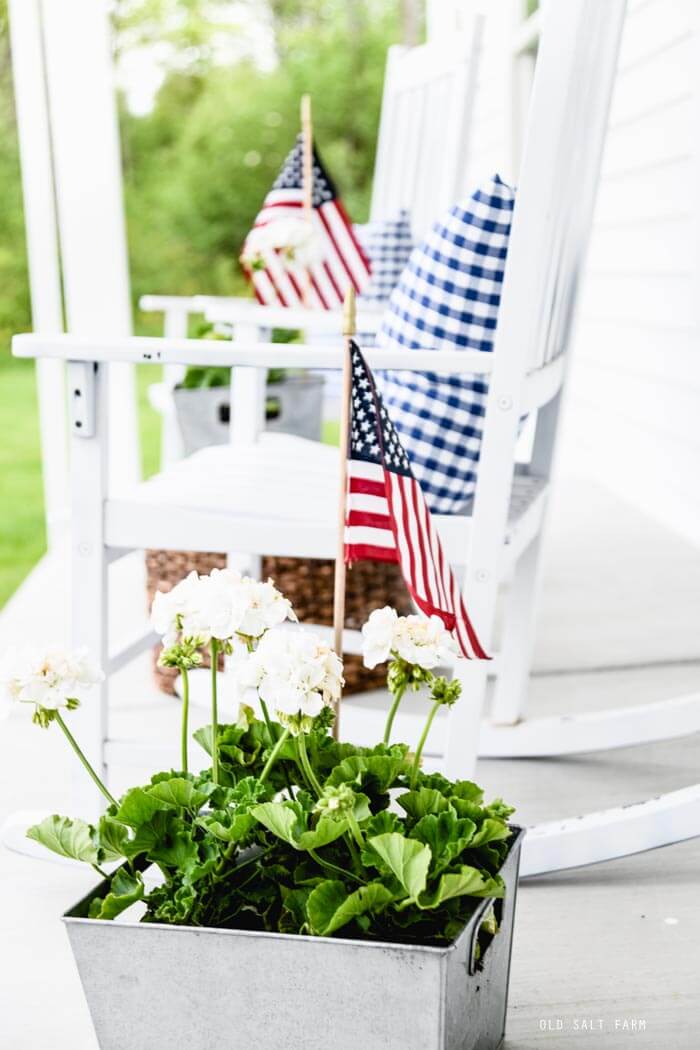
DIY Handprint Flag Tee | Flag Fruit Platter | Patriotic Summer Porch
Thanks so much for stopping by! Join me and subscribe to my newsletter–get all the ideas and inspiration for home + holidays right in your inbox! 🖤

Red, White, and Blue Rice Krispie Treats
Print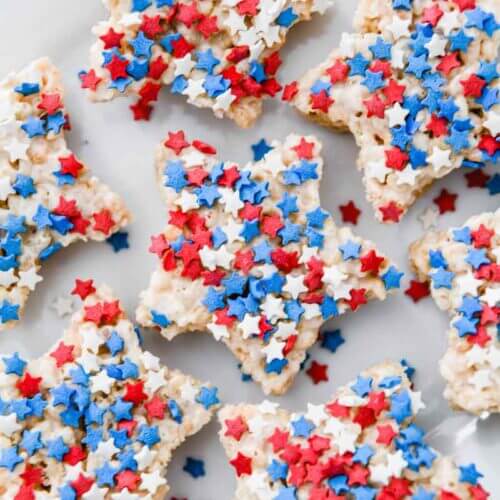
Ingredients
- 2- 10 oz. packages mini marshmallows
- 1/2 cup butter
- 7-8 cups Rice Krispies cereal
- red, white, and blue sprinkles
Instructions
- In a large pot, melt 1/2 cup butter over medium-low heat.
- As it cooks, it will start changing color as it browns. Keep moving it around the pan until it turns into a light brown and has nutty smell.
- At that point, add in the marshmallows, and stir until melted.
- Pour in the Rice Krispies and mix well. Start with 7 cups, then add a bit more if needed. **Less cereal will make them softer, more cereal will make them crisper.**
- Press into a buttered 9×13 baking dish, and let cool.
- Once they’ve cooled, use a cookie cutter to cut out stars.
- Dip the bottom of the star into the sprinkles, then place that side up onto a plate. The reason I dip the bottom is because it’s more sticky than the top, since the top will dry out while cooling. The sprinkles won’t stick to the top, but they’ll stick to the bottom! (Soon to the be the top.)