Gingerbread House Gift Bags
Add a handmade touch to your holiday gifting with these adorable gingerbread house gift bags! They come together in just minutes and are such a simple, budget-friendly way to spread a little extra cheer this season.

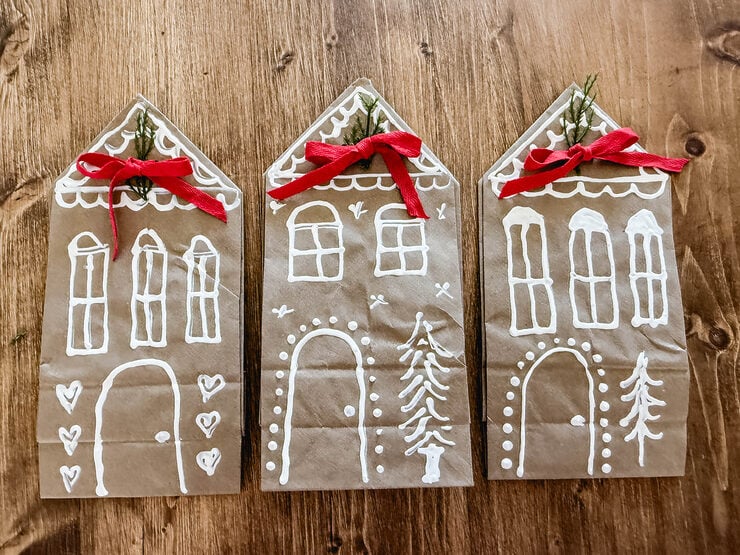
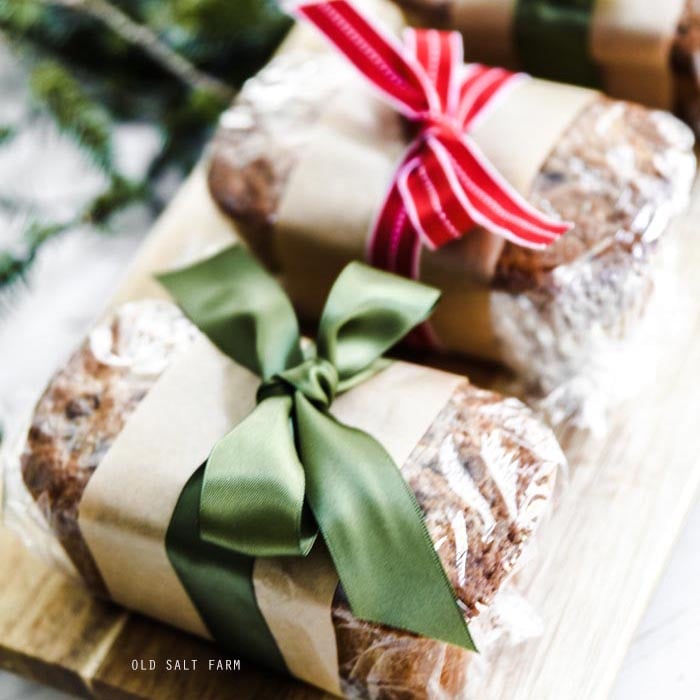
Bringing simple gifts to neighbors, friends, teachers, and coworkers, and other special people in our lives is one of our favorite things to do at the holidays. Homemade Hot Fudge, Stovetop Holiday Potpourri, and Cookies in a Jar are a few of our go-to holiday gifts. This year I’m doing homemade goodies, and placing them in these darling Gingerbread House Gift Bags.
Aren’t they just the cutest? The best part is, they’re so easy to make—no artistic skills required! This is all about having fun and letting your creativity shine. I had an absolute blast putting these together, and my kids loved to help and design their own too. Fill them with little treats or surprise gifts, and you’ve got a handmade delight that anyone would love to receive. If you’re looking for a quick and festive DIY this holiday season, these gingerbread house gift bags are a must-try! They’re easy to make, super affordable, and the sweetest way to dress up any present.
Table of contents
Affiliate links are included below for your convenience. Please see my full disclosure.
Supplies
I used paper lunch sacks, which are very inexpensive–great for making a bunch. You could also use this same technique on a kraft gift bags for a larger gift, if desired.
Choose a puff paint that comes with a tip–so you can use it to easily draw on your design.
- Paper sacks or kraft gift bag
- Puff paint, white
- Ribbon
- Pine greenery (optional)
How to make
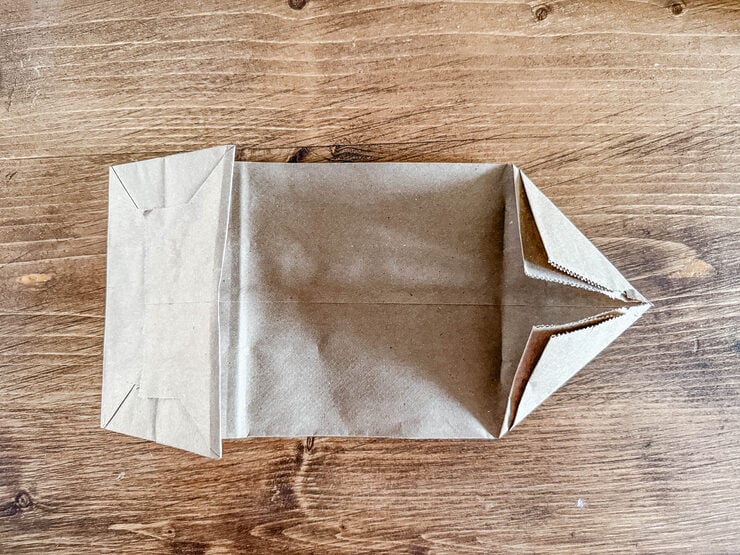
Look at your sack flat, with them seam side facing up. Make sure the bottom flap is also on that side. Fold the top corners in, lining them up with the center seam.
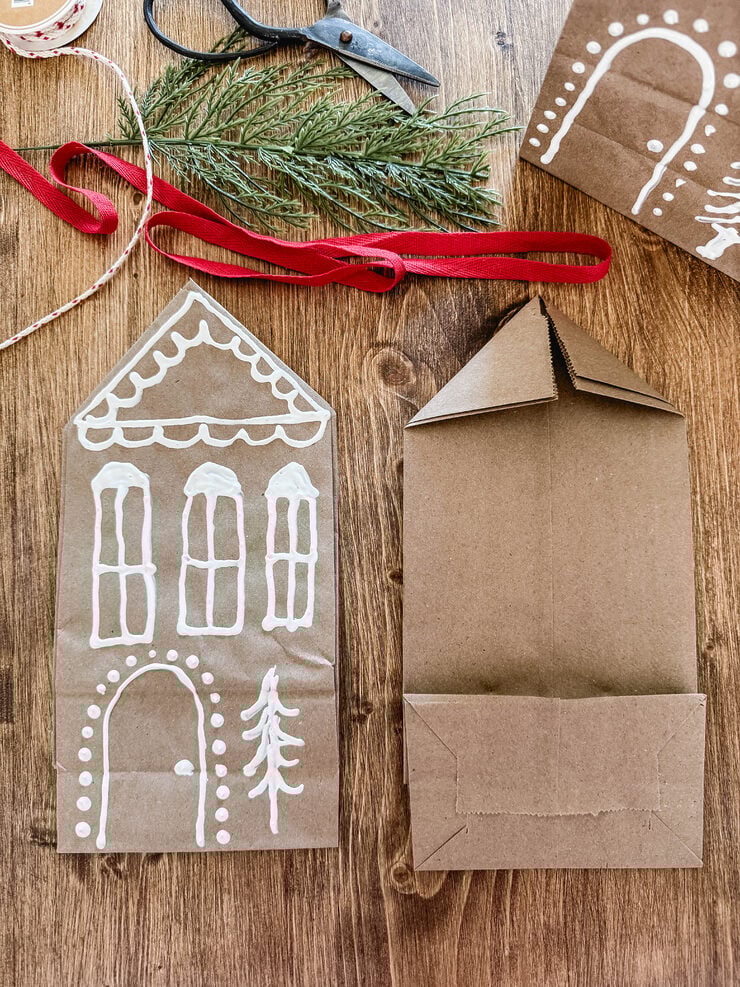
Turn the bag over, and start your design with your puff paint. You can use a pencil to lightly draw on your design first, if you’d like. I tried that first, but ultimately it was easier for me to freehand it.
Once your design is finished, set the bag aside and let dry completely. It took a few hours, but it will depend how thick the paint is.
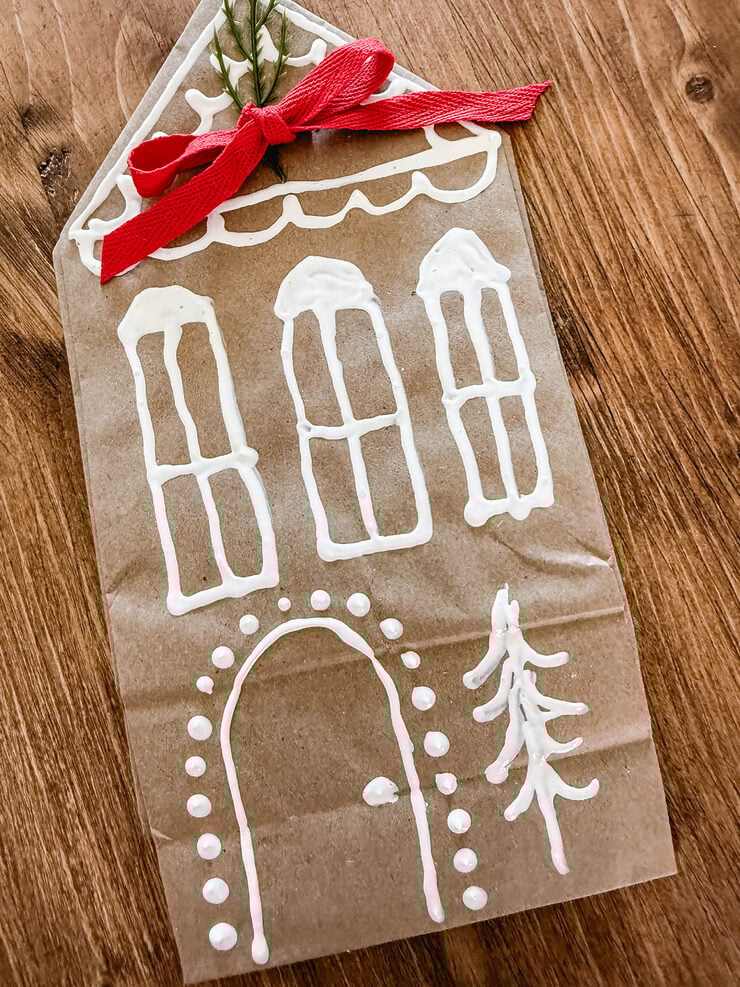
When it’s completely dry, punch holes at the top of the bag. Fill your bag as desired, then thread a ribbon through the holes and tie closed. I like to tuck in a piece of pine — real of faux!
There you have the most festive bags, perfect for giving!
FAQ
Yes, absolutely. If the bag has handles, you’ll need to fold in the edges right before the handles.
Yes, you can use a chalkbooard marker. I tried them first, and they worked well–but the lines were not as prominent.
More Christmas ideas
- How to Wrap Baked Goods for Christmas
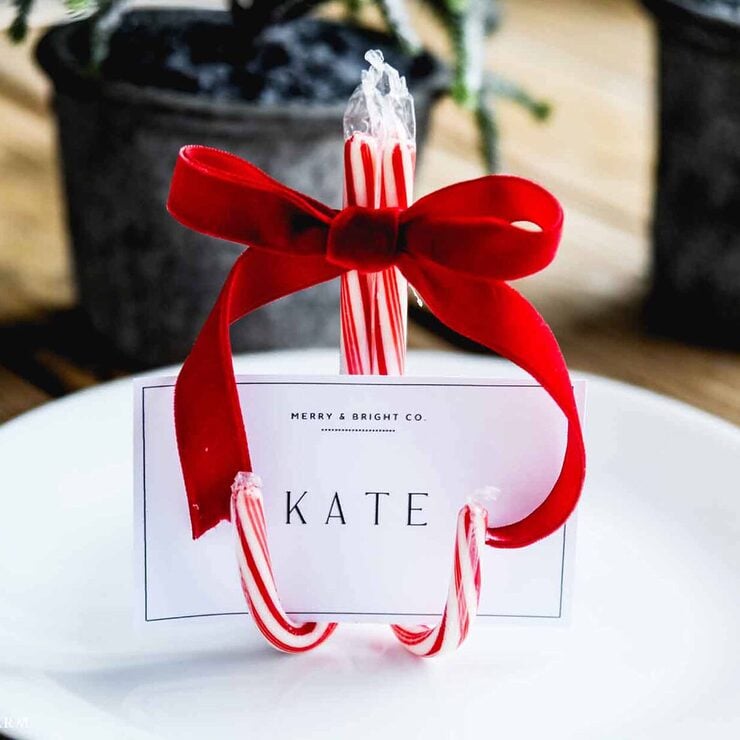
- Candy Cane Place Card Holders
- 30 Countdown Christmas Activities

Thanks so much for stopping by! Join me on Instagram for even more ideas and inspiration…I’d love to see you there. 🖤
