Monogrammed backpack tags
My kids love having something on their backpacks that identify it as “theirs”. I created these super cute monogrammed backpack tags that are perfect for the new school year!
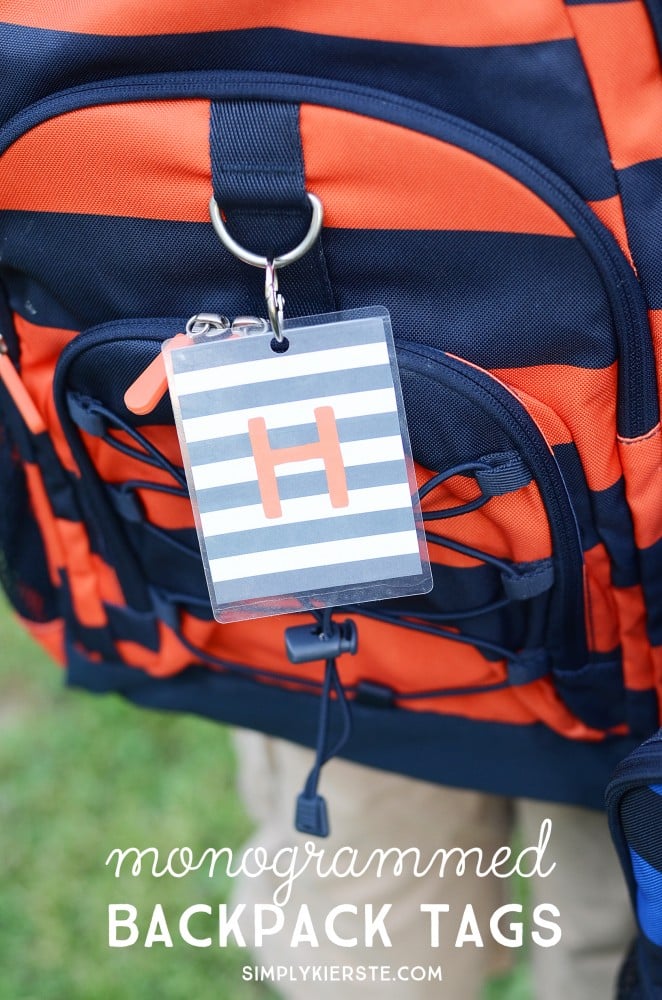
I prefer using monograms instead of their full names for safety reasons, plus initials are really just adorable!
![]()
My darling boys (yes, they’re twins!) are heading off to kindergarten this fall (sniff, sniff), and they are SO excited about their backpacks and tags.
![]()
On my girls’ tags, I added a bit of ribbon. I think I could add even a few more pieces, for a fuller look, and it would be darling!
![]()
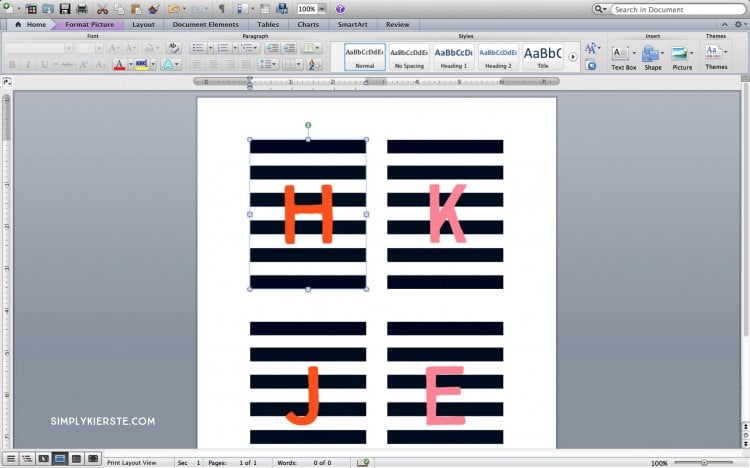
These are SO easy to make…you need just a few items and you can make one for each of your kids! You can also use the printable for other things–laminate them and attach to storage baskets, or print onto white sticker paper and make monogrammed stickers for notebooks and other items!
![]()
SUPPLIES: (affiliate links included)
-printable tags (download below)
–Scotch laminating pouches (I used 2.5 x 3.5)
OR laminate on your own (my favorite laminator!!)
-hole punch
-ribbon (optional)
DIRECTIONS:
1. I’m sharing the tags as JPG files (images) instead of PDF files. If I shared it as a PDF, you wouldn’t be able to change the size at all–only print it exactly as is–which is what I usually do. In this case, I thought you might want to have more control over the size. It’s super easy to change in Word.
-Open up one of the files below by clicking on it, then save it your computer.
-Open up a new document in Word.
-Click on Insert > Photo > Picture as File, then browse for the tag where you saved it.
-Click on one of the corners of the picture, and you can easily change the size, making it larger or smaller.
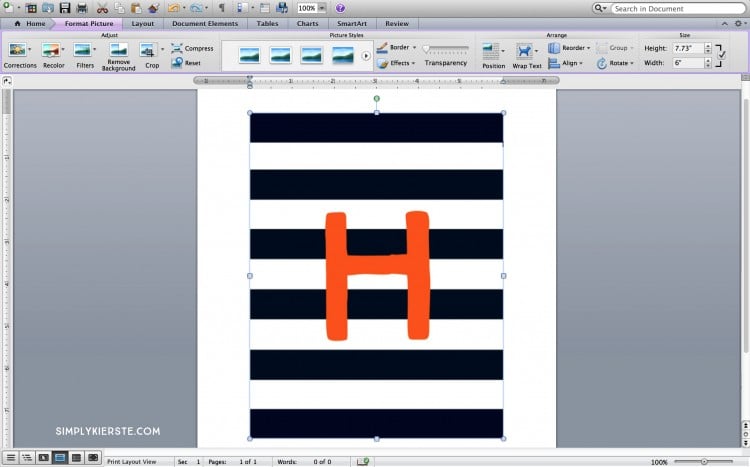
-OR, if you know the exact size you want it to be (like I did–I wanted them to be 2.5 x 3.5 to fit my pouches), then click Format < Columns, and you can create columns to be the exact size you want your tag to be. When you insert your picture, it will automatically fit to that space.
(Affiliate links below)
2. Print your tags onto white cardstock for tags, or white sticker paper (I like the full sheet 8.5 xx 11 labels).
3. Have you used the Scotch self-laminating pouches? I love them for things like this! You can buy them in different sizes, and you don’t need a laminator or anything–just peel and stick! SO easy! You can either use one of the pouches, or you can use a regular laminator to laminate them.
4. Punch a hole in the top of the tag, then use a silver book ring to attach the tag to the backpack!
![]()
DOWNLOAD:
Cute! Where did you get their backpacks?
Thanks! They’re from PB Teen! xoxo