• Home
  • Blog
  • Project Gallery
  • About Me
    • About Old Salt Farm
    • Contact Info
  • Terms of Service & Privacy Policy
  • My Book
    • Email
    • Facebook
    • Instagram
    • Pinterest
    • Twitter

Old Salt Farm

Farmhouse + DIY

  • DIY
    • DIY Home Decor
    • Paint & Stain Projects
    • Re-purposed Projects
    • Woodworking
    • Outdoor Projects
  • For the Home
    • Old Salt Farm
    • Farmhouse Style
    • Home Decor & Styling
    • Cleaning
    • Organization
    • Entertaining
    • Crafts
      • Printables
      • Fonts
      • Silhouette
      • All Crafts
      • Kids’ Crafts
  • Holidays
    • 4th of July
    • Back to School
    • Christmas
    • Cinco de Mayo
    • Easter
    • Fall
    • Halloween
    • New Year’s Eve
    • Spring
    • St. Patrick’s Day
    • Summer
    • Thanksgiving
    • Valentine’s Day
    • Winter
  • Family Life
    • Kids’ Ideas
  • Gift Ideas
    • Birthdays
    • Father’s Day
    • Mother’s Day
    • Teachers
    • Thank you
    • Thinking of You
    • Weddings
    • Babies
  • Lifestyle
    • Travel
  • Recipes
    • Appetizers
    • Breads
    • Breakfast
    • Crockpot
    • Cookies & Bars
    • Desserts
    • Main Dishes
    • Soups
    • Snacks
    • Drinks
    • Holidays
    • Game Day
  • The Farmhouse Finder
  • Shop

Nov 5, 2017

Homemade Cinnamon Ornaments

Easy Homemade Cinnamon Ornaments
DIY Cinnamon Ornaments

Easy and adorable Homemade Cinnamon Ornaments, perfect for your tree or Christmas decor, and so fun to do!

Easy Handmade Cinnamon Ornaments | Christmas Ornaments | oldsaltfarm.com #handmadeornaments #diyornaments #easychristmasideas

Homemade Cinnamon Ornaments

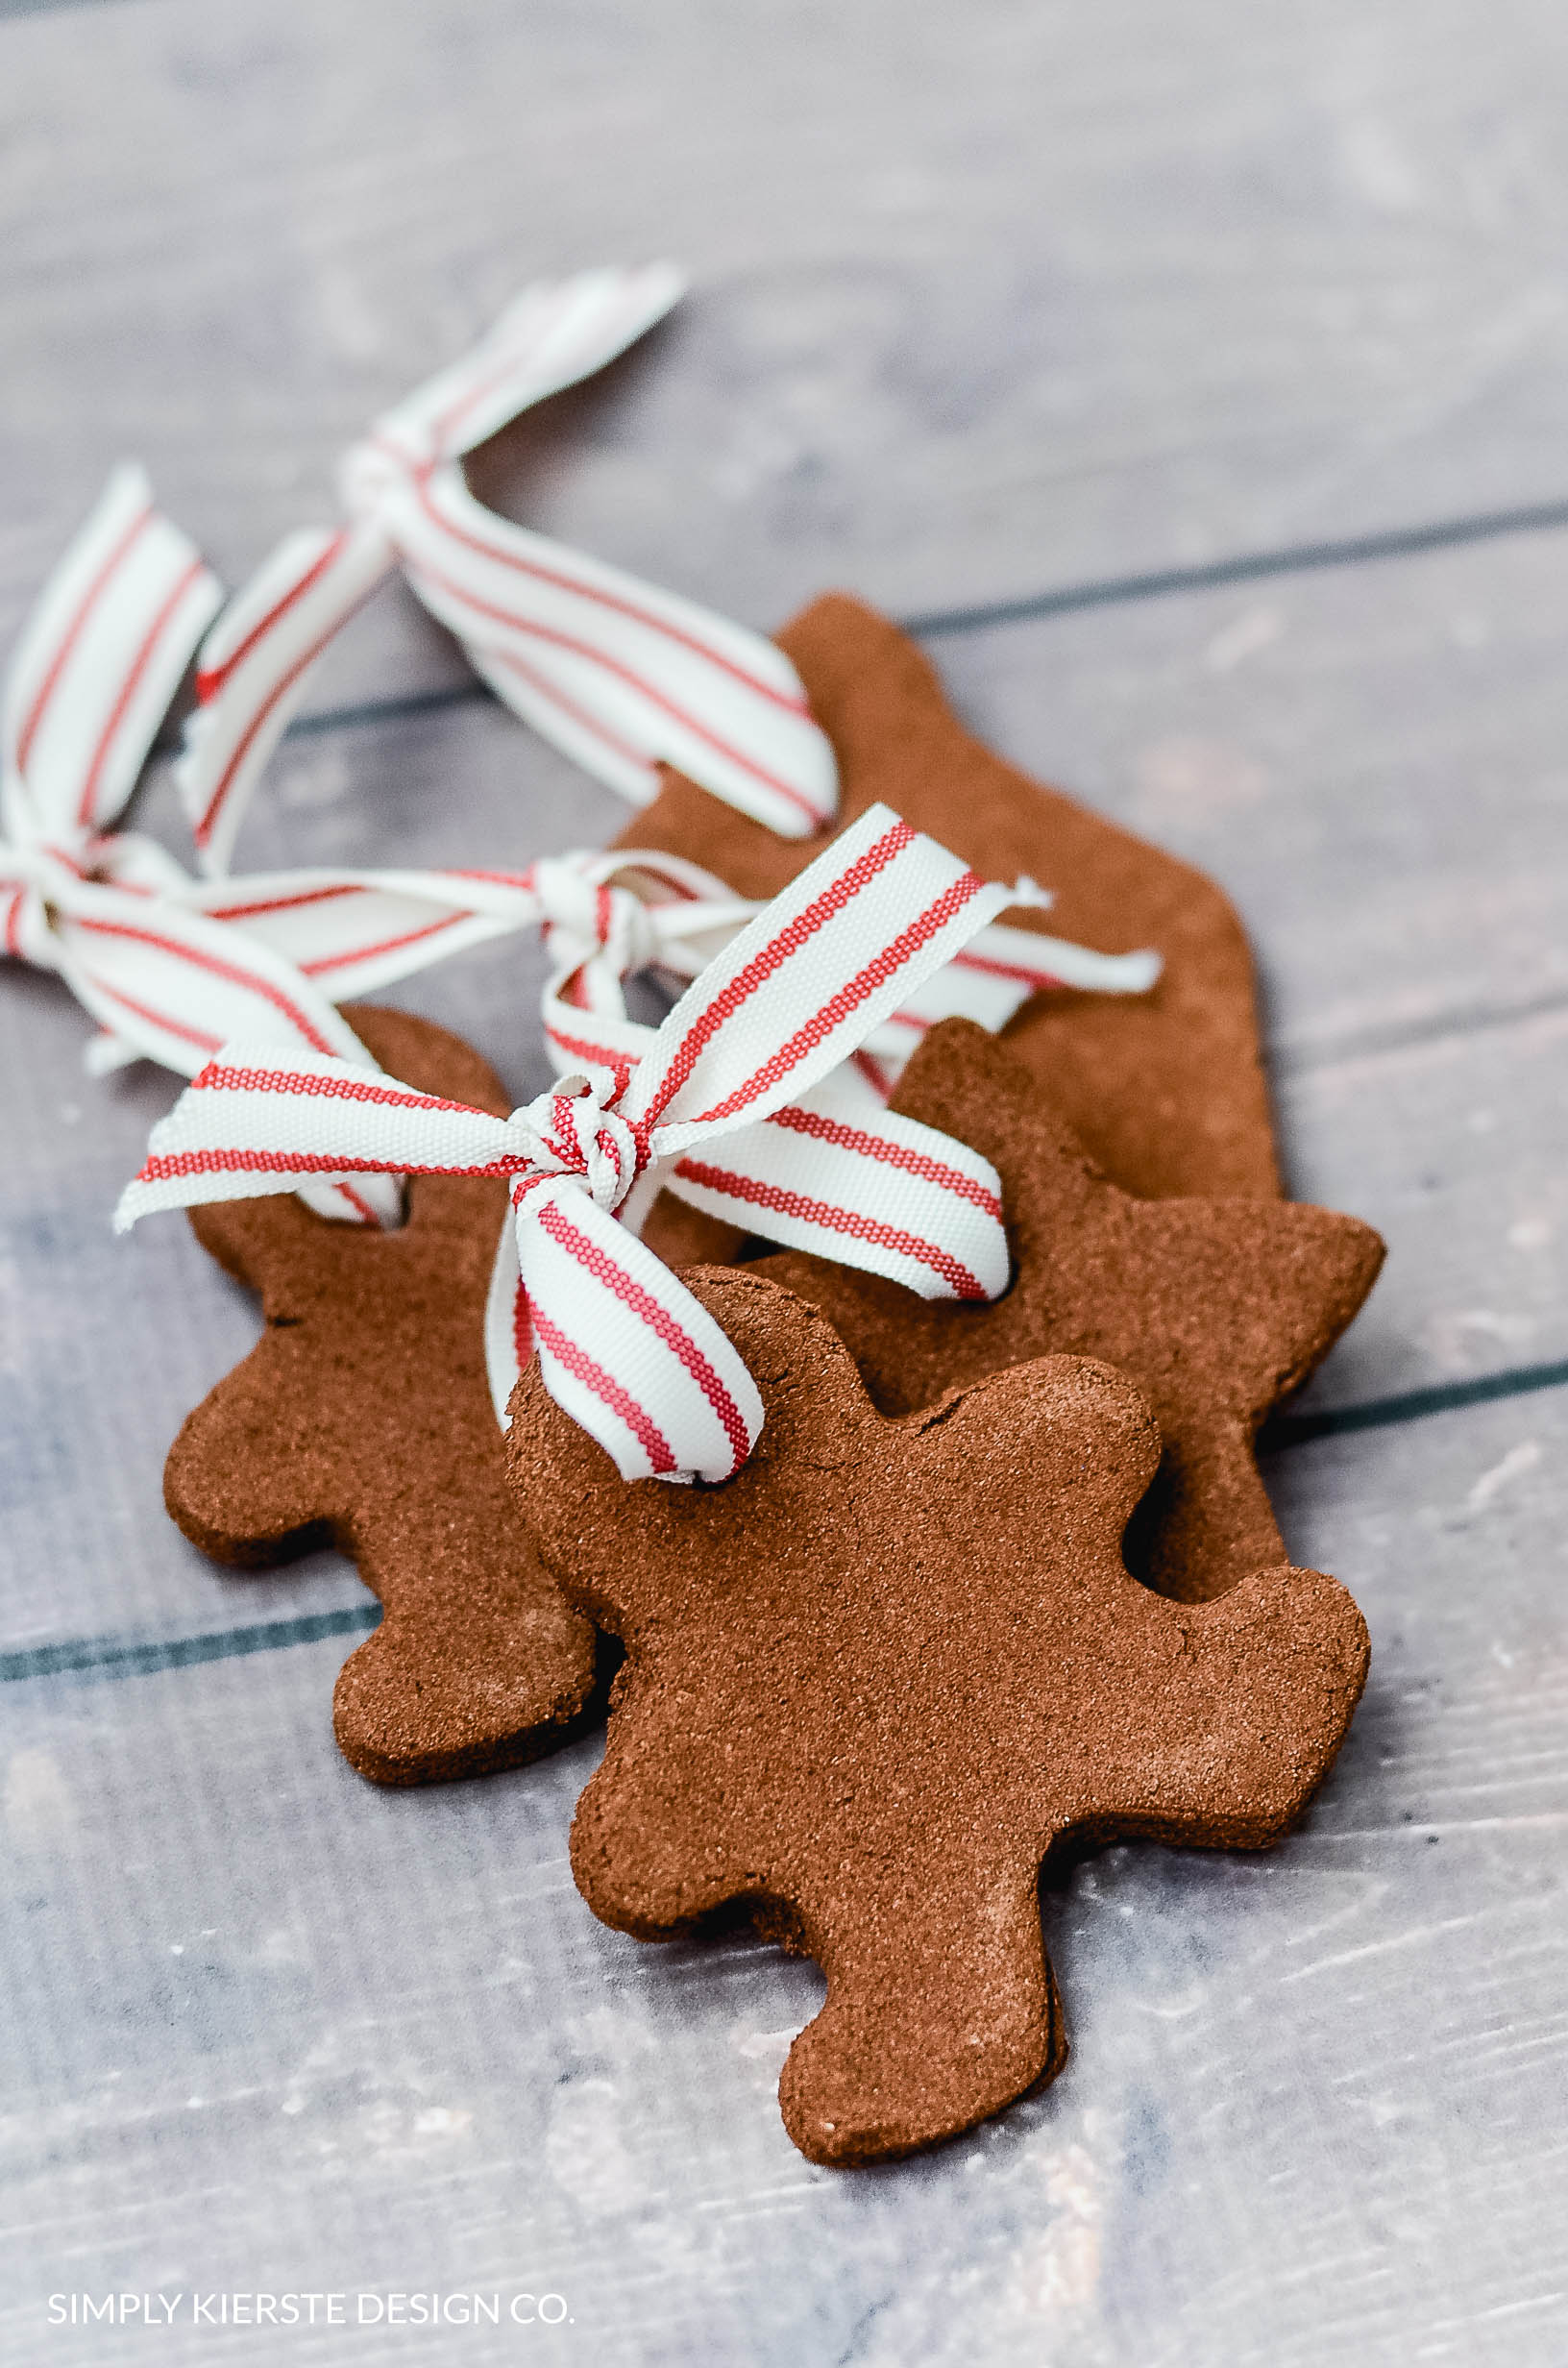
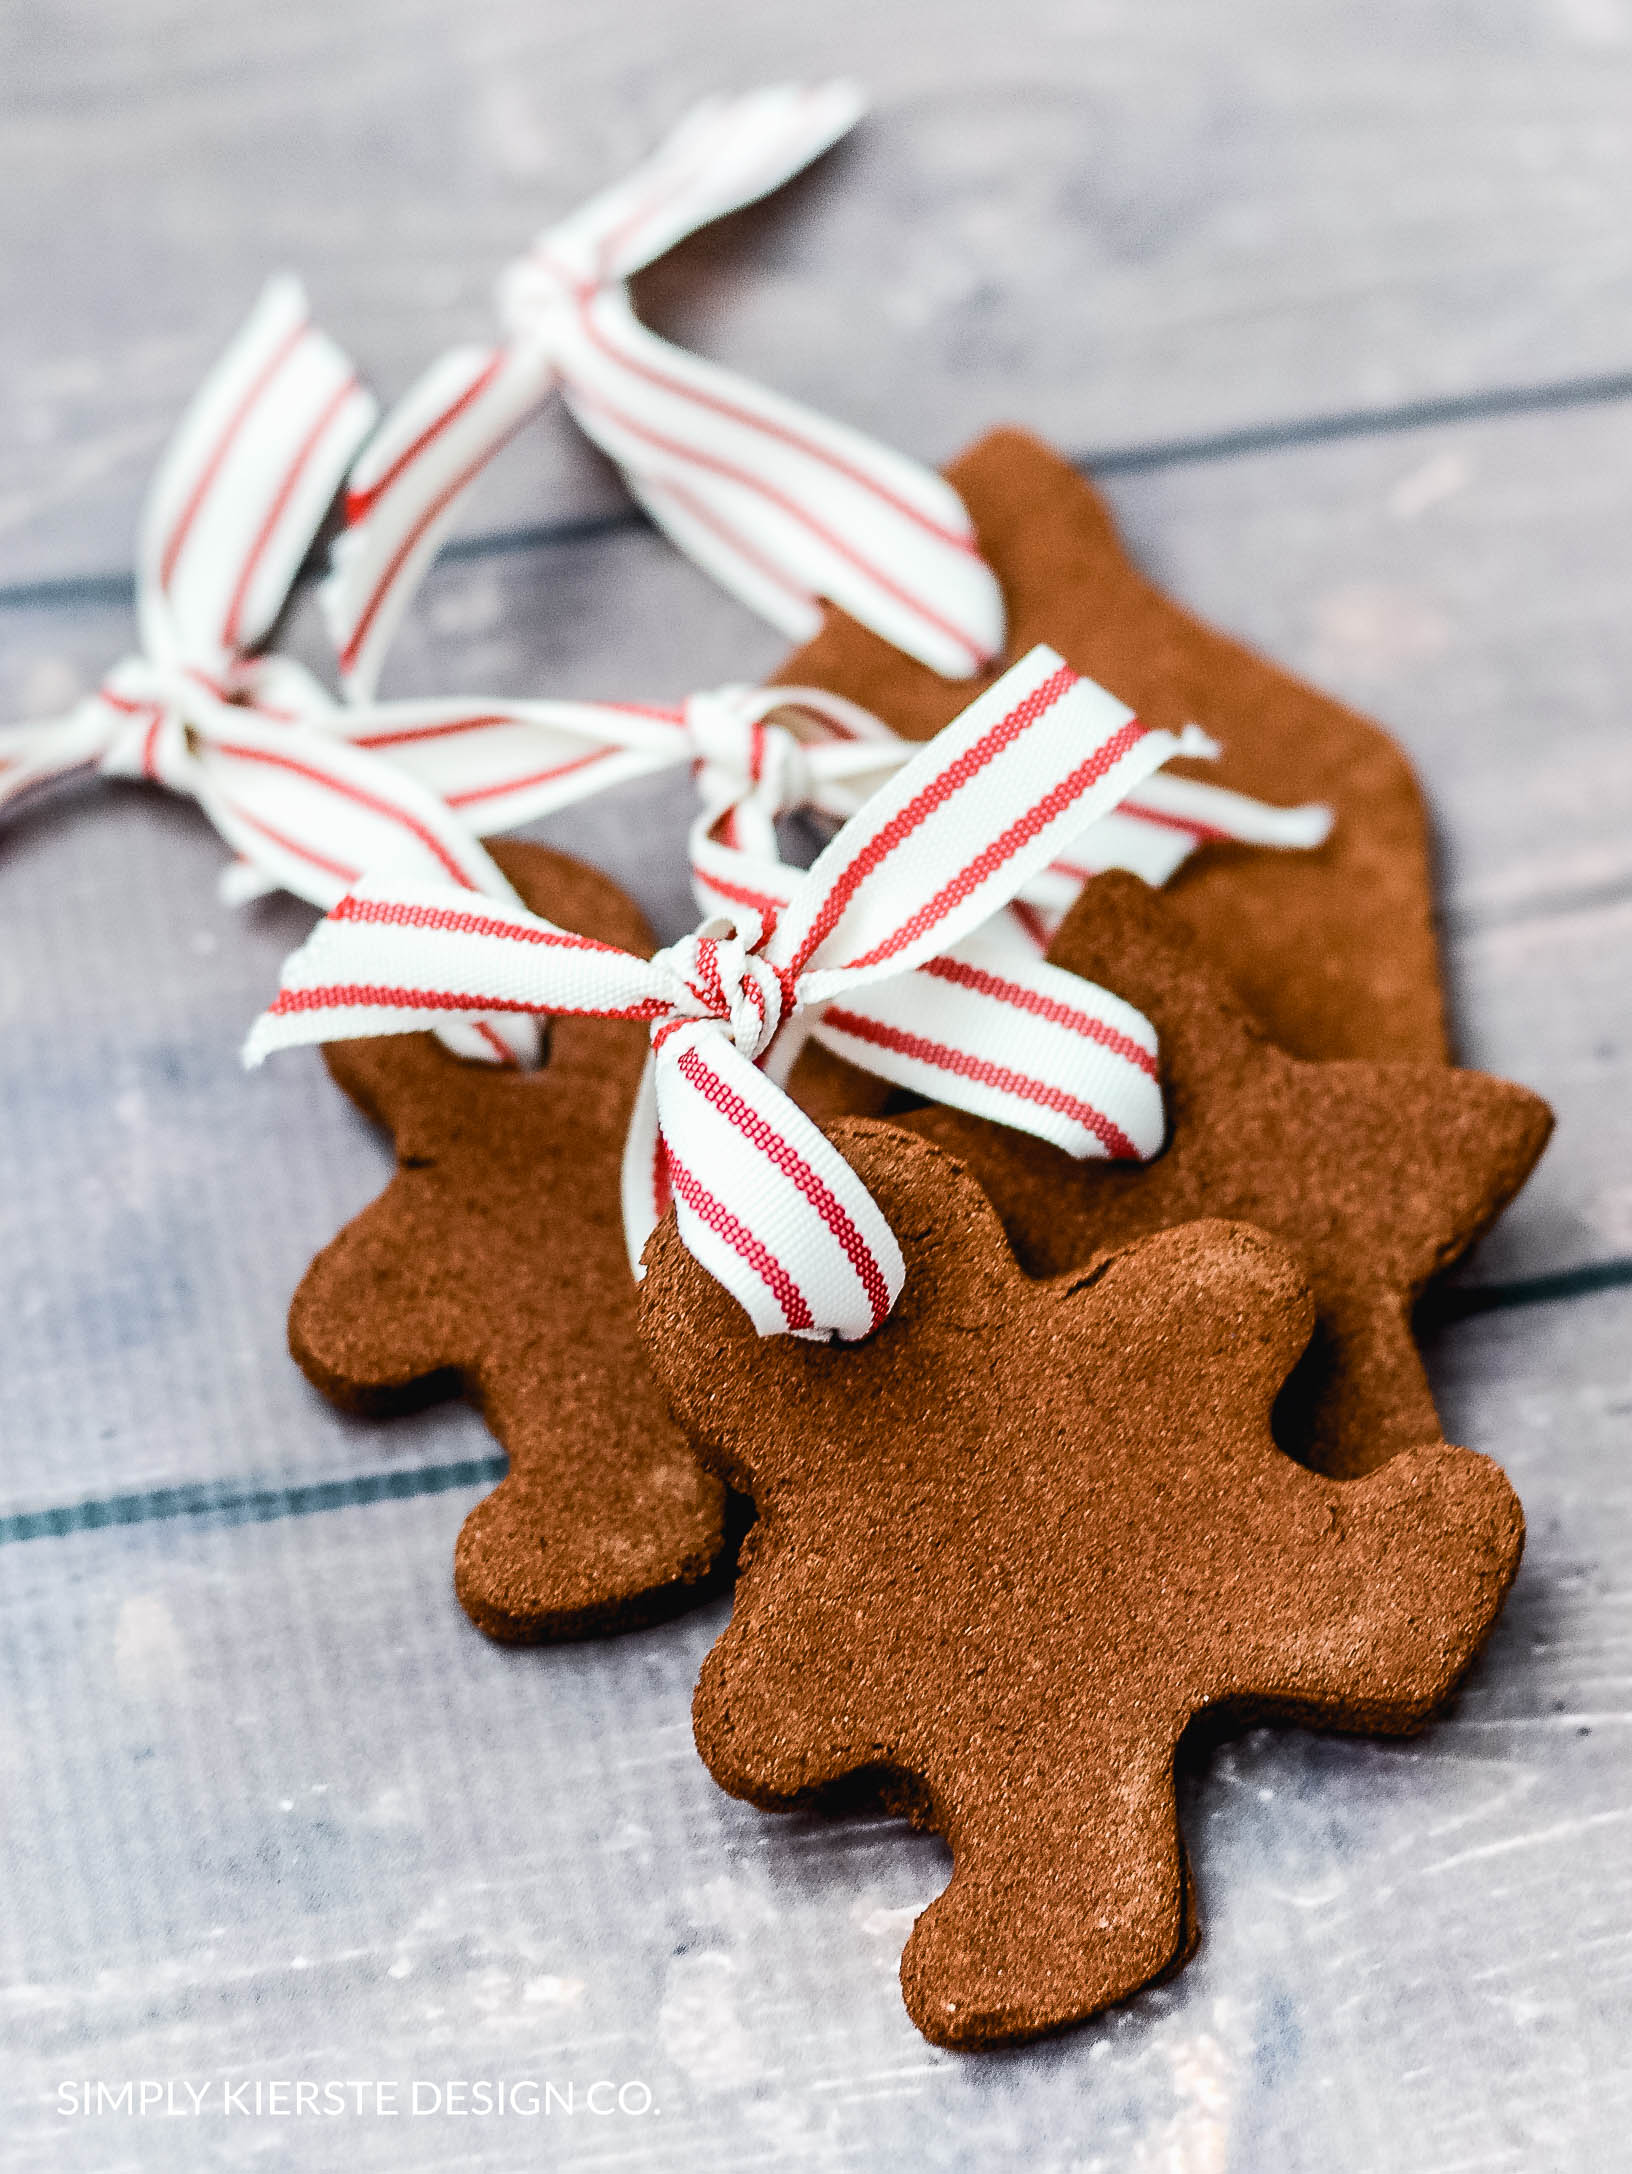
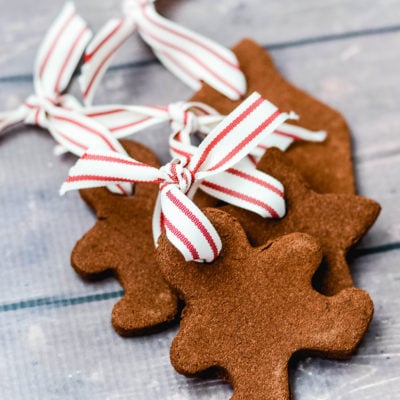
I made these for our first Christmas tree when we were first married, and I have absolutely loved them ever since.  There is something just so cozy about making handmade ornaments, in all their rustic and lovely imperfection.  Perhaps it’s the old-fashioned girl in me that wishes I could sit in a log cabin, string popcorn garland, and hang these on the tree I cut down in the woods.  This is my way of capturing a piece of that, and I love it! They are most certainly farmhouse perfection!

It was the perfect activity to do with my kids.  They helped with the measuring, stirring, rolling and cutting, and made sure the oven light was on so they could monitor their progress while they were baking.  

Once they were cool, they helped string the twine, and brush off remaining crumbs. We had to repeat over and over again that these were NOT to eat, and I think they’ve finally got it. :)

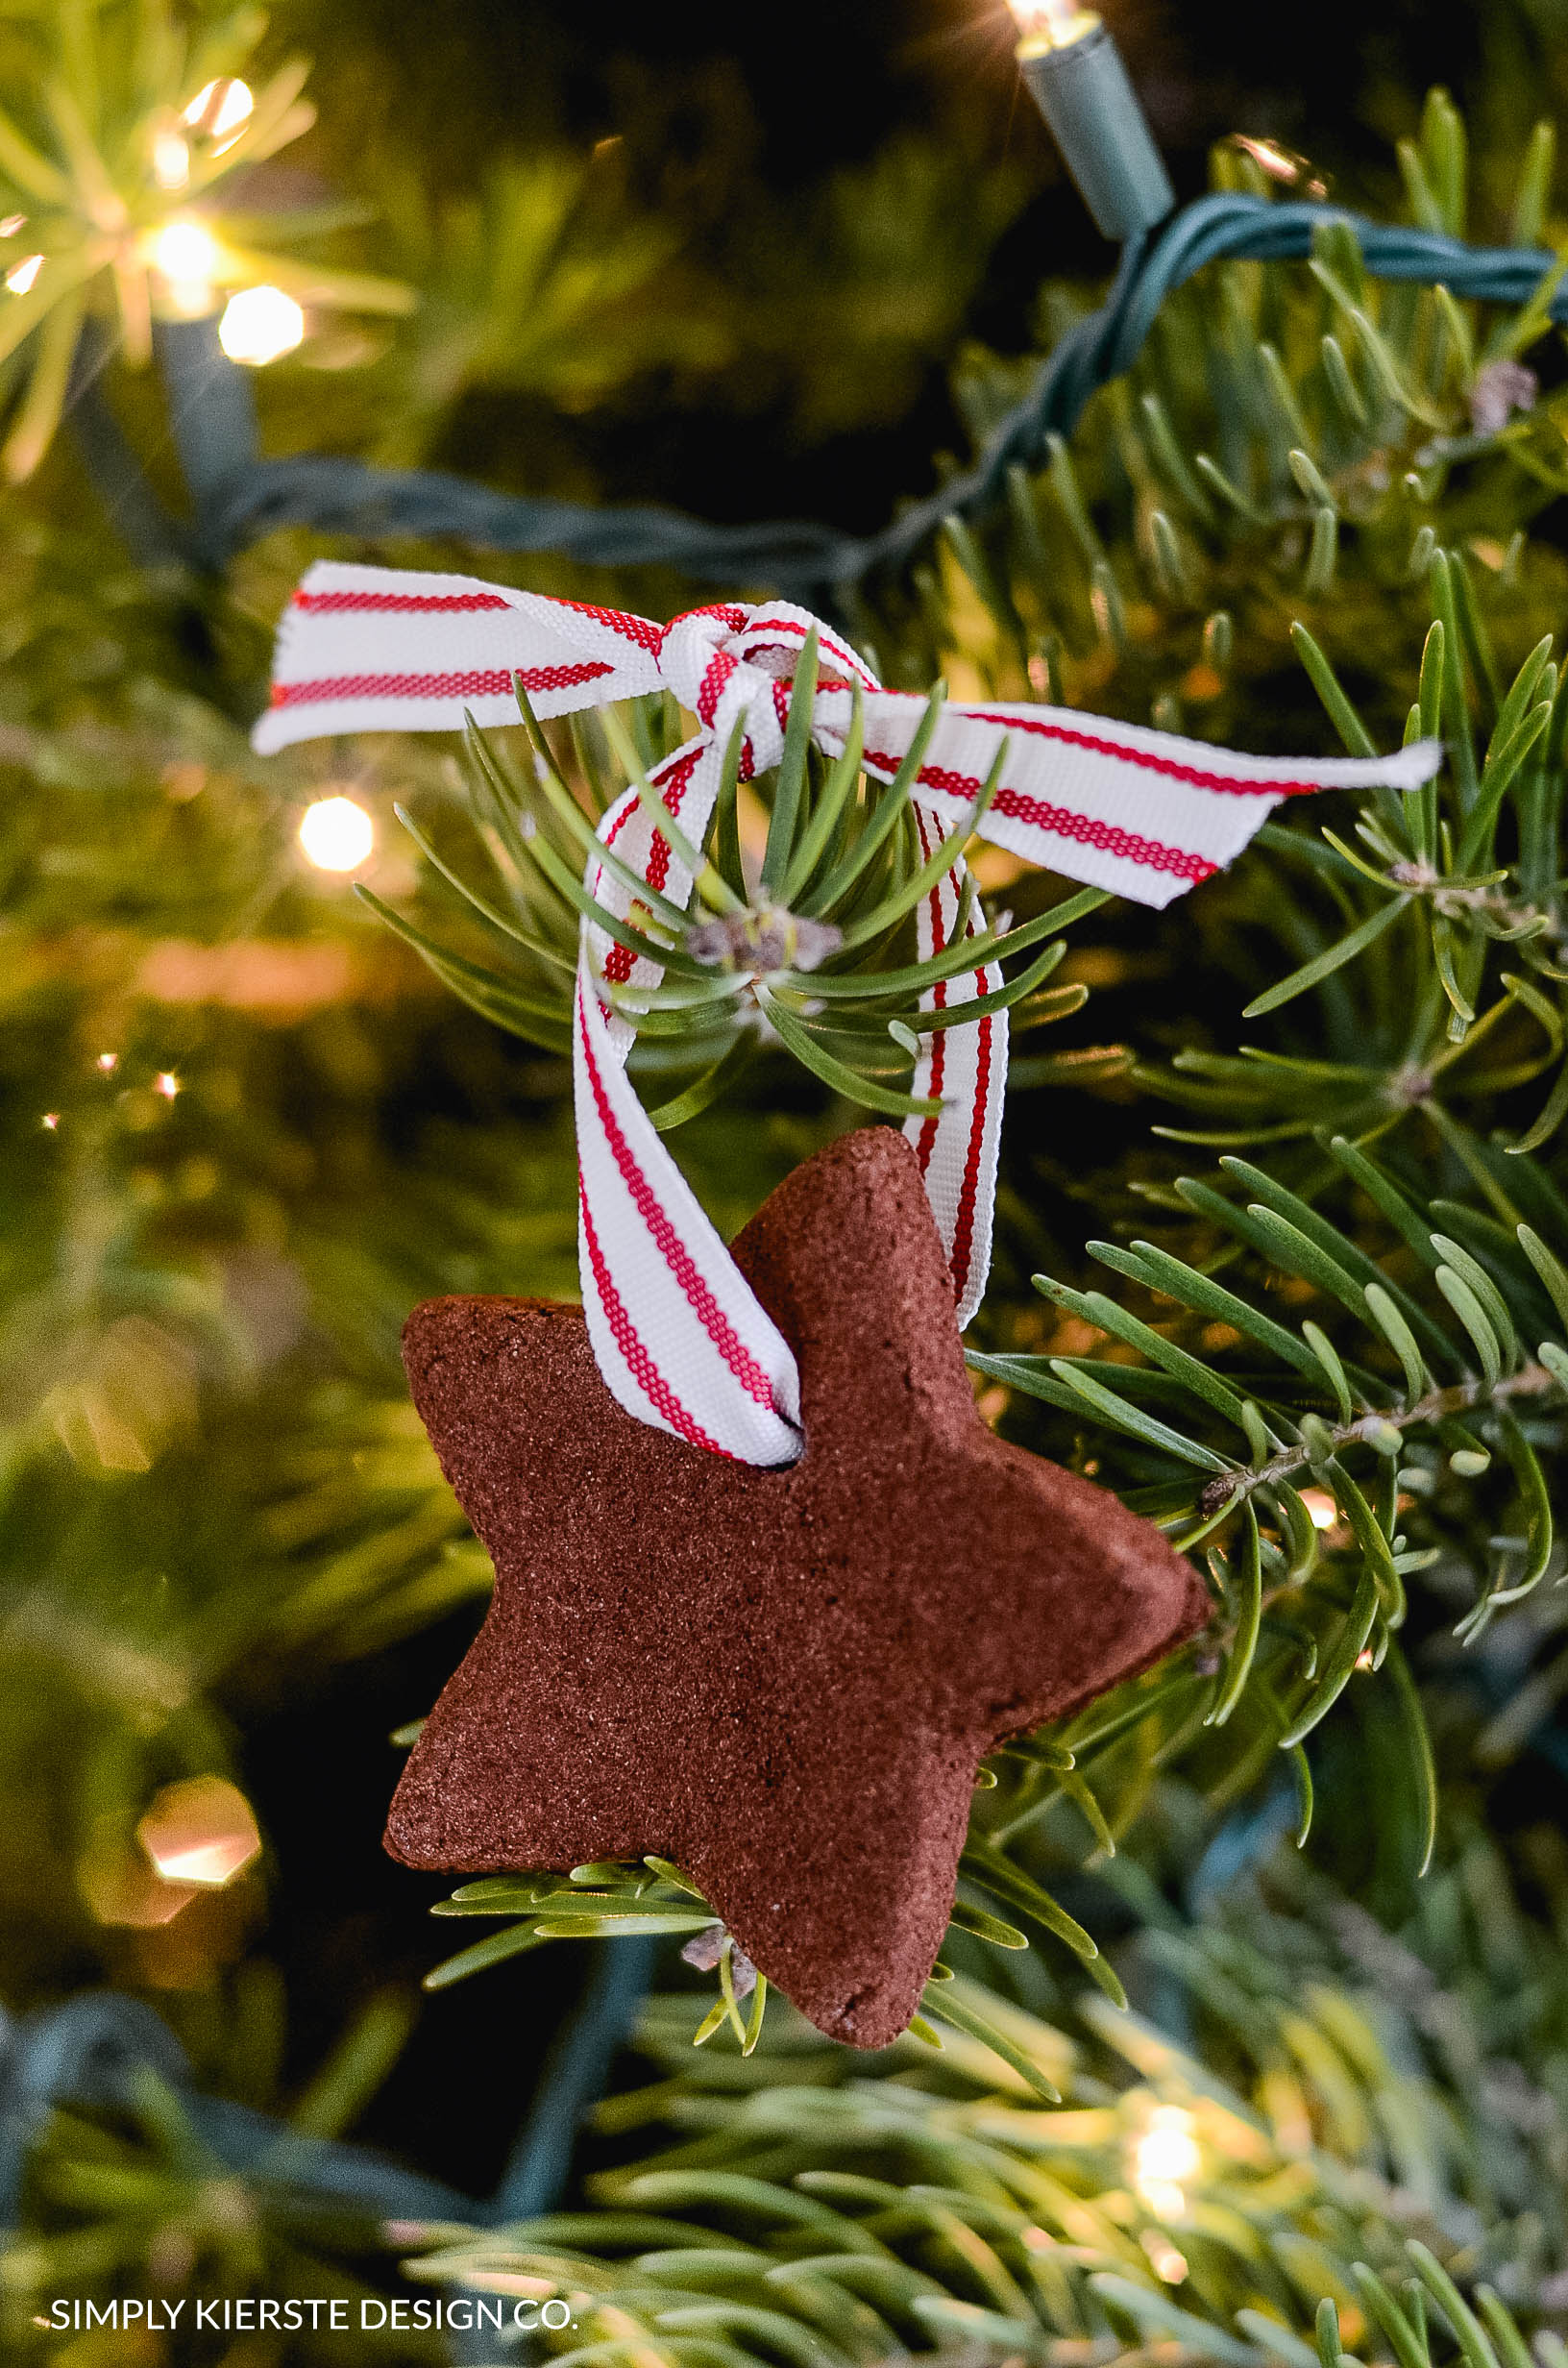
I have a lot of stars on my tree, so that’s what we decided to do, but the beauty is, you can do whatever you like! You’ll see that our stars are not perfect, but in this case, their charm comes from their imperfection! It’s a tradition to make these, and it’s one we love every year!

Easy Handmade Cinnamon Ornaments | Christmas Ornaments | oldsaltfarm.com #handmadeornaments #diyornaments #easychristmasideas

One of the most wonderful things about making these ornaments is that they fill your home with the pungent and delightful aroma of cinnamon, and that will continue once they’re hung on your tree.

It’s super easy to do, and if you’re looking for an inexpensive way to trim your tree, this is a great option. The only two ingredients are applesauce and cinnamon, and for less than $5, you should be able to get at least 14 ornaments out of one batch. (That’s how many we were able to make–small/medium stars.) I tied my favorite red bakers twine on once mine were dry..and I’m in love.  ♥

Easy Handmade Cinnamon Ornaments | Christmas Ornaments | oldsaltfarm.com #handmadeornaments #diyornaments #easychristmasideas

Affiliate links are included below for your convenience. If you click on a link and make a purchase, I will receive a small commission at no extra cost to you, that helps support this blog.

SUPPLIES YOU’LL NEED:

  • Cinnamon (the 4.12 oz bottle is exactly enough!)
  • Applesauce
  • Cookie Cutters (gingerbread are my favorite, but I also do Christmas trees!)
  • Baker’s twine or
  • Ribbon (I like red gingham) or
  • Jute

Check out this video to see even more details!

Handmade Cinnamon Ornaments

Simply Kierste Design Co.
TREE ORNAMENT: DO NOT EAT!!! 
5 from 8 votes
Print Recipe

Ingredients
  

  • 3/4 cup applesauce
  • 1 cup cinnamon ( or 1-4.12 bottle of McCormick Cinnamon)
  • 2 tablespoons cinnamon
  • cookie cutters
  • drinking straw
  • ribbon, twine, or jute

Instructions
 

  • 1. Preheat oven to 200°F. Mix applesauce and cinnamon (1 cup + 2 Tablespoons or a 4.12 oz. bottle of McCormick Cinnamon) in small bowl until a smooth ball of dough is formed. (You may need use your hands to incorporate all of the cinnamon.) *I ended up adding a little more applesauce--mine was still a little crumbly. Using about 1/4 of the dough at a time, roll dough to 1/4-inch to 1/3-inch thickness between two sheets of plastic wrap. Peel off top sheet of plastic wrap. Cut dough into desired shapes with 2- to 3-inch cookie cutters. Make a hole at top of ornament with drinking straw. Place ornaments on baking sheet. *I covered my sheet with parchment first.
    2. Bake 2 1/2 hours. Cool ornaments on wire rack. (Or, to dry ornaments at room temperature, carefully place them on wire rack. Let stand 1 to 2 days or until thoroughly dry, turning occasionally.)
    3. Insert ribbon (I used bakers twine!) through holes and tie to hang on your tree!

Notes

WARNING: DO NOT EAT!! TREE ORNAMENT ONLY!!!
 They are SO fun…enjoy!! xoxo


More Christmas ideas for you…  

  • Snowball Cookies
  • Rudolph Cookies
  • Chocolate Peppermint Blossoms
  • Crockpot Hot Chocolate
  • Farmhouse Style Christmas Pillows
Homemade Cinnamon Ornaments

Share and save for later!

  • Share
  • Email

Filed Under: Christmas, Holidays, Kids' Crafts | 56 Comments

« Previous post
Next post »

Lovely comments

  1. Christina says

    Nov 13, 2012 at 11:44 am

    5 stars
    Yay! Because I bought the bakers twine from the Twinery! Thank you for another way to use it! I will do this in my classroom as well! I can’t wait!

    Reply
    • simply {kierste} says

      Nov 13, 2012 at 8:55 pm

      Yay! I’m so glad you got some twine–you are going to LOVE it!!!

      Reply
    • Sarah says

      Dec 16, 2013 at 6:29 pm

      How many ornaments does one batch usually make, I know it depends on size iof cookie cutter

      Reply
      • simply {kierste} says

        Dec 16, 2013 at 7:54 pm

        I used a medium size cutter, and I got about 15-18 ornaments!

        Reply
  2. Shannon says

    Nov 13, 2012 at 2:13 pm

    What a wonderful idea. I bet the house smells amazing when you come back inside. Thanks!

    Reply
    • simply {kierste} says

      Nov 13, 2012 at 8:54 pm

      The way the house smells is one of my favorite things about it, Shannon!!!

      Reply
  3. katie says

    Nov 13, 2012 at 3:07 pm

    One of these years I will make these ornaments…perhaps this is the year! I need to get me a star shaped cookie cutter :)

    Reply
    • simply {kierste} says

      Nov 13, 2012 at 8:54 pm

      Yes you do, Miss Katie!!! Mine is by Wilton–I got it at JoAnn Fabrics using a 40% off coupon, and it was pretty cheap.

      Reply
  4. Michelle says

    Nov 13, 2012 at 3:47 pm

    Oh I love making these! Love the idea with the twine :) Thanks for the inspiration everyday……your blog is my happy place!
    xo

    Reply
    • simply {kierste} says

      Nov 13, 2012 at 8:51 pm

      Thank you so much, Michelle!!! The twine is lovely–it’s definitely one of my favorite things!

      Reply
  5. Amanda Barton-Epple says

    Nov 13, 2012 at 5:10 pm

    I keep looking at this idea on Pinterest, but hadn’t decided whether to try them. You make them sound so wonderful and easy. I’ll have to look for baker’s twine – it’s so pretty. Thanks for the inspiration!

    Reply
    • simply {kierste} says

      Nov 13, 2012 at 8:51 pm

      Definitely try them! They really are easy, and totally worth it. You’ll have to let me know if you do. :)

      Reply
  6. Cookie 17 says

    Nov 13, 2012 at 7:51 pm

    5 stars
    Hey I love these I’ve have some I made about 15 yrs & they still have smell.But I put them in plastic shoe boxes when done & it keeps smell .Going have get them out see if they like that this yr. Thank’s …

    Reply
    • simply {kierste} says

      Nov 13, 2012 at 8:50 pm

      Mine lasted for a long time too, Cookie–I love it! It’s nice to know that I can have them for awhile, and it’s so fun to open that box each year and have that yummy smell come pouring out! XO

      Reply
  7. Laura says

    Nov 13, 2012 at 8:22 pm

    What a neat idea! Thanks for the printable version, I have already printed this out to do with my 4 year old. I really enjoy your blog, you have such great ideas. :)

    Reply
    • simply {kierste} says

      Nov 13, 2012 at 8:49 pm

      Thank you so much, Laura!!!! XO It really is so fun to do with kids–mine are still talking about it, lol.

      Reply
  8. crafty couple says

    Nov 14, 2012 at 1:15 pm

    These are so cute and I bet they smell delicious, I am old fashioned too and am hoping to do an old fashioned Christmas tree this year…I will be adding these. Thanks for sharing

    Reply
  9. Cecilia says

    Nov 14, 2012 at 5:00 pm

    Kierste! What perfect timing – I am printing the recipe out as I type – I have been looking for rustic type ornaments to make for my farmhouse tree and these will be a perfect addition. Thank you for sharing! I can’t wait to make these. :)

    Reply
  10. Kirstylee says

    Nov 16, 2012 at 11:47 am

    I can’t wait to try these with my kiddos. They will love them!

    Reply
  11. kathy says

    Nov 17, 2012 at 9:31 pm

    I made these years ago and they fell apart. Would you recommend adding a little white glue to the mixture? I would love to make these for my pre-k students. We do a gingerbread man unit and these would be the perfect gift.

    Reply
    • simply {kierste} says

      Nov 18, 2012 at 7:57 am

      I think you could do a trial batch and see what happens, or even search for another recipe that uses white glue. If you’re going to do it via trial and error, I would start with a smaller amount, and move up from there.

      I’ve never had mine fall apart once they were baked, but I can see with pre-k students how that might be a problem. :) Good luck!!!

      Reply
    • Cooper's Mom says

      Dec 13, 2012 at 1:45 pm

      I’ve seen some recipes that use glue (Martha Stewart for one), but it may just be that the ornaments were too thin. I’ve had that problem when I tried to stretch the last of the dough. :)

      Reply
  12. Cooper's Mom says

    Dec 13, 2012 at 1:44 pm

    Thank you so much! My mom tried a recipe with bad proportions and it was an awful experience. She was ready to scrap the project. This one was so much easier and even gave me confidence to try making sugar cookies for the first time. The ornaments are lovely!

    Reply
    • simply {kierste} says

      Dec 13, 2012 at 1:46 pm

      Oh, I’m so glad!! It is a great recipe, and I’m so happy it turned out for you, and that you tried sugar cookies, too! Merry Christmas!!!! XO

      Reply
  13. Andrea Lawyer says

    Dec 17, 2012 at 1:05 pm

    5 stars
    Great recipe, thanks. One note, my teenage daughter had an allergic reaction to the cinnamon. We had no idea she was sensitive.

    Reply
  14. laura says

    Dec 18, 2012 at 7:01 am

    Hi, I’m so glad I stumbled upon your site! I’m wondering if you have ever decorated these and what you would recommend to do so…. I want to make these for a third grade party and have them decorate them (but quick and minimal mess).
    Acrylic paint (on pencil erasers for eyes and cheeks)
    Sharpie markers?
    Puff paint?
    Thank YOU!!!

    Reply
    • simply {kierste} says

      Dec 19, 2012 at 11:41 am

      Hi there! I think Sharpies would be quick and easy, and they make them in a variety of fun holiday colors–red, green, gold, and silver. I think it would be less messy than paint, but you could certainly use the paint bottles with the pointed tip, so it would be easy to draw with. You could also experiment with stamps–Christmas stamps, monograms, etc.!

      Good luck, and have fun!!! XO

      Reply
  15. Krista Tipton says

    Nov 18, 2013 at 4:58 pm

    Hey Keirste…I’m so excited about trying to make these ornaments! Quick questions though…The recipe shows 1 c. + 2 T. of cinammon (1 bottle-4.12 oz McCormick cinammon). So are you saying just use one 4.12 oz container or use McCormick brand cinammon to make up the 1 cup that it calls for? Sorry for being so literal, I just want to be sure I get it right. :-)

    Reply
    • simply {kierste} says

      Nov 18, 2013 at 9:15 pm

      Thanks for the question–I can see how that would be confusing! I just wanted to indicate how much came in one bottle of cinnamon–I did use that bottle to make up the cup + 2 T. I’m so excited you’re making these—they smell SO good, and are so cute!!

      Reply
  16. Melissa says

    Nov 30, 2013 at 11:46 am

    5 stars
    Thank you for such clear, simple instructions! I just printed and have my supplies to make these today with a friend and her daughter. I appreciate your site! Merry Christmas!

    Reply
    • simply {kierste} says

      Nov 30, 2013 at 11:58 am

      You are so welcome!!! I think you’re going to love them–they smell amazing! What a fun thing to get together with friends–have a great time! Merry Christmas! xo

      Reply
  17. Laura says

    Dec 1, 2013 at 7:07 pm

    5 stars
    Thank you for the inspiration to make these! My daughter and I had a blast making them today and they made the house smell wonderful :)

    Reply
    • simply {kierste} says

      Dec 1, 2013 at 11:40 pm

      The smell is one of my very favorite things about these ornaments. ☺ So glad you made them, loved them, and had a great time!! xoxo

      Reply
  18. Sherry says

    Dec 1, 2013 at 11:34 pm

    These are fantastic. Thank you for the easy recipe. I am doing these up for our family christmas party. Not only will they smell great but the family will have something great to take with them.

    Reply
    • simply {kierste} says

      Dec 1, 2013 at 11:39 pm

      You are so welcome! Have a wonderful party!!! xoxo

      Reply
  19. Claire says

    Dec 2, 2013 at 2:36 pm

    Made these today and they turned out so great! Our house smells like heaven!! :)

    Reply
    • simply {kierste} says

      Dec 2, 2013 at 8:23 pm

      Yay!!! I’m so glad!! I’ll tell you, their fabulous smell is one of my favorite things about them! Merry Christmas!! xoxo

      Reply
  20. sarah says

    Dec 3, 2013 at 4:29 am

    5 stars
    Wow! I love these decs! Used a similar recipe and was so skeptical about the ingredient apple sauce!

    I also LOVE the smell :D

    But I LOVE how they turned out! in true smileyculture style I think I over decorated them! Would love to see what you think
    http://www.smileyculture.com/homemade-cinnamon-christmas-decorations/

    Reply
    • simply {kierste} says

      Dec 3, 2013 at 9:22 pm

      They turned out darling! Thanks for sharing!

      Reply
  21. Natasha says

    Dec 9, 2013 at 12:52 pm

    If I don’t have a wire rack, is it okay to leave them on a baking sheet to cool? Thanks! :)

    Reply
    • simply {kierste} says

      Dec 9, 2013 at 3:17 pm

      Yes, I think it would be worth a try! You maybe could even try moving them to a sheet of wax paper, in case they keep baking on the hot cookie sheet.

      Reply
    • Pam says

      Nov 14, 2014 at 9:56 pm

      If you have an extra oven rack you can use it for a cooling rack. Just take it out of the oven before you turn it on and cover it with either parchment paper or wax paper. Although if you use parchment paper on the cookie sheet just slide it onto the cold oven rack.

      Reply
      • Simply Kierste says

        Nov 15, 2014 at 8:22 am

        Thanks, Pam–great idea!!! xoxo

        Reply
  22. Marla Dee says

    Nov 24, 2014 at 7:21 pm

    5 stars
    I make these every year with my nieces and nephews! We love the way they turn out and they always smell sooo good!

    Reply
    • Simply Kierste says

      Nov 25, 2014 at 4:01 pm

      Yes–the smell is one of the best parts. :)

      Reply
  23. Kylerboys says

    Dec 11, 2014 at 11:53 am

    I made these with my cub scouts last night–they were easy and turned out super cute! Thanks Kierste!!!

    Reply
    • Simply Kierste says

      Dec 15, 2014 at 9:07 pm

      Yay! So glad you guys had a great time making them!!! xoxo

      Reply
  24. Jennifer says

    Nov 7, 2015 at 1:20 pm

    Do you throw them away after the one season, or do they keep for several years?

    Reply
    • Simply Kierste says

      Nov 8, 2015 at 3:41 pm

      Mine have lasted several seasons! I usually make them every few years, but I’ve always been pleased with how long we are able to keep them. Keeping them in a cool, dry place makes a difference too! xoxo

      Reply
  25. Betty Grimes says

    Dec 5, 2015 at 12:54 pm

    I would love to make these, but I have one question first…does this recipe use sweetened or unsweetened applesauce?

    Reply
    • Simply Kierste says

      Dec 5, 2015 at 10:50 pm

      I don’t think it matters, since they’re not for eating. I think you can use either one!

      Reply
  26. Heather N says

    Nov 30, 2016 at 8:16 pm

    I have some in the oven now! Just made a small batch as a “trial run” but since they turned out so great and smelling wonderful I will defanitly be making more over the weekend! Thank you for the recipe…it will be a new tradition adding to every year!

    Reply
  27. Heather N says

    Nov 30, 2016 at 8:19 pm

    5 stars
    I just pulled a small batch out of the oven. I wanted to do a “trial run” and since they came out looking and smelling wonderful I will defanitly be making more this weekend! This will be our new tradition and adding on new shapes every year! Thank you!

    Reply
    • Simply Kierste Design Co. says

      Nov 30, 2016 at 9:34 pm

      YAY! I’m so happy to hear this! They really are such a fun tradition, and I’m glad you love them and are adding them to your lineup. :) xoxo

      Reply
  28. Liz says

    Mar 1, 2021 at 6:20 am

    I would love to make these even though the holidays are over I could use them for Easter. My only problem is trying to keep my very large pups away from them when drying them, 1 to 2 days is a long time. Is there anyway to dry them faster?

    Reply
    • Old Salt Farm says

      Mar 5, 2021 at 9:29 am

      I haven’t tried any other way–but you could maybe keep them in the oven a bit longer. I just hesitate to have you put them in there too long or they’ll get too brittle and break. Or is there a place you can put them up high to dry? On top of the fridge or other shelf?

      Reply

Leave a Reply Cancel reply

Your email address will not be published. Required fields are marked *

Recipe Rating


This site uses Akismet to reduce spam. Learn how your comment data is processed.


search

COPYRIGHT POLICY

The images, tutorials, and content on oldsaltfarm.com are protected by copyright laws. DO NOT distribute or copy the content without written permission. You may not use any images without permission. DO NOT edit or remove watermarks from any image. Pictures are not to be changed or altered in any way, shape or form without my consent. Please do not copy text or reprint recipes without my permission. All ideas and printables are for your personal use only. By downloading any files or printables, you accept that they are FOR PERSONAL USE ONLY. My patterns, ideas and tutorials are NOT intended for resale or re-distribution.

Interested in sharing one of my photos or projects? Fill out my Old Salt Farm Feature Agreement.

Please contact me with any questions. oldsaltfarm@gmail.com

© Old Salt Farm (Kierste Wade)

CREATE AT YOUR OWN RISK

Any and all content on this website is created for inspiration purposes only. Creating with my suggested methods, products, instructions, tutorials, and tools is at your own risk. Please ensure you are following proper guidelines with anything used, and seek professional advice if you don’t know how to do something.

Old Salt Farm is for entertainment purposes only. All tutorials and demonstrations are not intended to be professional advice, nor substitute as such, and I make no guarantees as to the procedures and information here.

Read my full disclosure here.

AMAZON DISCLOSURE

Kierste Wade (Old Salt Farm) is a participant in the Amazon Services LLC Associates Program, an affiliate advertising program designed to provide a means for sites to earn advertising fees by advertising and linking to amazon.com. Amazon offers a small commission on products sold through their affiliate links. When you make a purchase after clicking on one of those links, I earn a small commission that helps support this blog, at no extra cost to you. Read my full disclosure here.
Copyright © 2021 Old Salt Farm, Custom site by Moonsteam Design.

Cookies

This website requires the use cookies. By using this site, you are agreeing to our Privacy Policy.