Homemade Cinnamon Applesauce Ornaments
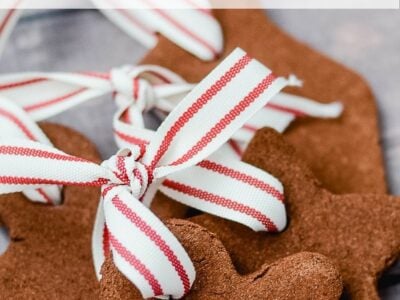
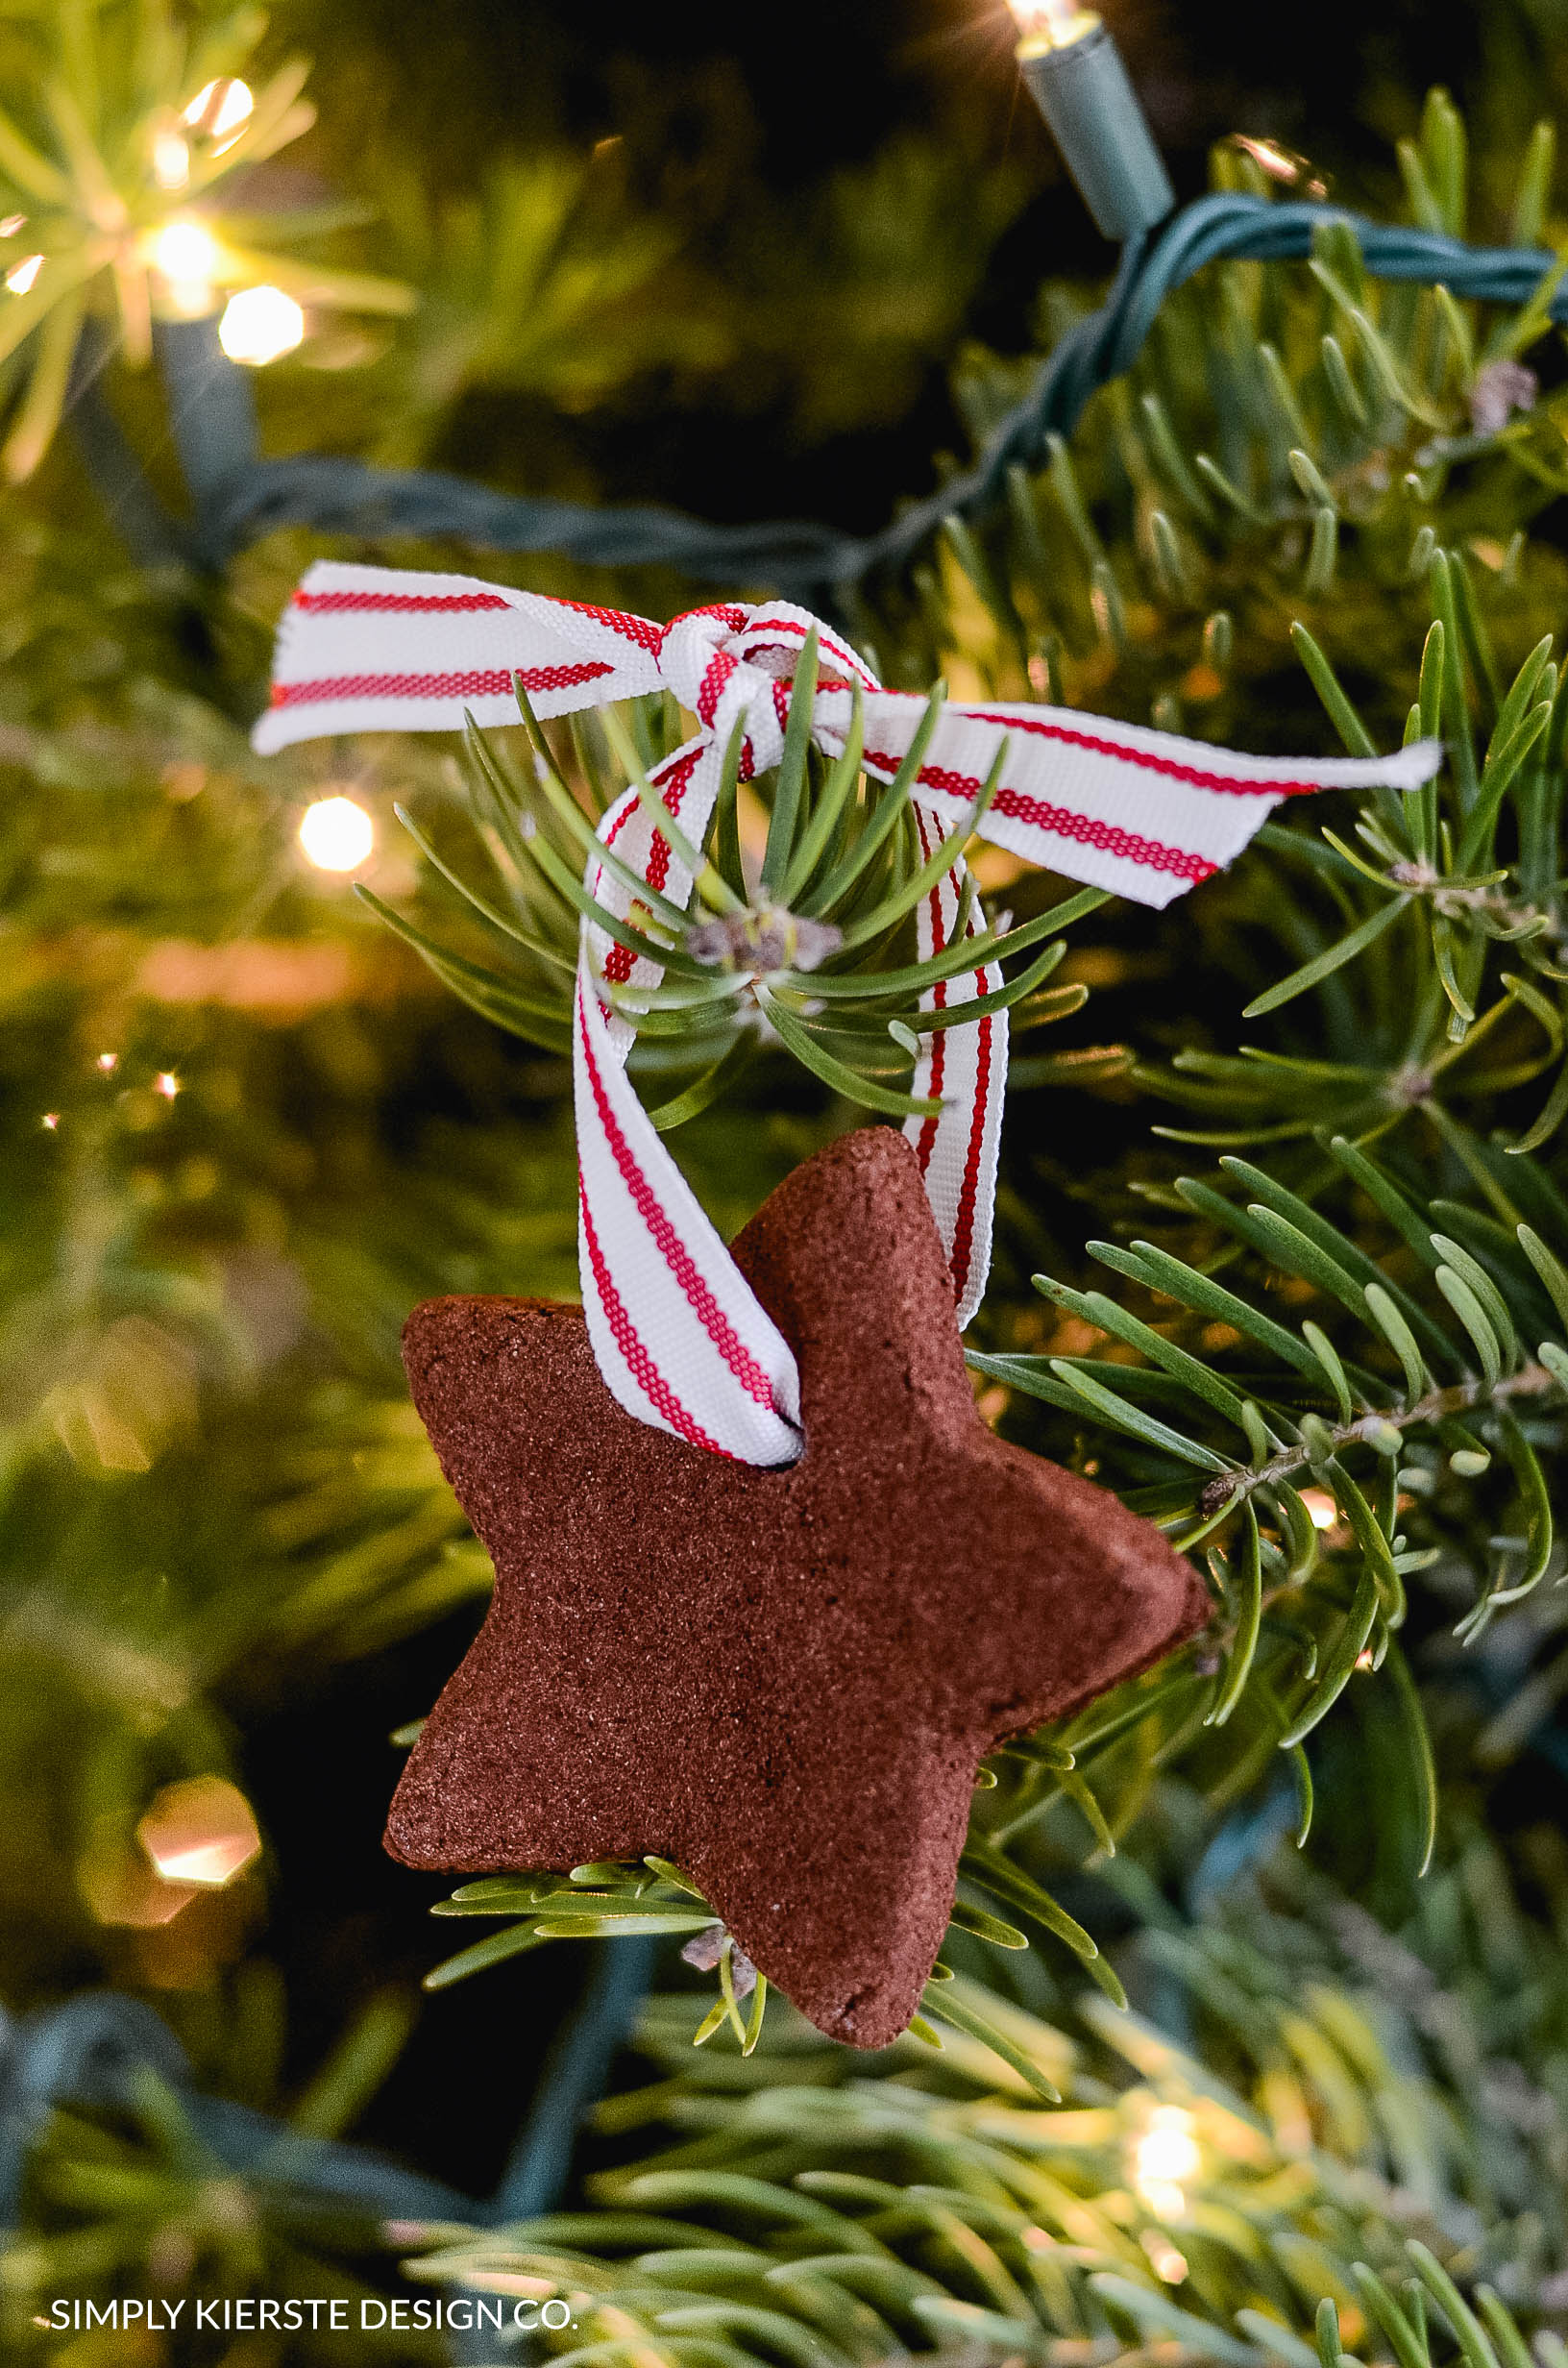
Easy and adorable Homemade Cinnamon Ornaments made with applesauce and cinnamon, perfect for decorating your tree or adding Christmas decor. Make it a holiday tradition with your kids, friends, or family!
There is something just so cozy about making homemade ornaments, in all their rustic and lovely imperfection. Perhaps it’s the old-fashioned girl in me that wishes I could sit in a log cabin, drinking hot chocolate while stringing popcorn garland, and hang these on the tree I cut down in the woods. This is my way of capturing a piece of that, and I love it. You only need two ingredients and an afternoon to create not just darling homemade ornaments, but plenty of memories to go along with them.
I made these cinnamon applesauce ornaments for our first Christmas tree when we were first married, and I have absolutely loved them ever since. It all started because we were such poor college students, and couldn’t afford much in the way of Christmas decor. Years later, they bring back fond memories of that time, and I just adore their simple charm. They’ve been on our tree ever since.
One of the most wonderful things about making these ornaments is that they fill your home with the pungent and delightful aroma of cinnamon, and that will continue once they’re hung on your tree.
Table of contents
Affiliate links are included below for your convenience. Please see my full disclosure.
Supplies
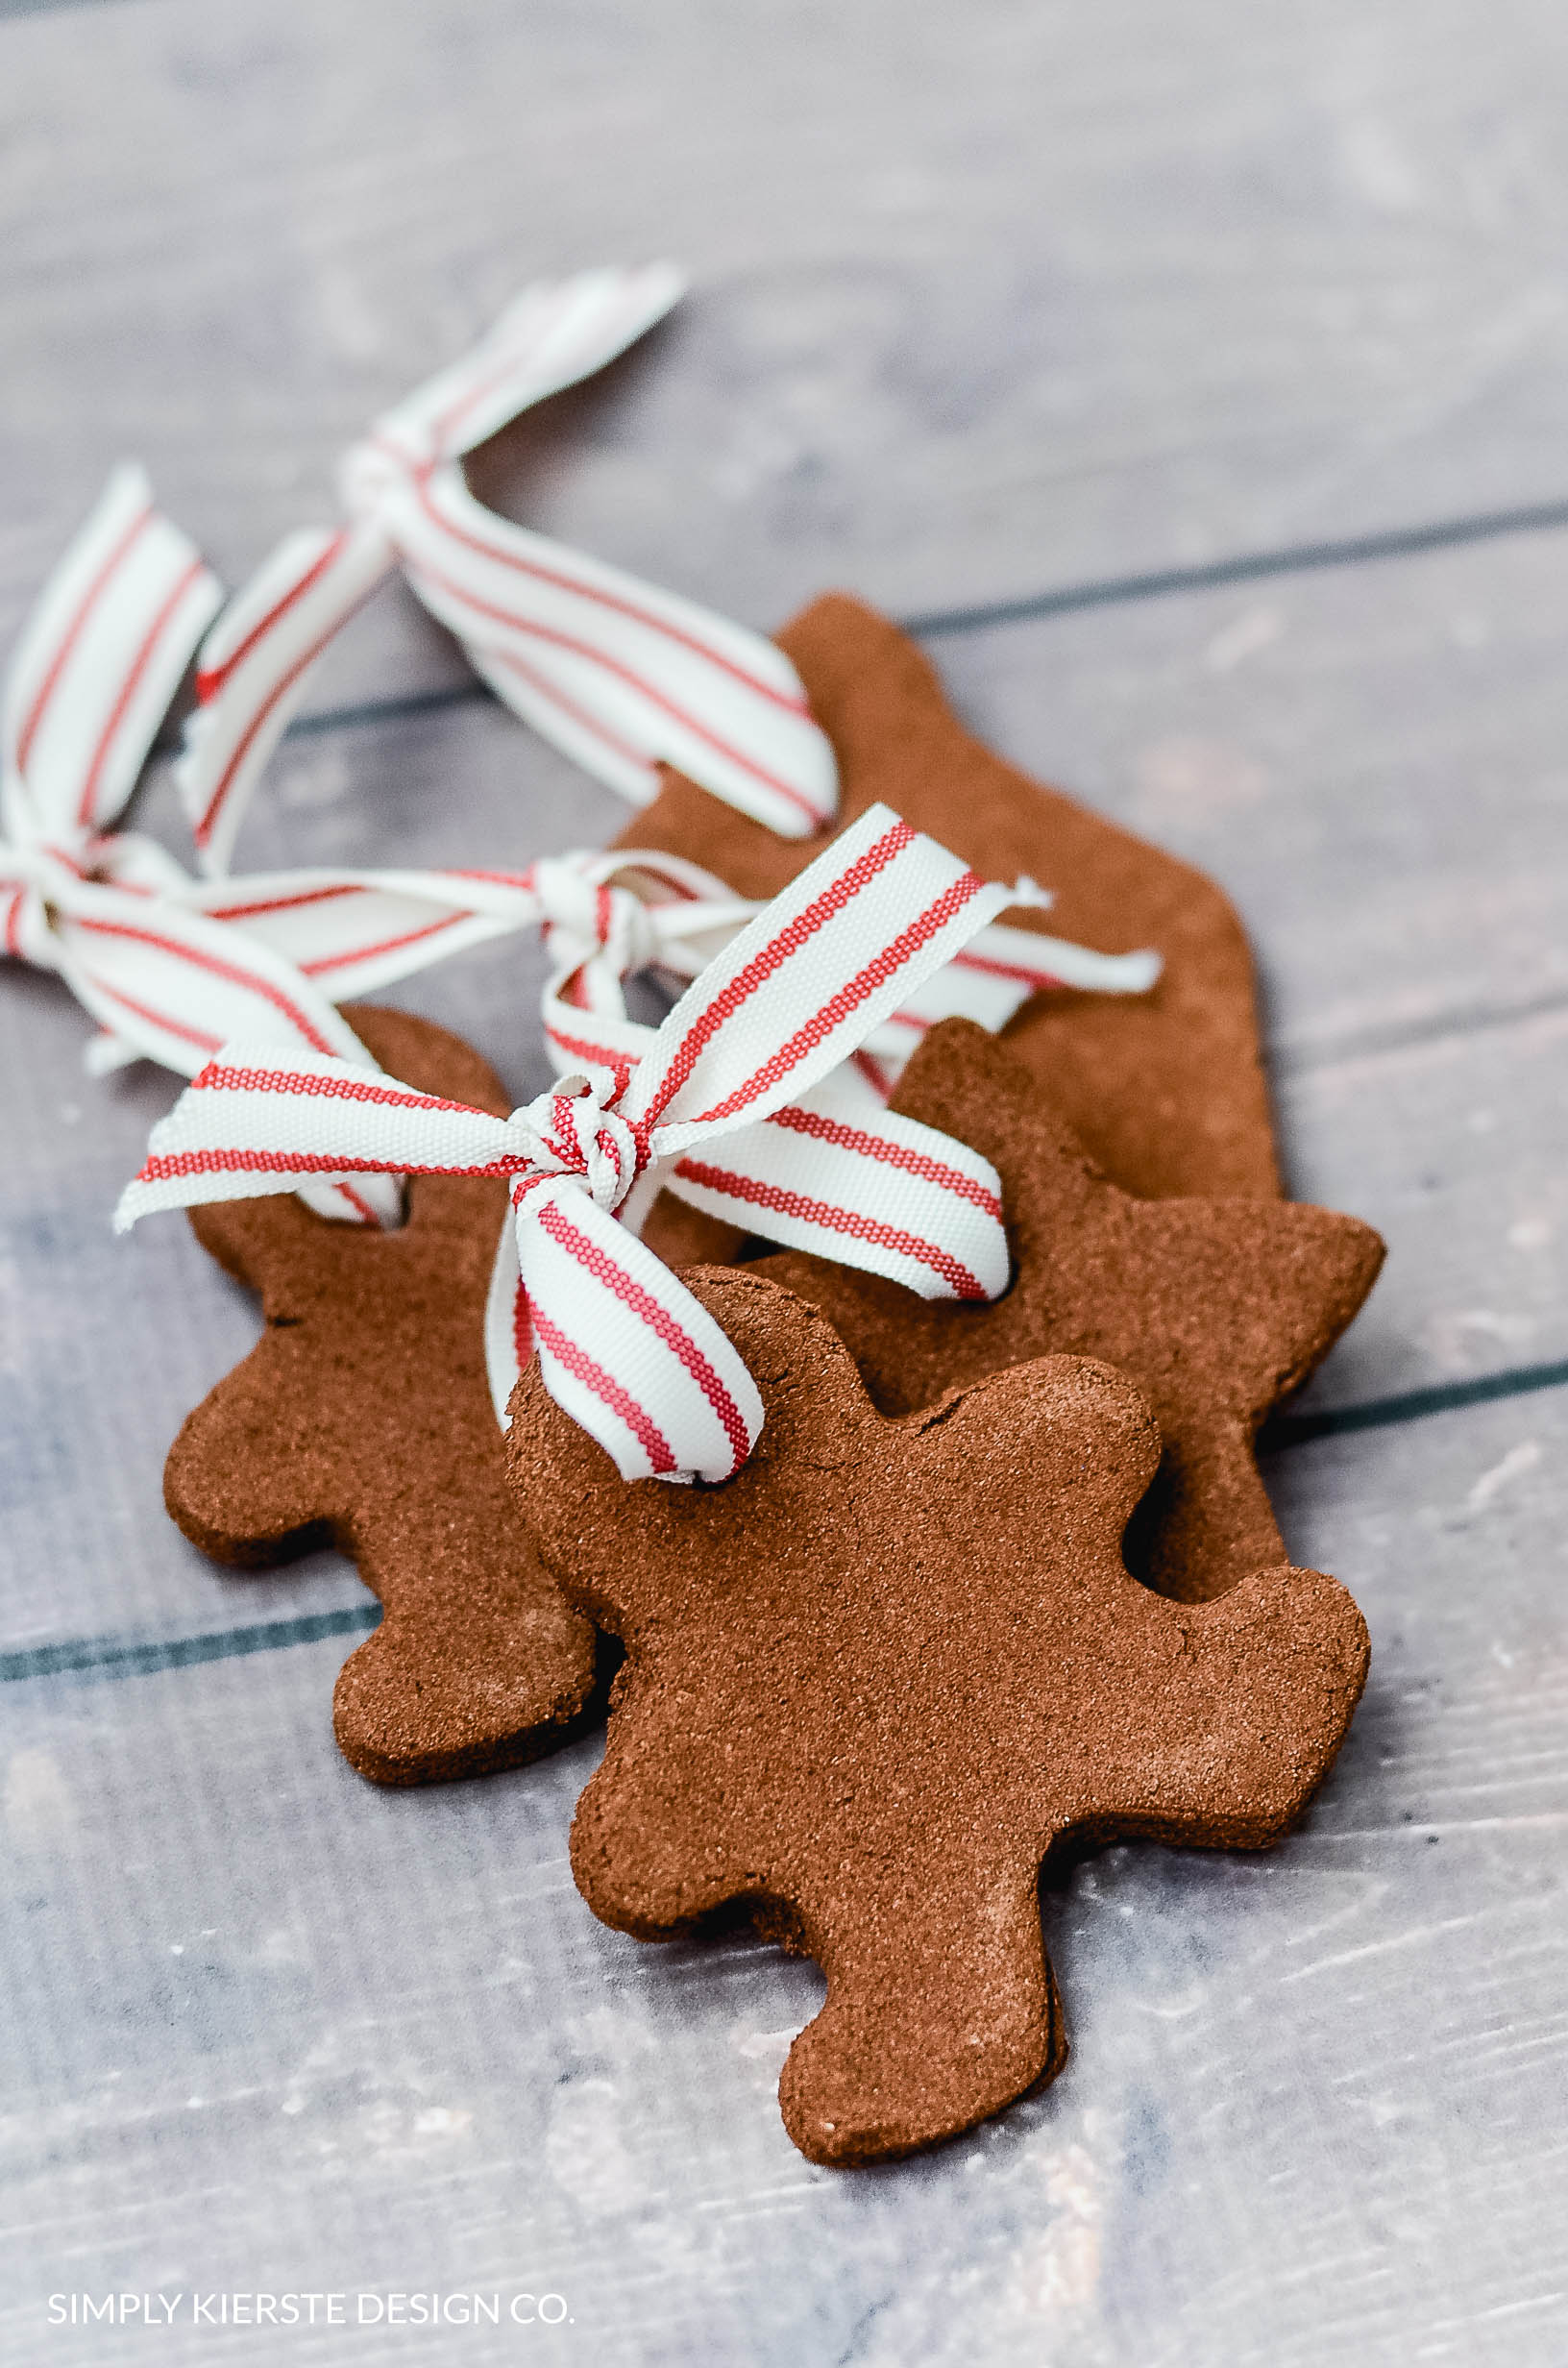
The only two ingredients are applesauce and cinnamon, and for less than $5, you should be able to get at least 14 ornaments out of one batch. I like to my favorite red bakers twine or red and cream striped ribbon for hanging on the tree.
- Cinnamon (the 4.12 oz bottle is exactly enough!)
- Applesauce
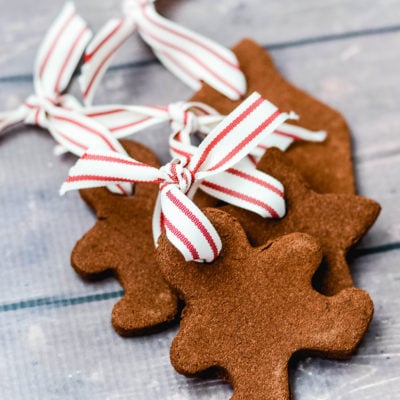
- Cookie Cutters (gingerbread are my favorite, but I also do Christmas trees)
- Drinking straw
- Baker’s twine or
- Cream & red striped ribbon
- Jute
Instructions
Preheat oven to 200°F. Combine cinnamon (1 cup + 2 Tablespoons or a 4.12 oz. bottle of McCormick Cinnamon) and applesauce (I use unsweetened applesauce) in a small mixing bowl until a smooth ball of dough is formed. You may need use your hands to incorporate all of the cinnamon, or use a stand mixer with the paddle attachment.
*I ended up adding a little more applesauce–mine was still a little crumbly.
Using about 1/4 of the dough at a time, roll dough with a rolling pin to 1/4-inch to 1/3-inch thickness between two sheets of plastic wrap or parchment paper. Peel off top sheet of plastic wrap. On a clean surface, cut dough into desired shapes with 2- to 3-inch cookie cutters. Make a small hole at top of ornament with drinking straw. Place ornaments on baking sheet lined with parchment.
Bake 2 1/2 hours. Cool the ornaments on wire rack or cooling rack. Or, to dry ornaments at room temperature, carefully place them on wire rack. Let stand 1 to 2 days or until thoroughly dry, turning occasionally.
Insert ribbon or bakers twine through holes and tie them in loops, to be able to hang on your tree. If you pack them carefully, your ornaments can last 3-5 years, and even longer than that. I place them between paper towels, then into a ziplock bag to keep them fresh.
Video
Ideas for use
Gifts
Cinnamon ornaments make a really cute gift, and you can personalize them with the cookie cutter you choose to use. A hobby, pet or type of animal, state they live in…there are so many fun ways to customize them for those you’re gifting them to. You could even tuck in the cookie cutter as an extra touch when giving.
I also like to tie them on to the top of gifts as a really cute embellishment and gift tag, all In one. Just loop the package ribbon through the ornament loop, and tie a bow to secure it in place. How adorable, right? They can break, so just use caution when stacking gifts or during transport.
A holiday tradition
Getting together with a group of friends or your extended family is another fun way to make these ornaments. They make the perfect reason to gather during the holiday and make something for your home. Start a new tradition over the Thanksgiving weekend, and have them ready for tree-trimming! If you do a craft night with friends, this is a great idea to add to your list.
Activity for kids
It is the perfect activity to do with my kids. They help with the measuring, stirring, rolling and cutting, and make sure the oven light is on so they can monitor the progress while the ornaments are baking. Turn on some Christmas music, let them choose their favorite Christmas cookie cutters. I have them take turns with the rolling pin, then we rotate through choosing the cookie cutter and cutting out the dough. I prep all of the pans ahead of time, so we’re ready to go, and I don’t have to stop while we’re in the middle of rolling and cutting.
The hardest part for my kids is waiting for them to cool after they get out of the oven. Once they’re cool, they help string the twine, and brush off remaining crumbs. (We had to repeat over and over again that these were NOT to eat, and I think they’ve finally got it!)
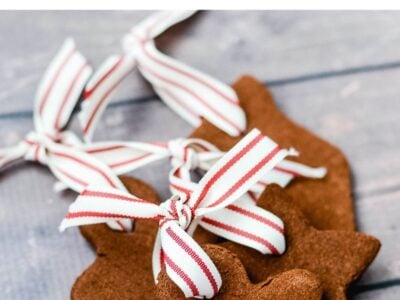
You’ll see that our ornaments are not perfect, but in this case, their charm comes from their imperfection! It’s another reason why these are great for kids–there’s not a lot of pressure to get them exactly right.
Christmas Decor
Trim your tree. If you’re looking for an inexpensive way to trim your tree, or love a rustic look, this is a great option.
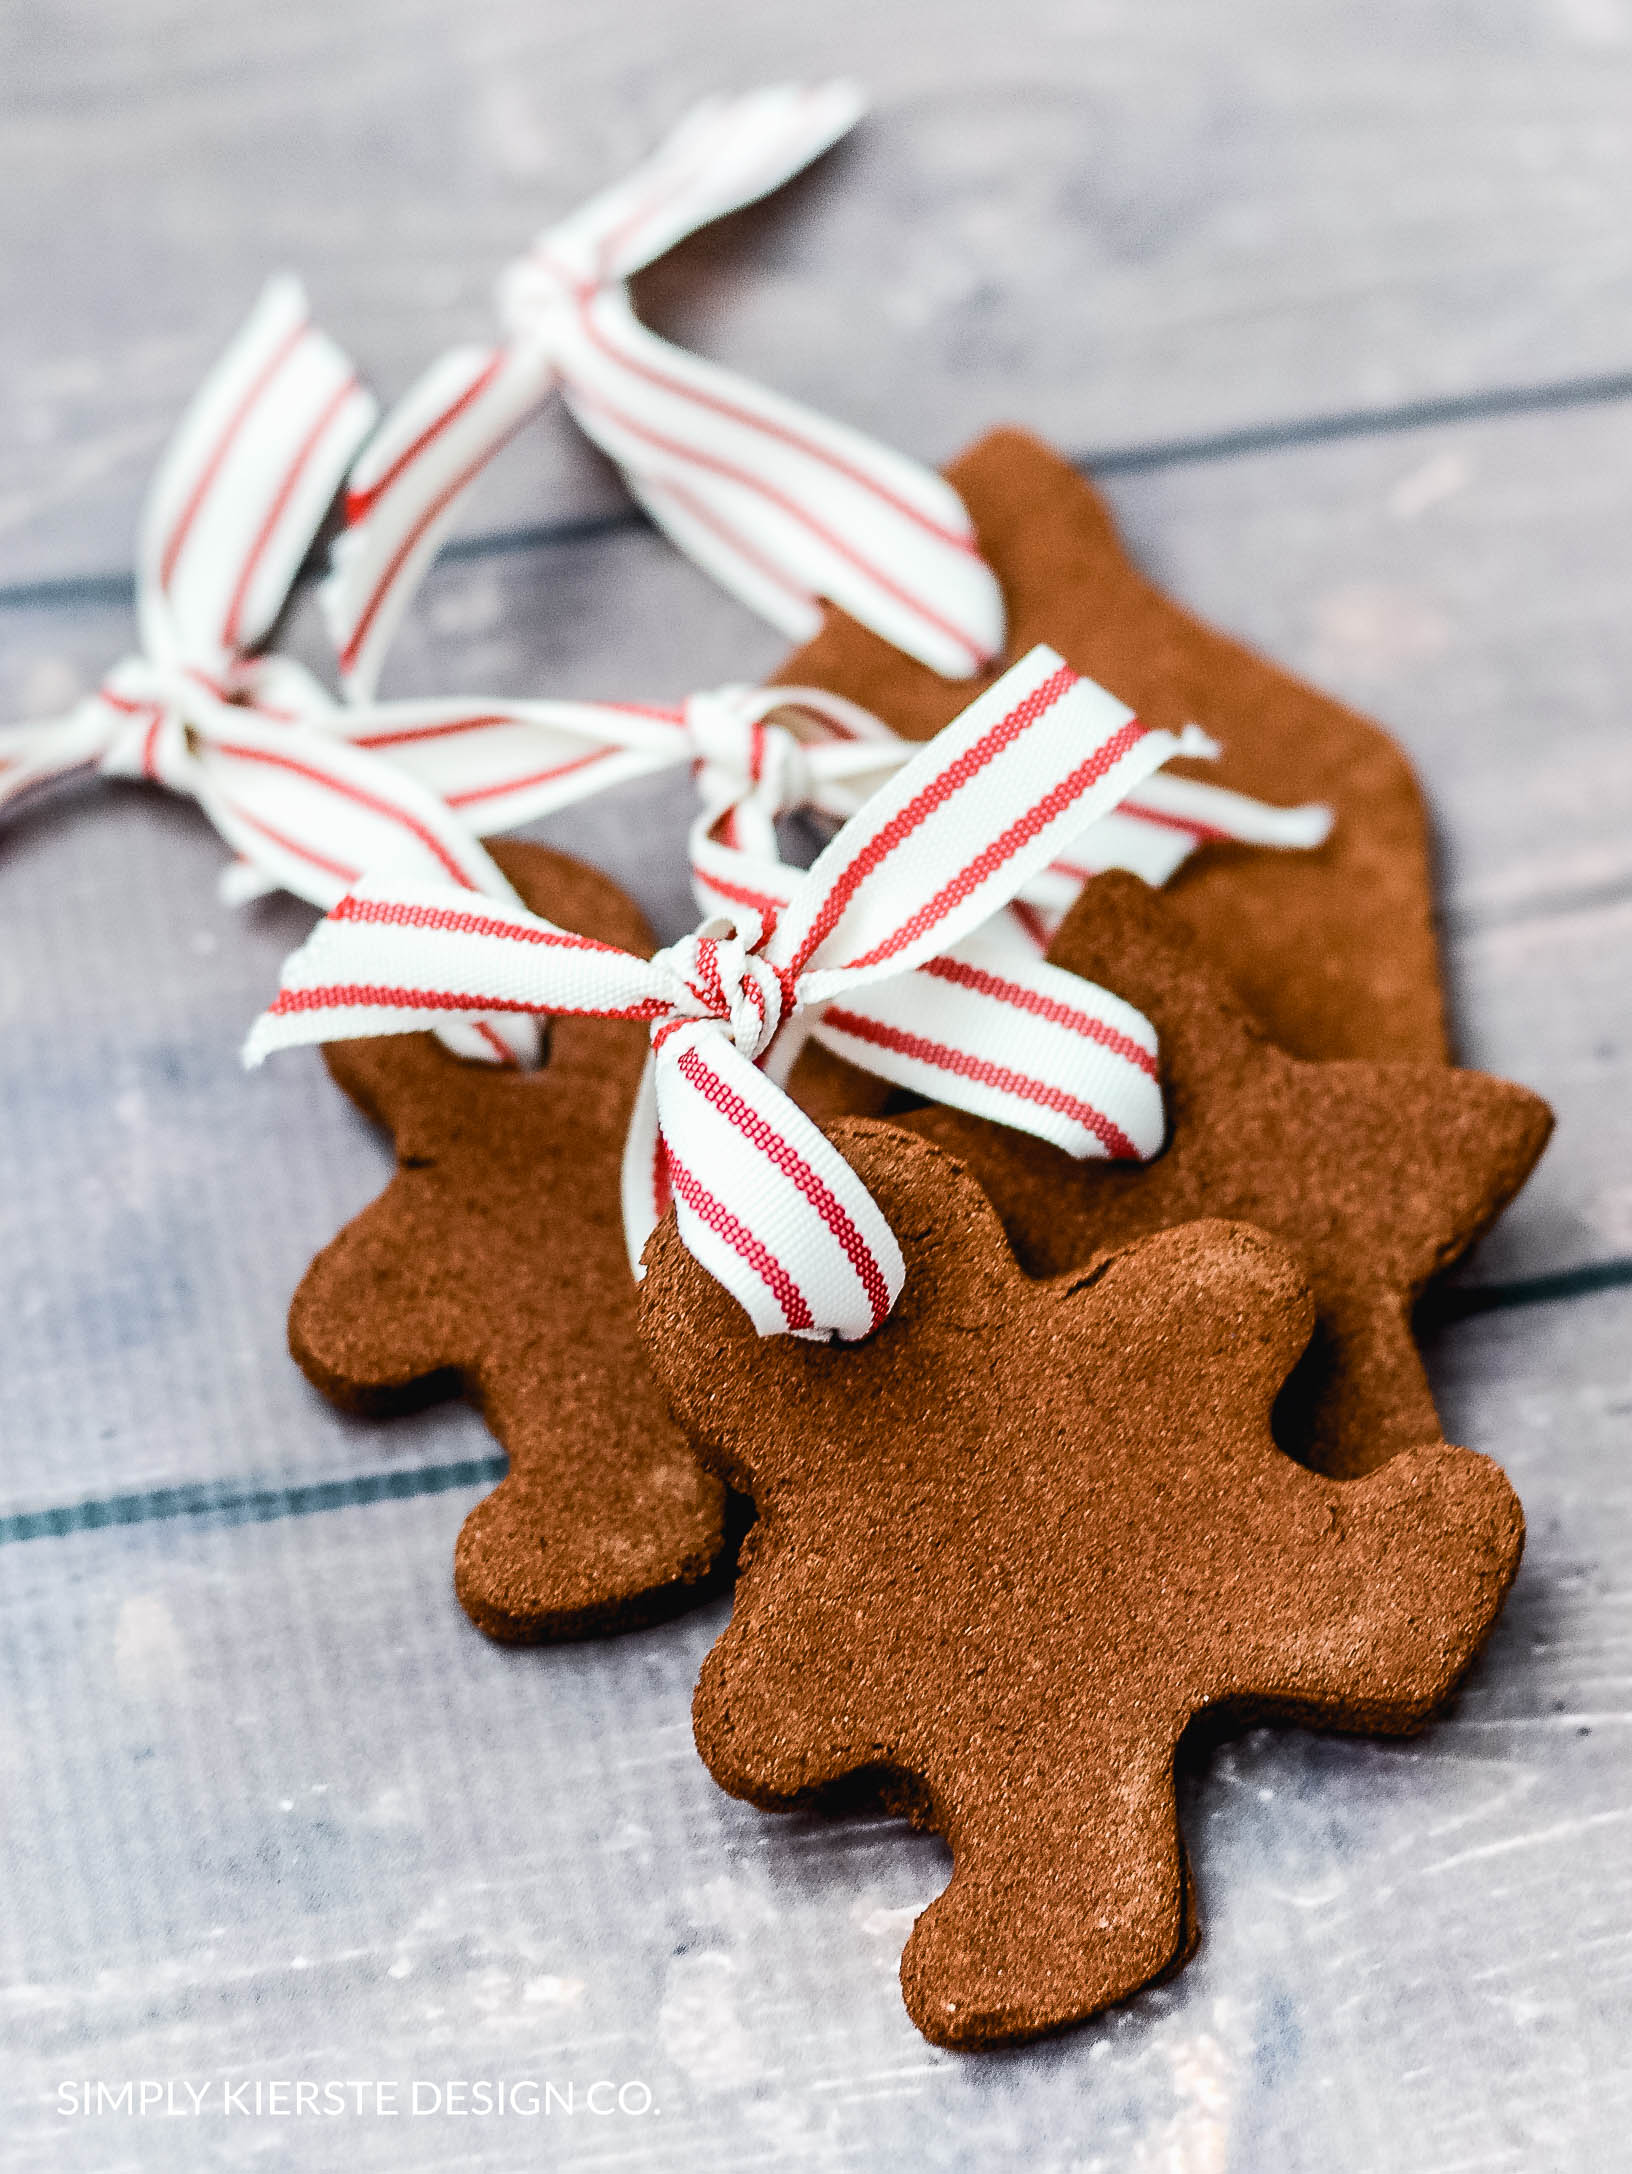
Make them into a garland, and hang from a mantel, across a doorway or window, or along a shelf. Tie cute ribbons in between each ornament for added charm. (Anything gingham calls my name…especially at Christmas.)
Use as place cards on a Christmas table, with a name tag tied on with ribbon.
Send home with your guests as a party favor, which is really fun. Use different cookie cutters to match your theme–or a class gingerbread man or Christmas tree. Super cute, easy, and versatile…decor and gift all-in-one.
FAQ
I’ve found that they will keep their fragrancy for at least the first 2 years, with a little fading each year after that. They won’t be as strong, but collectively they smell yummy, even after a few years!
Yes, they can last for many years, if you pack them carefully and take care of them. You can make them more often if you want new shapes, to give as gifts, use as additional decor, or replace any that were broken or lost scent.
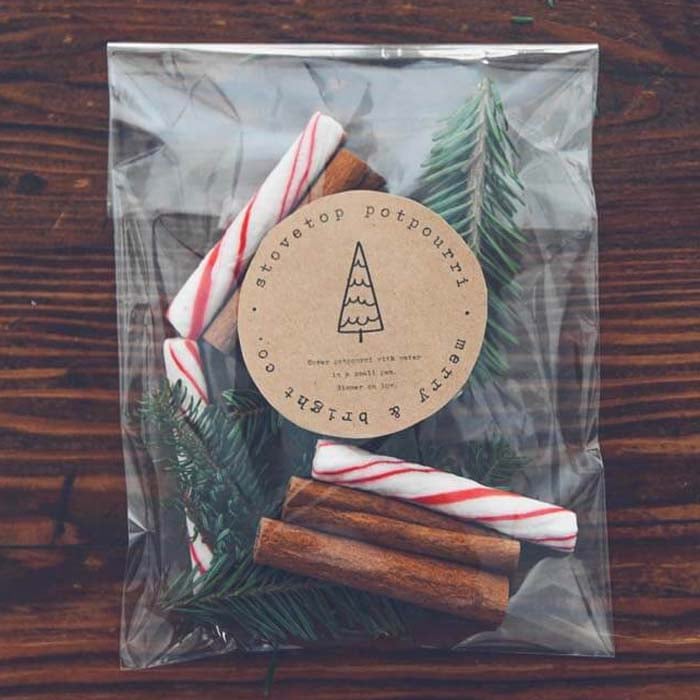
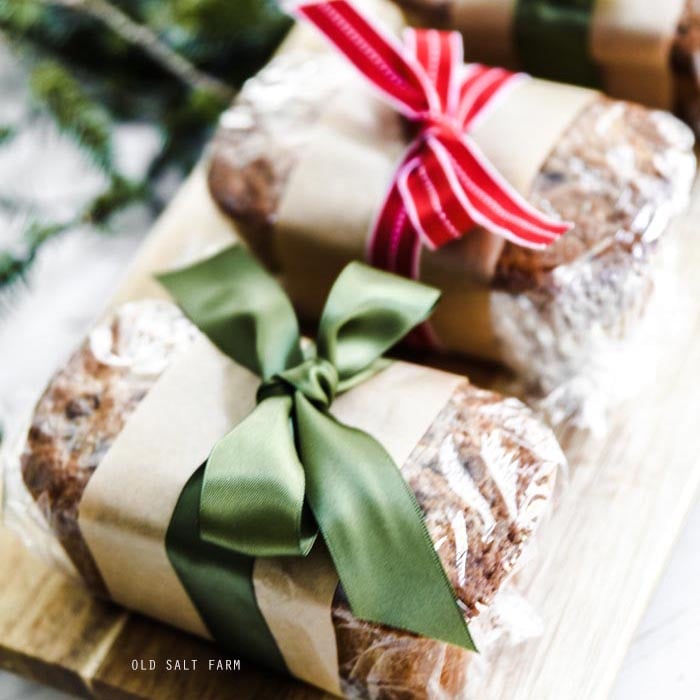
More Christmas ideas
Holiday Stovetop Potpourri | How to Wrap Baked Goods for Christmas | Gingerbread House Bags

Now that you’ve made it this far, we are pretty much best friends! 🖤 If you make this project, or have a question, I’d love you to leave me a comment below. Make sure you follow me on Instagram, Pinterest, and Facebook!

Homemade Cinnamon Ornaments
Ingredients
- 3/4 cup applesauce
- 1 cup cinnamon ( or 1-4.12 oz. bottle of McCormick Cinnamon)
- 2 tablespoons cinnamon
- cookie cutters
- drinking straw
- ribbon, twine, or jute
Instructions
- Preheat oven to 200°F. Combine cinnamon (1 cup + 2 Tablespoons or a 4.12 oz. bottle of McCormick Cinnamon) and applesauce (I use unsweetened applesauce) in a small mixing bowl until a smooth ball of dough is formed. (You may need use your hands to incorporate all of the cinnamon, or use a stand mixer with the paddle attachment.) *I ended up adding a little more applesauce–mine was still a little crumbly.
- Using about 1/4 of the dough at a time, roll dough with a rolling pin to 1/4-inch to 1/3-inch thickness between two sheets of plastic wrap or parchment paper. Peel off top sheet of plastic wrap.
- On a clean surface, cut dough into desired shapes with 2- to 3-inch cookie cutters. Make a small hole at top of ornament with drinking straw. Place ornaments on baking sheet lined with parchment paper.
- Bake 2 1/2 hours. Cool the ornaments on wire rack or cooling rack. Or, to dry ornaments at room temperature, carefully place them on wire rack. Let stand 1 to 2 days or until thoroughly dry, turning occasionally.
- Insert ribbon (I used bakers twine!) through holes and tie them in loops, to be able to hang on your tree.
- If you pack them carefully, your ornaments can last 3-5 years, and even longer! I place them between paper towels, then into a ziplock bag to keep them fresh.
Notes
*Originally posted 2013