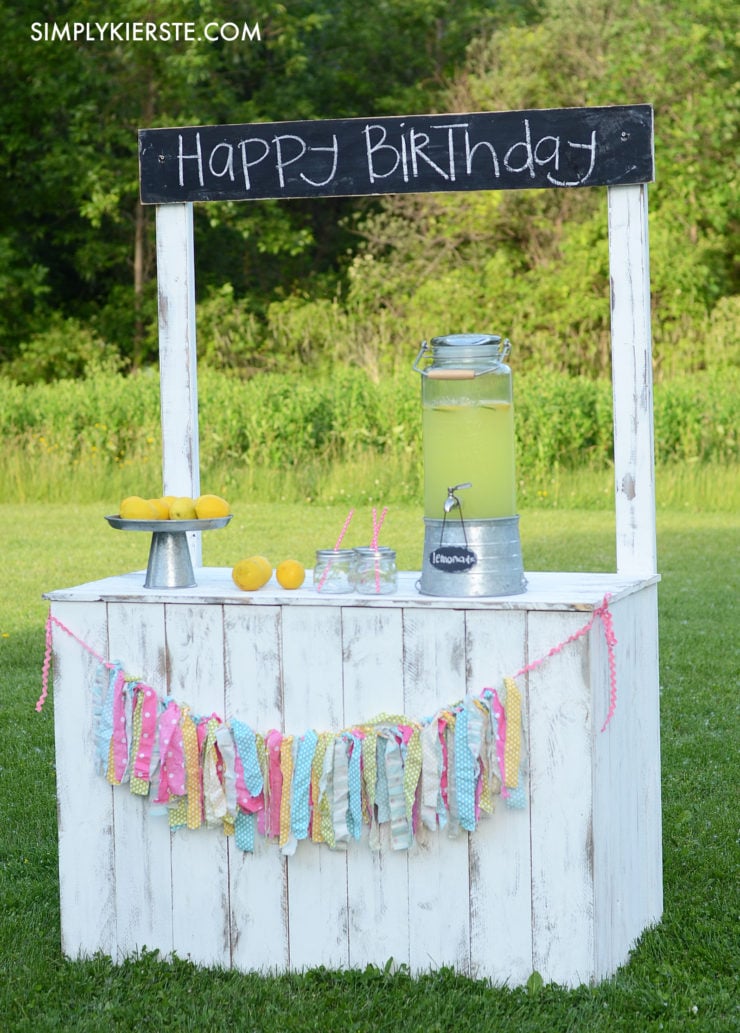
DIY Lemonade Stand
This adorable DIY lemonade stand is easy to make, and perfect for an outdoor serving station. It has a chalkboard sign, making it super easy to personalize it for all of your outdoor entertaining.
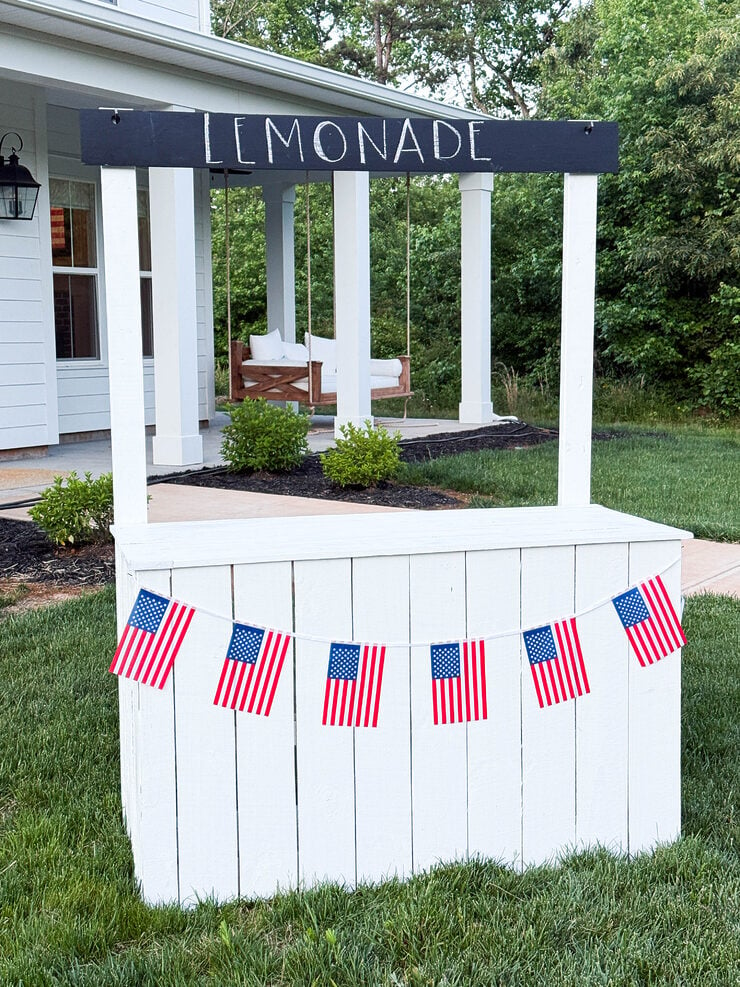
More than 10 years ago we built a lemonade stand. Designed with a removable chalkboard sign, it was easily customizable for any event. I knew it would be used, but I had no idea how much. It quickly became my FAVORITE thing to have for entertaining as an outdoor serving station. Since then, I’ve used it for nearly every BBQ, party, and gathering, through every season, holiday, and multiple themes. It’s been in my home, I’ve taken it to other locations like our church and the school (PTO events), and it has a resident place on my back patio. It’s also been moved into the yard when needed. Whether it’s for drinks or food, it’s the perfect additional space, and I’ve utilized it over and over again. I’ve even had people ask to borrow it for weddings and other events! (I said yes.)
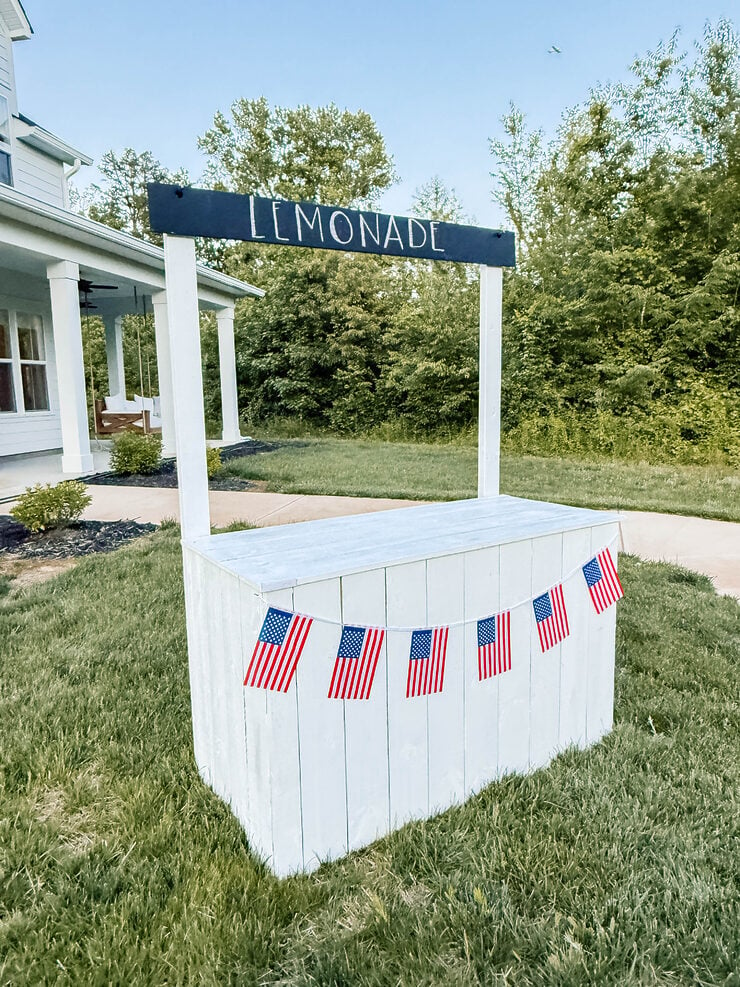
When we moved from Old Salt Farm, we weren’t able to take it with us, and I was so sad about it. Not only was it often used, but also connected to so many memories. Once Cottage on Blackberry Hill was built and we were moved in, building a new lemonade stand was at the top of the list! We followed the same basic build, but made it just a bit wider, and with two shelves on the back side instead of one.
If you are in need of extra serving space on your patio, in your yard, or for hosting events, this is one of the best investments you can make. It’s not super expensive, is at a beginner build level, and can be customized to fit your space.
Table of contents
Affiliate links are included below for your convenience. Please see my full disclosure.
Supplies
- 2x4s (pretreated)
- 5.5 inch fence planks (pretreated)
- Drill, Phillips bit
- Kreg jig, pocket screws
- Nail gun
- Paint
- Chalkboard paint for sign
- 2×6 board for sign
- Masonry nails, 3.5 inches (to hold up sign)
How to build
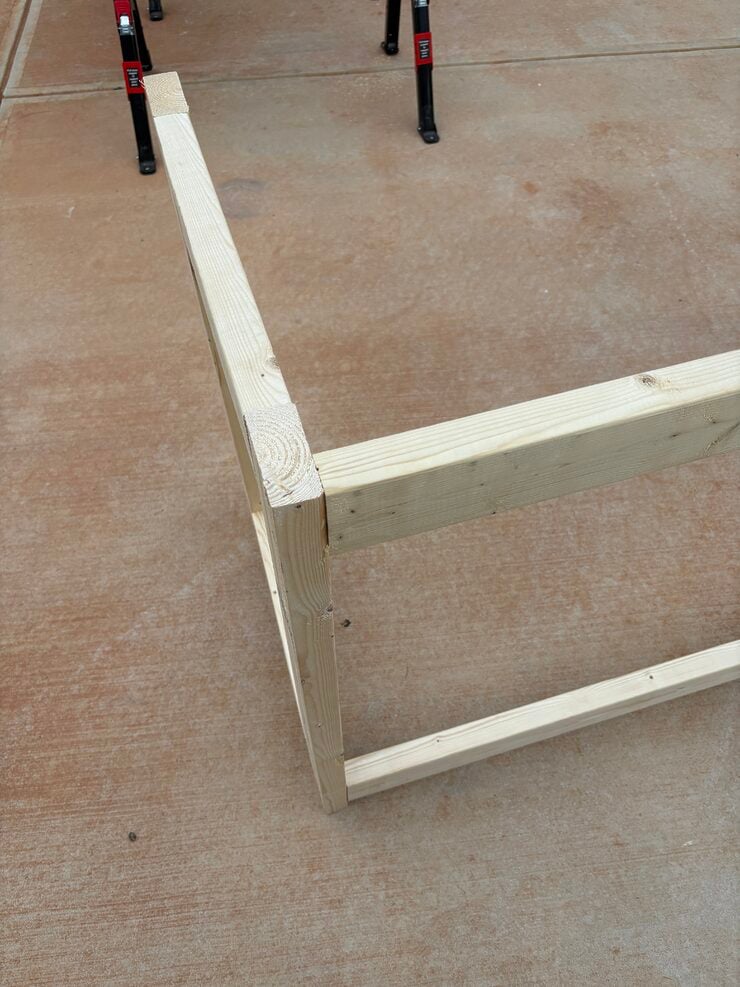
Lemonade stands aren’t hard to make. In fact, if you don’t have much experience building, or want to an easy project, this is a good one. It’s basically boxes made out of 2×4’s–one for the top, the front, and the two sides–then you add the rough cut planks to cut to it.
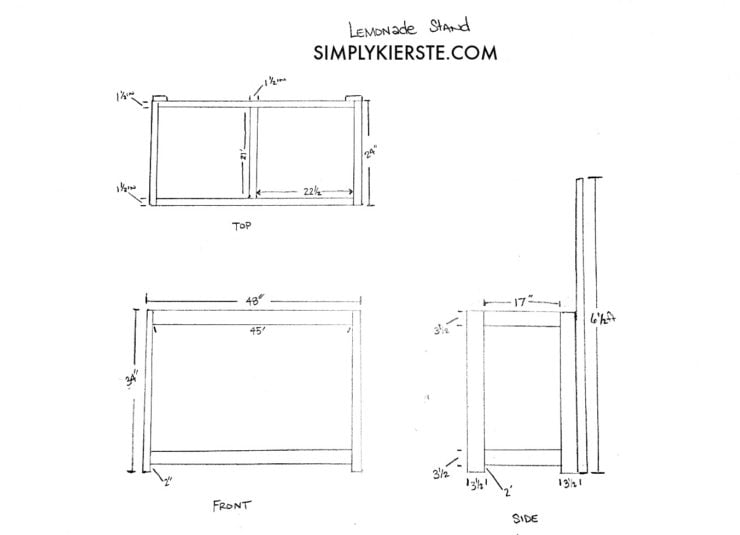
I originally posted about the first stand that we made, which was 48 inches wide. It worked well for many years, and it’s a great size. This time around I decided to make it a bit bigger, but it’s the same process, and you can also customize the size if needed.
directions
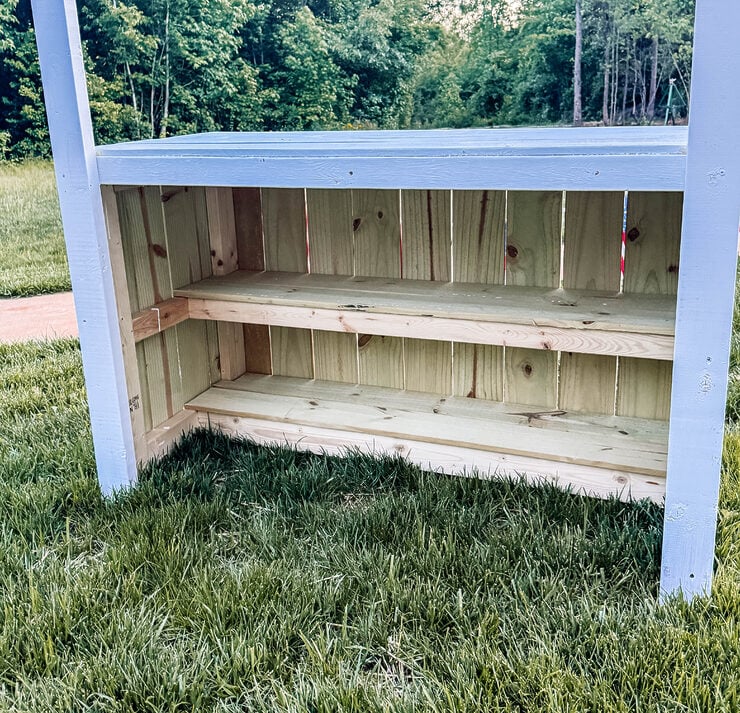
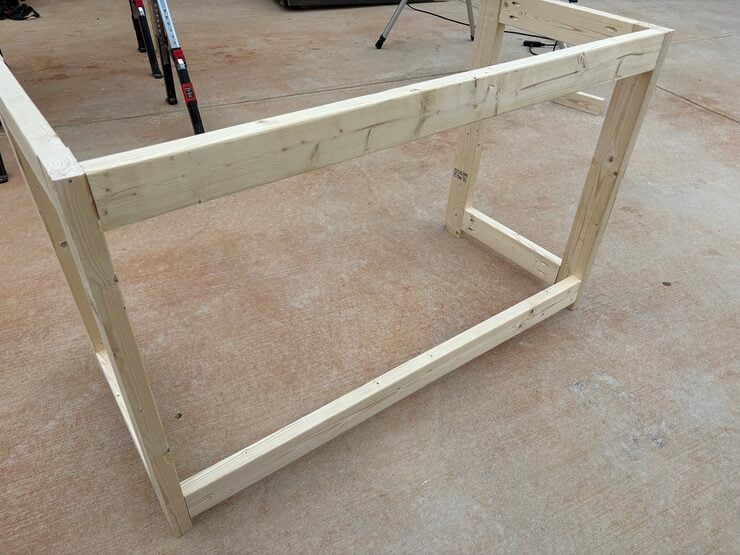
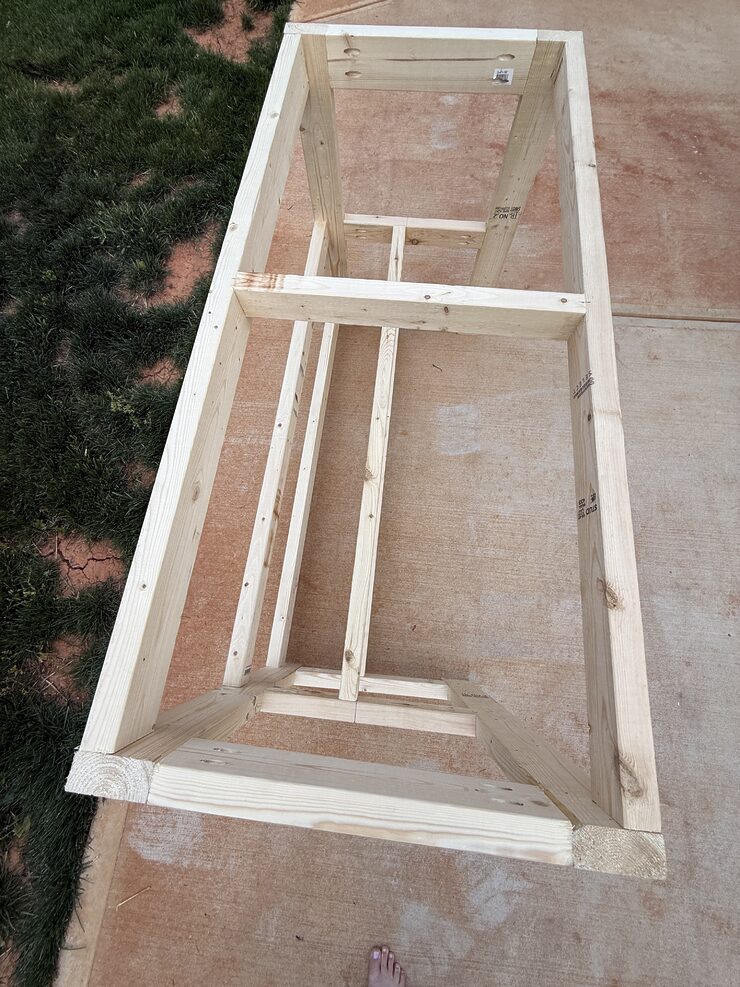
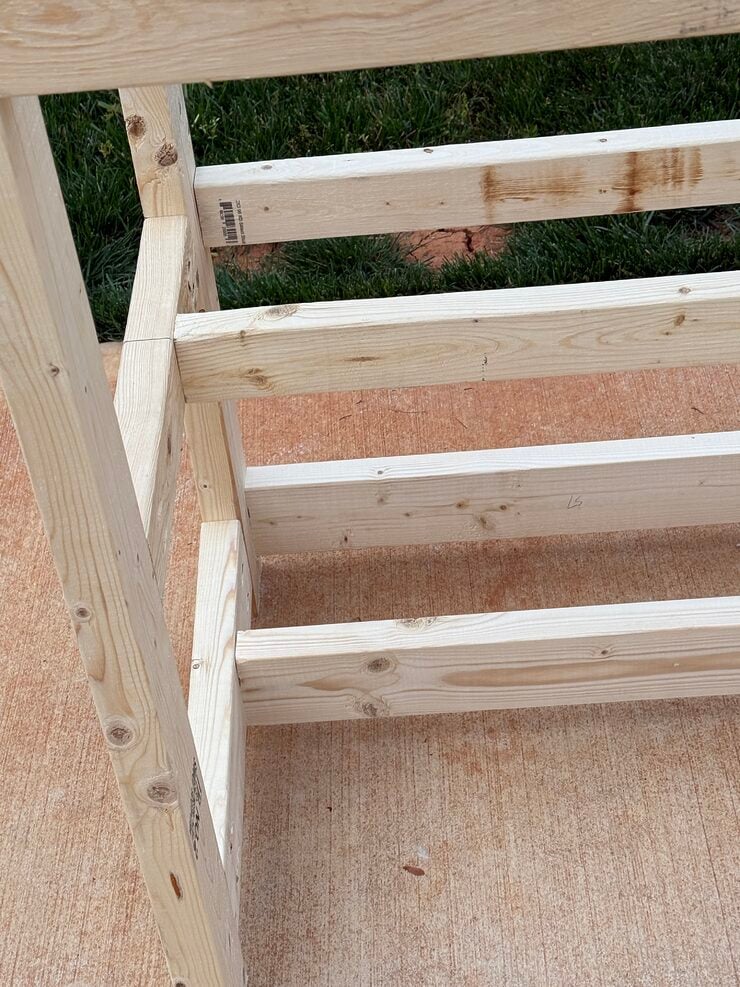
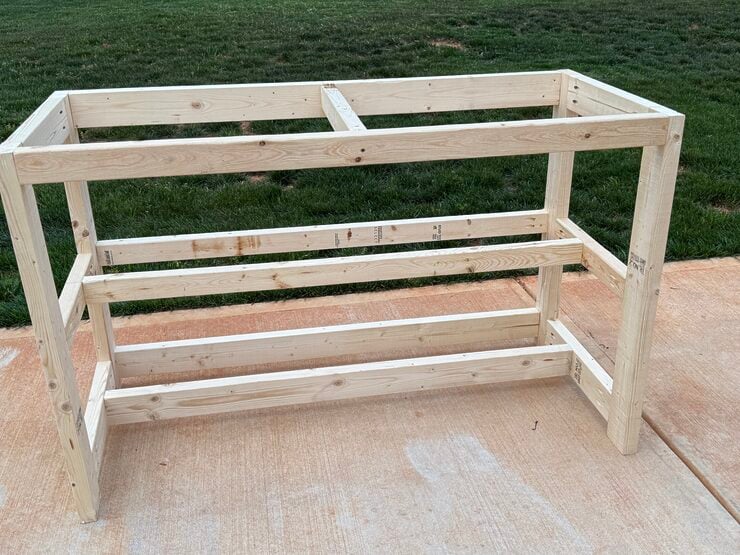
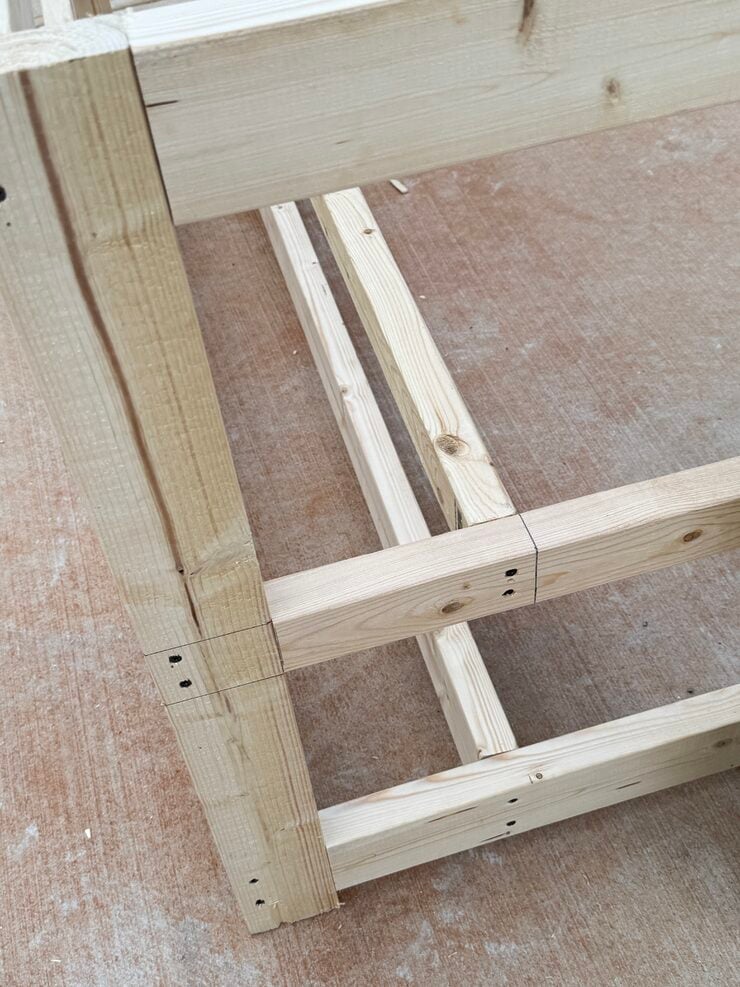
Start by building a simple box frame using 2x4s—this will serve as the base structure of your stand. The front measures about 54 inches wide, or roughly 55 inches once the wood planks are added. For added functionality, include two shelves inside the frame for storage.
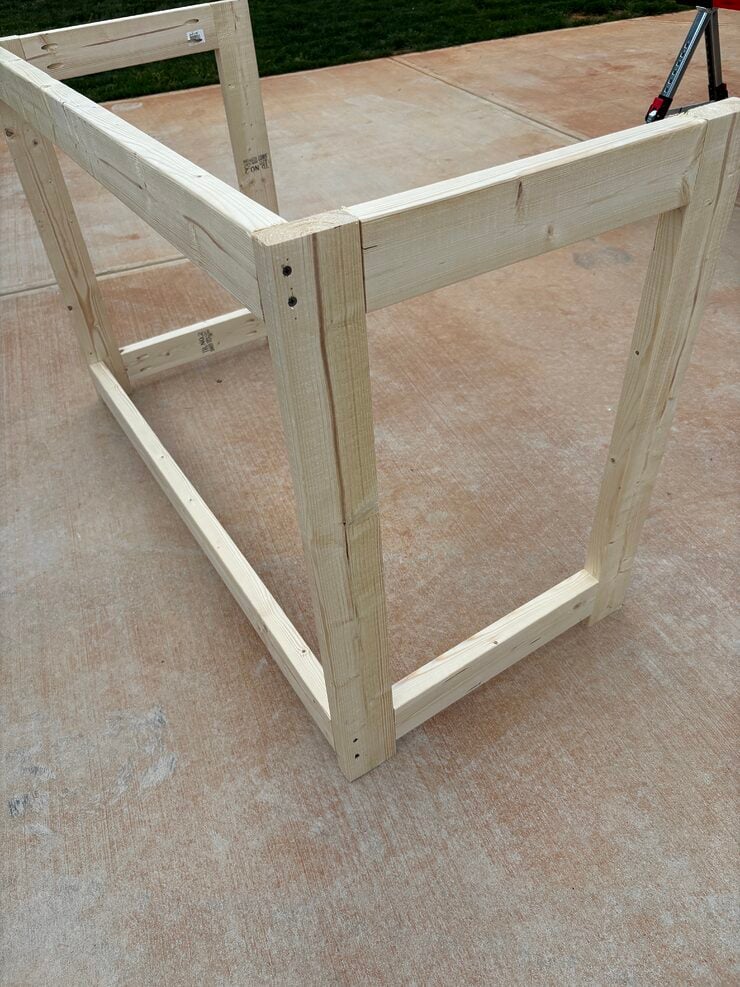
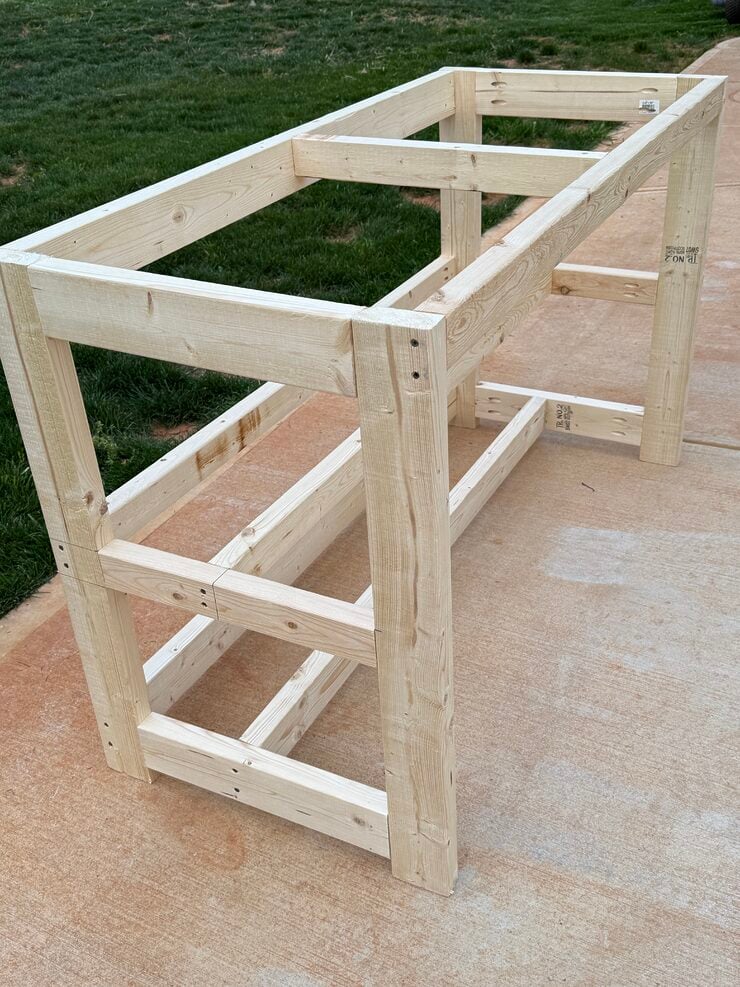
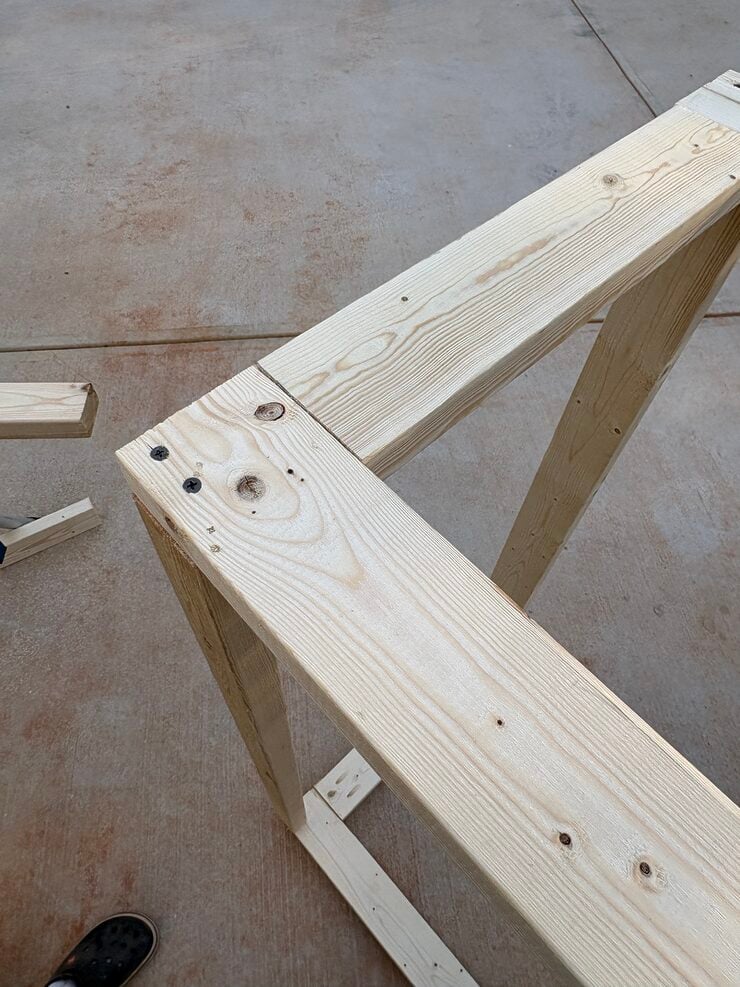
Begin by constructing the two side boxes, attaching the pieces together with pocket screws. Once both sides are complete, cut the front and top rails and secure them between the side boxes using pocket screws to form the main frame. After the basic box is assembled, install the two interior shelves.
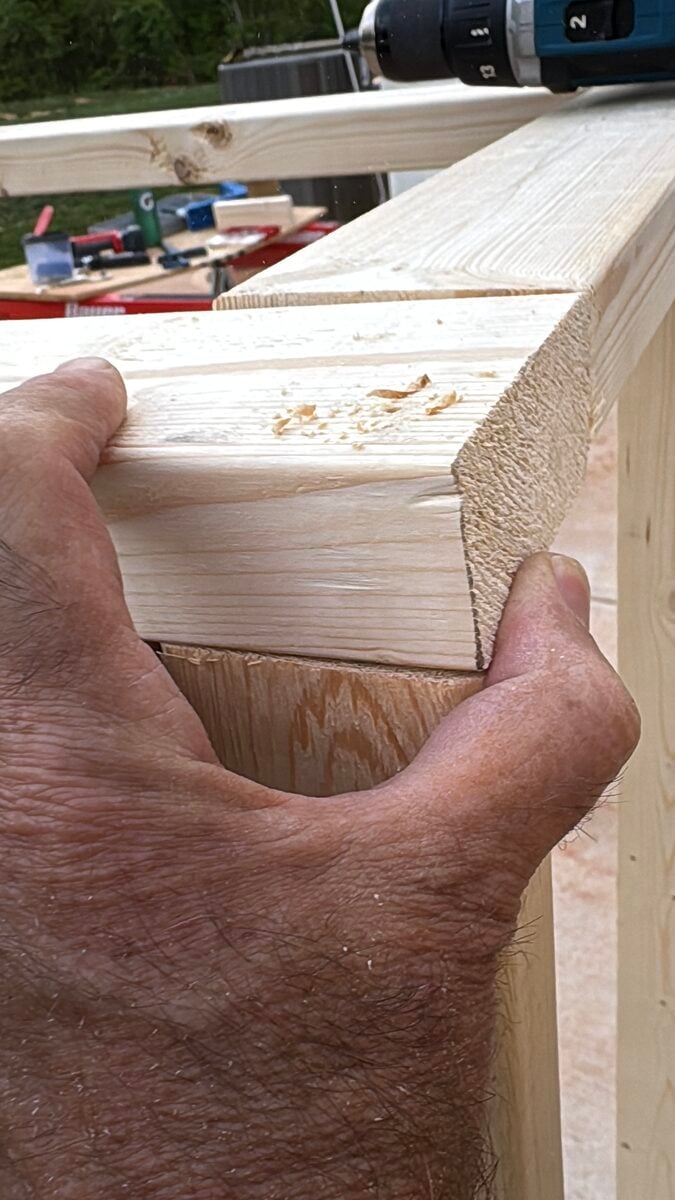
To cover the frame, use rough-cut fence planks (about 5.5 inches wide). You’ll need approximately 9½ planks for the front, and about 4¼ planks for each side and the top. Attach the side and front planks first, then add the top planks last, allowing them to extend about ¾ inch past the edges for a finished look.
Before attaching, cut the tops off the fence planks. Nail the planks directly onto the frame, using a nickel as a spacer between boards for even gaps. Don’t worry if some gaps are slightly uneven—natural variations in the wood add character.
You may need to trim one plank on each side to fit properly, but the adjustment will not be noticeable. Pretreated fence planks are a great option since they are affordable (around $2.30 each) and designed for outdoor use.
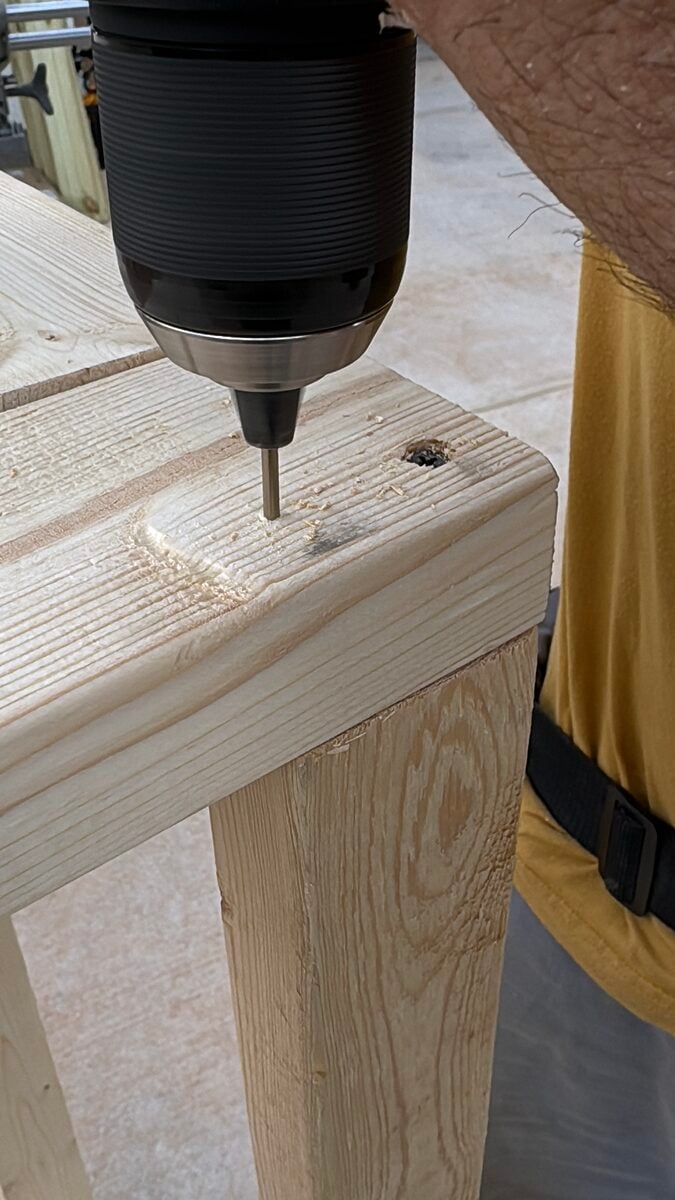
The final step is to attach the back posts to the side frames using 3½-inch screws and add your sign. I cut my posts to 78½ inches, but you can adjust the height to your preference. I used masonry nails at an angle to hang the sign for a unique look, but regular nails will work just fine. If using masonry nails, predrill holes at a slight angle since they have blunt tips and need a starter hole.
You can easily adjust the size of the stand, by increasing or decreasing the length of the front and top rails. This flexibility is why I like this plan—I’ve built it twice and extended the second version by 6 inches for extra space and also added a second shelf for additional storage.

Download plans
ORIGINAL SIZE (48 inches)
larger size
More DIY posts
- Chalk Paint Dresser Makeover (the cutest pink!)
- DIY Built-in Bunk Beds
- Posts for Hanging Outdoor String Lights
Thanks so much for stopping by! Join me on Instagram for even more ideas and inspiration…I’d love to see you there. 🖤

*Originally posted 2015