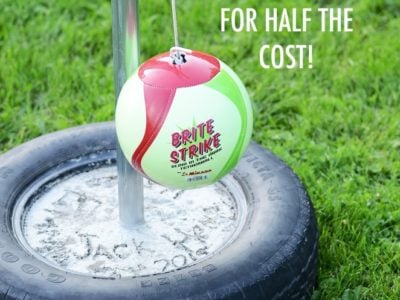
Make your own DIY Tetherball Set!
Make this fun DIY tetherball set for your backyard in an afternoon, and for half the cost of buying new!
We’ve been on a quest to add some really fun things to our backyard! In addition to building a wooden swing set, we also made this DIY tetherball set. Our kids LOVE it. It’s an easy weekend project you can even make in an afternoon, which is a huge bonus.
By making our own, I saved more than half of that! Plus, it’s incredibly sturdy and durable, and made to last. We absolutely love it, and our family has already spent a lot of time outside enjoying it. It really is an easy, doable project that will bring hours of fun.
It all started a few weeks ago, after re-discovering tetherball at our friends’ home. The kids absolutely loved it, and played it the entire time we were there. As soon as we got home (it started in the car), they begged us to get a tetherball set for our own backyard. When I checked them out on online, and saw prices around $100, I knew I could make one for less. And I did! This version uses an old tire and cement, making it super durable and strong. We’ve had a bunch of kids (and adults) playing on it, and it’s held up extremely well.
Table of contents
What I love about tetherball is that it appeals to all ages. Teenagers love it. Elementary kids love it. Even the littles love grabbing the ball, throwing it, and trying to get it to spin around the pole. There aren’t many backyard games that fit into this category, so I knew it would be a good one to have as our family grew. If you have a family with both littles and big kids, this is a great game to have, because all of you can enjoy it together.
And don’t forget the adults! My husband and I love it too–both with our kids, and also other adults when we are entertaining. We’ve loved having it in our backyard.
It really is so worth it to make your own. It only took about an hour to put together, then 24 hours of drying time. Totally an easy weekend project! When you add in the facts that you can not only save more than half of the ones at the store and that it’s way more sturdy, you’ve got a winner.
If you’re wondering about ages, even young children can enjoy playing, all the way up to adults. My five year old boys are totally obsessed with it, and they could have easily played last summer as well, at the age of four. I love that my kids can play together, or even one of them alone.
Cost
(these prices may vary where you live, or where you purchase them)
UPDATE in 2023: Prices have changed since this originally posted on a few things. They will likely continue to do so, but this is the amount I paid for them at the time.
- Tire – free
- Pole – $15
- Rebar – $1.50
- Wire – $2
- Cement – $6
- Hardware – $5
- Ball – $15
= $45!!
I saved more than $60!! What a huge difference! The savings was definitely worth an afternoon of work, especially when I know exactly what I’m getting.
How do you make a tetherball pole? I’ll show you how!
Supplies
- Tire (no bigger than a car tire–not SUV)
- 1 5/8 x 8 ft. 16 gauge galvanized steel line pole
- (2) 1 ft. pieces of rebar
- cement (180 lbs–we used 3 bags of concrete, 60 lbs. each)
- 5/8 x 3 in. round swivel eye bolt snap
- 1/4 x 2 5/8 in. eye bolt
- 2 washers, lock washer, and nut (all 1/4 inch–we bought a package that had all three in it)
- 18 gauge galvanized wire
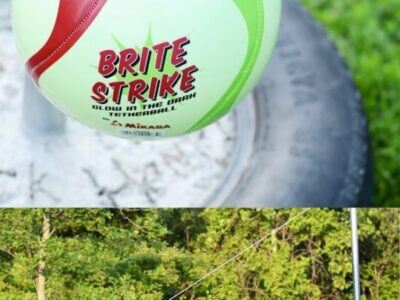
- Tetherball with rope (this is the one we bought–it glows in the dark for night time play!)
- Drill (impact drill with bit made for metal)
- Supplies to mix cement–shovel, container, water (we put ours in a large bucket)
- Ladder
The base of the tetherball set uses an old tire. You’ll want to find one that isn’t from an SUV, or overly large. Filling it with cement would make it will be extremely difficult to move. It’s nice to be able to turn to roll it out of the way, or into the barn (or garage) during the winter months to protect it from the elements. It can stay in one place, and if you have no intention to move it, then I suppose you could use a bigger tire. If so, you’d definitely need more cement in order to fill it.
If you don’t have an old tire handy, my suggestion is to check the junkyard or landfill. We’ve always had good luck, and been able to find what we’re looking for. Another option is to ask around–you could have friends or family with an old tire taking up space, and looking for a way to dispose of it.
How to build
Before you start, prepare a space for the project. We made ours on our back patio, but any place that room for your supplies will work. Spread out a piece of plastic sheeting, or a large (strong) garbage bag. This will protect your surface from the cement, and make for a much easier clean up when finished. Lay out your supplies so they’re ready to go, and have the ladder nearby. This isn’t a difficult project, but you do need a second set of hands for the cement part. An older child could certainly help, and it’s a great way to get all of your kids involved.
1. Drill holes into one end of your line pole, in a cross pattern. (The ends are the same, so it doesn’t matter which one you do.) Ours are about 2 inches from the bottom pole, and then 5 inches above that. To determine how far apart to drill your holes, measure the inside of your tire.
It’s going to be buried in the cement, so you don’t want it to poke out the top or the bottom of your tire. Slide in the rebar, and use the galvanized wire to secure them into place. On the opposite end of the pole, drill a hole for the eye bolt, and secure it with a washer and the 1/4 inch nut.
2. Set out your tire on a large garbage bag or plastic sheeting. Mix your cement (we used a shovel and an inexpensive container that we bought at The Home Depot), making sure to follow the directions on the bag. We used the Quikrete brand, which dries pretty fast–within 24 hours we were ready to play!
3. Shovel the mixed cement into center of the tire, spreading and evening it out as you go. Set up a tall ladder right next to the tire (or something else you can steady the pole and keep it in place with). Push the bottom of the pole with the rebar, end first down into the cement, making sure it’s centered, and that the rebar is completely covered. If you get cement on the tire, don’t worry–once it’s dry, you can scrape it right off.
4. Use a level to make sure it’s standing completely straight, then use the galvanized wire to tie it to the side of the ladder for stability, and so it will stay that way while it dries. You’ll see we had lots of helpers! Our kids loved to help, and an extra pair or two of hands on these last steps really are necessary.
5. Let it dry! We added the kids’ names into the surface of the concrete after 3-4 hours–don’t do it right away, you’ll need the cement to be semi-firm to hold. My husband was the overseer of this part, and let the kids do it themselves. If I had to do it over again, I would just have him do it–it’s a lot more difficult for kids to do it, they generally aren’t strong enough to write it deep enough. If you have older kids, they could probably do it, but under 6 is a bit tricky. Even their handprints would be fun, if they want to do it themselves.
6. After the cement is totally dry, clip the snap bolt onto the eye bolt at the top of the pole, and tie the rope onto the swivel portion of the snap bolt. You don’t have to use a snap bolt, but it makes it a lot easier if you want to remove the ball from the tetherball pole.
You’re done, and ready to PLAY! We keep ours outside all through the summer months and into a bit of fall, then roll it into the barn for the winter months. It’s also easy to unclip the ball and just put that away, which helps to keep it nice all year long.
To further customize your tetherball set, you could paint the pole or the tire…or both! Let the kids go to town with the paint (in paint clothes, for sure!), putting their handprints on the tire, or even adding their artwork.
FAQ
This is one reason I highly recommend not using a large tire from an SUV, etc. The cement does make it heavy, which is important for it to be sturdy and stable in use. If you tip it on it’s side and roll it to move, it works well to get it from one place to another as needed.
More outdoor ideas
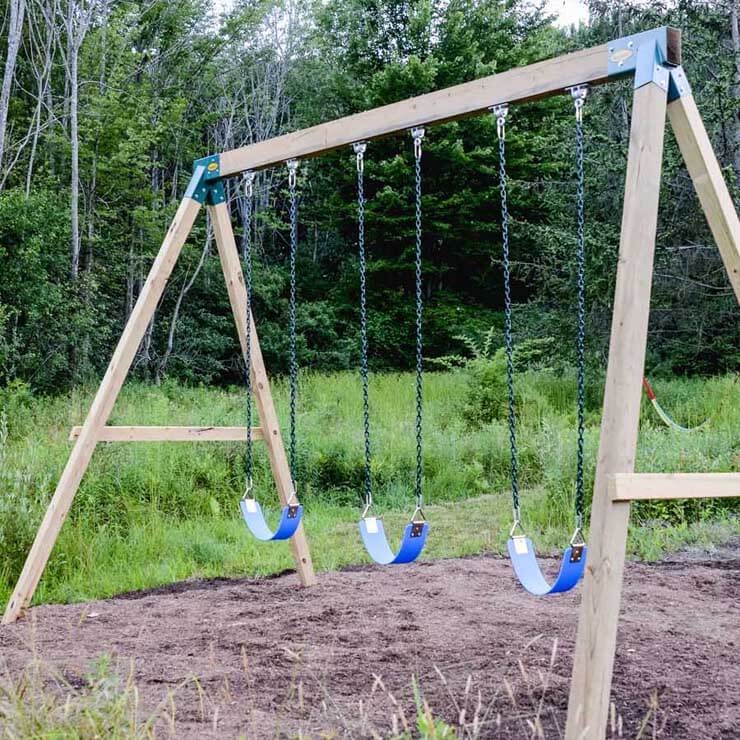

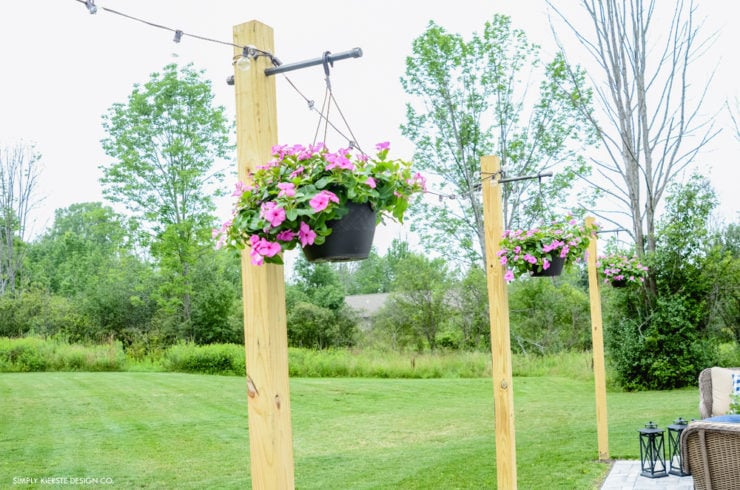
Happy summer! If you’re looking for even more ways to do summer on a budget, take a peek at my lis of ideasl. We also love our wooden swing set, another great weekend project that can save you a bundle and add a ton of backyard fun.

*Originally posted July 2015