DIY Lemonade Stand with Reversible Chalkboard Sign
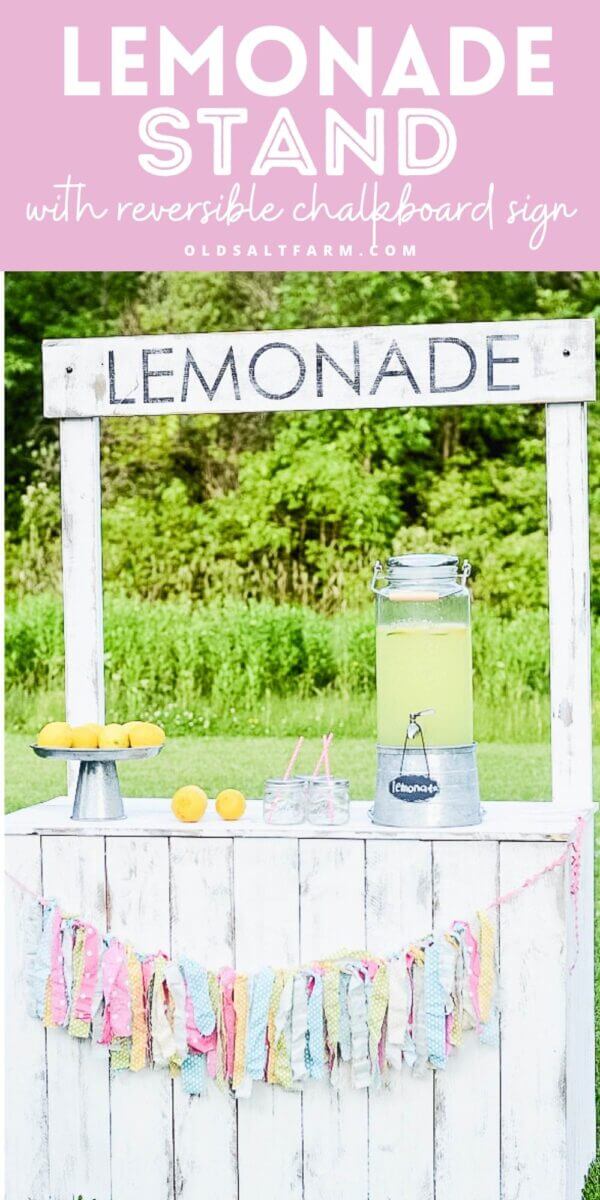
This adorable DIY lemonade stand has a reversible chalkboard sign, making it super easy to personalize it for all of your outdoor entertaining!
UPDATE: After five years, this is my FAVORITE thing to have for outdoor entertaining. I’ve used it for nearly every BBQ, party, and gathering. It’s been in my home, I’ve taken it to other locations, and it has a resident place on my back patio. It’s also been moved into the yard when needed. Whether it’s for drinks or food, it’s the perfect additional space. And with the reversible chalkboard sign, I can customize it for every event!
Making a lemonade stand has been on my list…pretty much forever. The last few years we’ve been so transient that it wasn’t really an option–with no where to store it and moves coming up. Even though all of our things are in storage right now, we did keep out the chop saw so that we would be able to build things for our new house. With summer parties and entertaining on the horizon, I decided it was finally time for a lemonade stand!
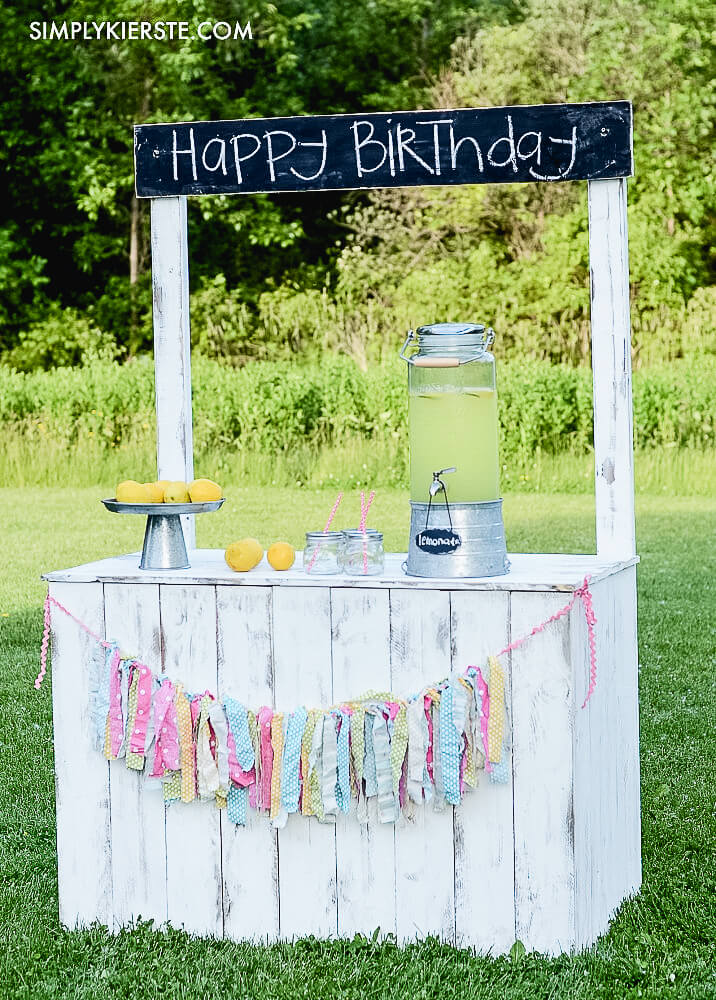
I’m calling it a lemonade stand just because I’m not sure what else to call it, and because it just sounds cuter, but it will mostly be used as an outside serving station. I added a few features, including a reversible chalkboard sign, and decided on a color that will make it perfect for all of my outdoor entertaining!! Having a lemonade stand with a reversible chalkboard sign means I can easily use it for any party, theme, holiday, or season!
DIY Lemonade Stand
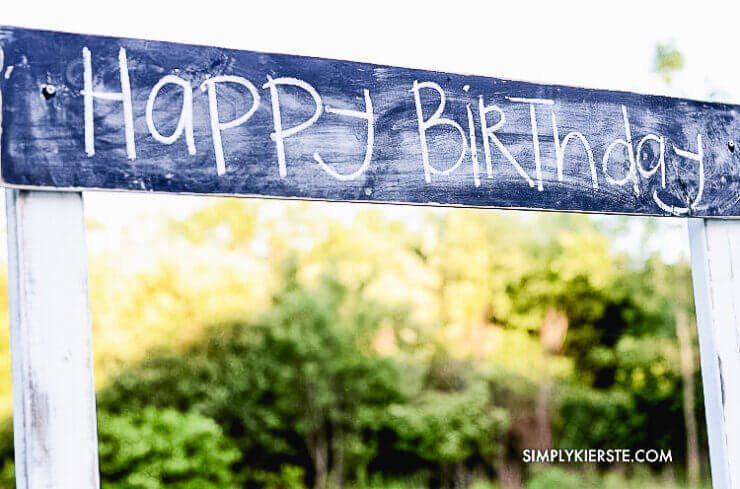
I adore the reversible sign that I made by painting one of the sides painted with chalk paint. I wanted one side to say lemonade, but since it would be used for so many types of parties and events, it made sense to have one side be a blank slate. I can add anything I want, based on the occasion–birthdays, anniversaries, holidays, BBQs, weddings, you name it!
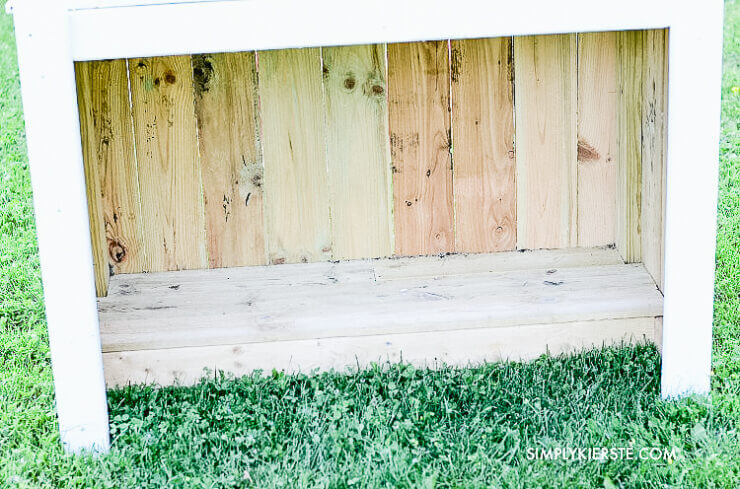
I also added a shelf on the back side of the stand, so I would have a place to put all of my extra supplies. I’m actually going to add another shelf across the middle before I use it next–you can never have enough storage!
How to make a lemonade stand
Lemonade stands aren’t hard to make. In fact, if you don’t have much experience building, or want to an easy project, this is a good one. It’s basically boxes made out of 2×4’s–one for the top, the front, and the two sides–then you add the rough cut planks to cut to it.
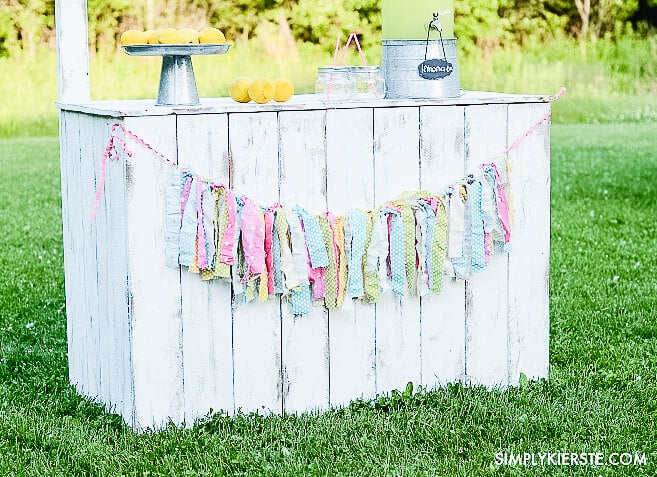
I decided on the width across the front at 48 inches, and once I added the planks, it’s 49.5 inches across. I was able to exactly fit 9 rough cut planks (5.5 inches) across the front, without having to cut them down at all. Happiness! The sides each have one piece of wood that had to be cut to fit the width, but it’s not noticeable at all. I used a nickel between each piece of wood to give it a little spacing.
We did take pictures, but there as an unfortunate incident, and they’re lost. However, I do have a picture of all of the dimensions, which I sometimes think is better. At least that’s what I’m telling myself. :) I have it as a PDF file, so you can print it and have it handy when you’re making your own.
This is a picture of the boxes you’re going to make, and then the rough cut planks get nailed right on top! We used 2x4s for the box construction, and the pretreated 5.5 inch fence planks from Home Depot–they were about $1.50 each. I use them for a couple of reasons–first of all, they’re cheap, and secondly, they’re meant to be outdoors. Just cut the top off first!
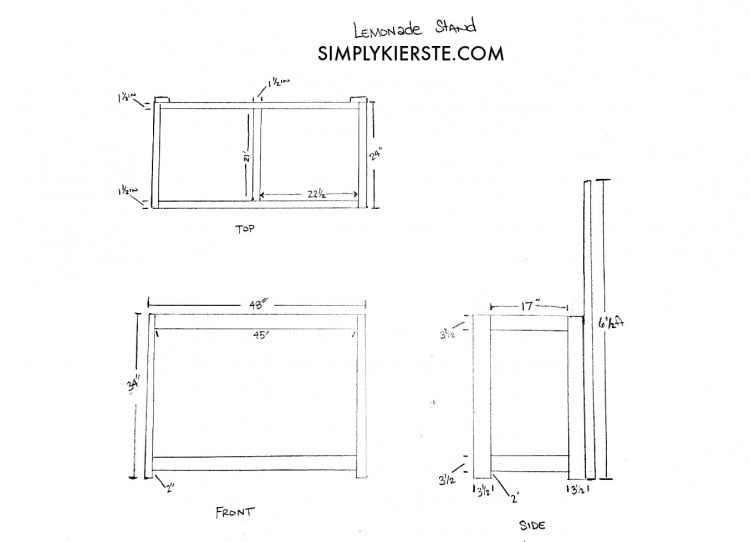
DOWNLOAD DIY LEMONADE STAND PLANS:
SIGN:
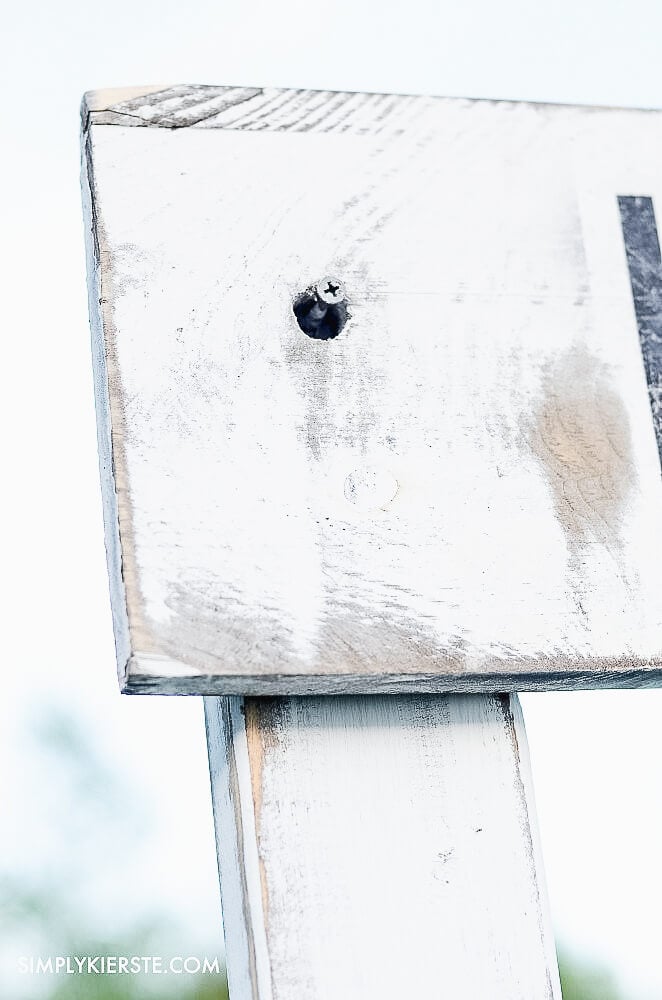
To add the sign, we added screw at the top of each side post, then measured the piece of wood I was going to use for the sign to see where the holes needed to go. Then you can drill your holes, and you’re sign is now reversible! I painted one side with chalkboard paint–easy peasy. The other side I antiqued just like the rest of the stand (see directions below), then cut out the word LEMONADE on my silhouette (font = century gothic). I used the negative space as a stencil, and filled it in with black paint. Once it was dry, I used a power sander to make it look all nice and distressed.
SHELF:
When you build the box for the sides and front, the frame is already existing for the shelf. I just added extra planks of wood to fill in the space. Nothing fancy–but it’s awesome! I’ll do the same for the middle shelf–probably right around the middle or a little higher.
ANTIQUING PROCESS:
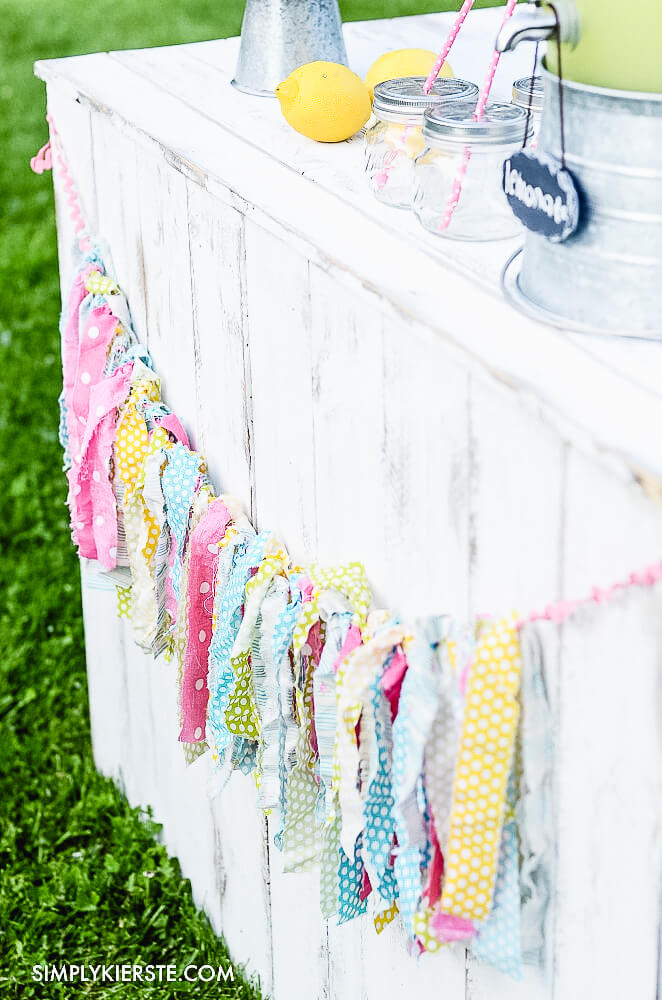
I’ve seen some cute striped lemonade stands, but since this isn’t always going to be a lemonade stand, I didn’t want to be kept to one color. The 4th of July, Halloween, birthdays…they all have such different color schemes, and I want to be able to add a cute banner on the front for all of them and have it match. Those were my reasons for doing an antiqued white, but you can make yours however you like!
There are about a million and one ways to antique or distress wood. I’ve tried many of them, but I have a couple favorites, and change them up depending on the project. I’m usually about the easiest and fastest option too. :)
One of my very favorites is the Vaseline method: I stained the wood with Minwax Dark Walnut, and let it dry completely. Then I dabbed Vaseline in a few places where I really wanted the stain to show through and be more distressed. The next step was to paint it white (I used a basic white latex paint). Once it was dry, I went to town with my power sander, and when the white was sanded off, the stain showed through, giving it that lovely distressed look. Wherever you put the vaseline, the white paint doesn’t stick, and it will basically wipe right off.
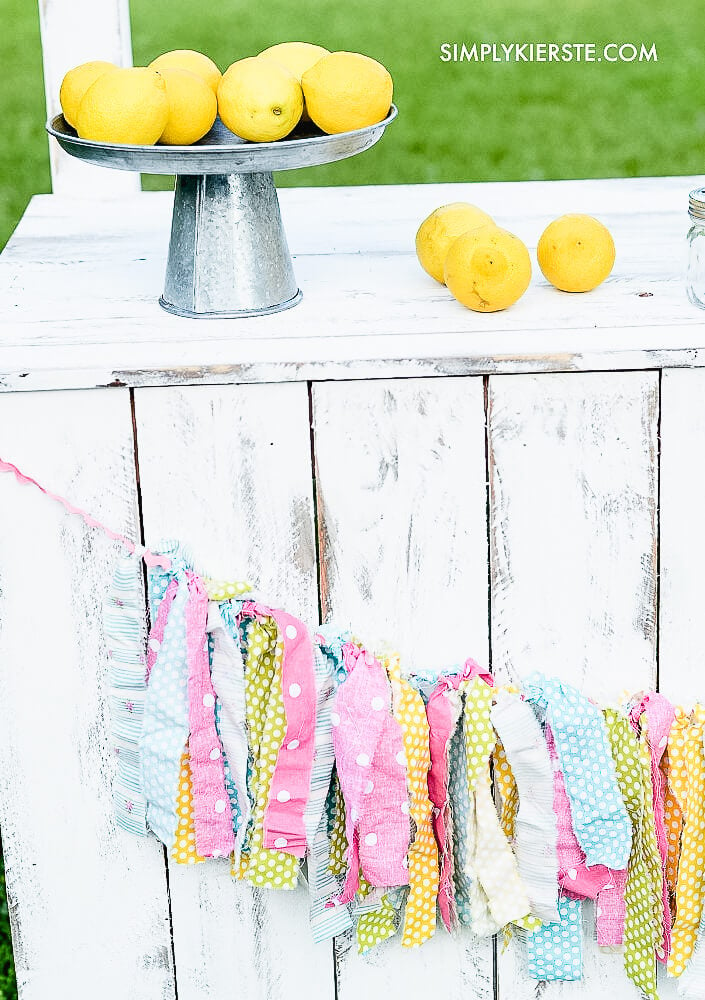
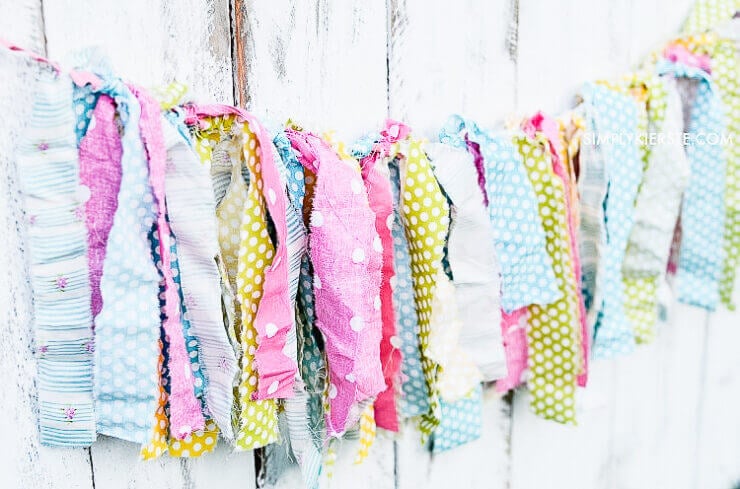
I adore fabric garland buntings–they are incredibly easy to make (just tie strips of ripped fabric onto ribbon or twine)–and you don’t need any extra equipment like a printer or vinyl cutter to make them. And they’re CUTE!!! I think I have one for every holiday! They are the perfect touch!
