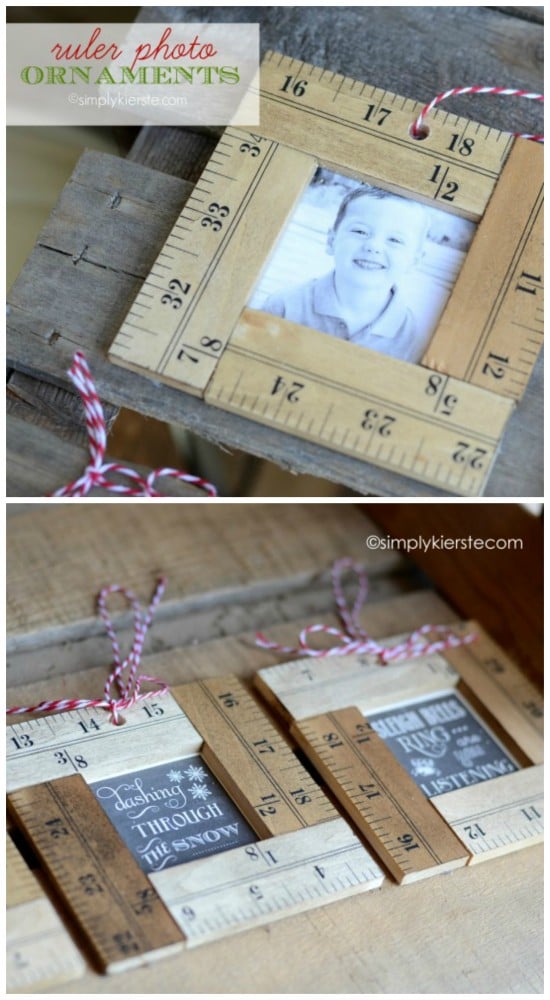
Ruler Photo Ornaments
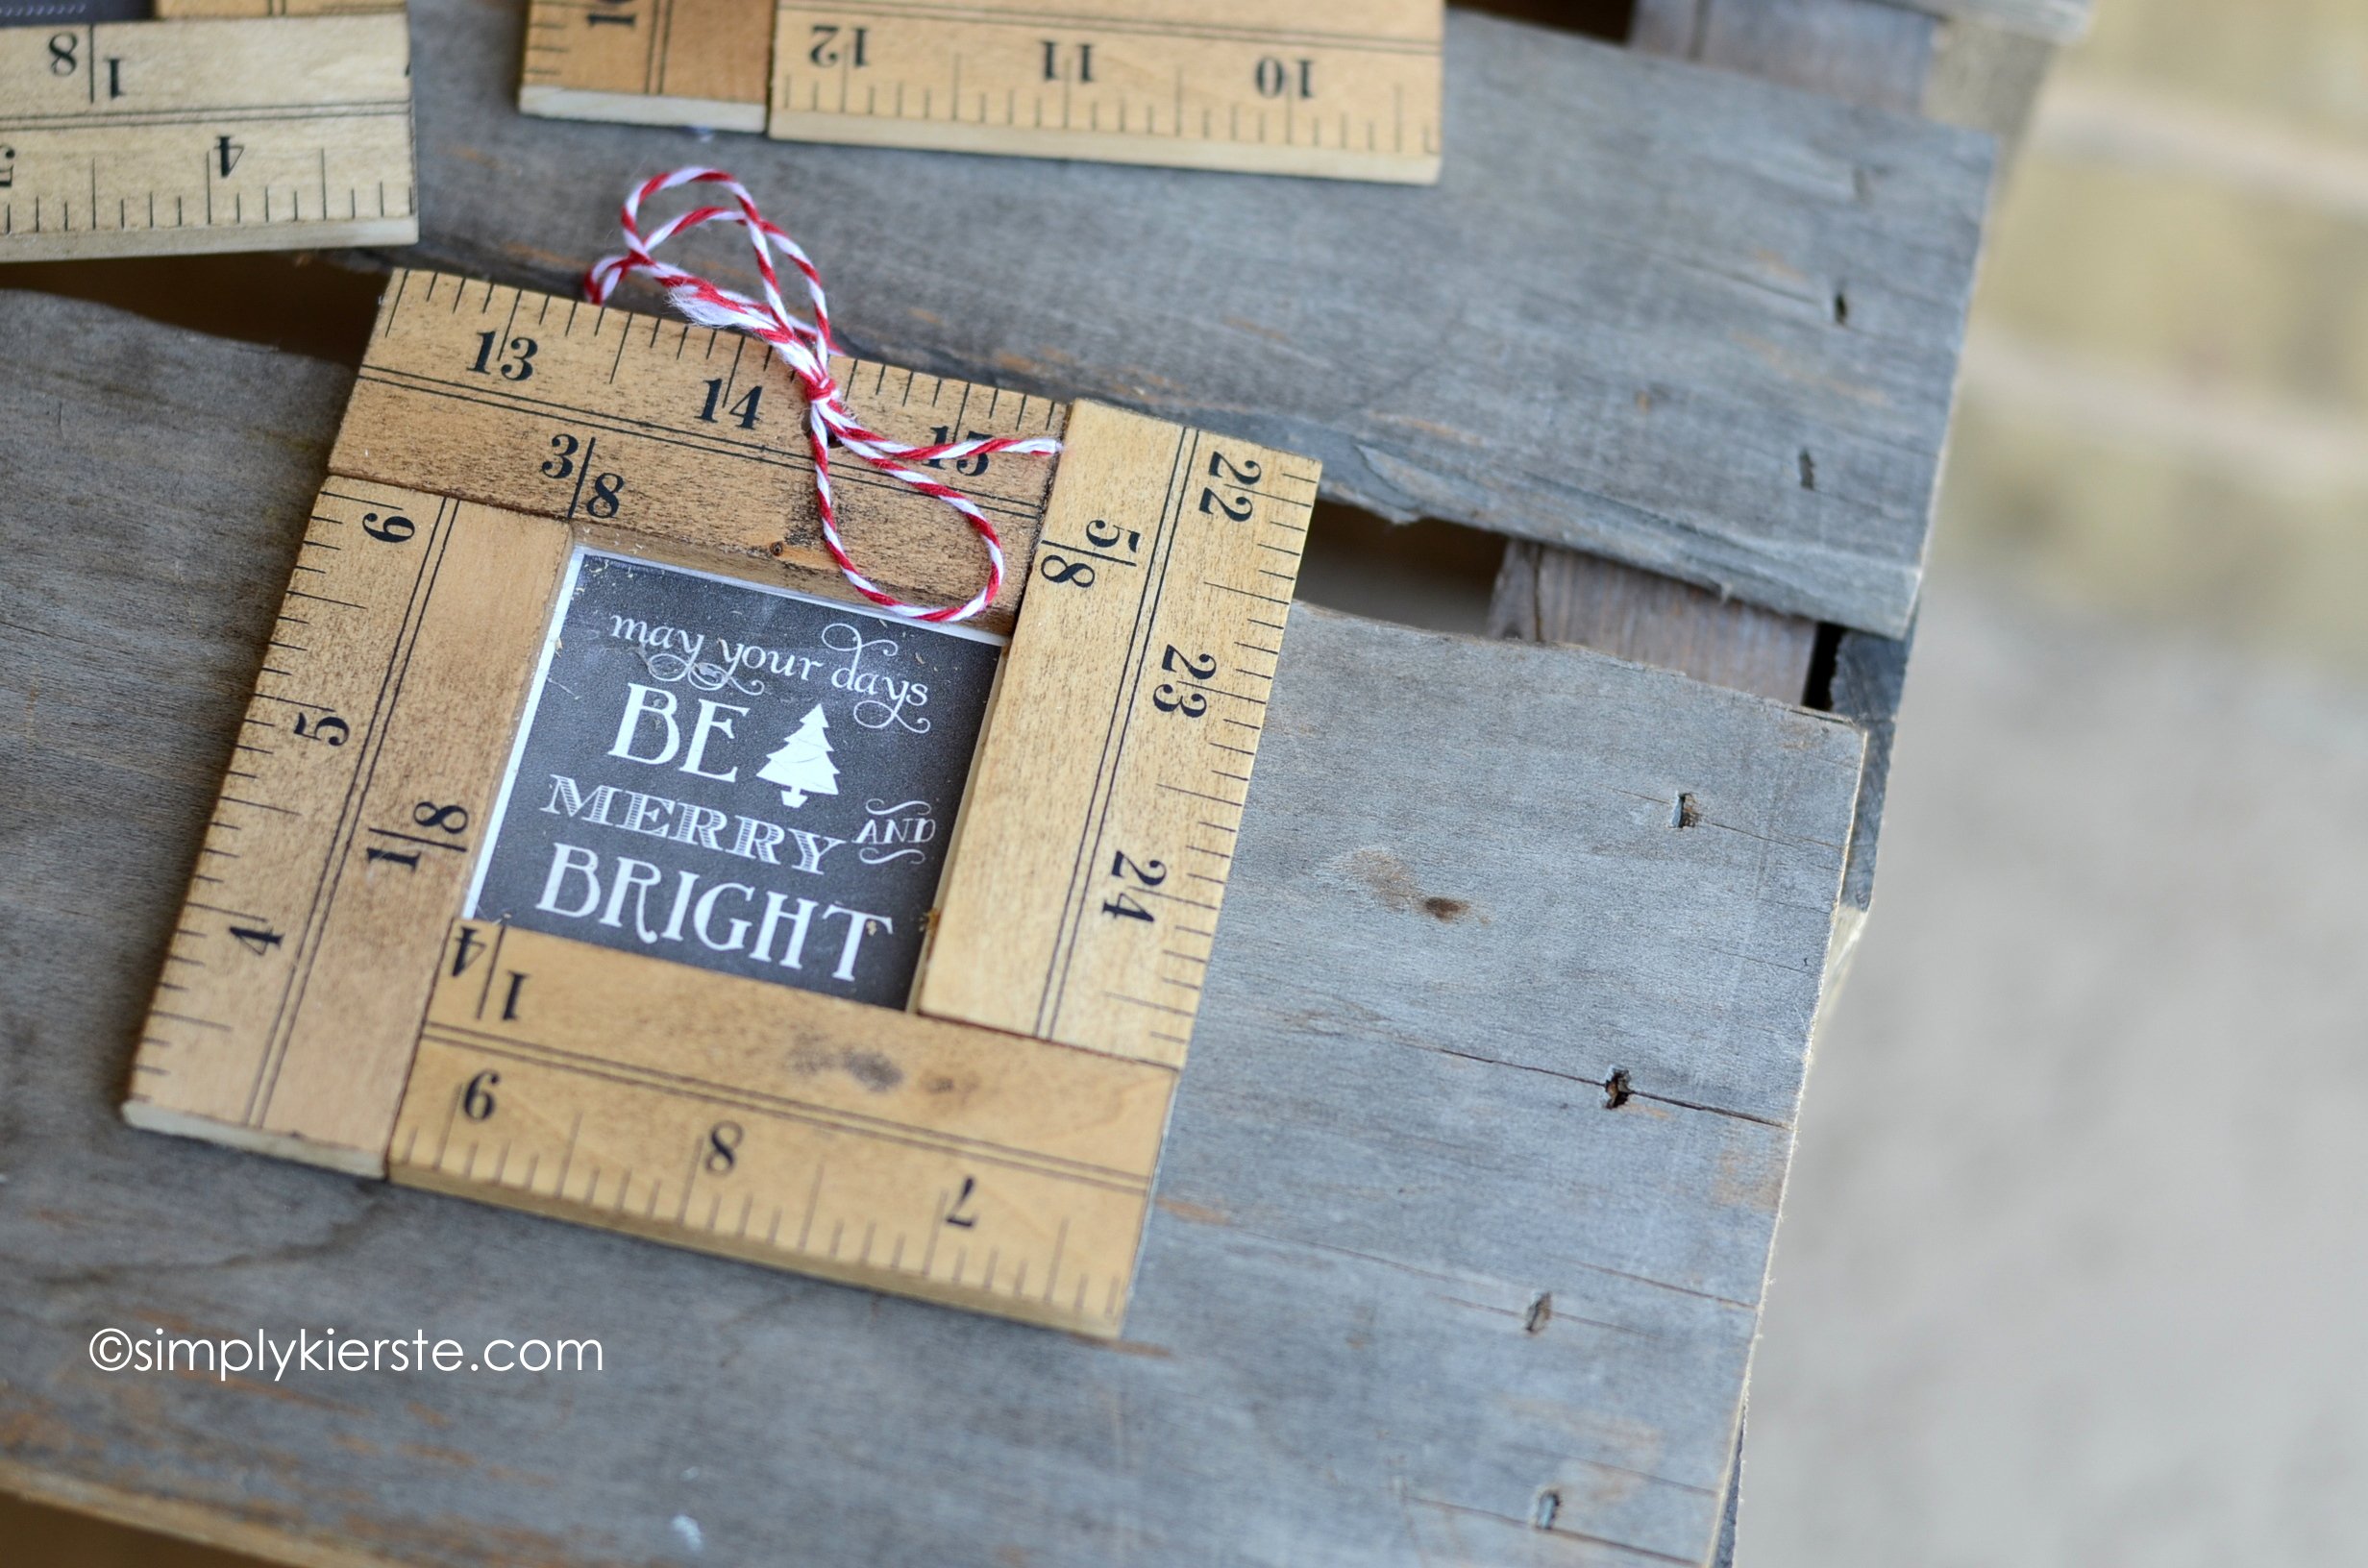
Aren’t rulers just so charming? I just love them as an ornament, and they are the perfect frame for pictures of family and loved ones hanging on the tree! These ornaments are super easy to make, and really cost effective. They make perfect gifts! I also made a version that uses my chalkboard Christmas printables, and I adore them too!
I really love handmade ornaments, and 90% of the ones on our tree are handmade. It’s so fun to make them personal to our family, and seeing them year after year brings so many memories of the years before. These Ruler Photo Ornaments are perfect for that!
![]()
{supplies}
-yardstick
-stain
-hot glue gun
-cereal box or chipboard
-mod podge
-drill and 1/4 inch bit
-ribbon, twine, etc.
{directions}
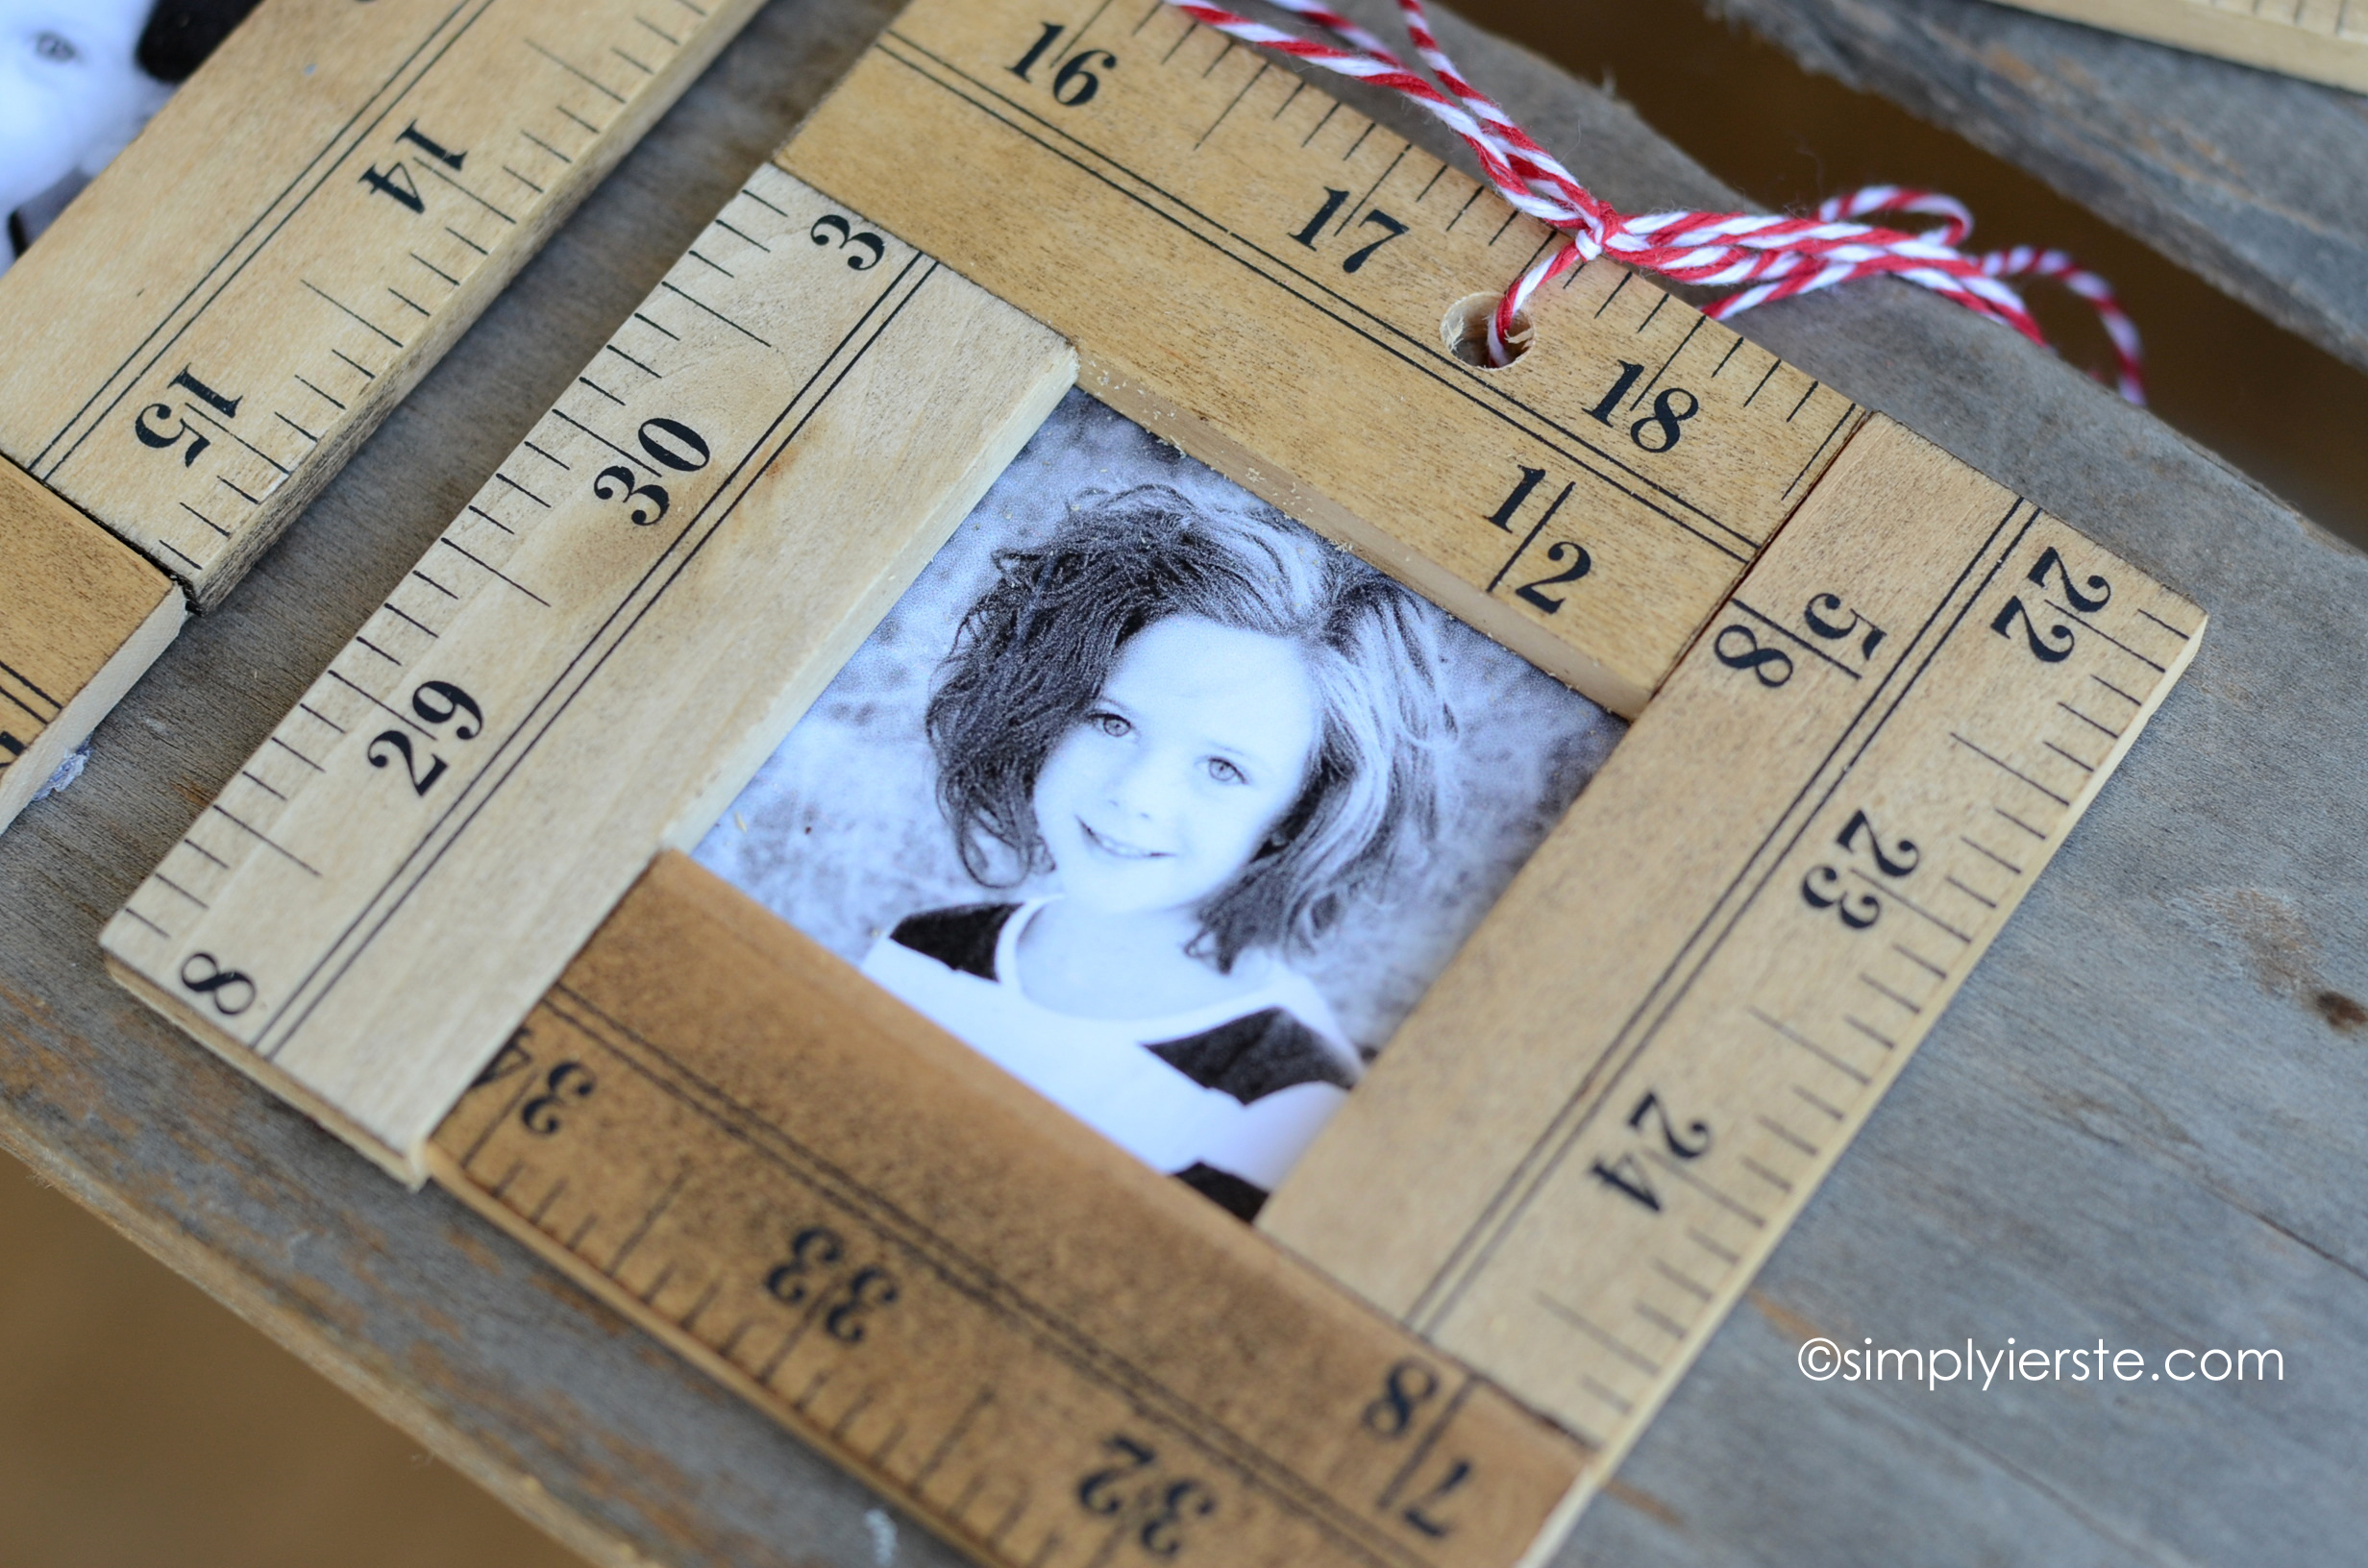
 1. Cut your yardstick into 3 inch pieces–you’ll have 12 of them, and enough for 3 frames. You can find them at Michaels or another hobby/sewing store. Mine were around $3.50 each. You can get them cheaper, but I liked the way these looked the best.
2. Stain your ruler pieces. I used Minwax Dark Walnut–it’s my favorite color of stain. I wanted there to be a varying shades of darkness, so I did some lighter, and some darker. Let dry completely.
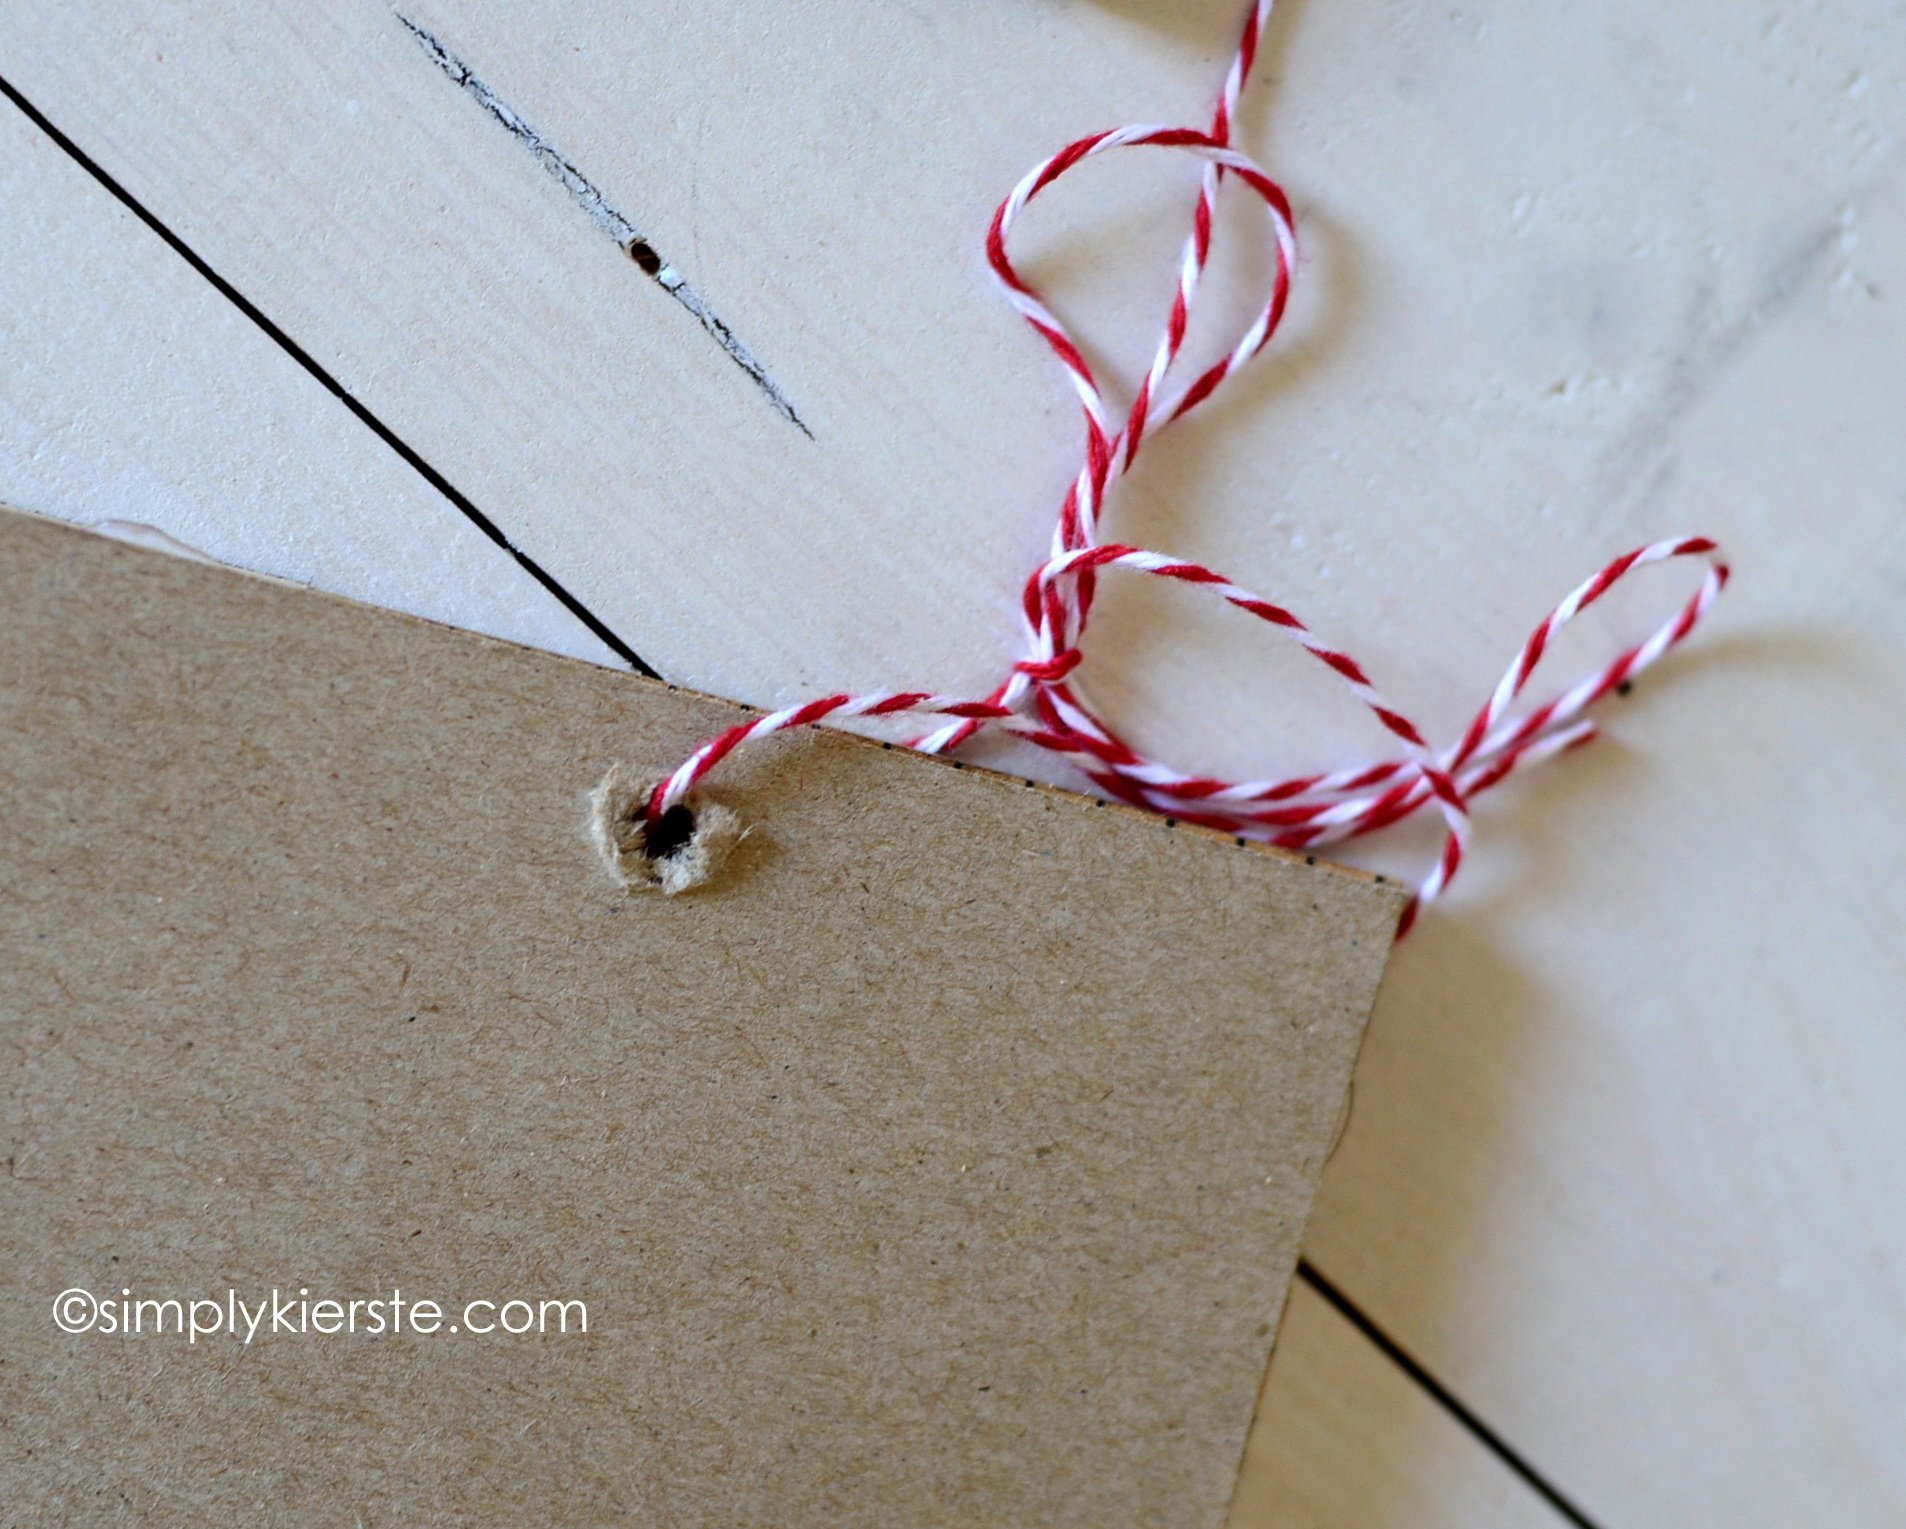
3. Cut out 4 inch square pieces of chipboard or cereal box. I used a lighter cardboard like these, so the ornaments wouldn’t be too heavy.
4. For the pictures, you’ll need them to be about 2 1/2 inches square, but only 2 inches will show, so make sure what you want to see is in those 2 inches. You can use actual photos, but I just printed out my favorites onto cardstock. Cut them into the 2 1/2 inch squares, then mod podge them directly in the center of the cereal box–with the colored side facing up. Let dry completely.
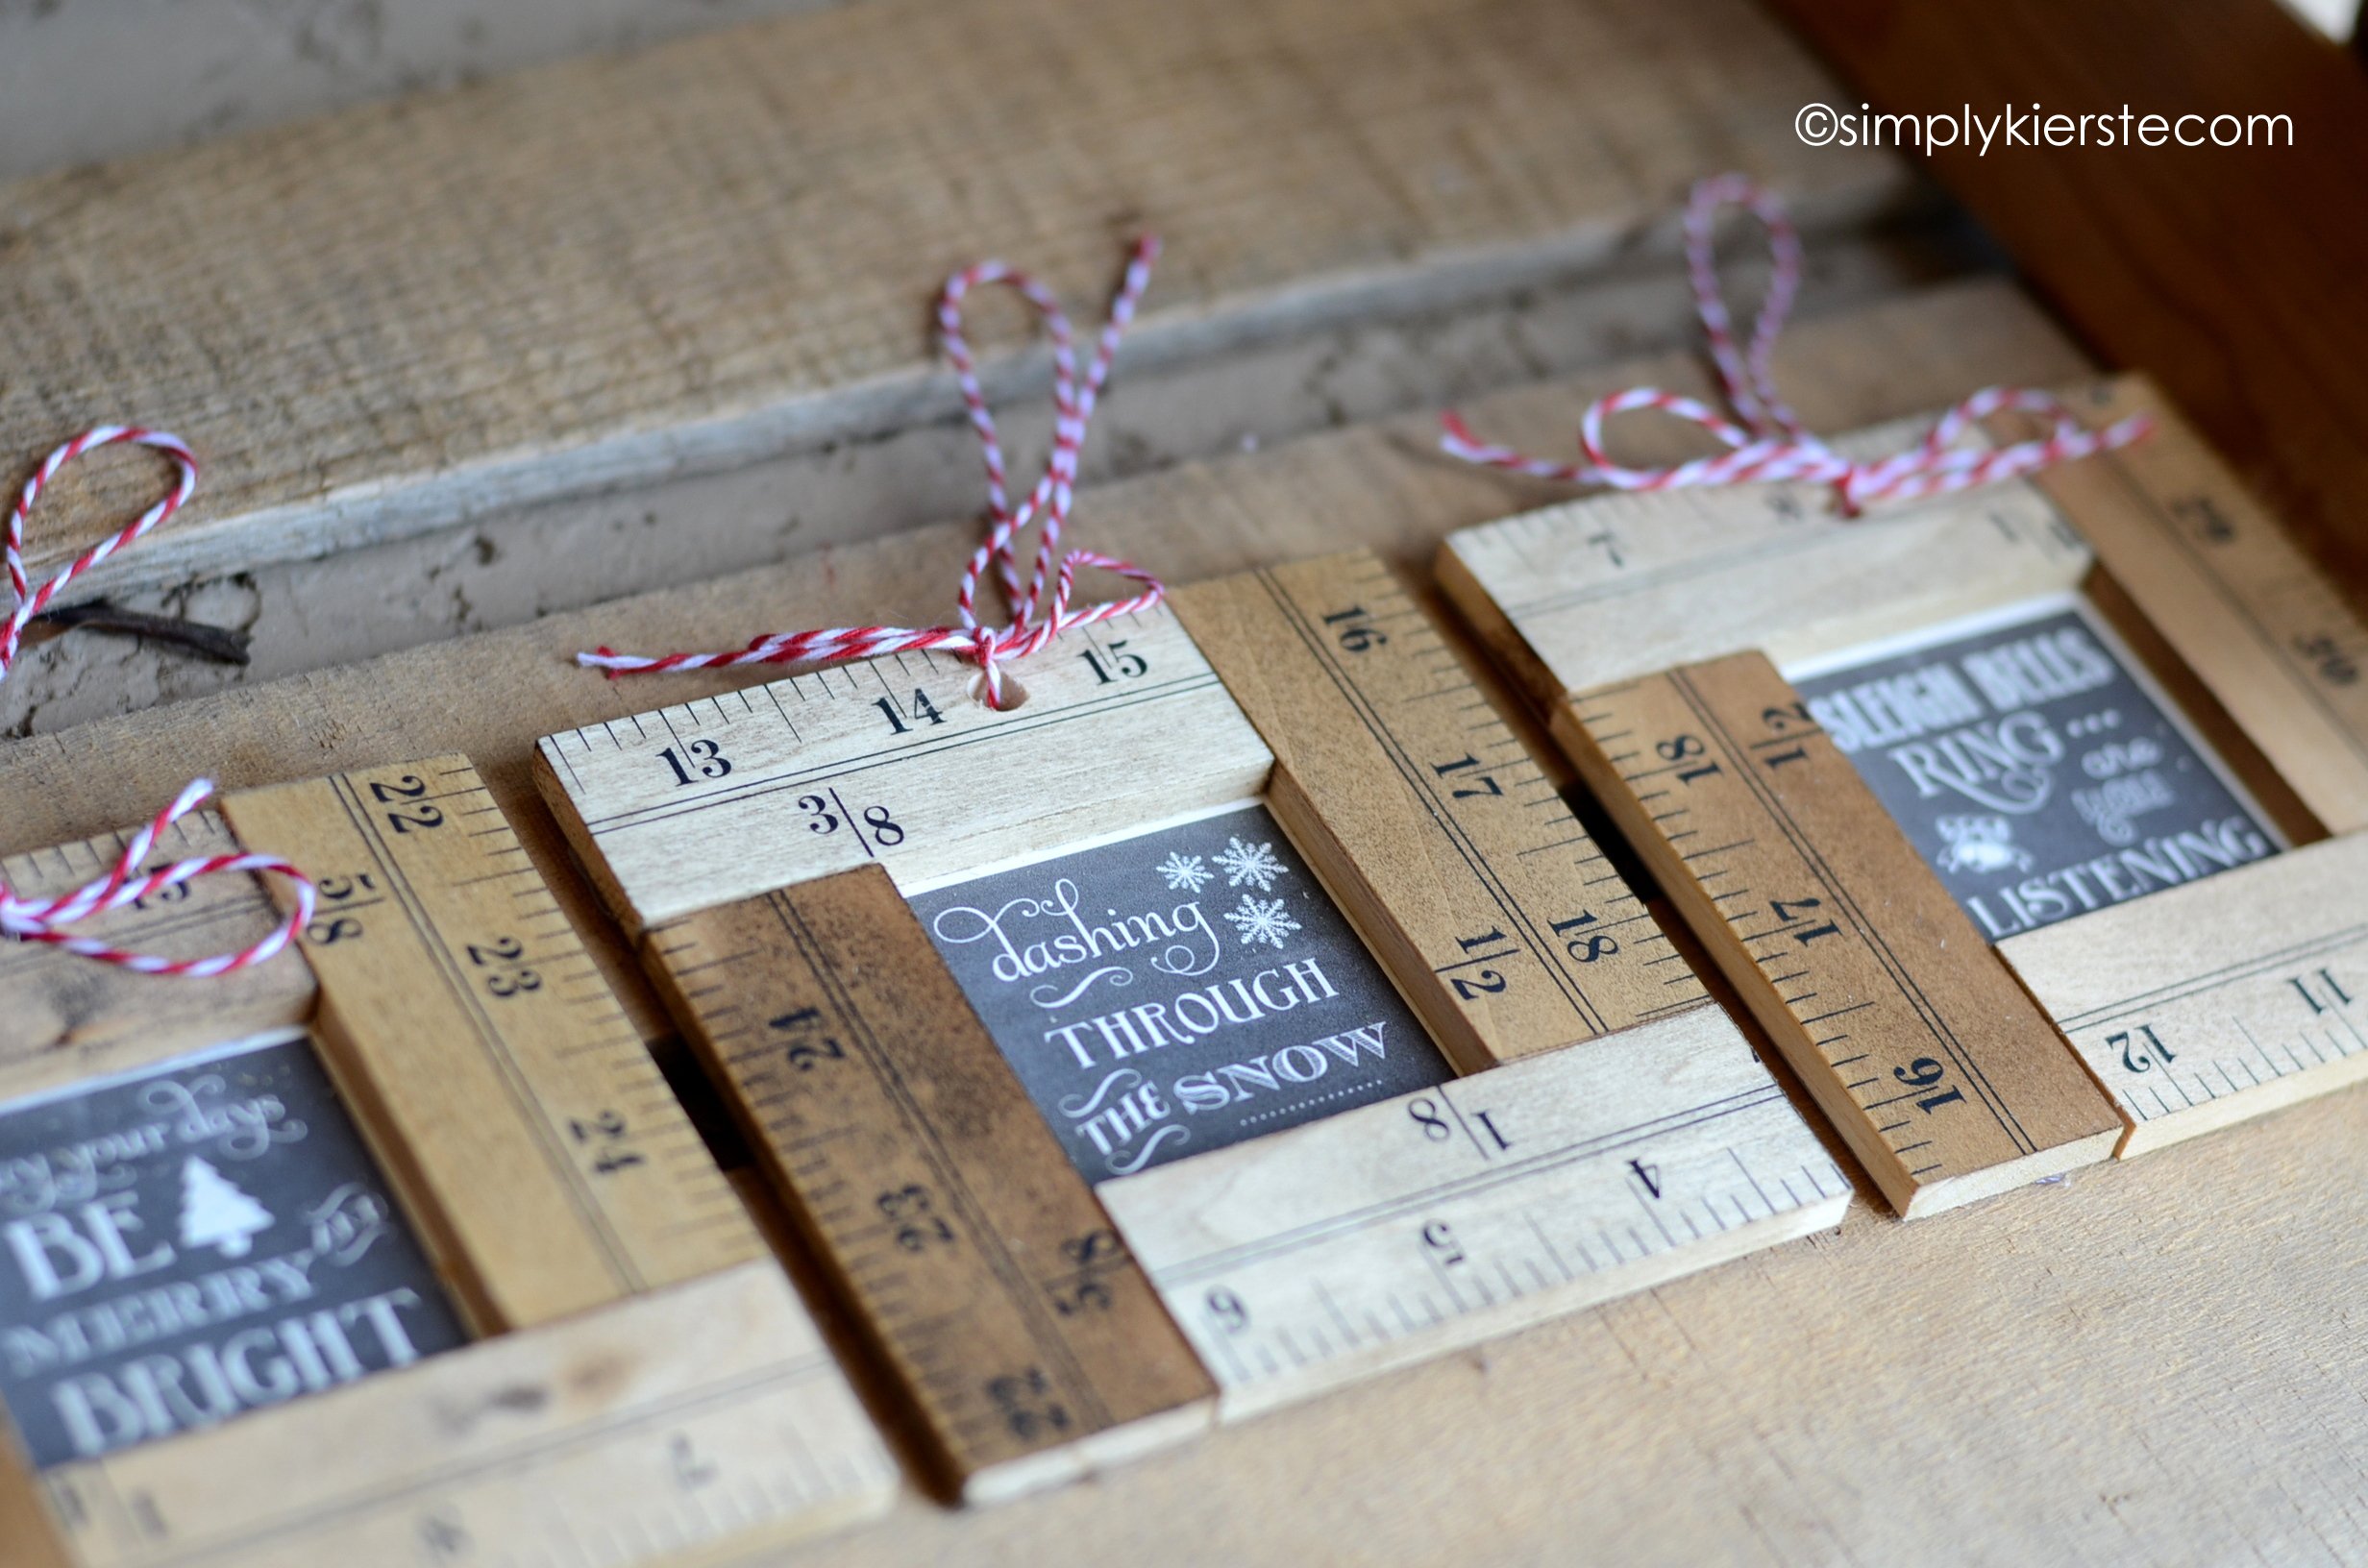
5. Hot glue the rulers around the picture. Make sure that you are choosing pieces with different numbers–you may want to plan out ahead of time which pieces will go together.
6. Drill a hole in the top of your ornament with a 1/4 inch drill bit. Thread through your ribbon or twine. Write the date on the back!
I LOVE how they turned out, and I can’t wait to put them on my tree!

These chalkboard centers would be super cute gifts for friends, neighbors, and even teachers!
Here are a few more ornament ideas!!
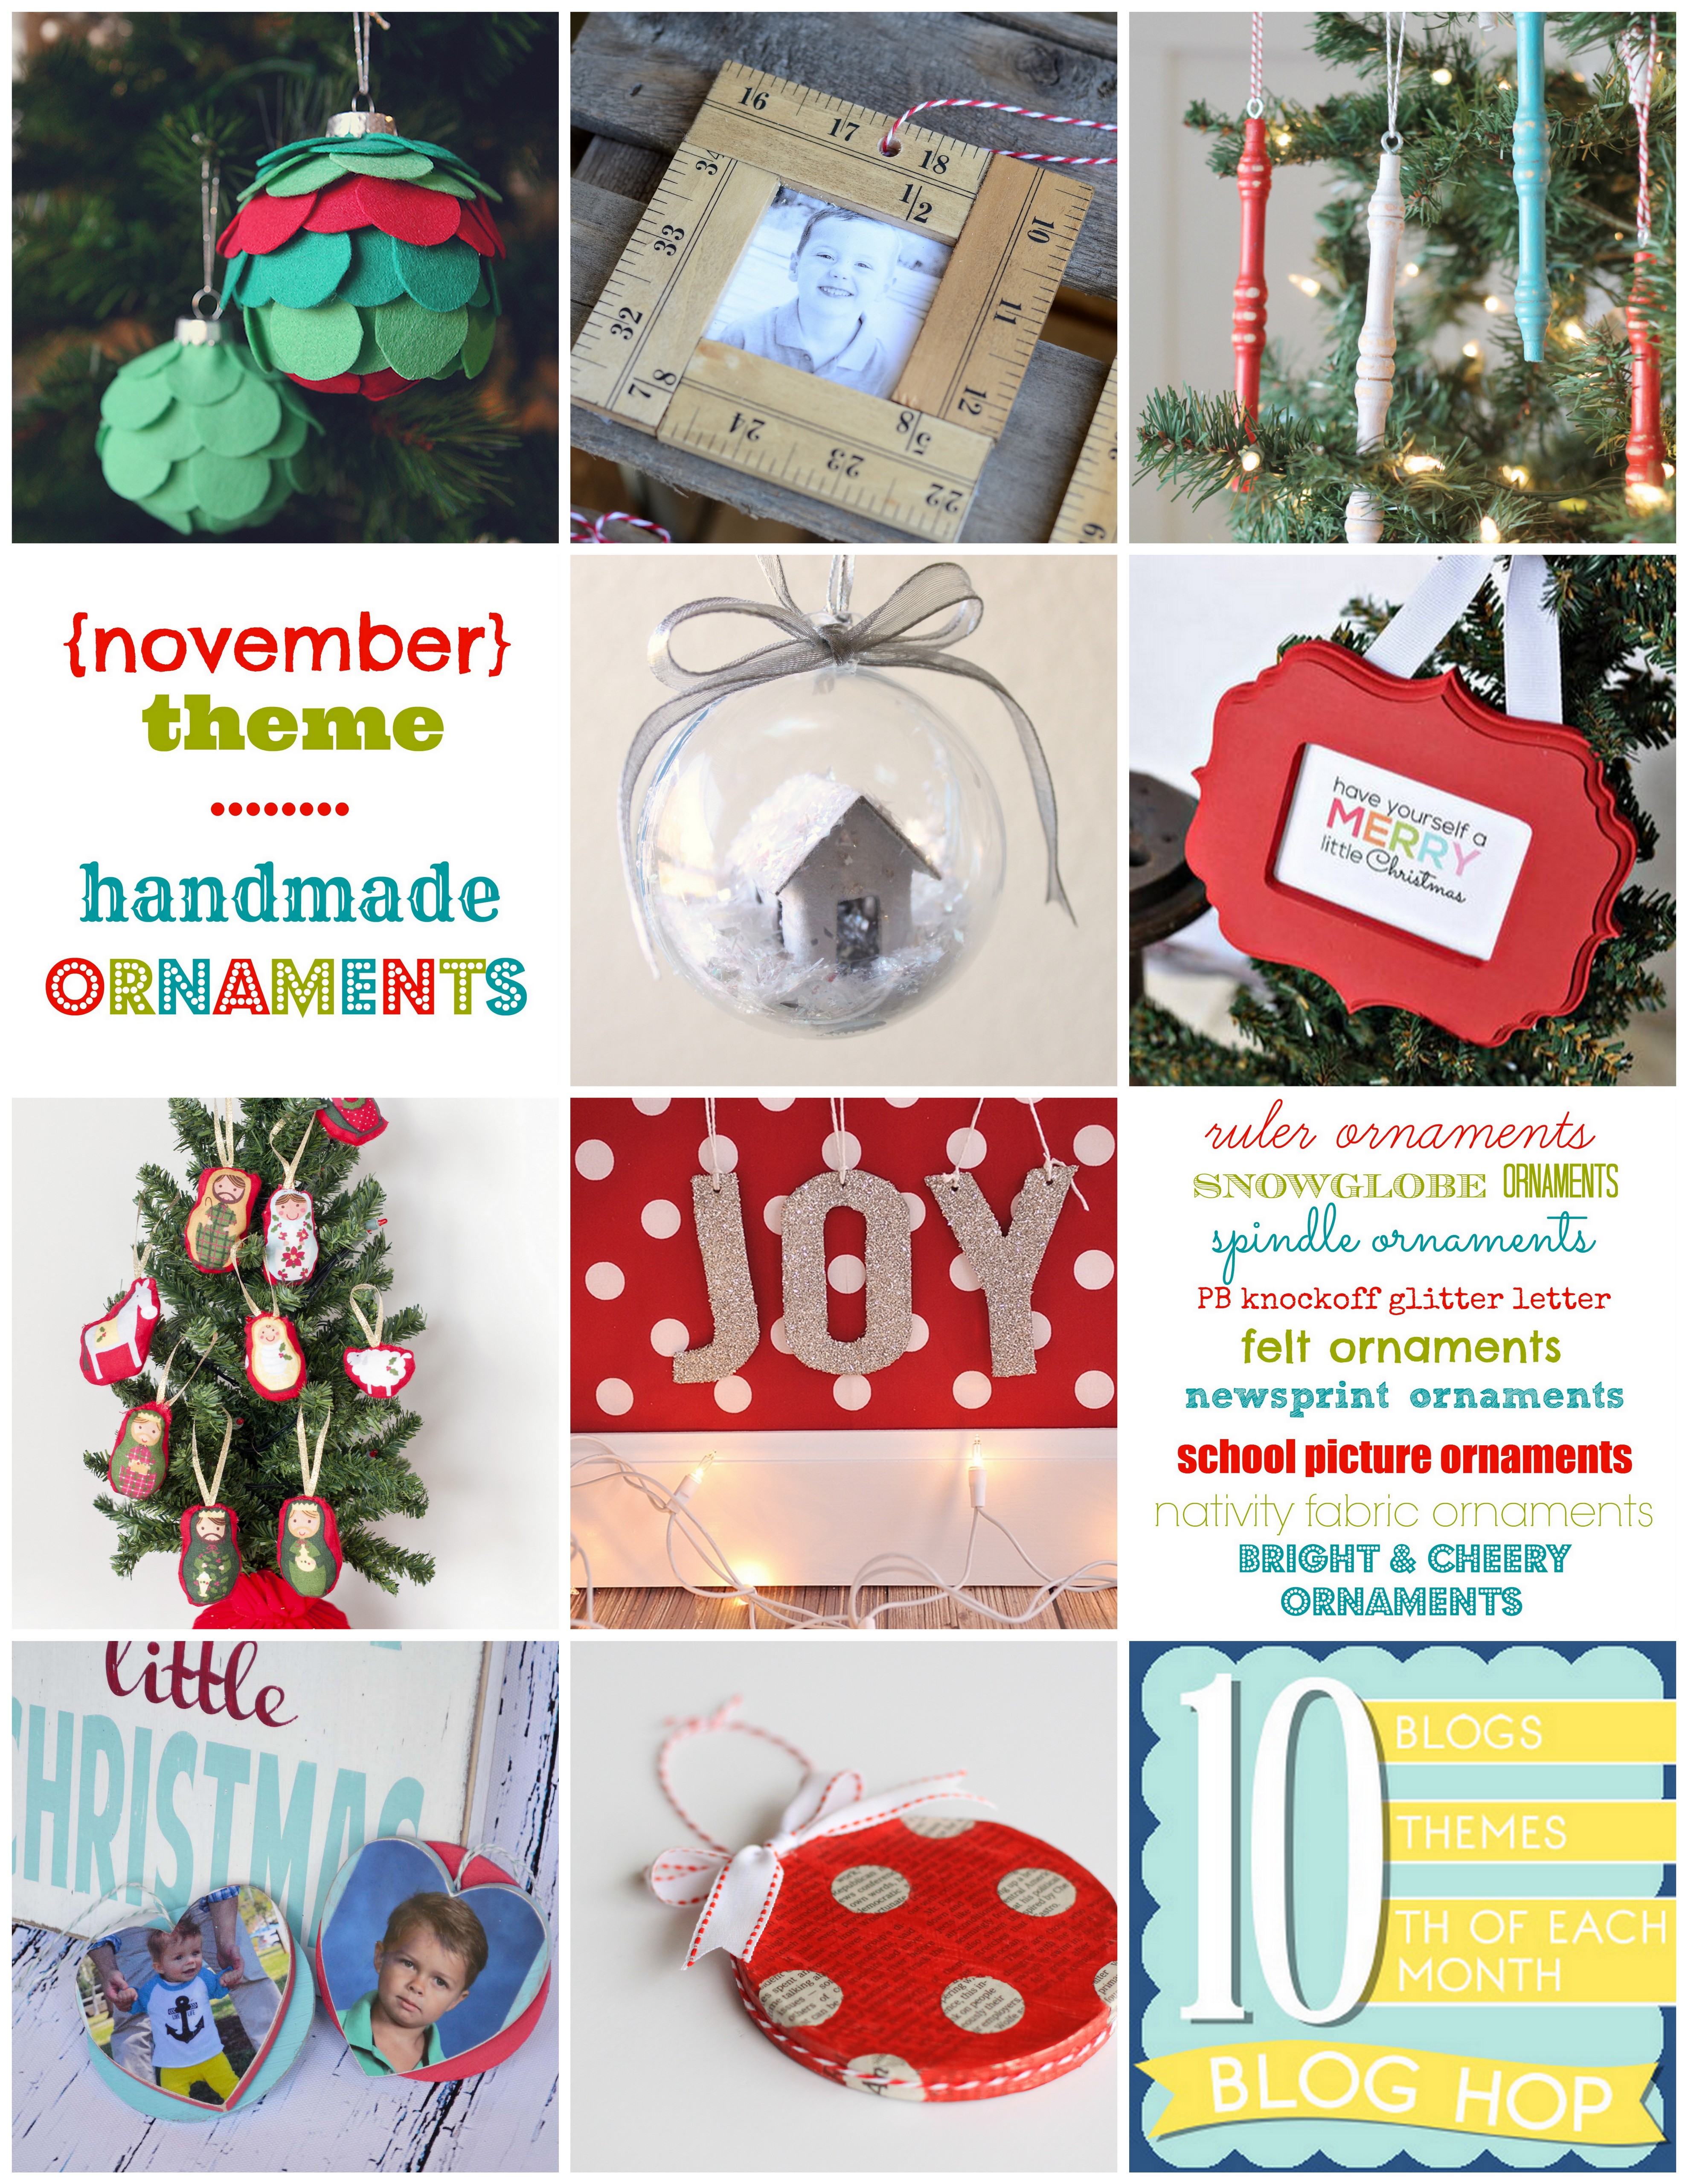
Simply Kierste sharing Ruler Ornaments
‘Or So She Says…’ sharing Snow Globe Christmas Ornaments
Lolly Jane sharing DIY Spindle Ornaments
Your Homebased Mom sharing Pottery Barn Knock Off Glitter Letter
Eighteen25 sharing Felt Ornaments
Landeelu sharing Newsprint Ornaments
Little Miss Momma sharing School Picture Ornaments
Capturing Joy sharing Nativity Fabric Ornaments
Thirty Handmade Days sharing Bright & Cheery Christmas Ornaments