How to Make Adhesive Labels With Your Silhouette Using Print & Cut
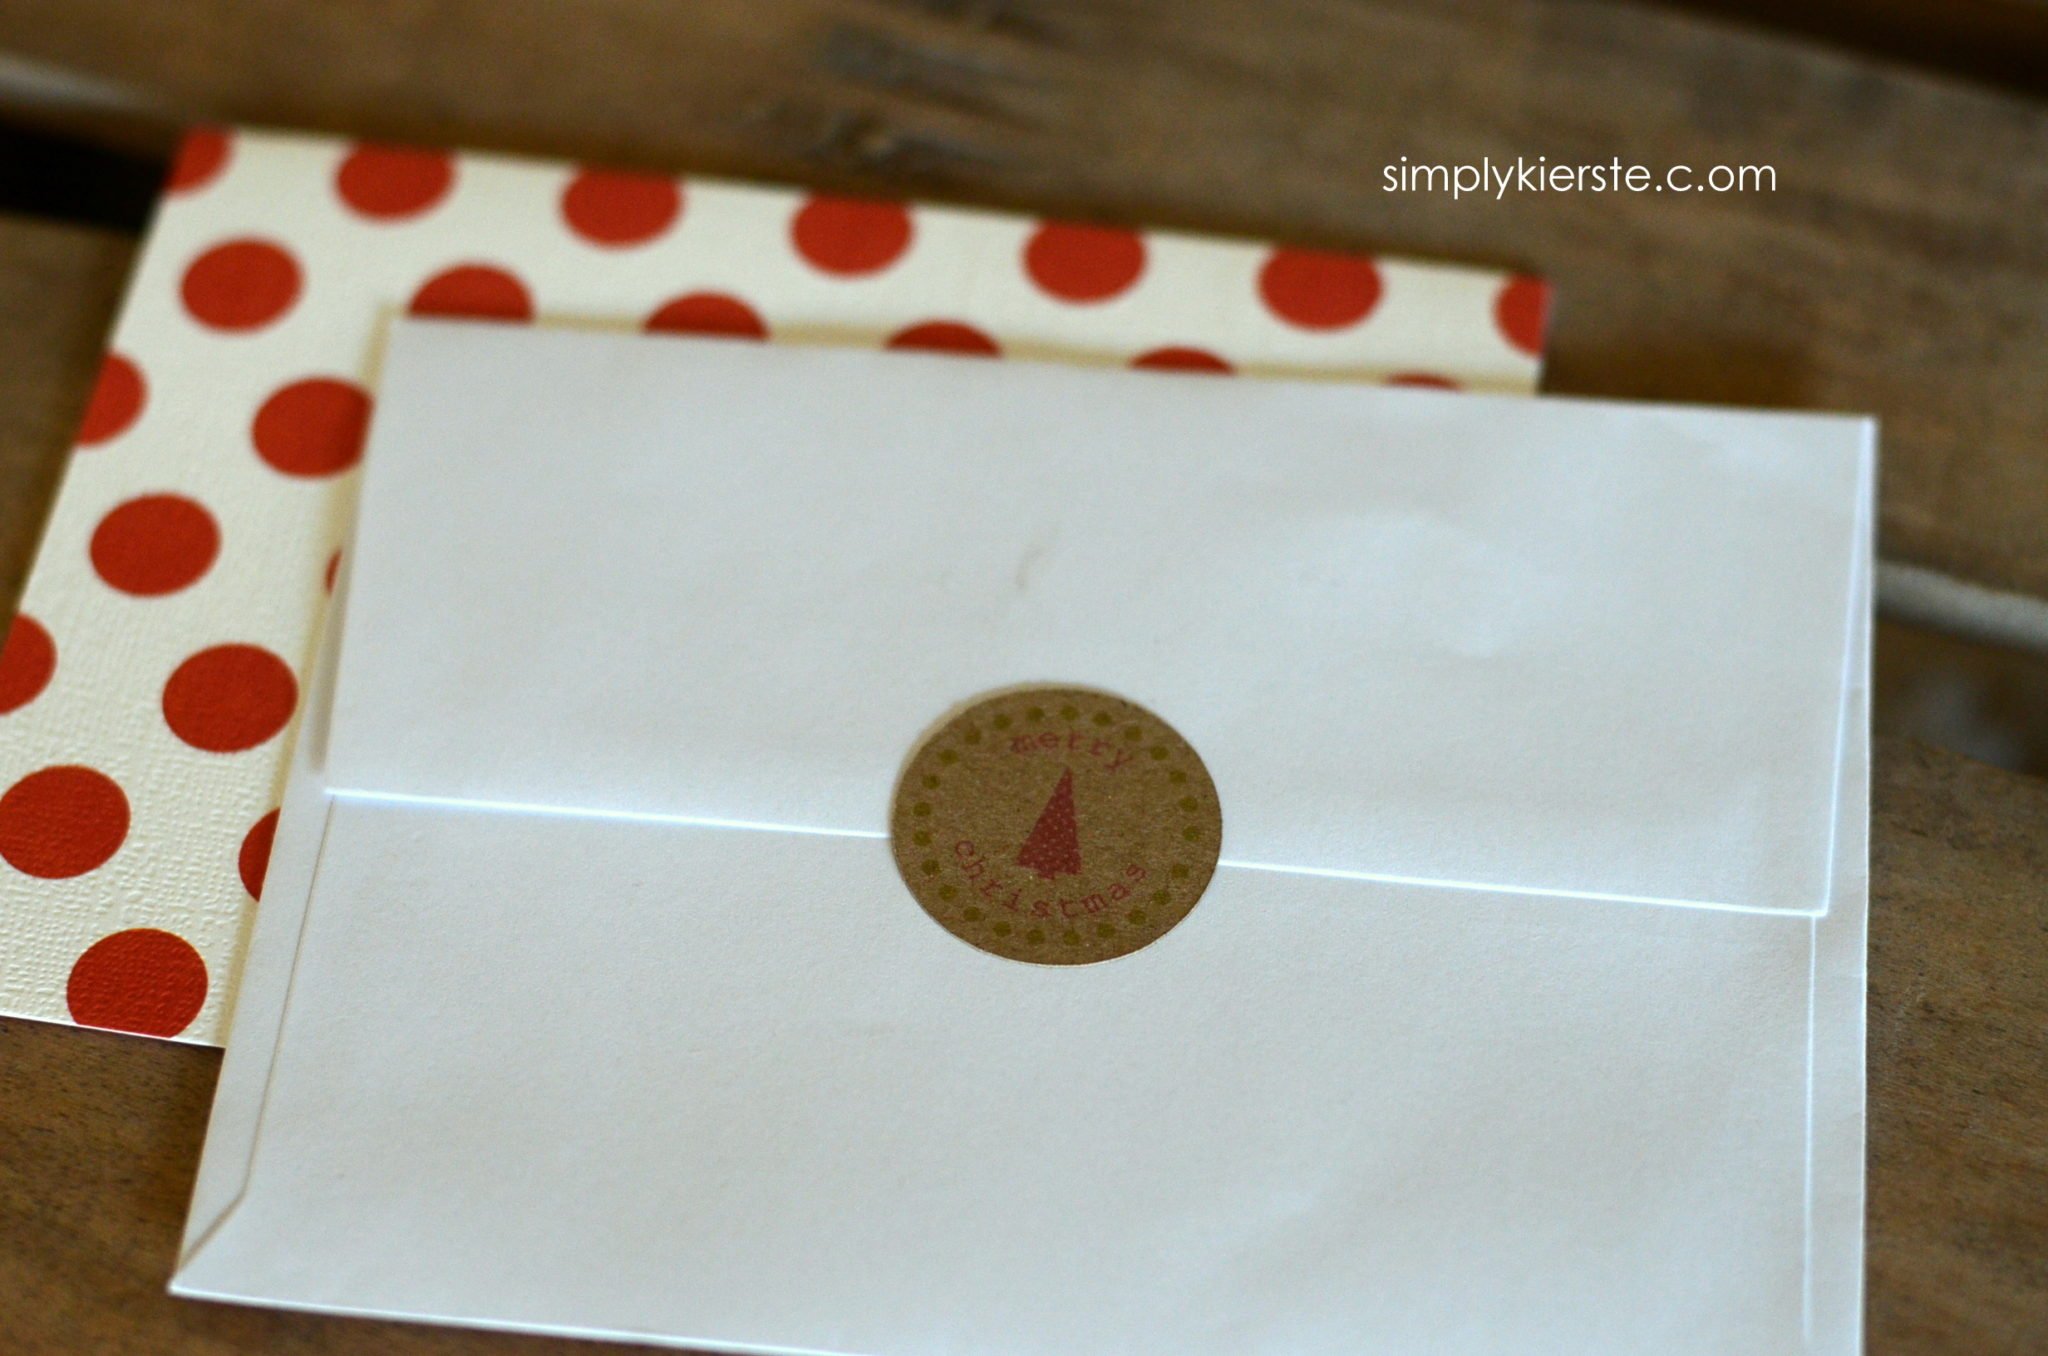
Some of my most favorite Silhouette products are the printable adhesive papers–they have white, kraft paper, clear–because there are so many fun options for labels and tags. Christmas is quickly coming, and I always start in October with my planning and project list, so I can really enjoy the month of December with my family. Christmas cards are one thing that can go out right after Thanksgiving, and I thought it would be fun to make some cute adhesive labels for the back of the envelopes.
Have you ever used the print & cut feature on your Silhouette? I LOVE it. It’s so easy, and it’s how you can get text and images on the labels you cut out. Think gift tags…address labels…envelope labels…and more! I’m going to share the tutorial for making circle labels, but you can do other shapes too! If you have any questions at the end of it, please ask me–I’m happy to help!
Okay…open up your Silhouette software, and set it to 8.5 x 11, and a cutting mat–whatever size you are using. I use a 12 x 12 mat, as you can see on the screen.

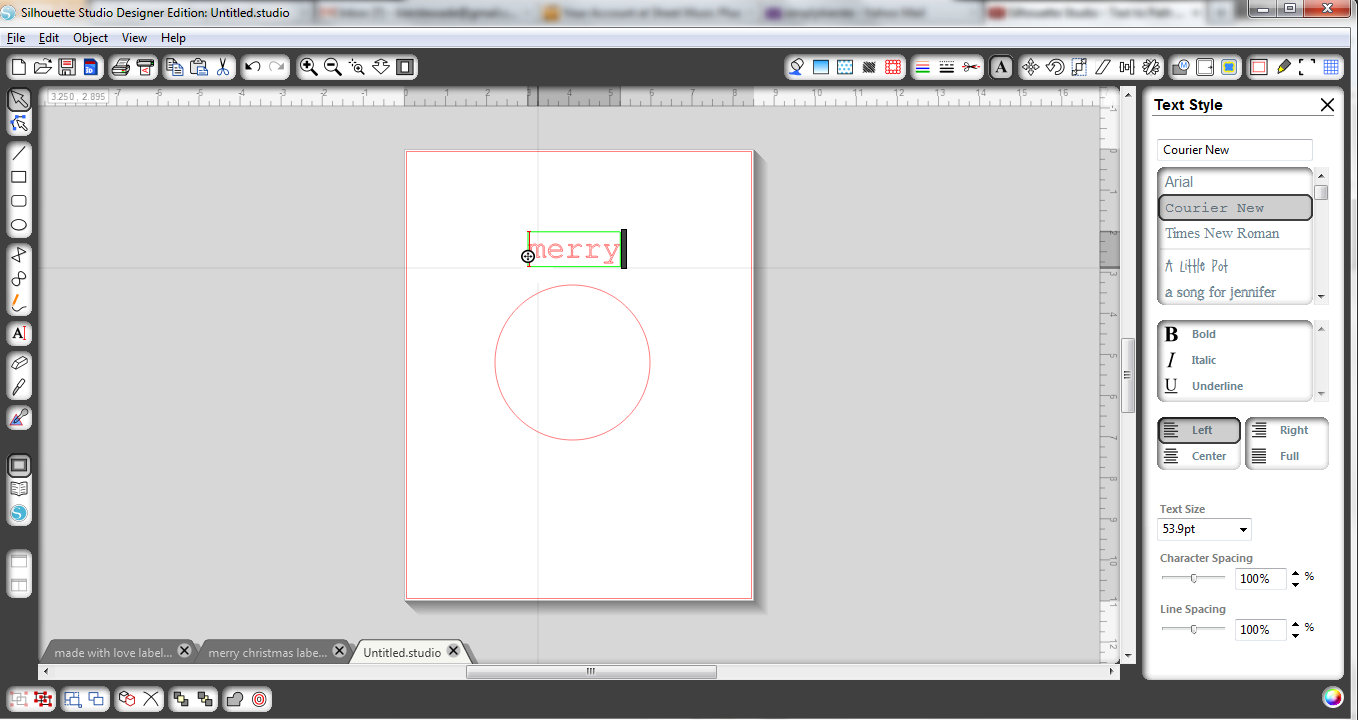
Use the circle shape tool (on the left sidebar) to make a circle–the size doesn’t really matter, but you want it large enough to see what you’re creating. Click on Object > Make Compound Path. This will help me make my text rounded, and curve around the circle. If you don’t want rounded text, you can skip the next couple of steps–just use the text tool to type the text you like, and place it wherever you want inside the circle. If you would like a different shape–square, rectangle, or other shape, you can use the shape tool or insert something from your library instead.

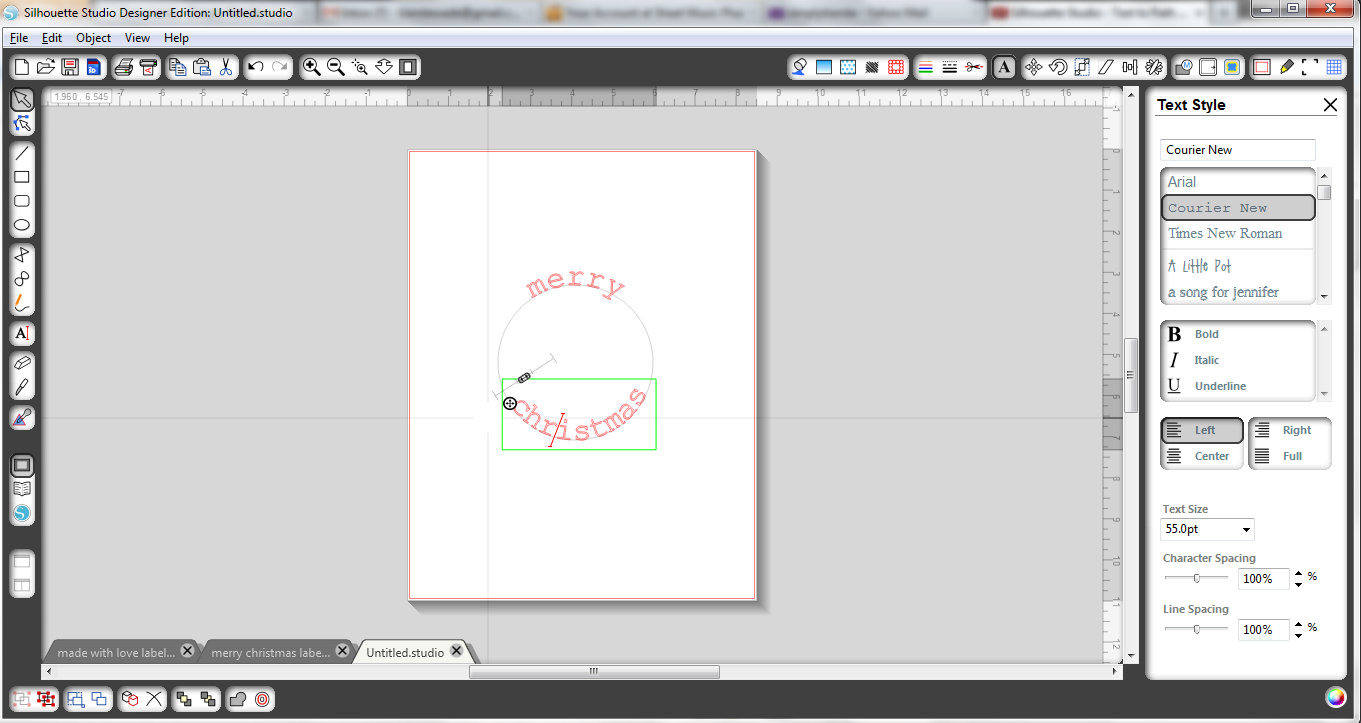
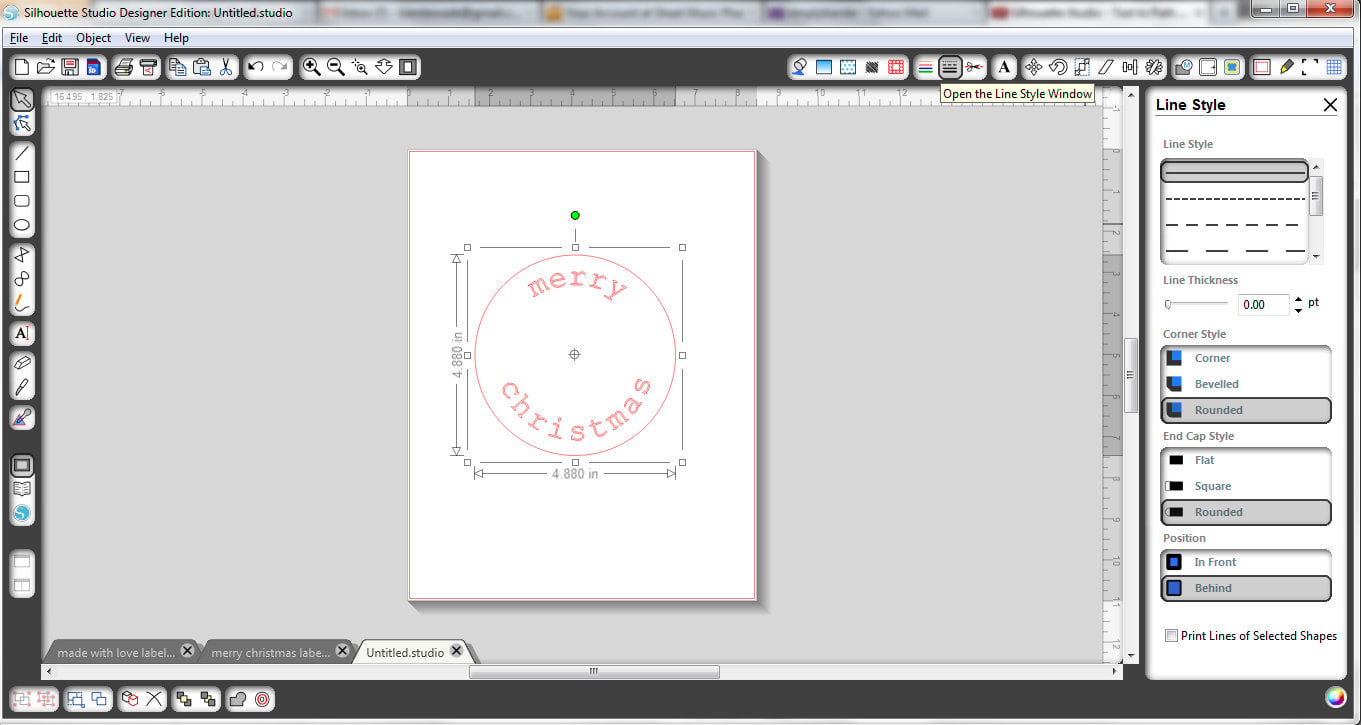
Click on the text icon, and type out your text in desired font. DOUBLE click on the word, and it will have a green box around it, with a little round target looking icon (you can see it right on the “m”). You can maneuver your text if you click on that icon–move it down to the circle, and it will automatically go around the circle. If it moves, or you need to change it, just double click again on the word, and it will bring that little icon back up again.

Repeat this process for any other rounded text you’d like. If the spacing looks to crunchy or funny when it goes around the circle, you can change the character spacing to spread the letters out a little bit until you get it the way you like it.
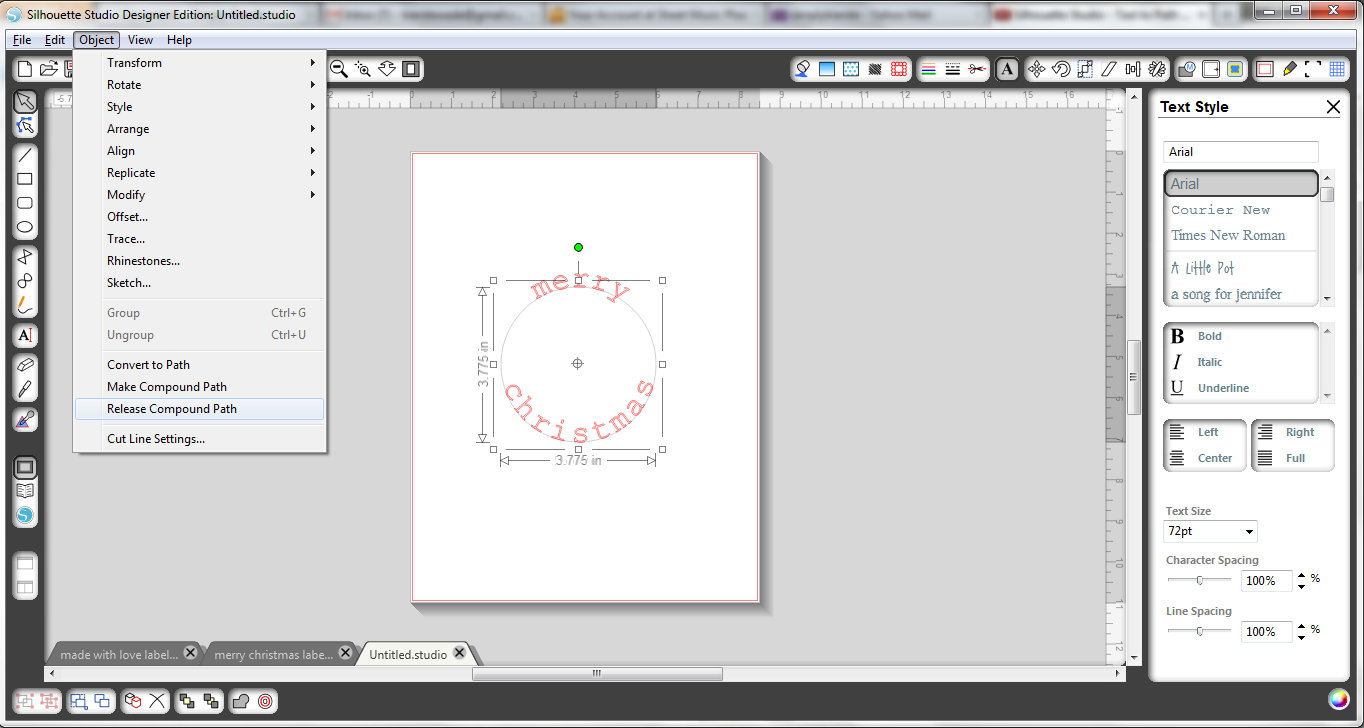
Once your text is rounded, you can Click Object < Release Compound Path. Click on the circle and delete–you don’t need it anymore!
Create another circle using the shape tool. Make it as big as you like in relation to the text–leaving as much or as little space as you want between them.

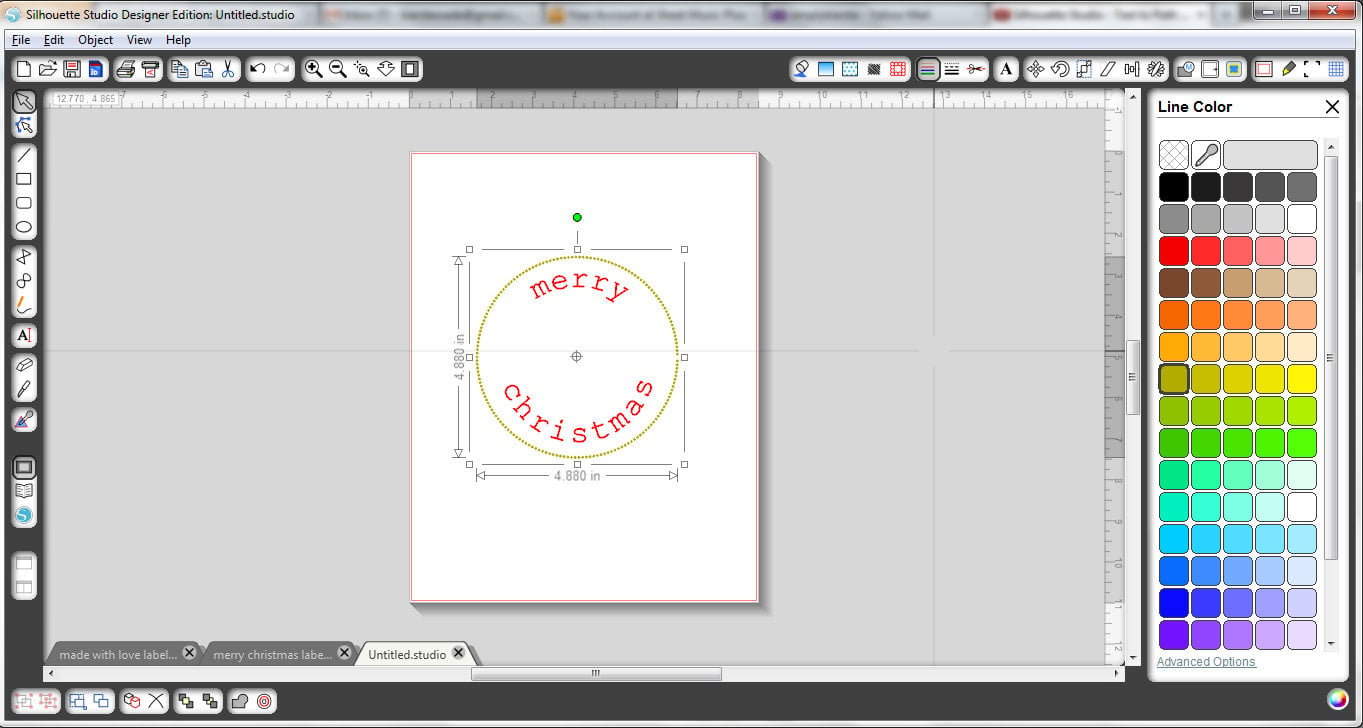
I wanted a dotted line, so I clicked on the line style icon at the top of the page, and chose the smallest dotted line. It will look really tiny on your circle at first, but we will eventually be making it a lot smaller, which will make the dots further apart and bigger. If you choose a larger dotted line now, it won’t look much like a dotted line later. You don’t have to dot your line–you can leave it solid if you like.
Click on the Line Color icon, and select the color you’d like your dotted line to be.
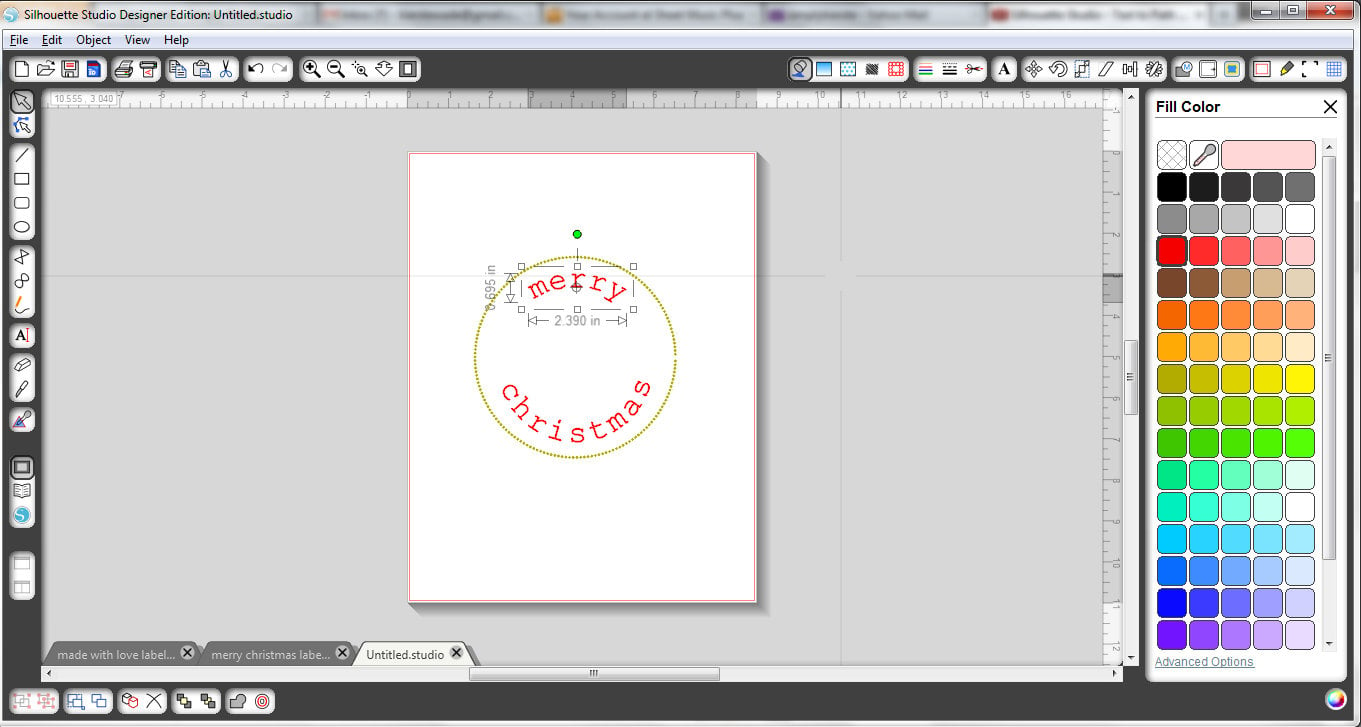
Do the same thing for your text, but use the Fill Color icon.
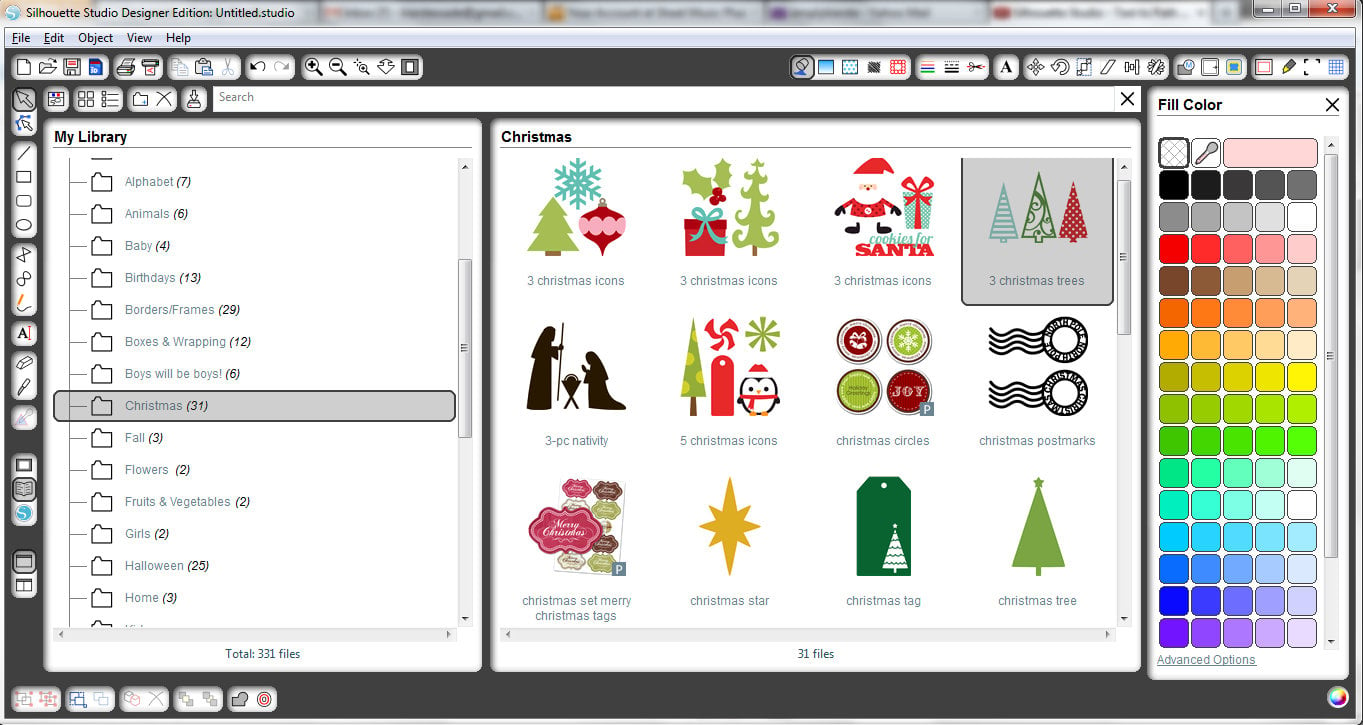
I wanted to add a cute graphic to the middle of my label, so I opened my library, and chose the one I wanted.
I didn’t want all three trees, so I ungrouped them: Object < Ungroup. Then I could delete the trees that I didn’t want.
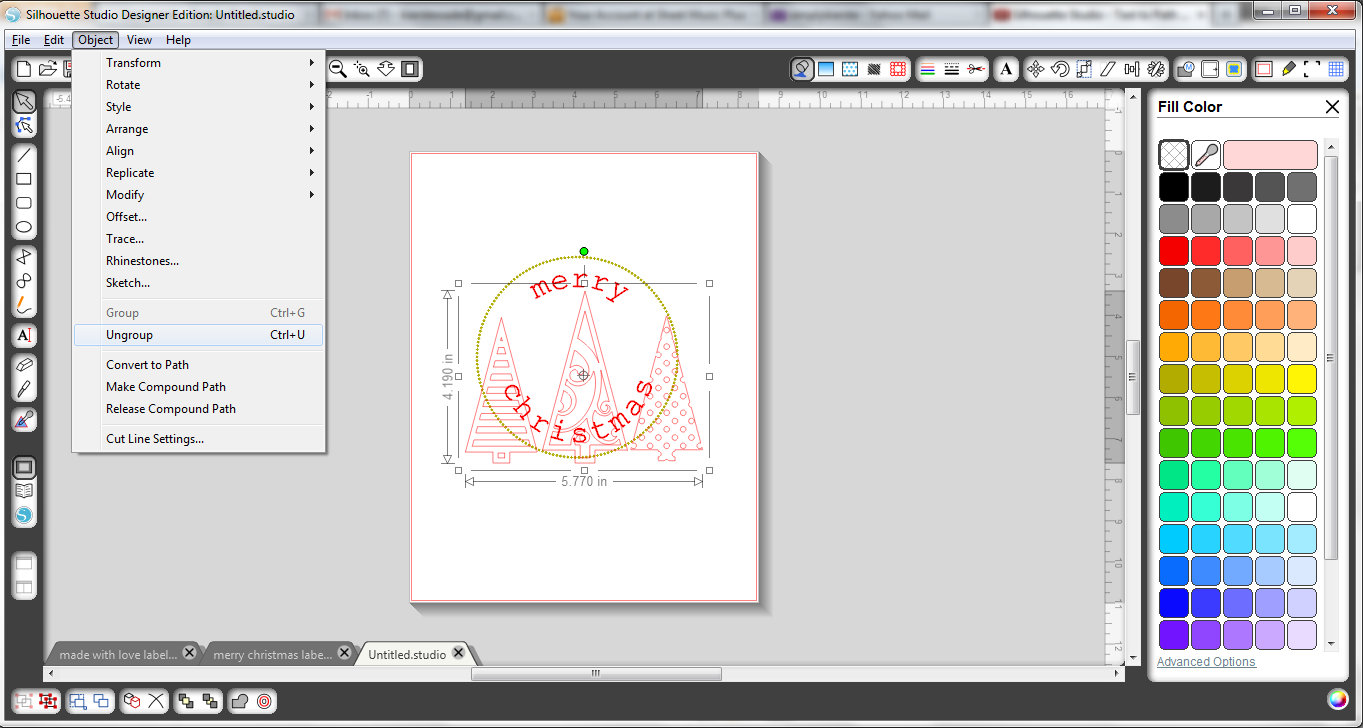
I grouped my last tree after I deleted them, since it was made up of more than one part. Just highlight what you want to be grouped, then go to Object < Group.
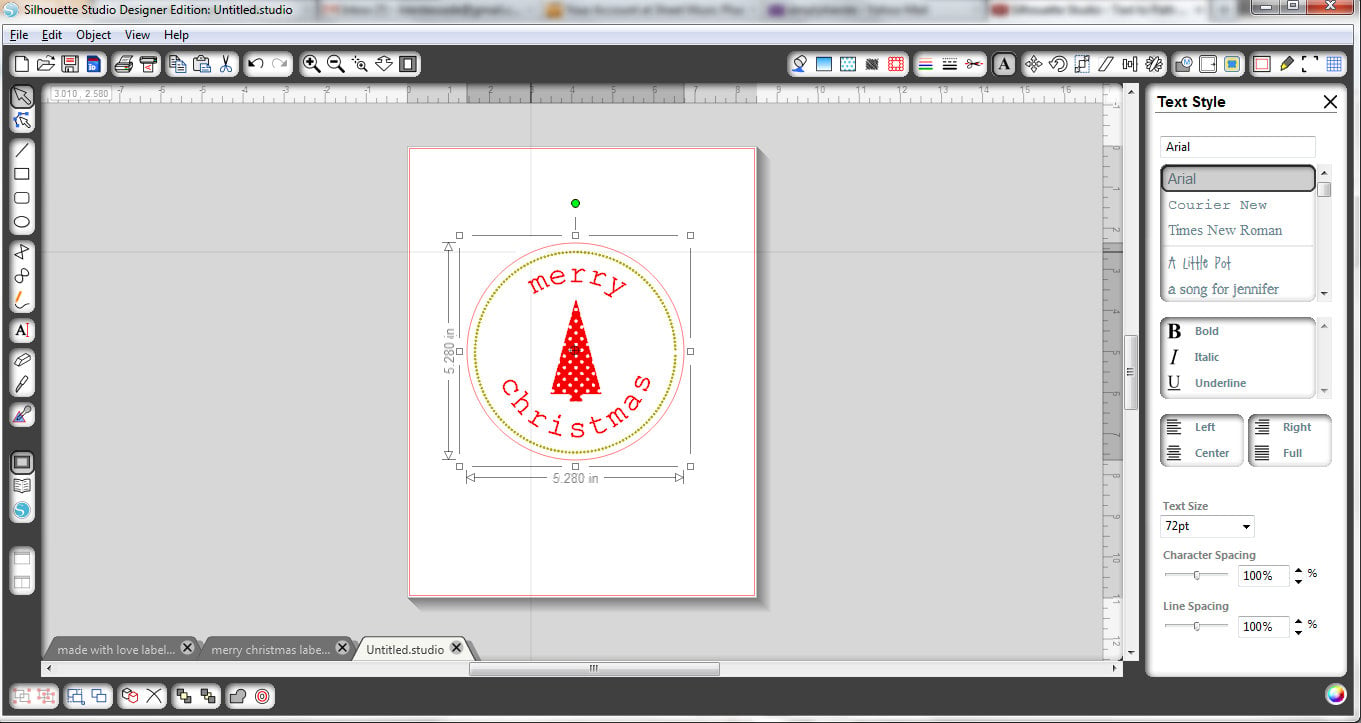
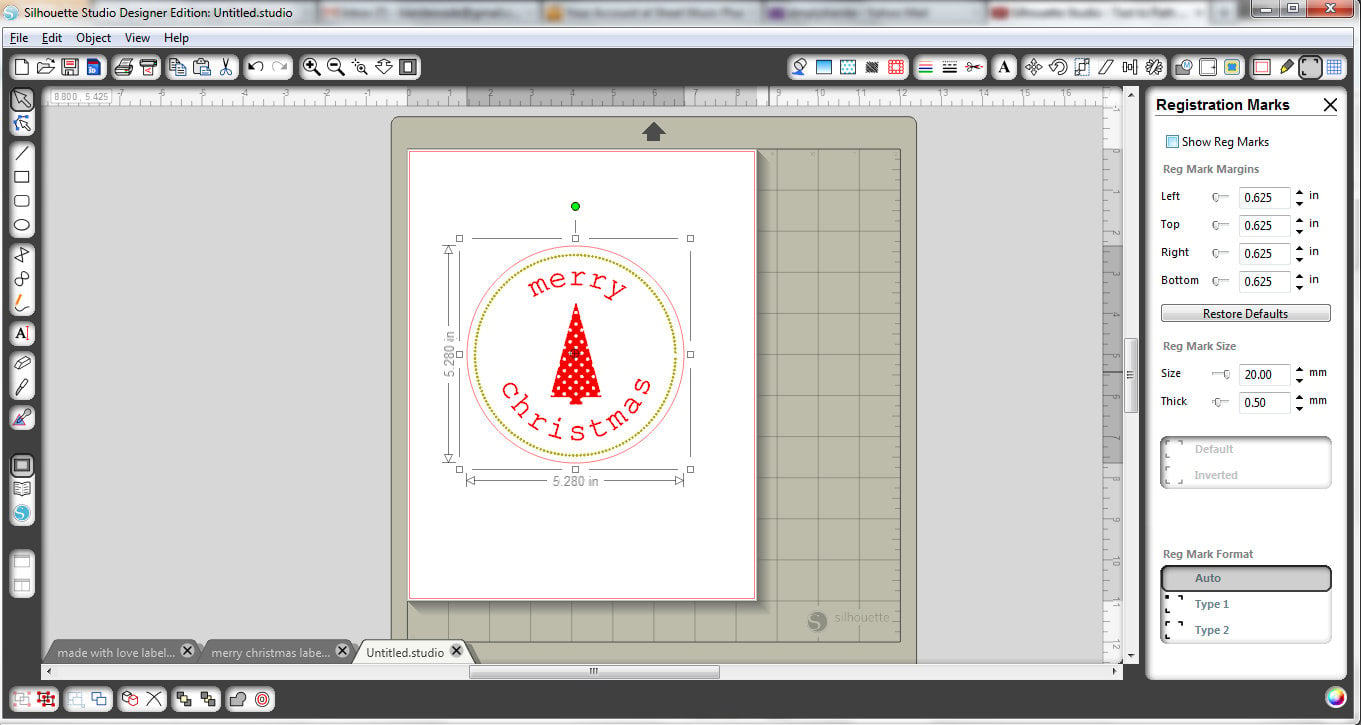
I clicked on the Fill Color icon, and made my tree red!

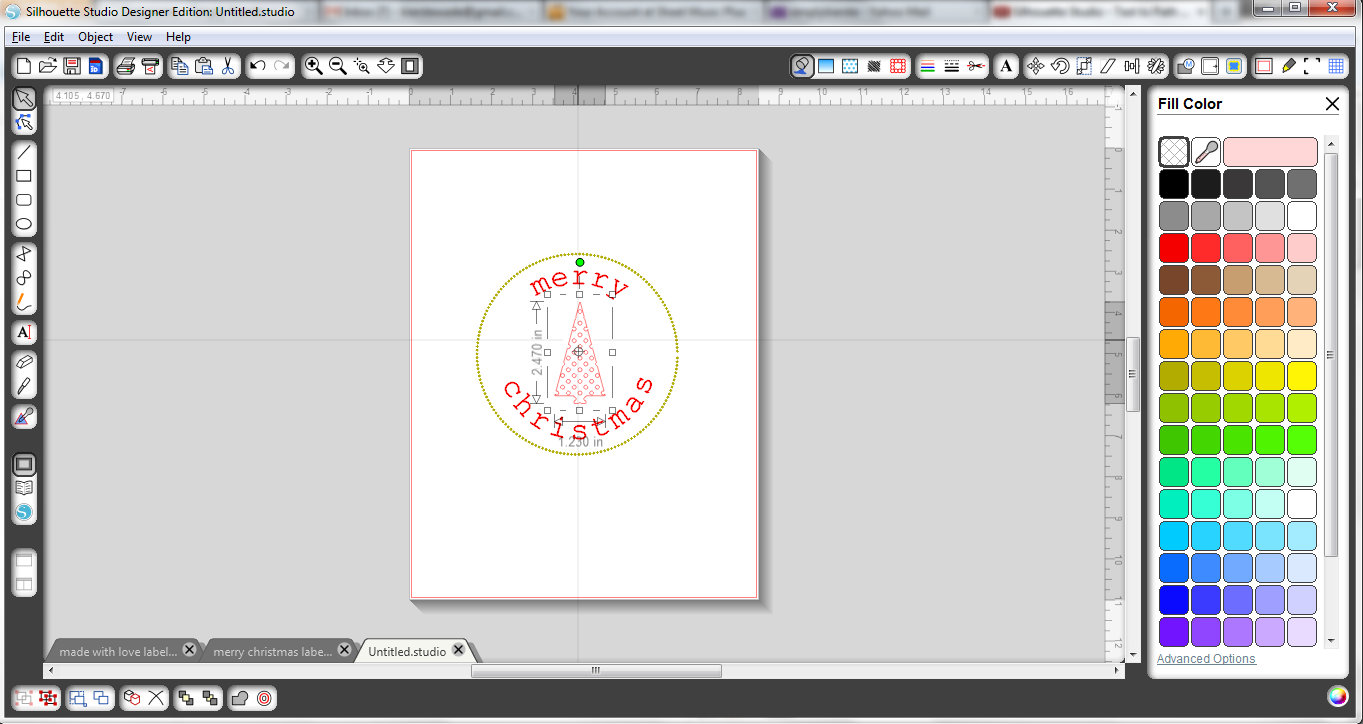
You need another circle! This circle will be what’s actually cut out by the Silhouette, and any blank space between your dotted line and the new circle will be how much cardstock is left when it’s cut out. I like having the kraft paper show on the edges, and give the dotted line a buffer, so I adjusted my newest circle accordingly.
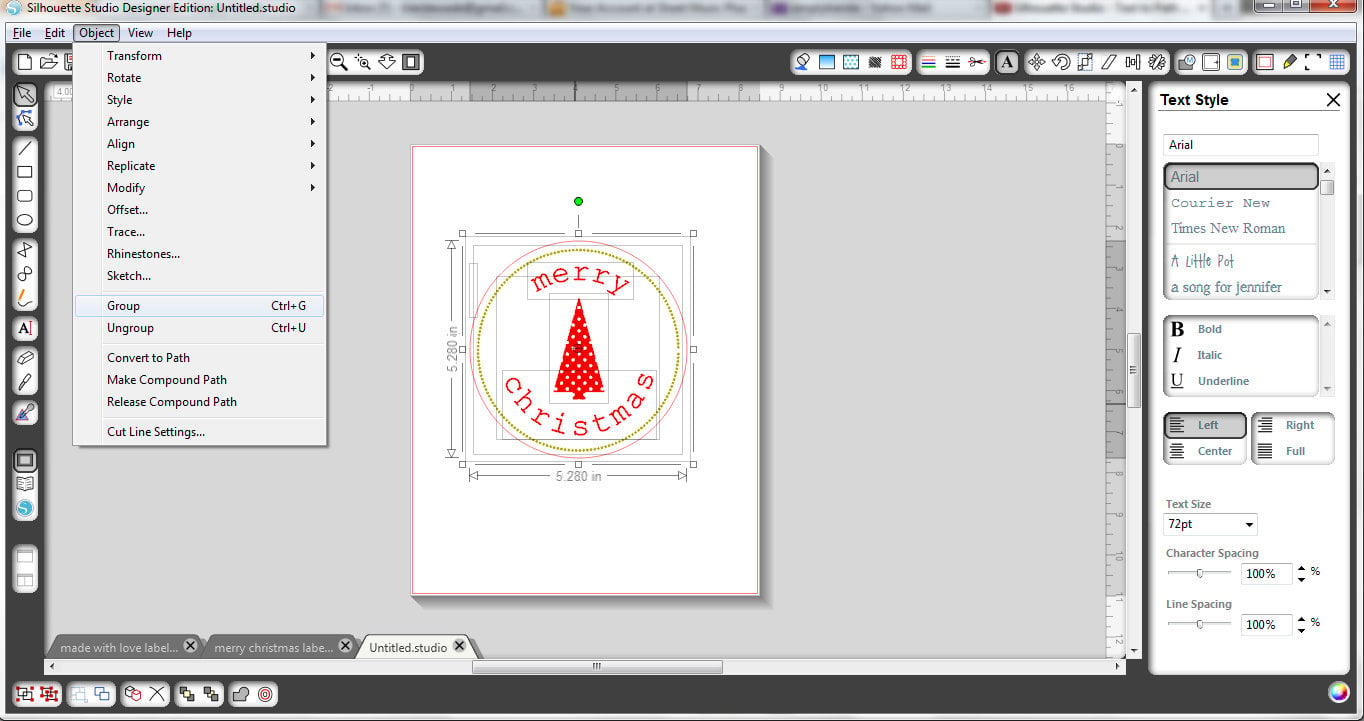
Once the circle is where you want it, you need to group the whole thing together. Highlight all the parts, then click on Object < Group. Now you can move it where you want it!
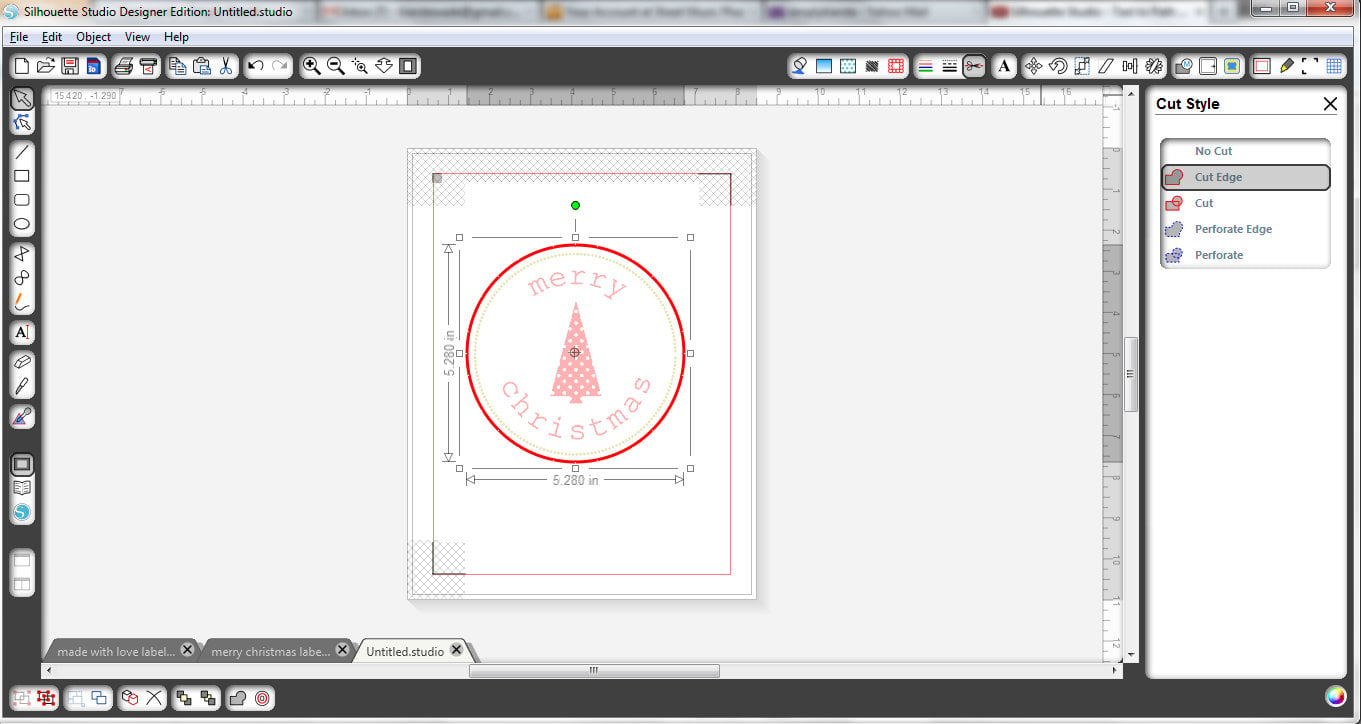
This step is super important—click on the registration marks icon, and make sure that little box at the top that says “Show Reg Marks” is clicked. I took a screenshot too early of this step, so you don’t see mine checked, but it’s imperative for using print & cut that it is.
Next really important step…you have to change the cut style to “CUT EDGE”. This means it will only cut that outside circle, and not all the other stuff inside–which it would otherwise.
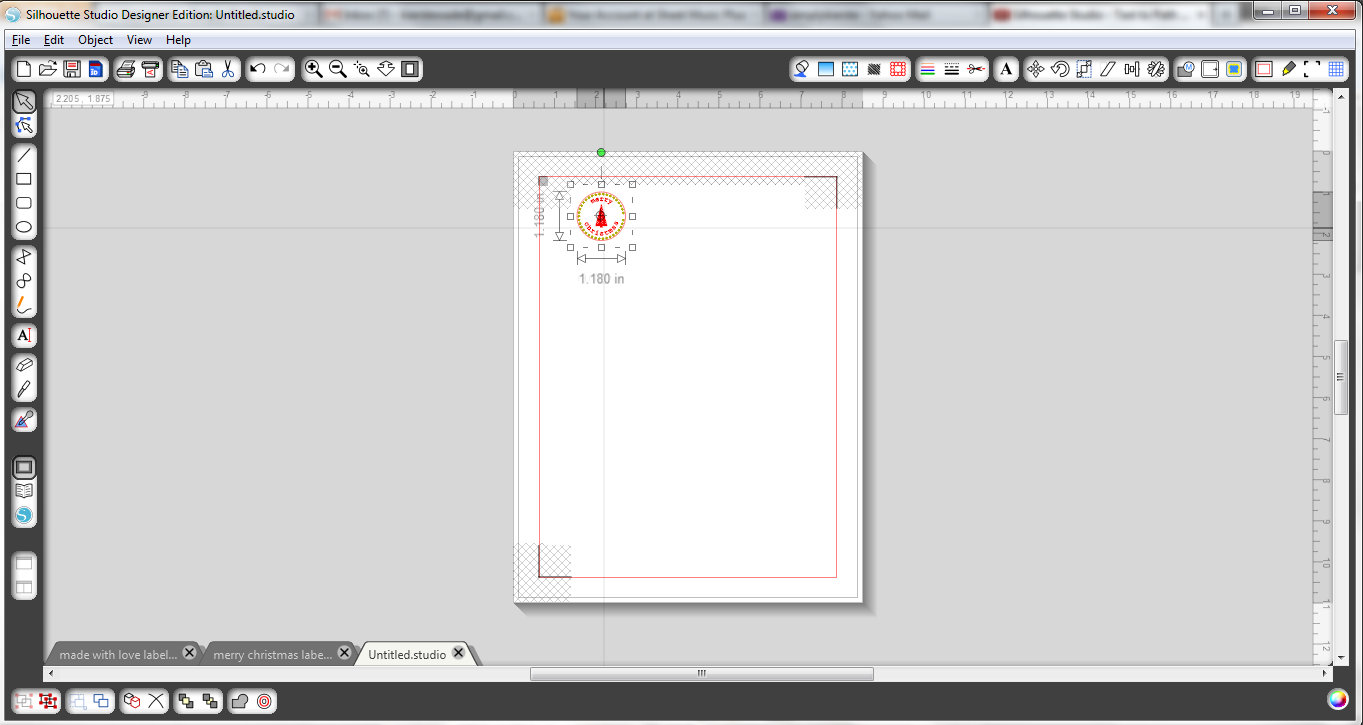
Now you can re-size your image to the size of label you want it to be. I sized mine to about 1.2 inches. See all those grid marks? Those are the registration marks, and you have to keep your image inside both those grid marks and the red border. It won’t print or cut correctly if not.
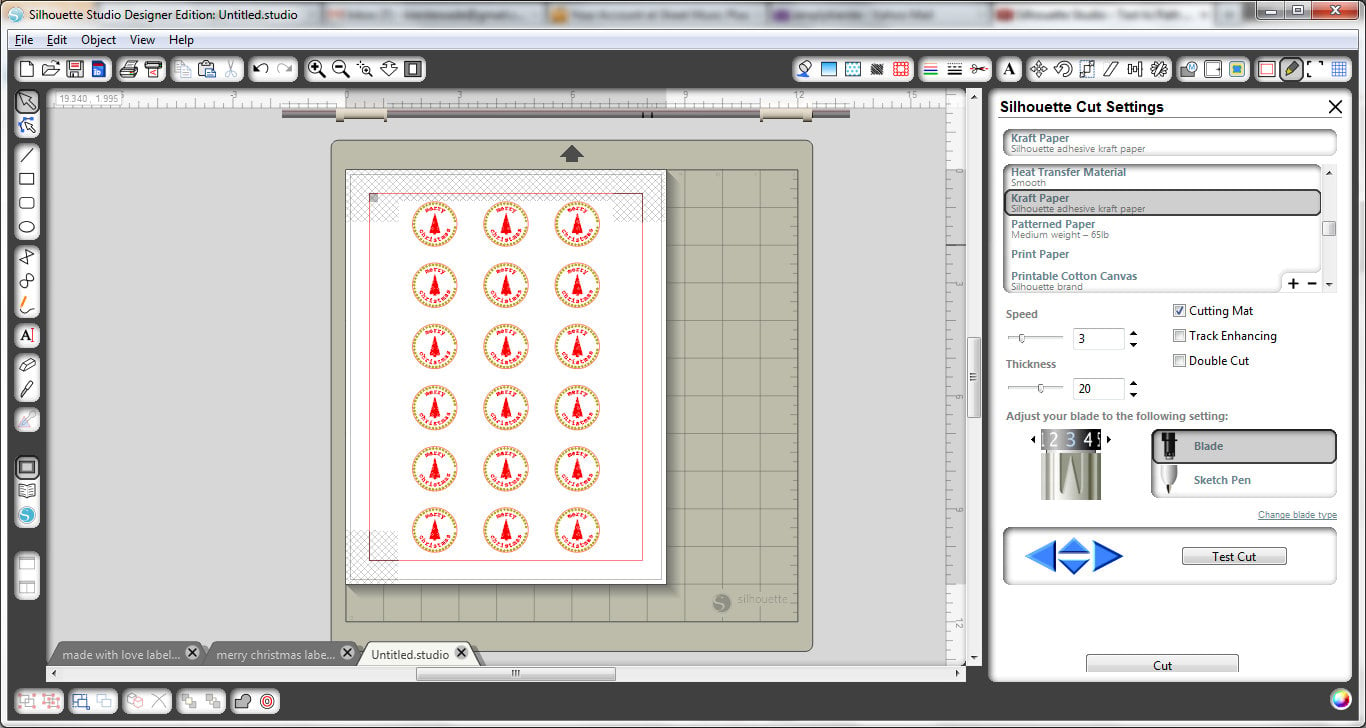
If you want a whole page of these labels, then go to Object < Replicate < Full Page. It will automatically fill the page with that exact image, and will also stay within the necessary lines.

Now it’s time to print!! Click on File > Print, and print to your printer. Make sure your adhesive printable paper is already loaded!

Once it’s printed, you’re ready to cut. Place your printable paper on the cutting mat as shown on your screen, then load it into your Silhouette. Select File < Send to Silhouette, and follow the prompts. Select the type of printable paper you’re using, and adjust your blade as necessary. Once you’ve walked through everything, then click cut. You’ll be amazed at how it knows just where to cut!!!

And you’ve got darling adhesive labels!!!