Easy Fabric Mason Jar Lid Ornaments
Make these darling mason jar lid ornaments in less than five minutes! Perfect for adorning your tree, or giving as gifts. An easy DIY Christmas ornaments tutorial using your favorite fabric.
Cutting down and decorating our Christmas tree is one of the highlights of the season at our house. Many of the decorations on our tree are ones that we’ve made, and homemade is always my favorite. When they’re simple to make and super cute at the same time, it’s a win-win! That’s the case with these darling DIY Christmas ornaments, which take only 5 minutes or even less to make. Using your favorite fabric remnants, you can customize them to fit any theme or color scheme you have for your tree.
Fabric Mason Jar Lid Ornaments
We always seem to have extra mason jar lids and rings hanging around the house, so this was the perfect project for me to use some of the ones in my drawer. I’ve made these many times over the years, and what I love about them is how easy it is to make ornaments in different themes, colors, or fabric patterns to match your Christmas decor.
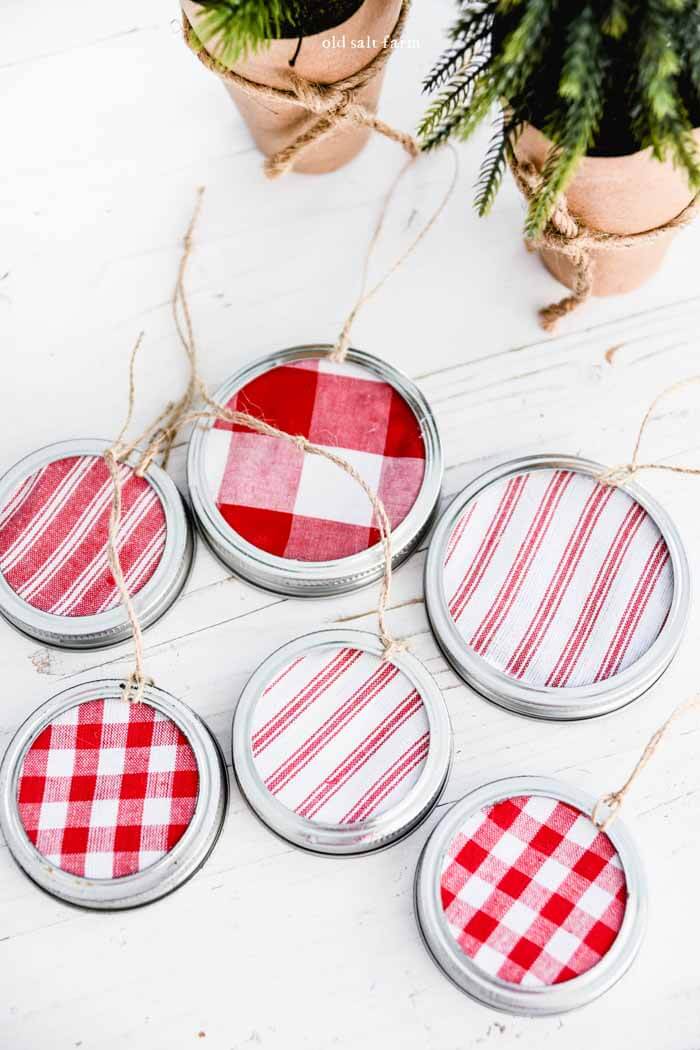
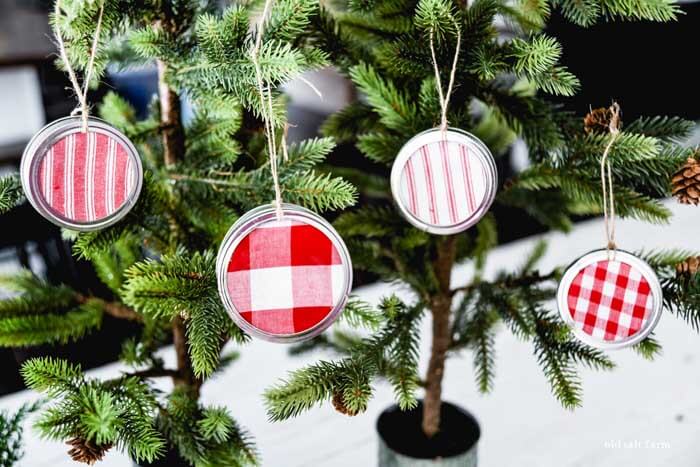
This time around I wanted to use my all-time favorite patterns, including gingham, buffalo check, and ticking in red and white. I also used different sizes–both the wide mouth and regular mouth–for variety. They’re the epitome of farmhouse style, and I know they’ll be the perfect addition to the tree I’m adding to my kitchen/dining area this year.
You’ll love how simple, easy, and and quick these DIY Christmas ornaments are to make!
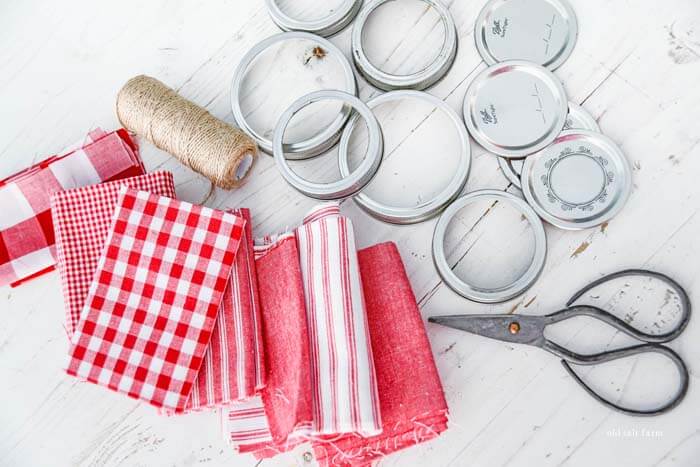
Supplies you need to make Mason Jar Lid Tree Ornaments
- Fabric remnants (you don’t need much!)
- Mason jar lids and rings (1 of each per ornament)
- Hot glue gun
- Jute, twine, or ribbon
- Cardstock or cardboard
- Scissors
How to make Mason Jar Lid Ornaments
Step 1: Trace one of your lids onto kraft cardstock, white cardstock, or cardboard, then cut out with scissors. I usually fill the whole page, or do as many as I need at one time. You’ll need one per ornament. If you’re making different sizes, make sure you have enough of each.

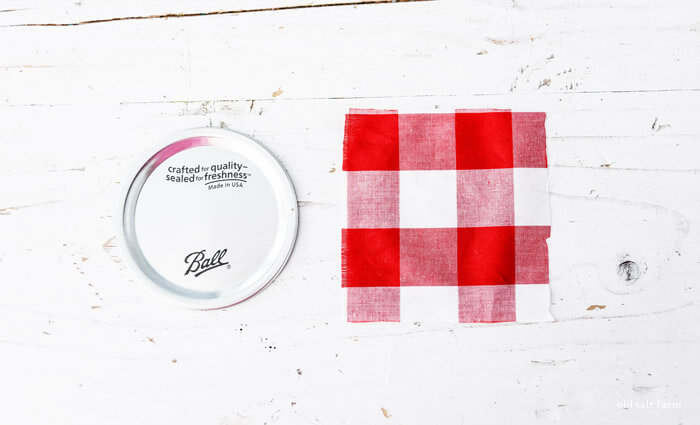
Step 2: Cut a piece of fabric just larger than the mason jar lid.
Step 3: Place lid facedown on top of the fabric square.
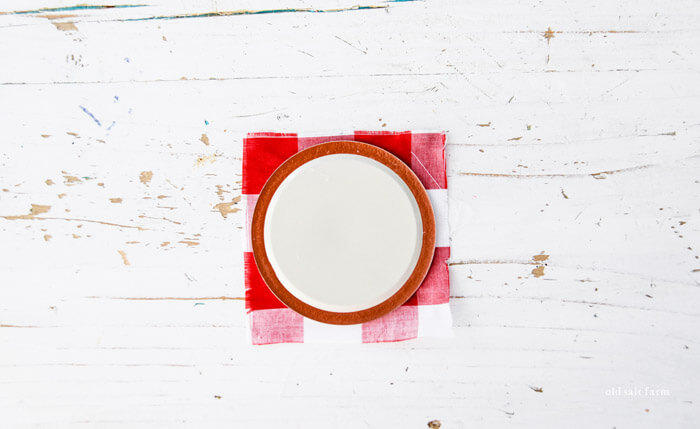
Step 4: Place four dots of hot glue at the edge of the lid at each corner of the fabric. Fold over each corner, pulling firmly, then pressing down.

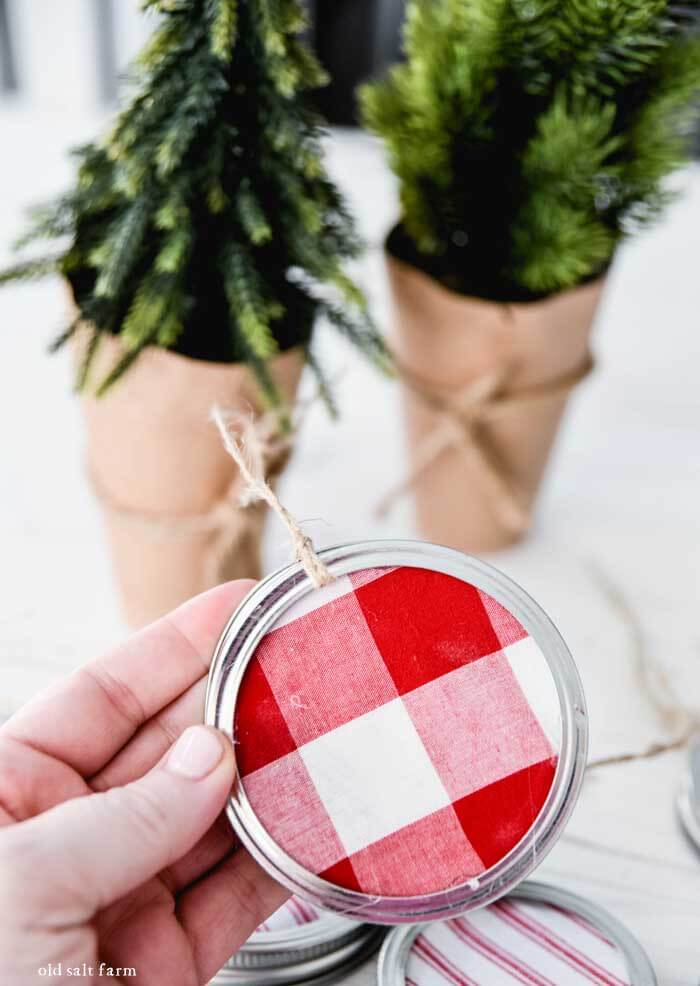
Step 5: Cut a piece of jute or twine (or ribbon), and fold In half. Loop the two ends through the circle as shown to the left. Pull tight!


Step 6: Turn the mason jar lid upside down, and place a few small dots of glue on the inside edge.
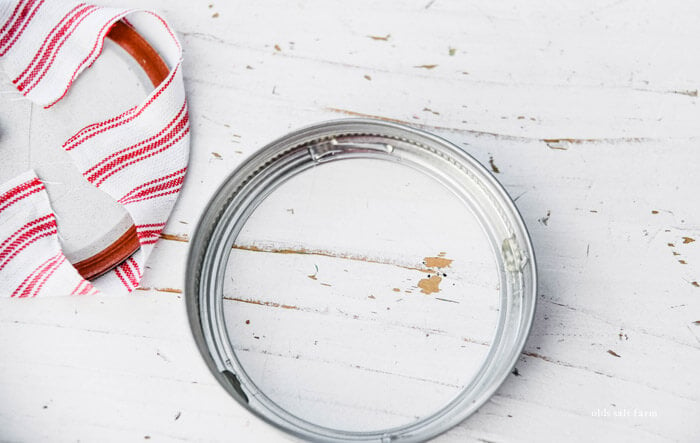
Step 7: Lay the fabric-covered ring front-side down inside the lid, and press firmly into place.

Step 8: Hot glue a cardstock or cardboard circle on the back of the ornament to cover up the fabric edges.

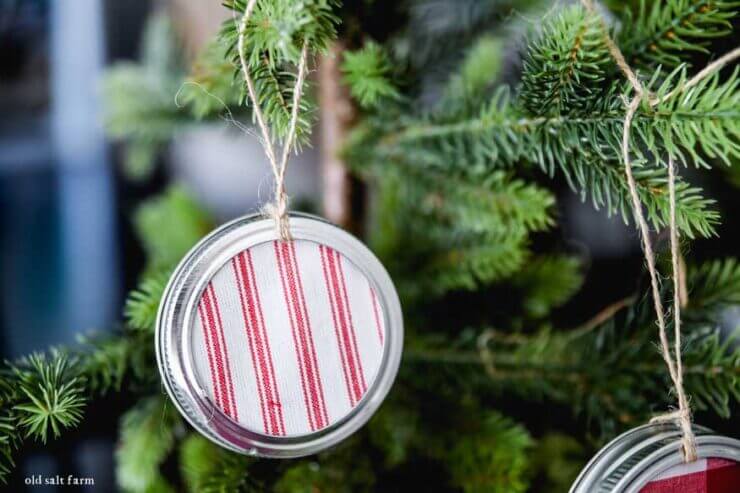
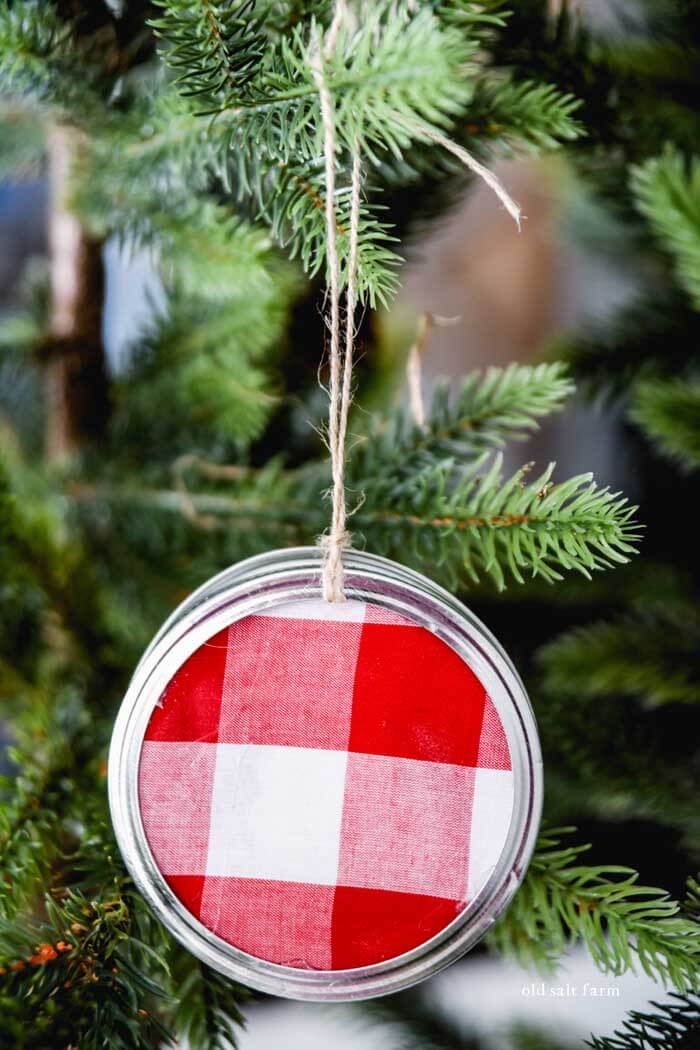
Now you’re ready to hang them on your tree, or package up to give away!
I chose to keep just the simple fabric, but you could also add some sort of embellishment if you like. Cut out vinyl on your Silhouette or Cricut, or even a heat transfer before you add the fabric to the lid.
You could also choose to spray paint the rings if you’d like them a different color–white, black, cream, etc. Paint and let dry completely as your first step if you choose to do so.

Watch the Video
DIY Christmas Ornaments Gift idea
Not only are these great for your own tree, but they make the cutest gifts as well. They’re so easy to customize, which makes them extra fun. Do you have a sports lover in mind? Use a print of their favorite sports team. There’s so much fun material the sky’s the limit. Or choose to go simple like I did and use your favorite patterns.
Package them up in a set, and give to friends, family, neighbors, colleagues, and more!