DIY Brown Sugar Foot Scrub Recipe
Every girl loves a little pampering, and these days it’s my feet that need it the most! I’m trying to get my feet ready for this lovely summer weather we’re having, after a long winter. One of my favorite things to do is use a foot scrub that helps soften and exfoliate, and this Brown Sugar Foot Scrub Recipe is not only super easy to make, but uses basic pantry items! Love!
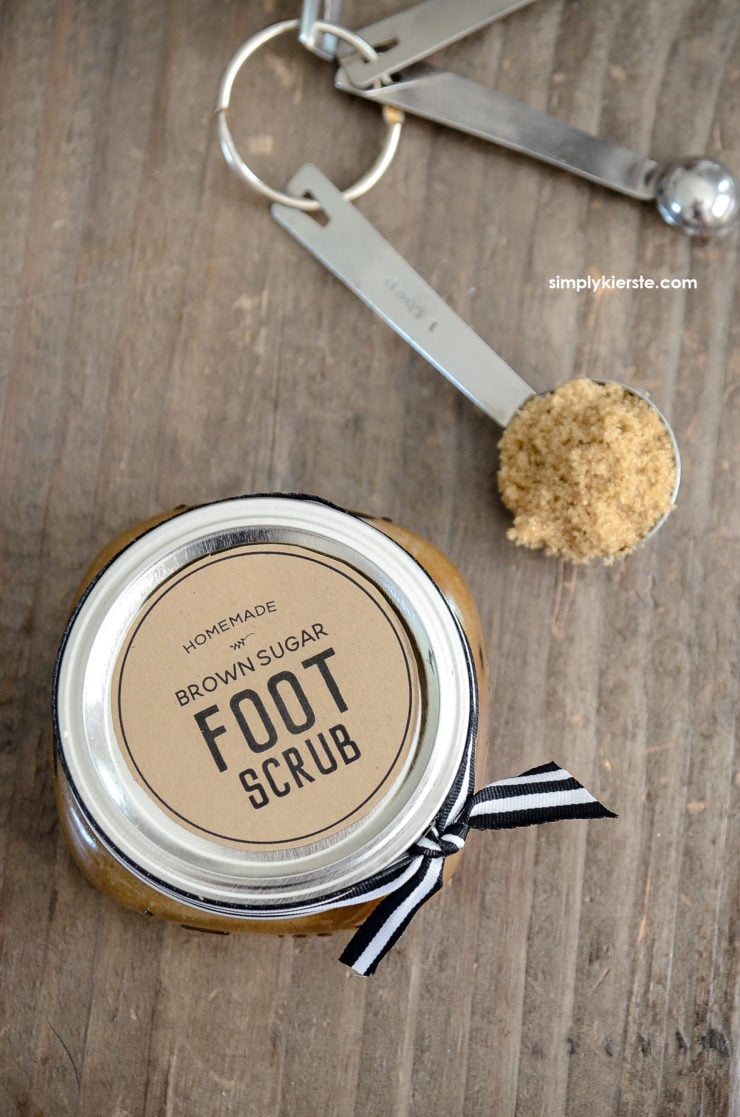
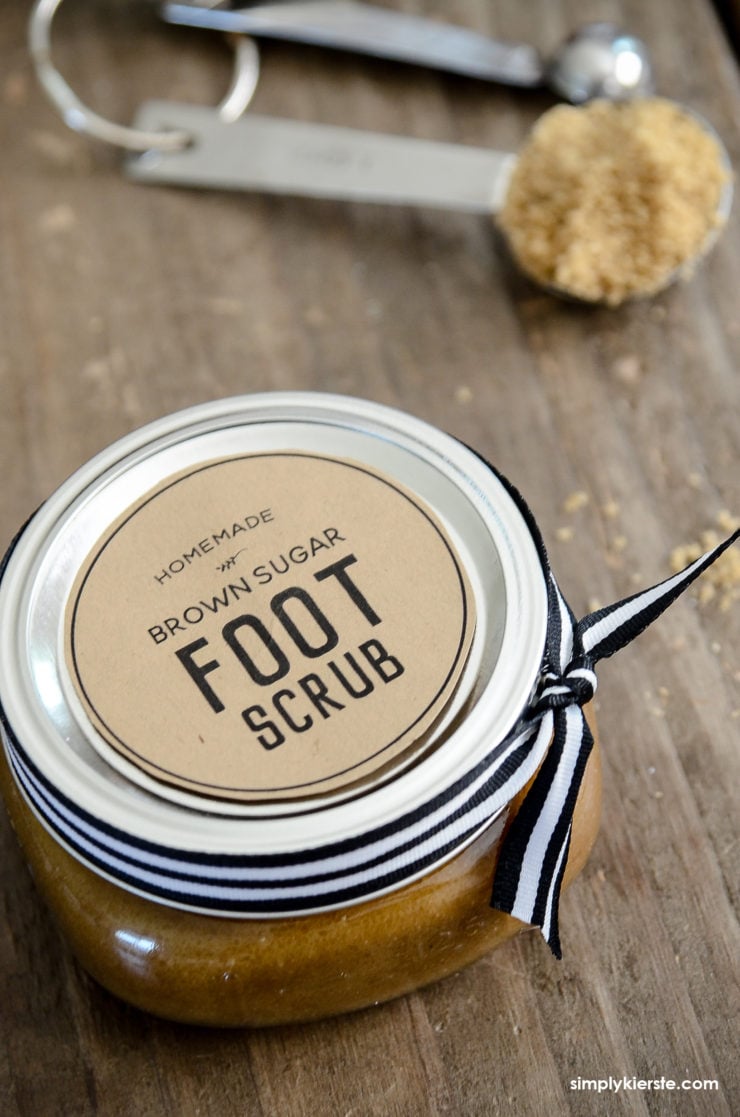
I like to mix up a big enough batch to keep in a small mason jar, so I can have it readily accessible when I shower. But you can definitely make just enough for one use–it’s easy to do!
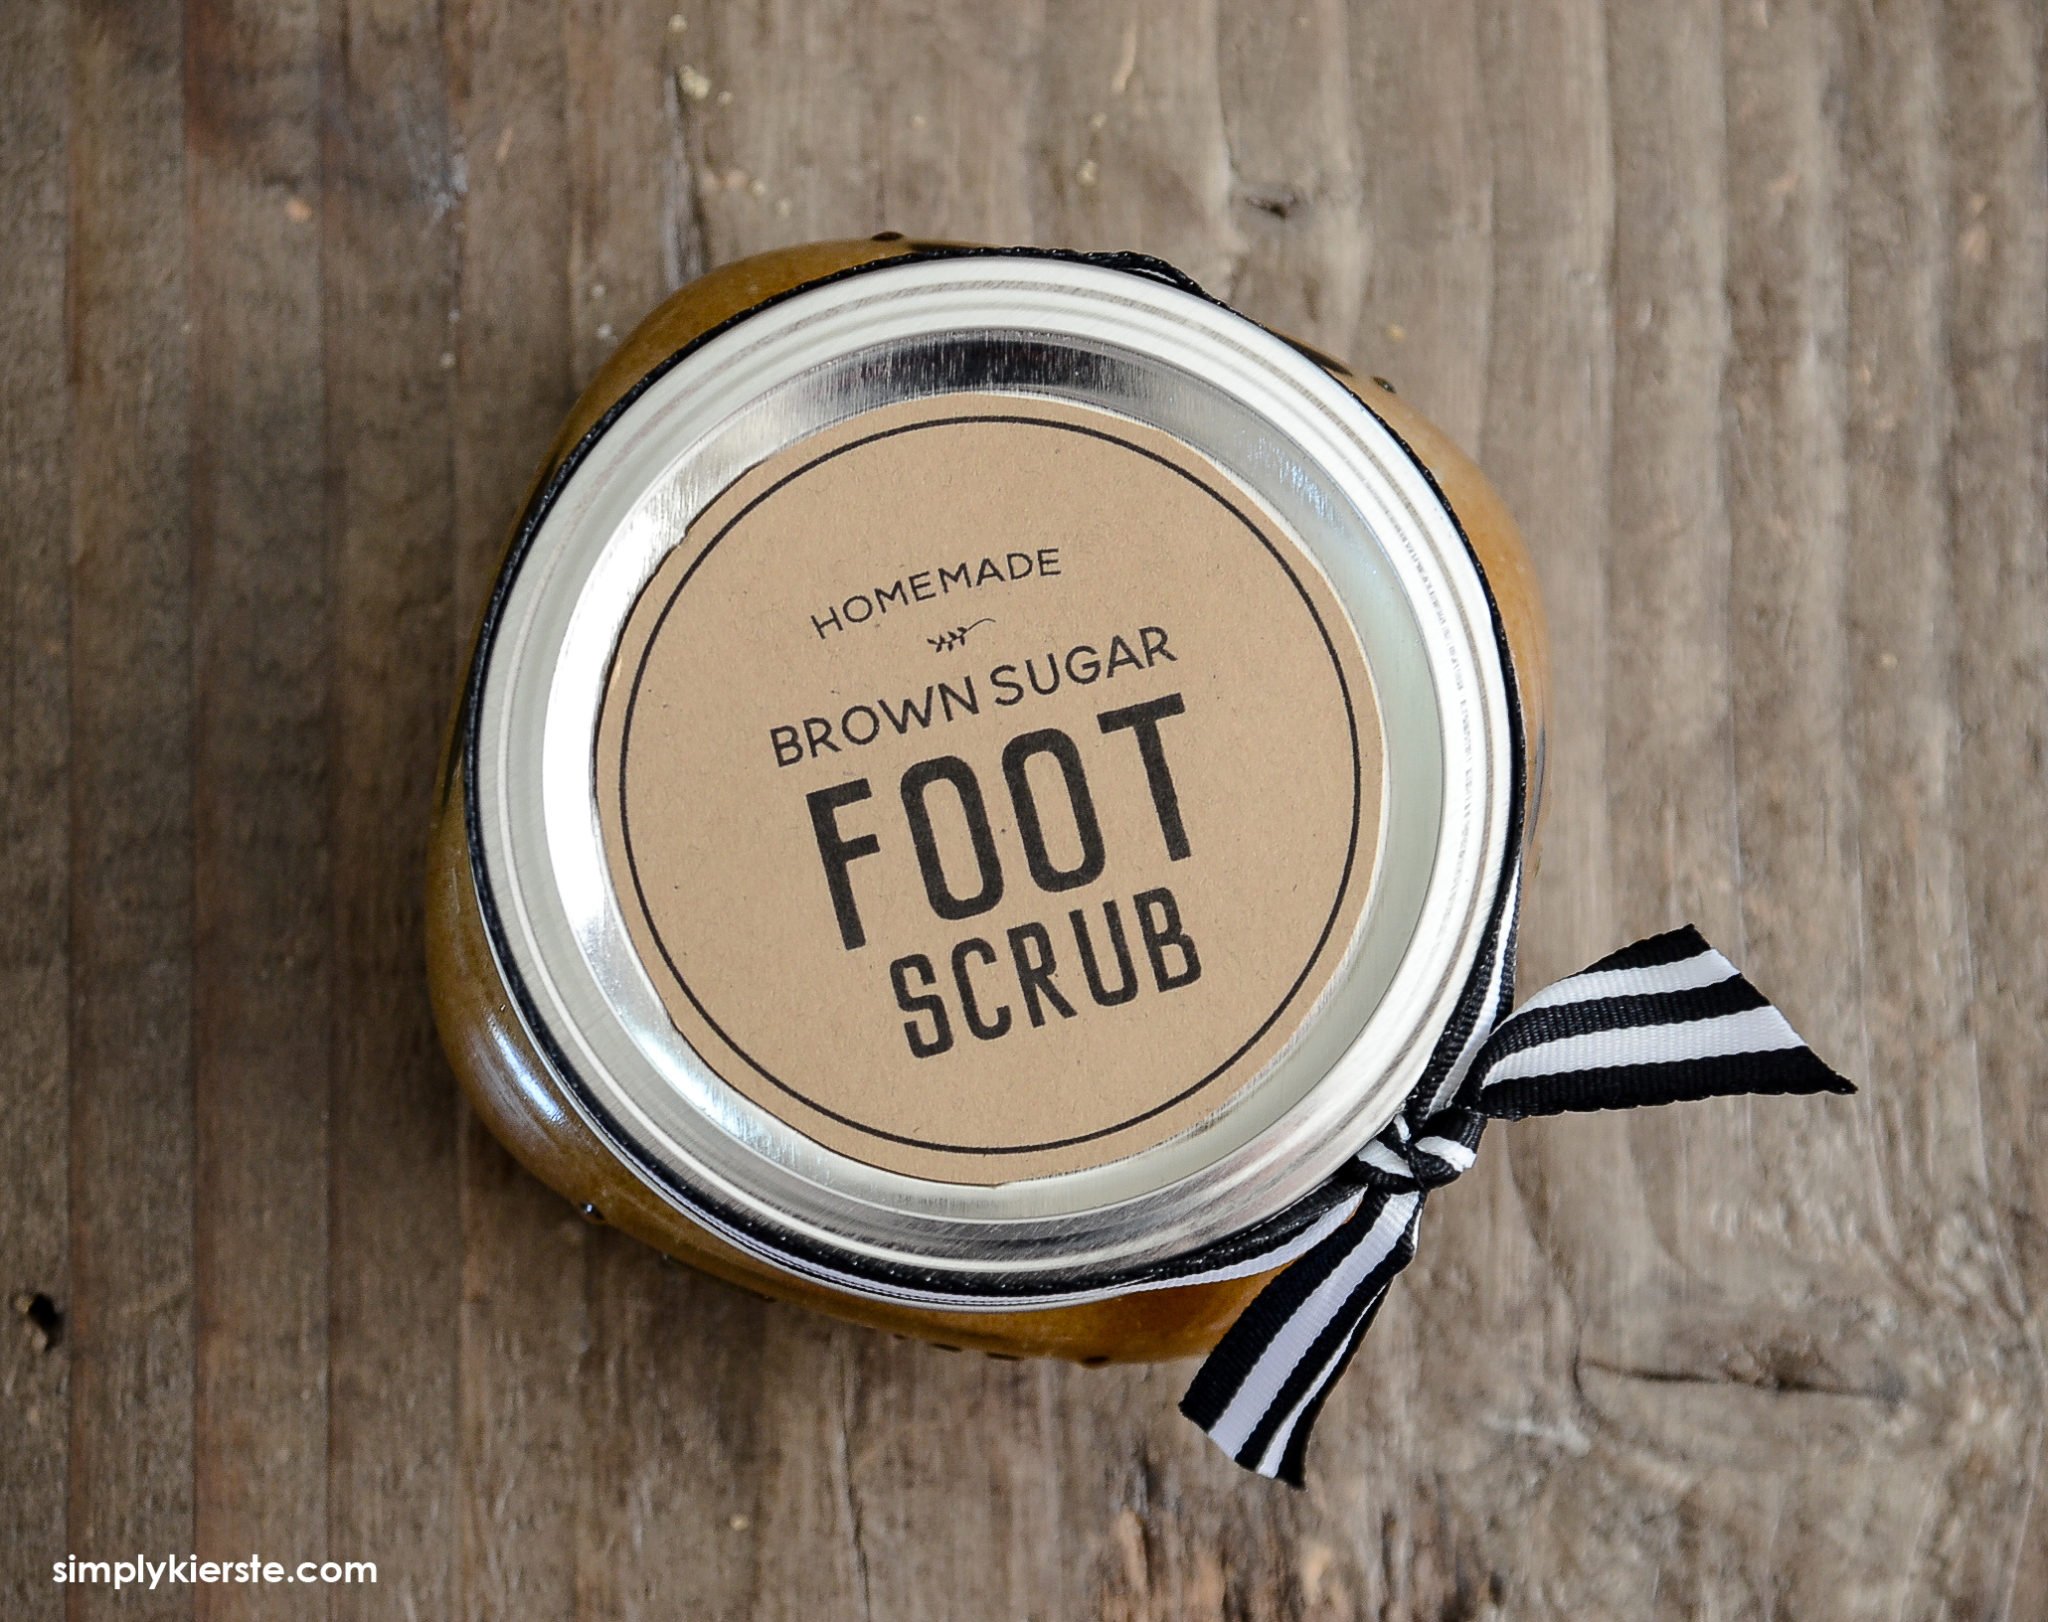
It also makes a really great gift, and I created a super cute printable that’s perfect for the top of them mason jar. Tie a little ribbon around the lid, and you’re set!
RECIPE
One time use:
1 T. olive oil
1 T. brown sugar
1 T. baking soda
Mix all three ingredients in a small bowl until combined. Apply the scrub to your feet (and other dry places, like your elbows), work it gently onto your skin, and then rinse well.
To fill this half-pint mason jar, I 10x the recipe–10 T. of each ingredient.
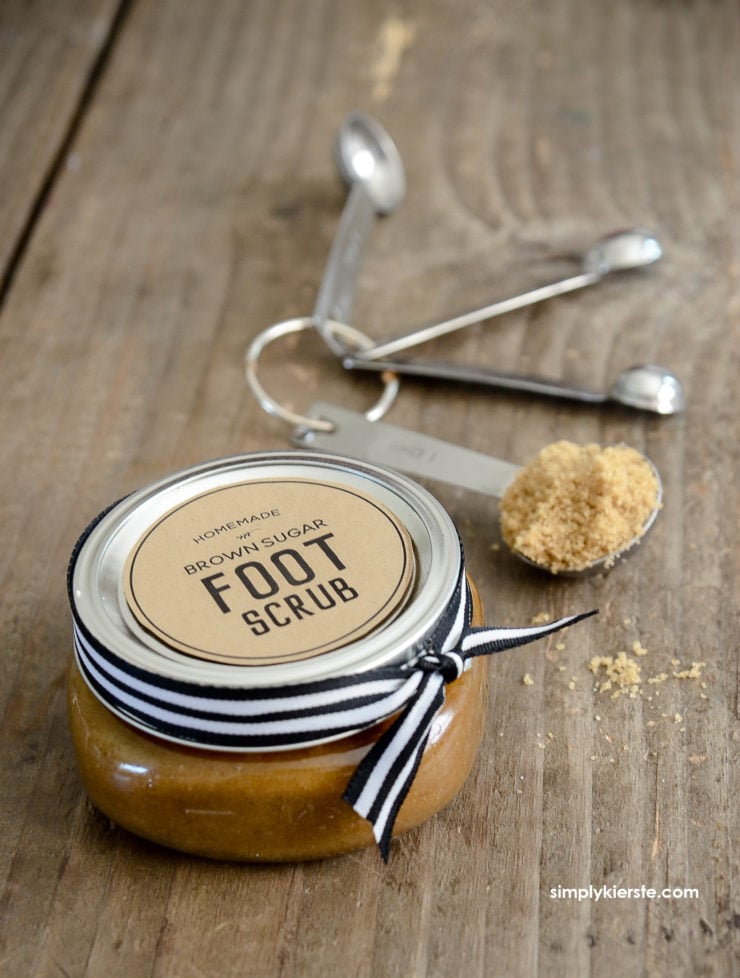
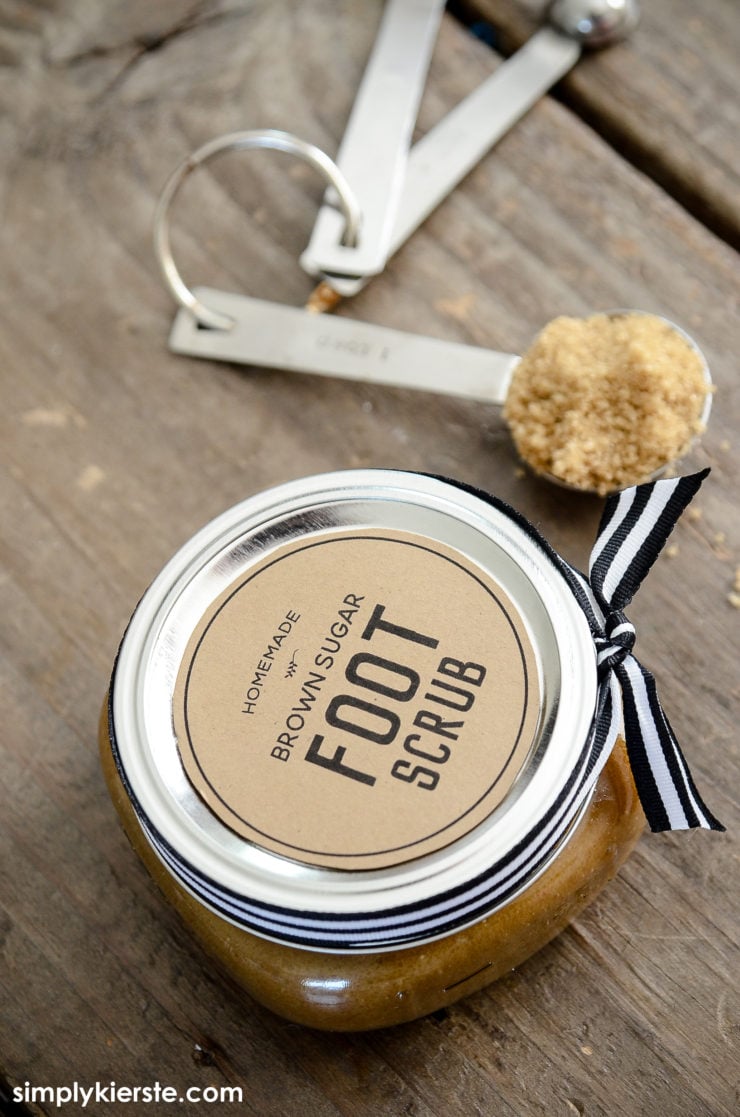
If you’d like to use the tags, just click on one of the links below. The large tag is the one I used, for a wide-mouth jar. The smaller tag is for a regular-sized lid. I like printing on to kraft card stock (affiliate link), but you could certainly use white. Cut around the black circle, leaving a little border of the card stock, and use double stick tape to adhere it to the lid.
If you have a Silhouette (affiliate link) you can download the image below, open it in your Silhouette software, and then use the print and cut feature to perfectly cut out your circles. You can get tutorial HERE on this post–you just need to skip down to this part: (the first part of the post explains how to create an image, but you already have one)
“You need another circle! This circle will be what’s actually cut out by the Silhouette, and any blank space between your dotted line and the new circle will be how much cardstock is left when it’s cut out. I like having the kraft paper show on the edges, and give the dotted line a buffer, so I adjusted my newest circle accordingly.”
Follow that until the end of the post, and it will show you how to print and cut out these adorable tags!

DOWNLOAD TAG: