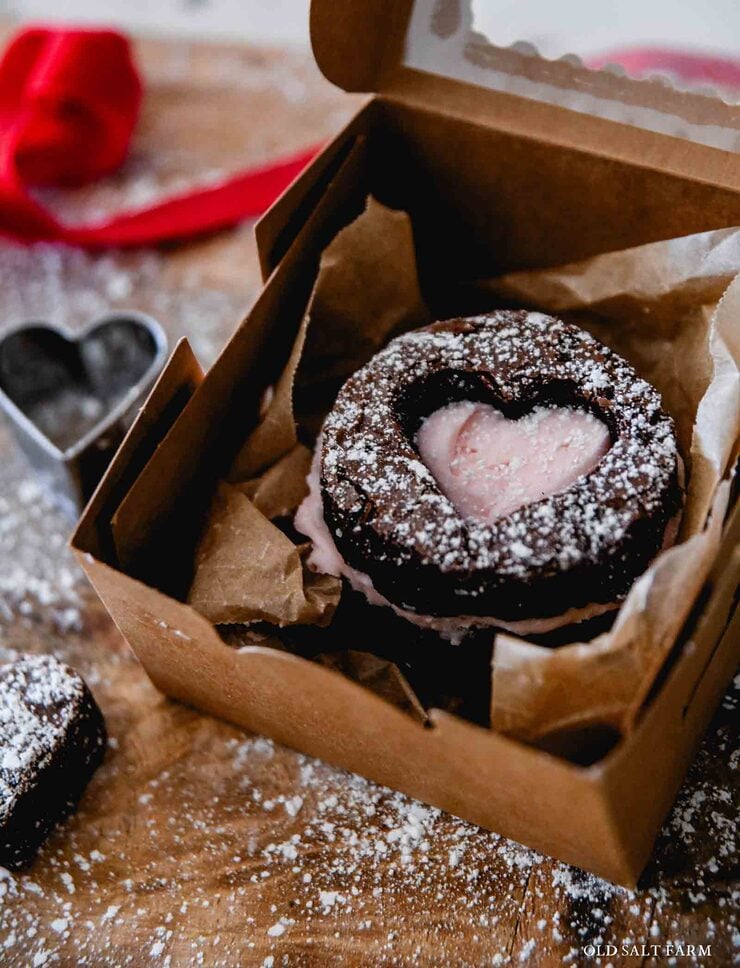
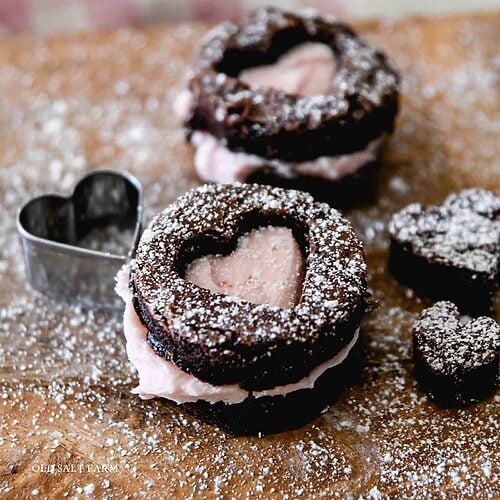
Heart Shaped Brownies
Celebrate love with heart-shaped brownies! Easy to make and perfect for Valentine’s Day or any special occasion.
Affiliate links are included below for your convenience. Please see my full disclosure.
Valentine’s Day is one of my very favorite days. All the red and pink and hearts…it’s just so fun and I love doing things for my kids and family. A simple Valentine Activity Countdown is our tradition, which includes simple recipes and activities, like Pink Hot Chocolate and Love Buckets. And of course I use a heart cookie cutter on anything I can get my hands on including these festive heart shaped brownies.
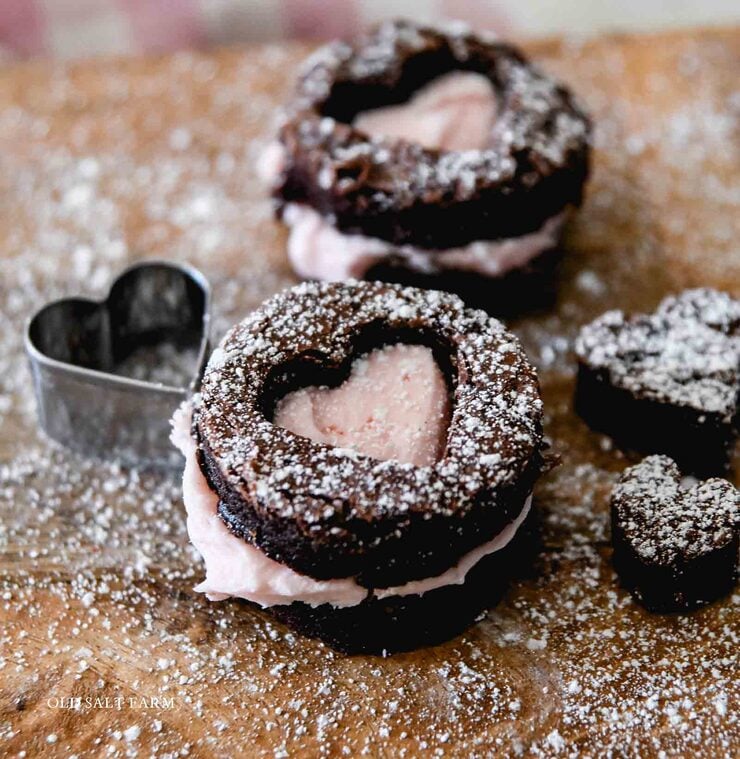
I just love easy these were to make, and they look like I slaved all day! With the layers, and bit of pink frosting poking out, they’re perfect for any Valentine’s Day party, or for serving to your own cute family. You can use any brownie recipe you like, including your favorite box mix, to save even more time. My homemade buttercream frosting is the perfect pairing. Package them up and gift to a friend, teacher, or neighbor…or anyone you want to spread a little love. They would also make the perfect anniversary treat, to make for your special someone.
Table of contents
Ingredients
- Favorite brownie mix + needed ingredients to make it
- Powdered sugar
- Milk
- Vanilla
- Butter
- Salt
- Pink or red food coloring (this is a great option with no artificial dyes)
You can use a brownie mix, or make your own favorite brownie recipe. I’ve done both, and it just depends on my timing and what I have on hand. If I use a brownie mix, Duncan Hines or Ghirardelli are my favorite. This option is fast and easy, and you don’t have to worry about many ingredients. With my homemade buttercream frosting, it will taste just like it came from a bakery!
Supplies
- Heart cookie cutters
- Round cookie cutter or biscuit cutter (the fluted cutters are so cute!)
- 9×13 baking pan
- Parchment paper
I love this set of heart cookie cutters, because it has a couple of the tiny hearts, all the way up to larger sizes, so I have lots of options. You’ll need a round cutter, and then a heart that’s smaller than that one. You can us any sizes you like! I used the smallest heart from the set above, and a standard biscuit cutter for mine.
TIP: You can also choose to use two heart cookie cutters, one larger than the other.
How to make
Mix and bake brownies according to package or recipe directions. Let cook completely.
TIP: A denser brownie works better than a really gooey brownie recipe to hold its shape when cutting into hearts and circles. If your favorite brownie is on the gooey/fudgy side, I’d recommend baking just a bit longer so they’ll be firm enough.
NOTES: If I use a brownie mix, instead of the 8×8 baking pan it calls for, I spread it out in a 9×13 baking pan so they will be thinner for stacking. If you’re making the recipe from scratch, and it calls for a 9×13 pan, I’d not put in quite as much batter, then alter the baking time to make sure they’re not overdone. This will make the layers thinner. If you want to bake in the pan as directed, you can–your layers will just be taller.
I also use parchment paper in the baking pan, so I can lift out the brownies when cooled. It makes it a lot easier to cut out the hearts.
While the brownies are baking, make your frosting by beating the powdered sugar and softened butter together in a mixer or in a large bowl (using an electric mixer). Slowly add the half and half in until you have the right consistency–not too thick, and not too thin. Add the vanilla and salt, and beat well. You’ll need salt whether you use salted or unsalted butter–but with unsalted butter you’ll need a bit more. Add as much food coloring as you want to achieve the right shade of pink. I like just a drop or two!
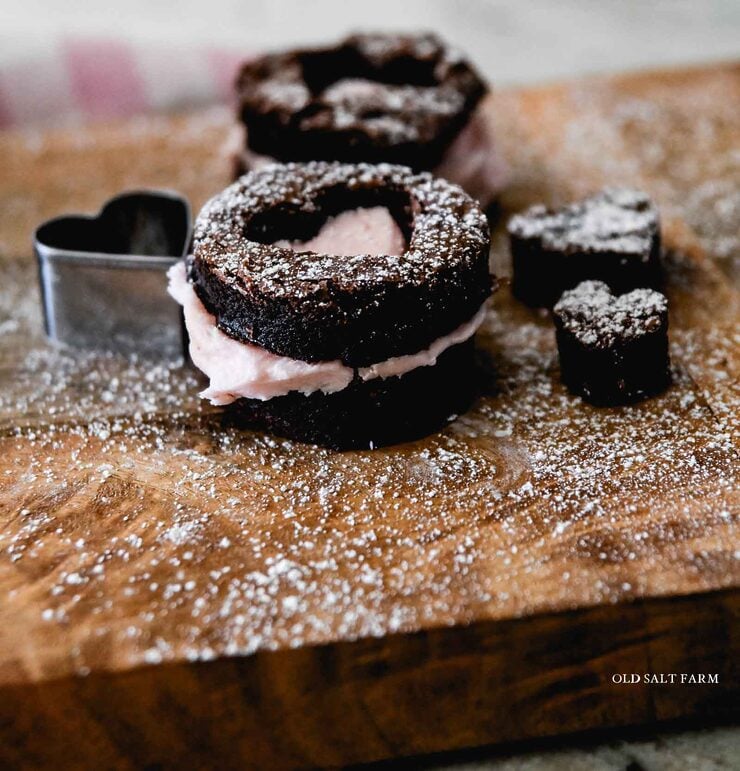
Once the the brownies are baked and cooled (they won’t take as long to bake, so watch them carefully!), use a biscuit cutter to cut out as many circles as you can. You can use a circle cookie cutter as well, but I love the ridges that the biscuit cutter has, and the cute detail it adds.
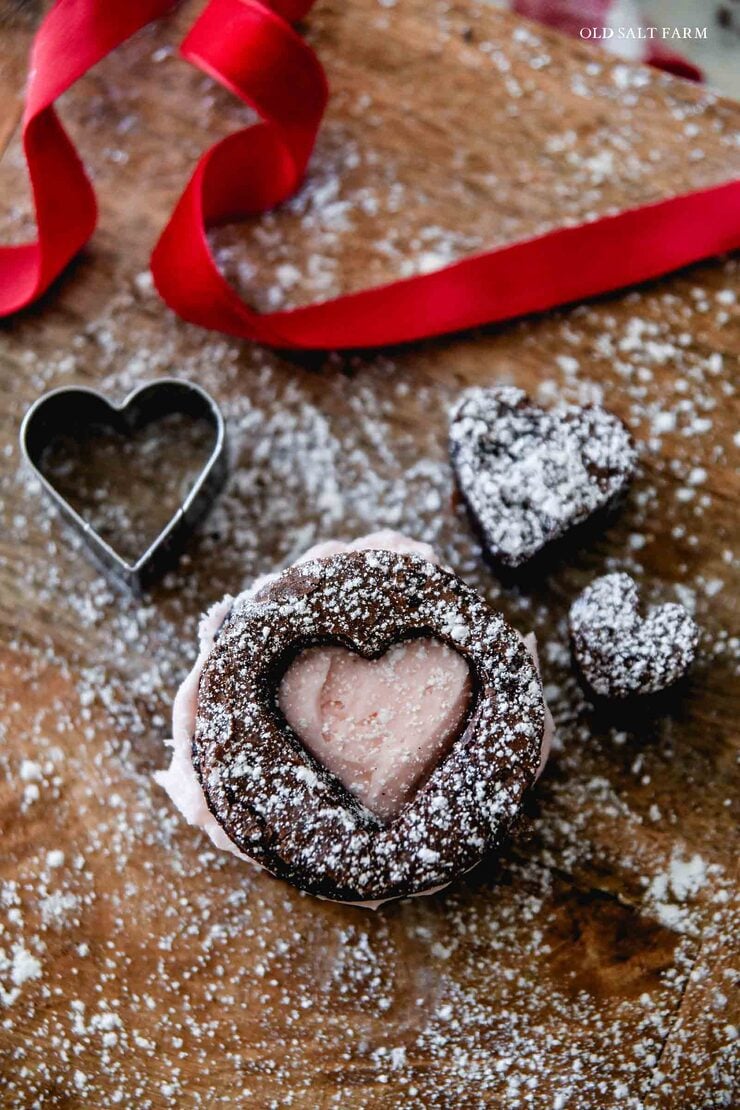
On half of the circles, use your small heart cookie cutter to cut out the middle of the circle, then remove the small heart to use for later. They’re adorable to serve all on their own!
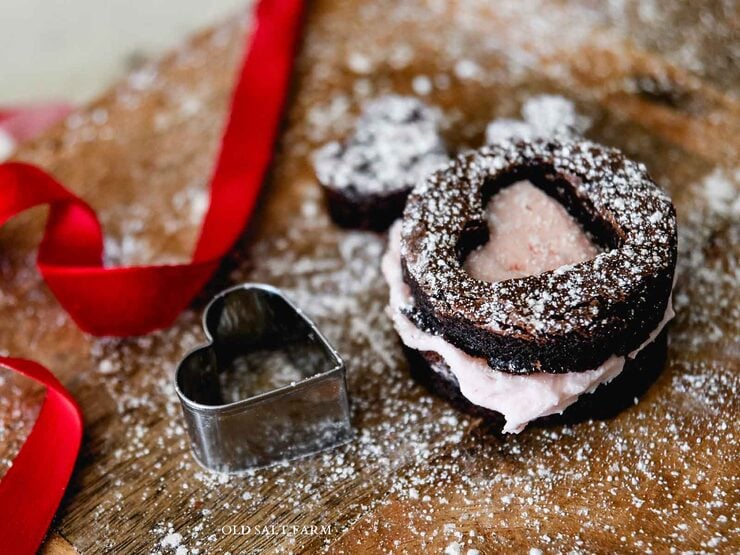
Set down a brownie circle for the bottom layer, frost it, then set the circle with the heart shape cut out of it right on top. Sprinkle a little powdered sugar over each heart brownie, and voila!
FAQ
I like to either frost them or sift powdered sugar on top, then add to my serving plates.
It’s my kids’ favorite part–eating those pieces! I also like to cut them into smaller pieces and use for a ice cream sundae bar within the next few days.
Absolutely! They just need to be two different sizes, with enough of a difference in size so that the edges of the top heart aren’t too thin and break.
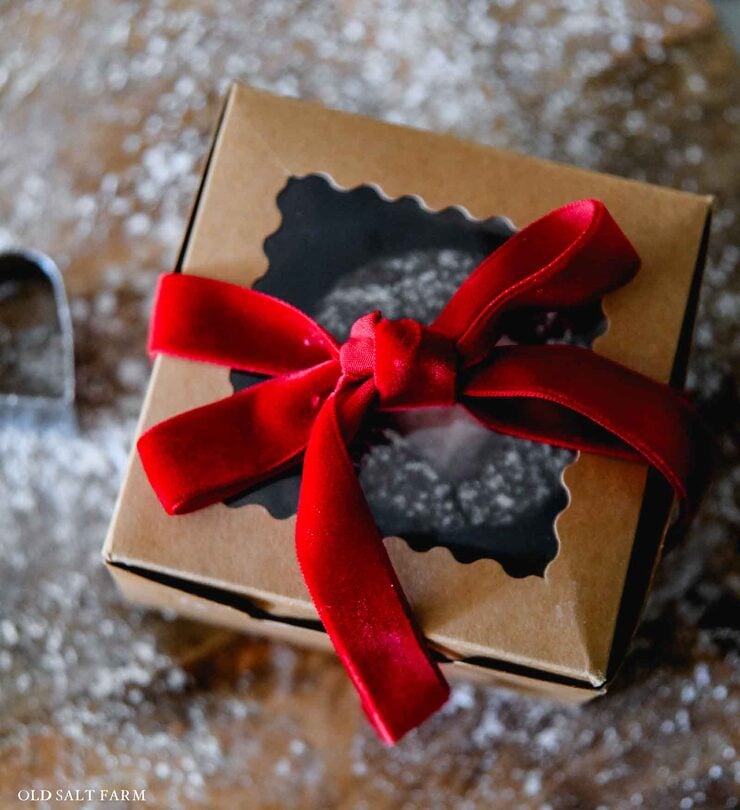
Packaging
If you want to gift these cute brownies, I love the small bakery boxes with a window on the top. I always have them on hand, and use them often. I also found some bakery boxes with a heart opening. Perfect for these! The small one is perfect for one brownie, but the larger sizes work great for multiple.
More Valentine recipes
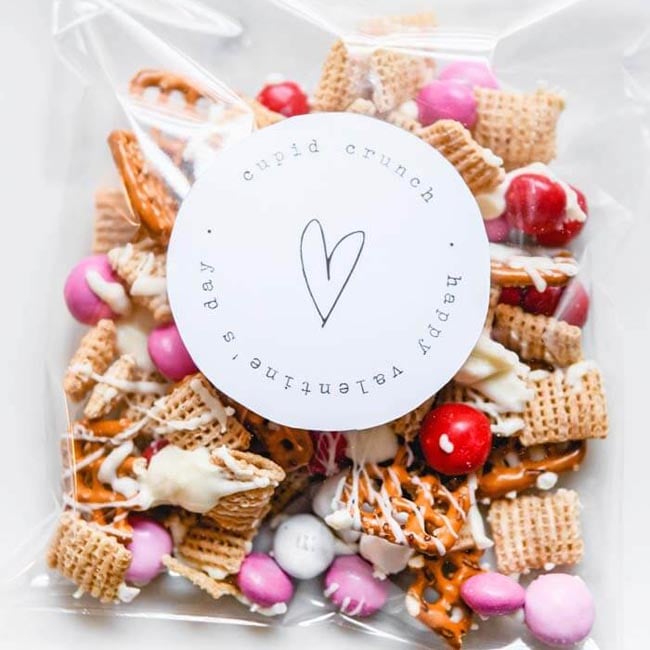
- Cupid Crunch Trail Mix (and gift tag)
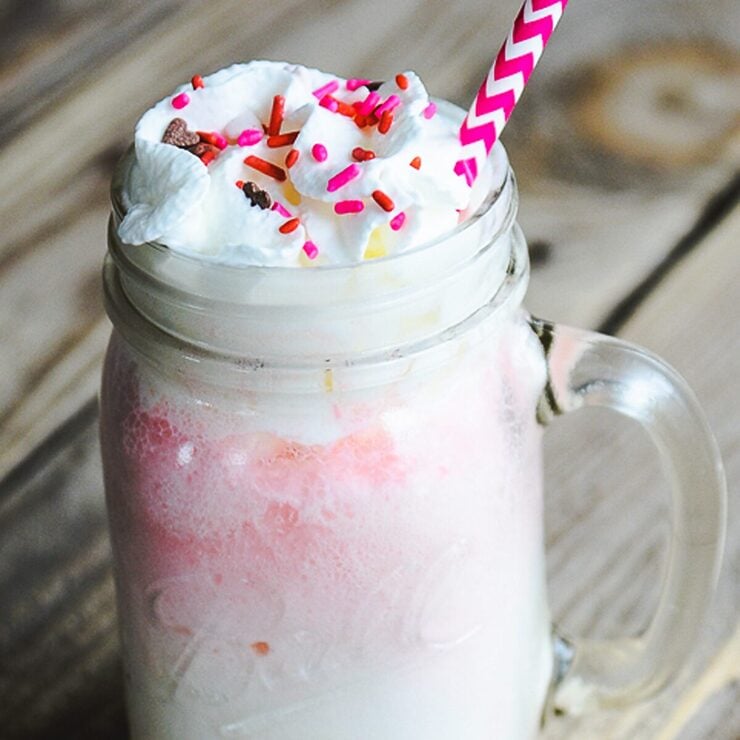
- Cherry Vanilla Floats
- Sugar Cookie Bars
Thanks so much for stopping by! Join my newsletter for all the ideas and inspiration right in your inbox–I’d love to see you there.

Heart Shaped Brownies
Equipment
Ingredients
- Your favorite brownie mix or recipe
- Round biscuit cutter
- Heart cookie cutter smaller than the round one
Buttercream Frosting
- 4 cups powdered sugar
- 1/2 cup butter softened
- 2-4 Tablespoon half and half or heavy cream
- 1/2 teaspoons vanilla
- Dash salt
- Red food coloring
Instructions
- Make your favorite brownie mix or recipe and bake according to the temperature listed. Line your pan with parchment paper, with some hanging over the sides.To make the brownies thinner for stacking, bake them in a larger baking dish than the recipe calls for, and alter the baking time accordingly. Instead of an 8×8 pan that a brownie mix calls for, pour your brownie batter into a 9×13 prepared pan. If using a 9×13 pan and making brownies from scratch, use about 2/3 of the batter, and put the remaining brownie mixture in an 8×8. Remember to watch baking times closely…you don’t want to over bake brownies. Use a toothpick to check the middle. Reduce baking time by about half, then watched them closely until they are done. Let them cool completely.
- While the brownies are baking, make your frosting by beating the powdered sugar and softened butter together in a mixer or in a large bowl (using an electric mixer).
- Slowly add the half and half in until you have the right consistency–not too thick, and not too thin.
- Add the vanilla and salt, and beat well. I like to use salted butter, although many bakers use unsalted butter. If you use salted butter, you just need a dash of salt. With unsalted butter you’ll need a bit more.
- Add as much food coloring as you want to achieve the right shade of pink.
- When the brownies are cool, lift them out of the baking pan holding the edges of the parchment paper.
- Use the round biscuit cutter to cut out as many hearts as possible. Place them on a large platter or plate.
- On half of the circles, use the smaller heart cookie cutter to cut out a heart in the center of the circle.
- Remove the smaller hearts and set them aside. (You can frost them and serve them separately!)
- Frost the full circle brownies, then place the brownies with the hearts cut out on top.
- Sprinkle with powdered sugar!
*Originally posted 2016
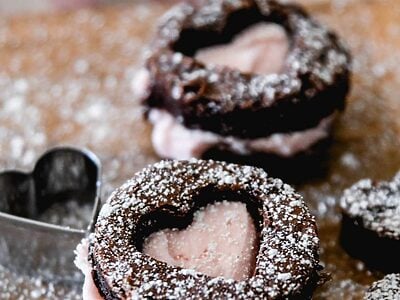
What a simple and fun idea, that makes them look so fancy!