
How to watermark your photos for free: three easy & free tutorials for both picasa and picmonkey}
There are two totally free programs that provide an easy way to watermark photos. The first one is Picasa, which also is a great way to keep edit and organize your photos. You download the free software, then it stays on your computer. It automatically searches for all the photos on your hard drive, so you don’t have to do it yourself. Anytime you upload a photo, Picasa will find it.
The second one is PicMonkey. If you haven’t tried it, you need to! It’s a super fun site that allows you to edit photos, and add tons of fun embellishments and text. Unlike Picasa, you don’t download it–you just go to the site and upload one photo at a time to edit it and save it to your computer.
There are two ways to watermark your photos, and both of them have their pros and cons. The first is to type in the text every time you edit a photo. The second is to create an image of your watermark, and then just add that image to your photo. I’m going to show you how to do both, and then you can decide which you like the best!
OPTION 1: PICASA
Step 1.
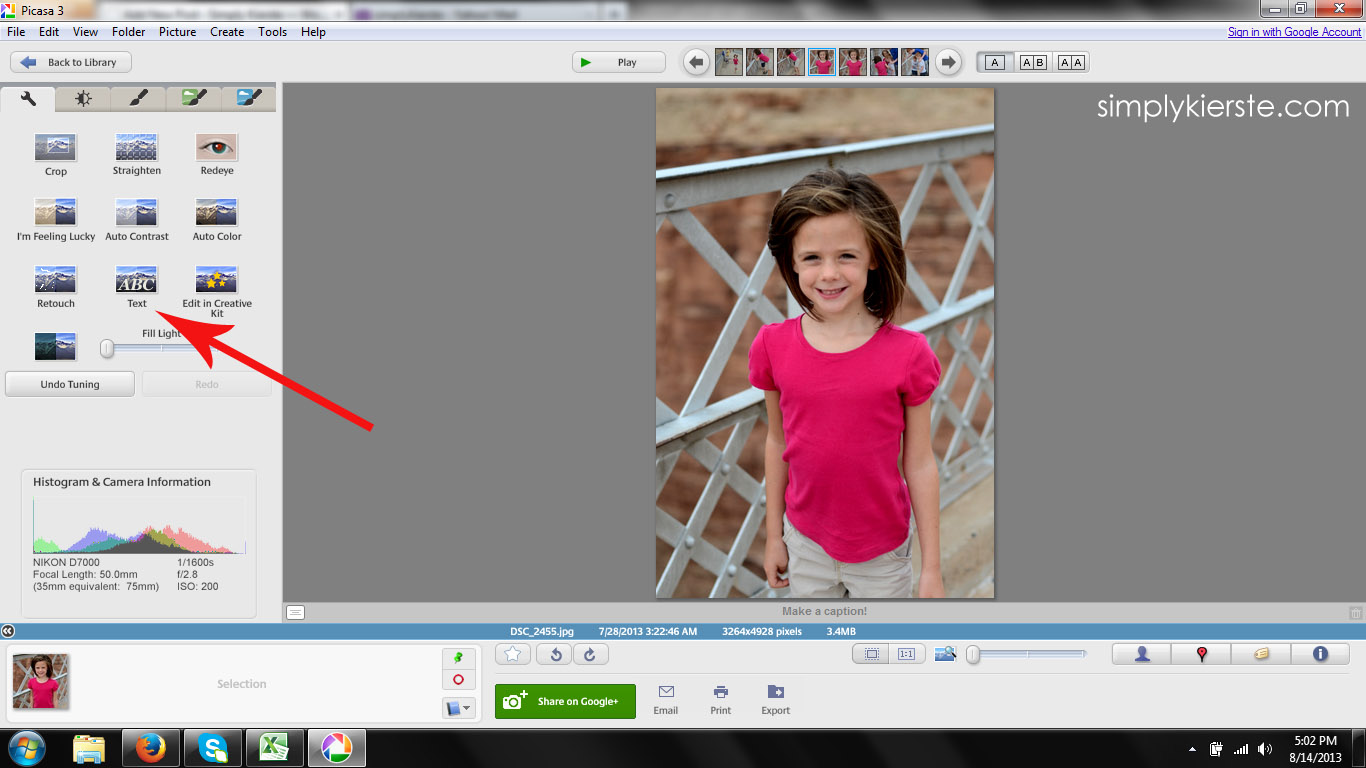
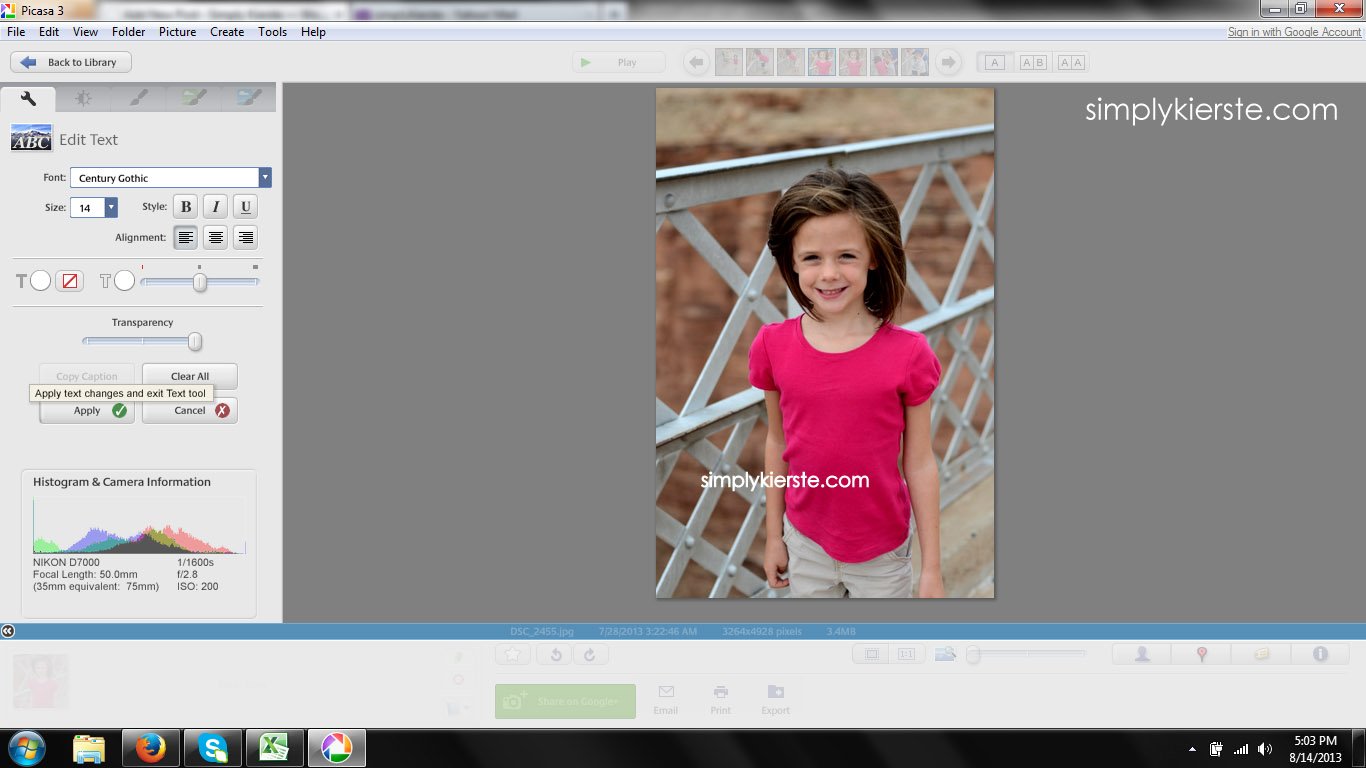
Open up the photo you want to edit by double clicking on it. SAVE A COPY of your photo, because once the text is on, you can’t remove it. You’ll want to have a copy of the photo without the text. Once the photo is edited and ready to go, click on the text icon.
Step 2:
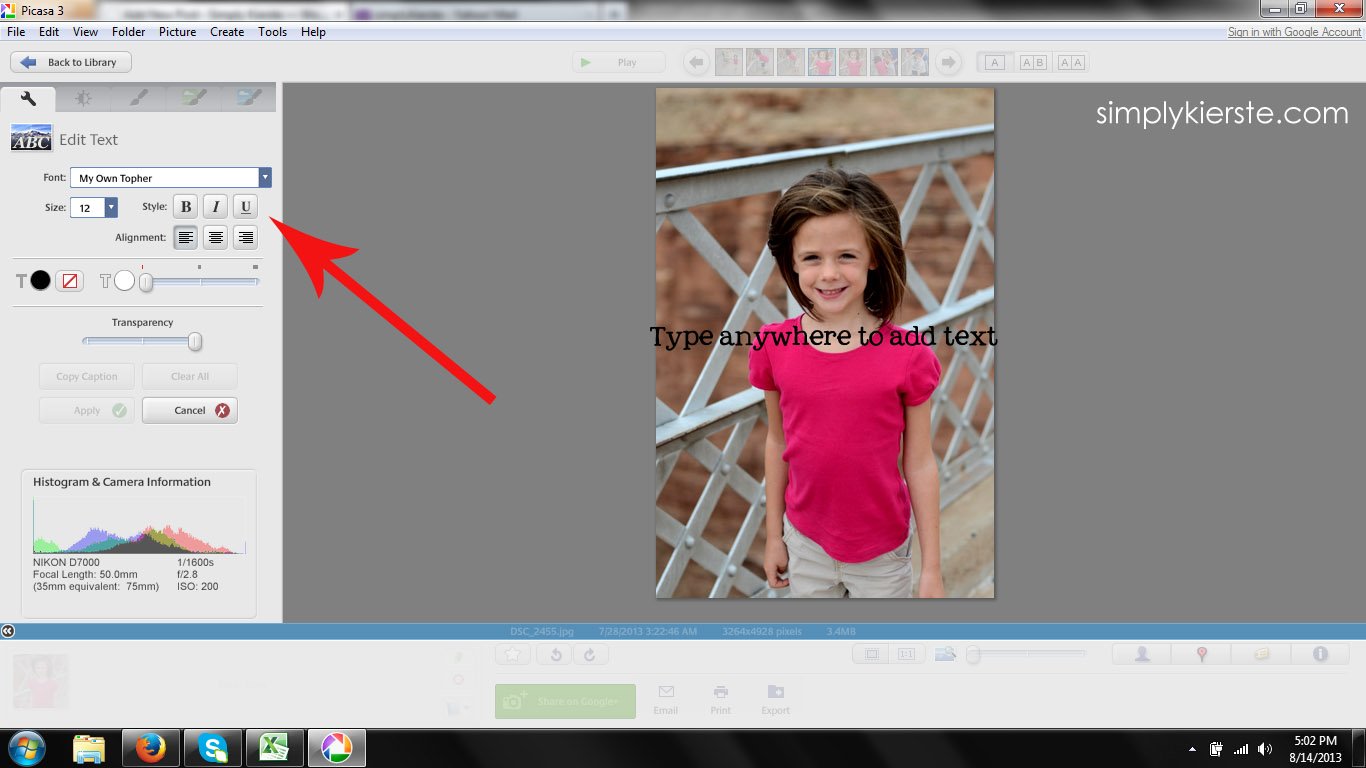
On the left hand side, you can select the font, font size, font color and other details. Once selected, just start typing!!
Step 3:
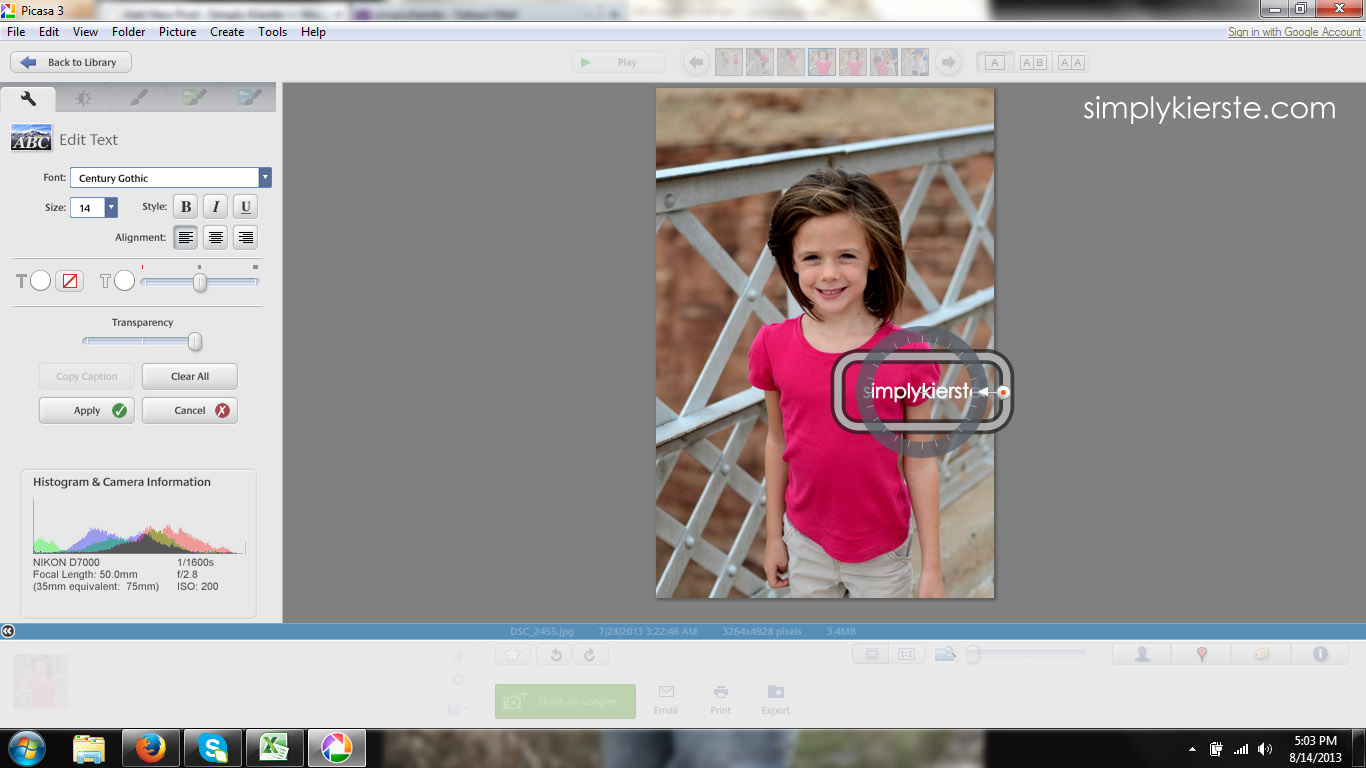
To move the text where you want it, just click on it, and move!
Step 4:
Text is done! Just click File < Save As, and save your file as desired. You’re done!!! Easy peasy!
OPTION 2: PIC MONKEY
Step 1:
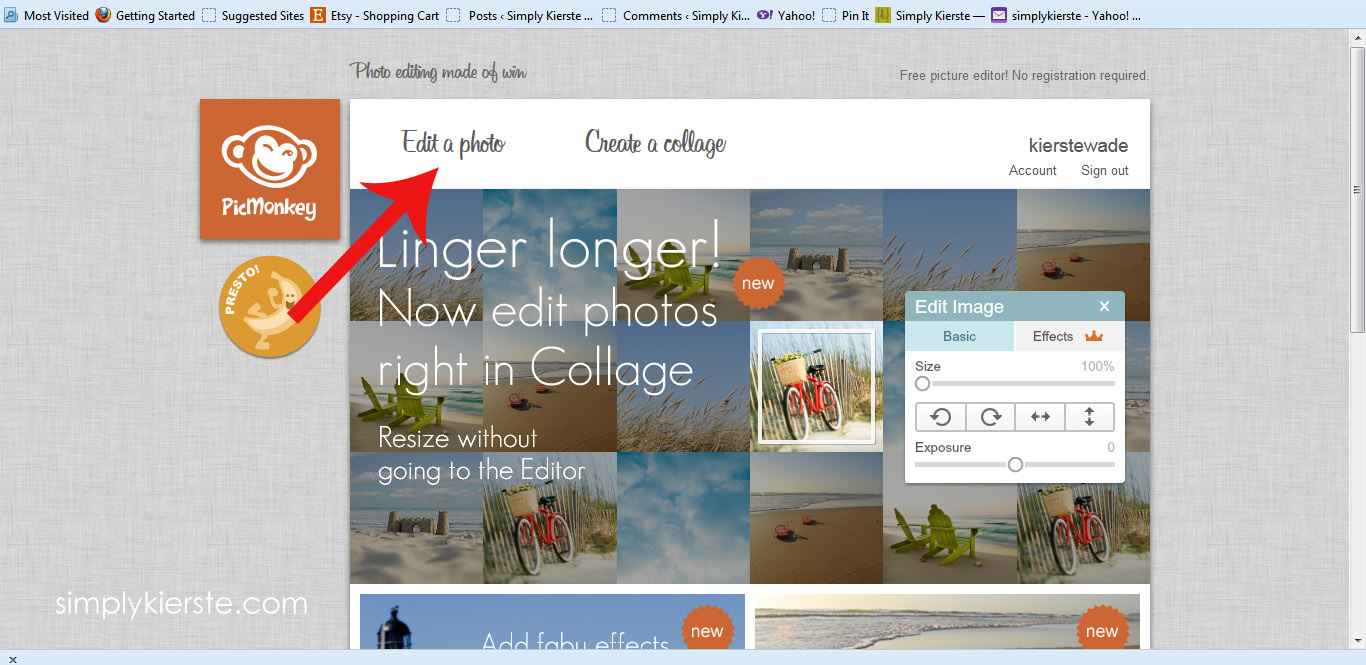
Go to picmonkey.com, and click on “Edit a Photo”. It will open up a box where you can browse and select your desired photo.
Step 2:
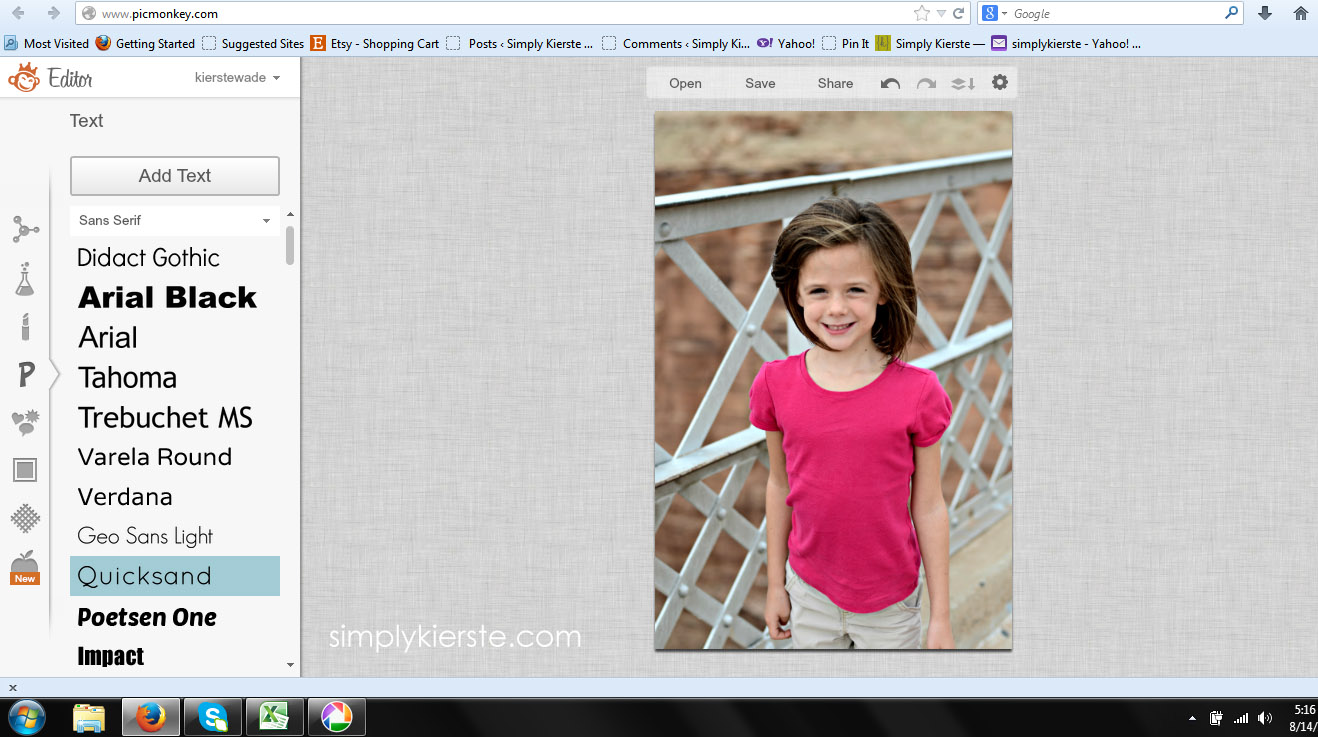
Once your photo is edited (do all editing first) and ready for a watermark, click on the “P” in the left hand sidebar, which is the text button.

Step 3:
Select the font you want, then click on “Add Text”.
Step 4:
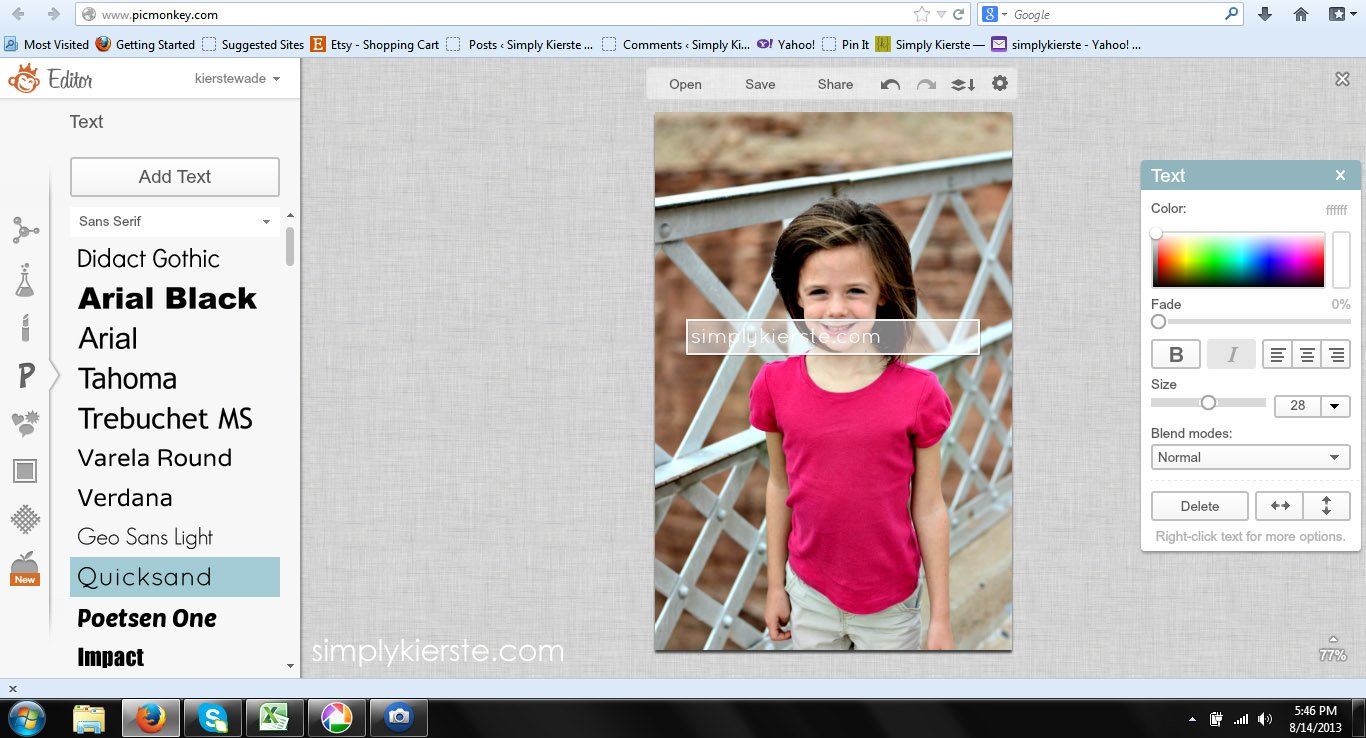
You can change the color, size, and other details in the edit text box that pops up. Type your text in the white text box. Click on the text to move it wherever you like.
Step 5:
And you’re done! Click on “save”, which is above the photo, and save to your hard drive as a copy (use a different name) of the original photo.

OPTION 3: USING PICMONKEY TO CREATE AN IMAGE OF YOUR WATERMARK AND HOW TO ADD IT TO YOUR PHOTOS
Step 1:
Download THIS transparent file, save to your computer, then open in picmonkey. (See Step 1 of PicMonkey tutorial above.) It will look like there’s nothing there, but I promise, it is!!

Step 2:
Click on the “P” in the left hand side tool bar, and it will bring up the text menu. Select the font that you want, then click on “add text”. An edit text box will pop up, where you can choose color, size, etc. Type your desired text in the indicated text space.

Step 3:
When you’re done, it will look like it’s just the words, but it really has a large transparent image around it that we need to crop down to size, so it will easily fit on your photos.

Step 4:
Click on the top icon in the left hand side bar, which is for basic edits, then click on “crop”. You can click on the corners of the crop box that will show up around your text to get it to size. You want the edges to be right around your text–don’t leave a lot of space. Once you’re done, click on the green “apply” button in the crop box on your left.
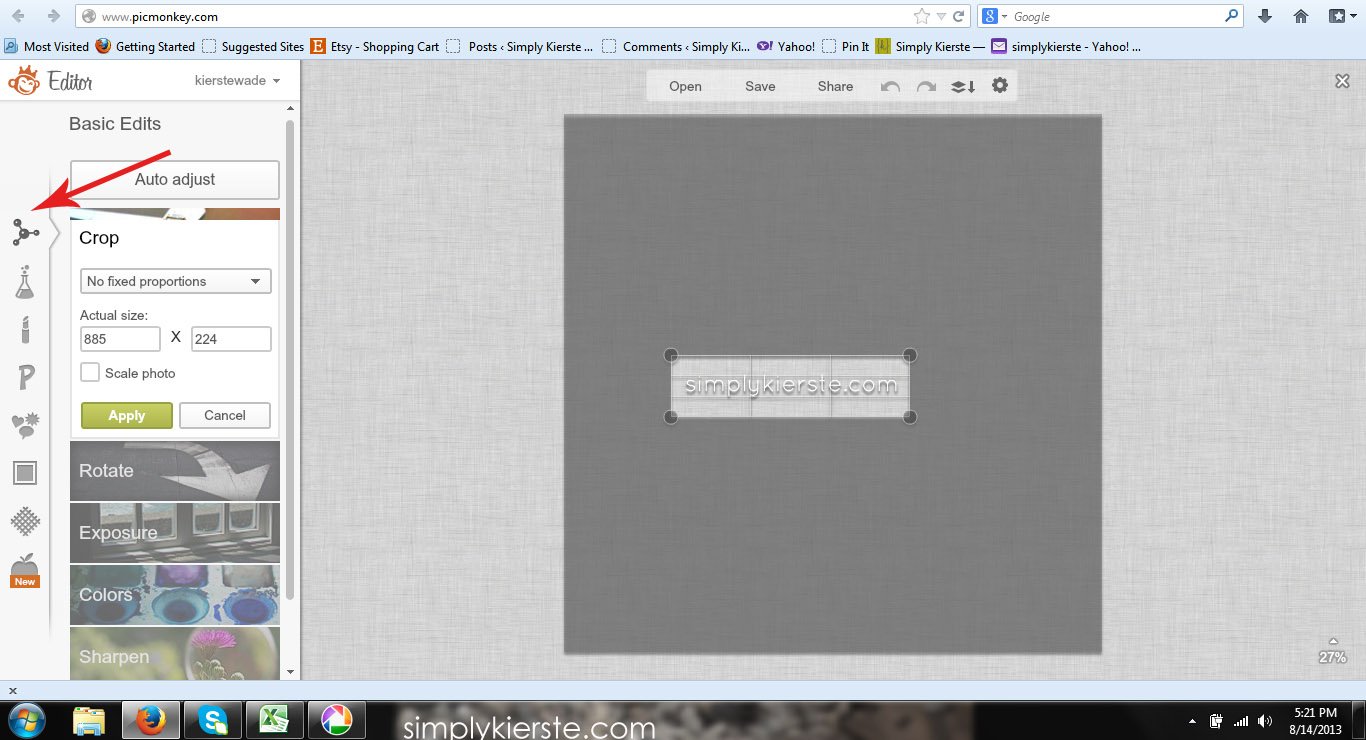
Step 5:
It will look big like this when you’re done, but that’s how it should look!

Step 6:
Click on “Save” at the top of the photo edit space, and save to your computer. Make sure you name it and save it in a place that can easily be found! Now you have a watermark image, and you can add it easily to any photo you like!

Step 7:
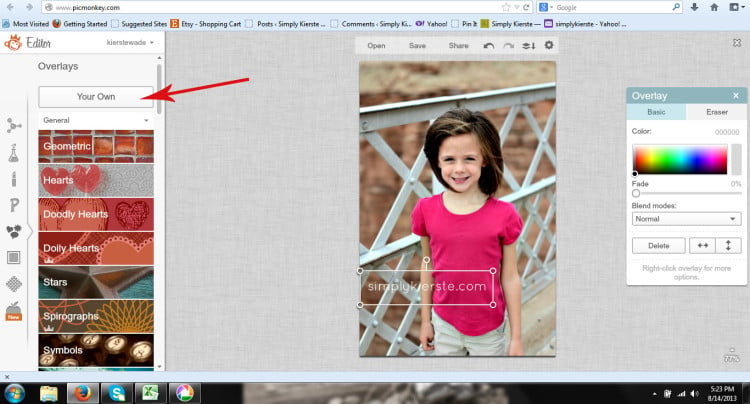
Once you have a photo you’d like to watermark, you can add the text image you created quite easily. Following Step 1 of the tutorial for Pic Monkey above, click on “edit photo” when you get to picmonkey.com, and open up your desired photo. Click on the overlay button in the left hand side bar.

Step 8:
Click on “Your Own”, and you will be able to browse your files and select the image file you created of your watermark. It will show up right on top of your photo, and you can use the overlay edit box (shown on the right) to make it larger or smaller. You can also click on the text to move it to where you want it. Once you’re reading, just click on “save” above your photo, and save to your computer.
That’s it!!! Once you do it a few times, you’ll get the hang of it, and see how easy it really is. If you have any questions, please don’t hesitate to ask!

