Easy Numbered Christmas Stocking Hanger
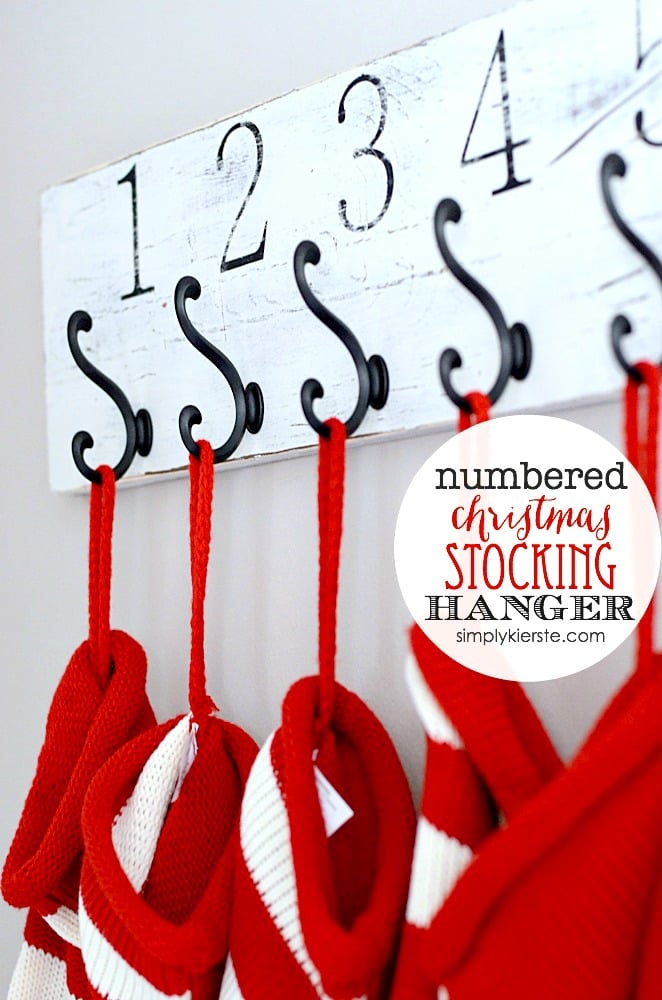
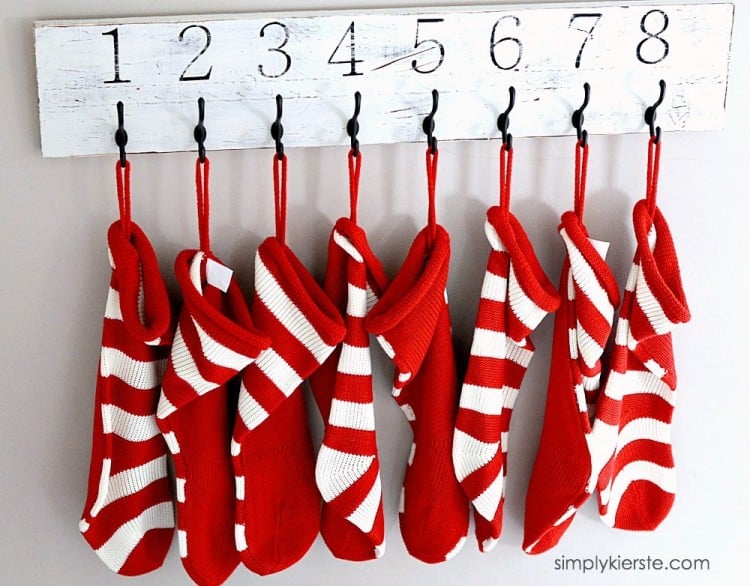
We’ve had a mantel in our home for many years, but after moving into our little apartment, we didn’t have anywhere to hang our Christmas stockings. Actually, since all of our things are in storage, we didn’t even have stockings. (Enter in…Target. :) ) I made a super Easy Numbered Christmas Stocking Hanger, and LOVE it. My kids are happy now…Santa can come!

Numbers are all the rage right now, and I really kind of love them. It also works for our family, because each of my six kids have their own number. It’s on their kitchen stool, shoe basket, coat hook and pretty much everything. :) It helps me keep everything organized, and my kids know exactly where their things go. So…adding numbers was the perfect solution! Adorable and practical! I can also use this after Christmas is over, and all year long–I have a few places in mind in my home where it will really work.

Have I told you how easy this was?
SUPPLIES:
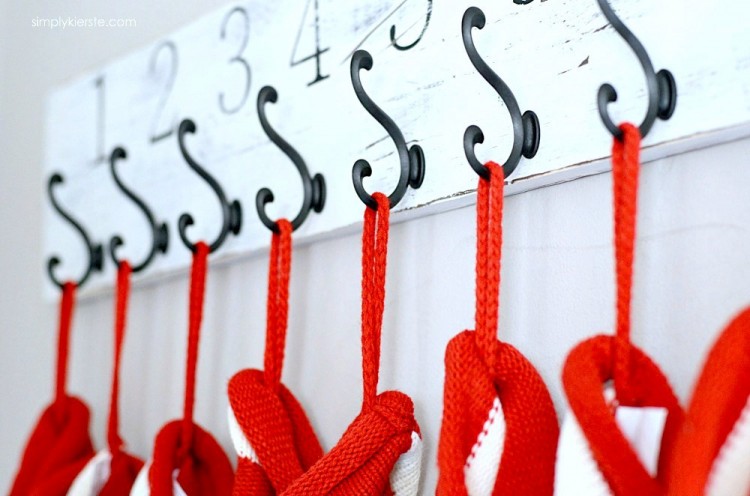
-1 x 8 x 6 pine board
– White Craft Paint (I used Martha Stewart Summer Linen)
(or your choice)
–Brown Craft Paint (I used Americana Espresso)
(or your choice)
– vinyl number stencils
DIRECTIONS:
1. Based on how many stockings you have, decide how long you want your board to be. If you more people in your family, you can have the hooks closer together or farther apart. My board is 36 inches long, with 4 inches in from the ends, and between each stocking. Cut your pine board to desired length, or ask The Home Depot to do it for you…it’s free!
2. I love the distressed look, and I will tell you the easiest way to get that weathered loveliness. There are a million techniques out there, and I’ve used many of them…and still do. But the easiest, and most foolproof in my opinion, is to layer paint. Paint the board with the color you want to show through the top coat. I did my first layer a dark brown, so when I sanded, it would show through and give me that antiqued look I was after. Once the brown was dry (it took two coats), add your top layer. I painted my board cream (also took two coats), and let it dry completely.
3. Numbers are next! I cut vinyl numbers on my Silhouette, and used the negative space as a stencil. I applied them every 4 inches where my hooks would go, then used black craft paint to paint them on. Add your numbers, paint them on, and let dry completely.
4. The power sander is what’s really going to pull it all together. Go along the edges and front until you get your desired look. Use a paper towel to wipe off all the excess dust.
5. Add your hooks! They’ll come with hardware, so you can use that, or anything you have on hand or prefer to use. You can also use antiqued nails, or even knobs would be darling. Whatever you like!
That’s it!


Super, super cute! Thanks so much for sharing…especially during this busy time of year! :o)
You are so welcome!! Glad you like it. :) xoxo
I LOVE this! It is perfect for our house. I have a very small stone mantle and it really doesn’t work to hang stockings from. I can’t wait to make this to hang on the wall. So cute!
Which font did you use for the numbers?
It’s an Adobe font (I have a Mac), called Adobe Ming Sun. I’m pretty sure Windows has a similar font.
Thanks! I also use a Mac and have a silhouette. However I’m new to it and have a hard time figuring out which fonts will cut well. This board is perfect!
You are so welcome! If you ever have a question about a font and cutting it out on the Silhouette, feel free to ask–I’ve used a lot, and learned my lesson on a few. :)
This is so adorable I can hardly stand it!
Where did you get the super cute stockings?
Target!!
Love this idea! Just wondering what you used to hang this up?
Thanks, Ashley! We just used curved picture hangers–you can get them at Home Depot, etc. I only hang empty stockings on it, so I don’t worry about weight at all. When Santa fills stockings, he leaves them by the tree. :) If you were going to hang filled stockings, I would use anchors, and put them in studs. xoxo