DIY Photo Mug
This post was sponsored by Adobe Photoshop Elements. All opinions are 100% mine.
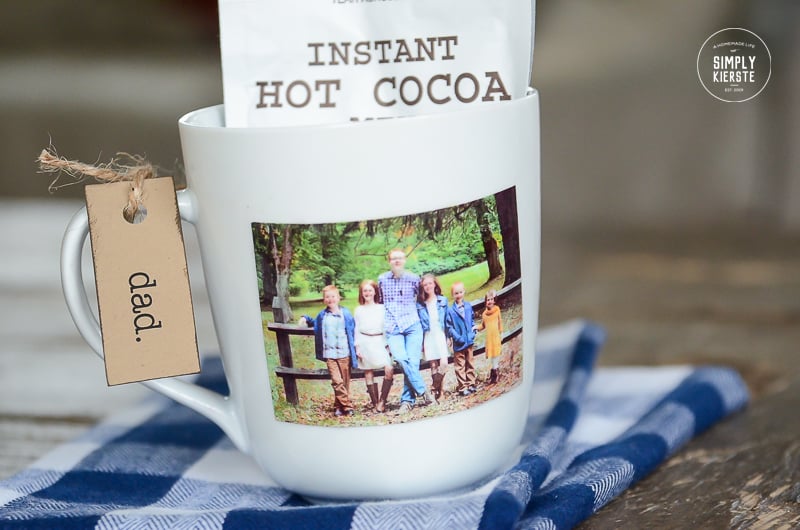
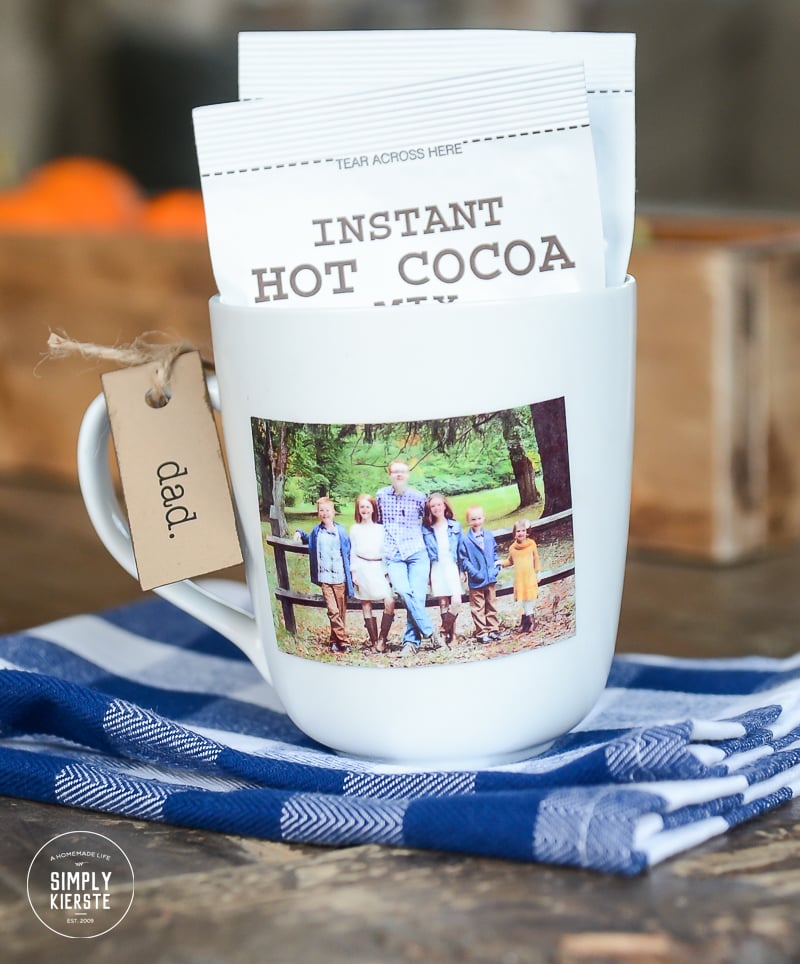
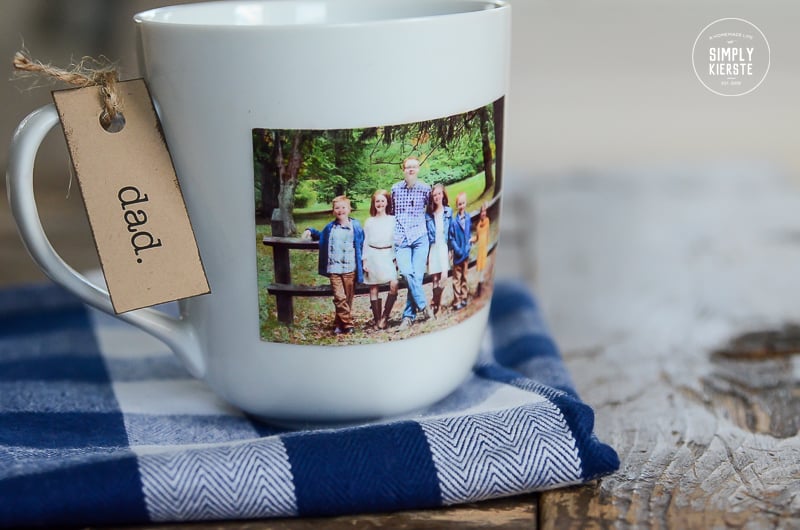
My husband loves hot chocolate, and drinks it nearly every day when he’s at work. The other day he mentioned wanting a mug for his office, and not too much later, asked me for new photos of the kids. The lightbulb went off, and I decided to combine the two for the most perfect gift…a Photo Mug!

Did you know Mod Podge makes a dishwasher safe version? It’s true! I was thrilled to learn about it, because it really opens up so many more possibilities, including this adorable DIY Photo Mug. It’s super easy to do, and makes such a fun gift. With the holidays coming up, think of all the people you could make one for!
I started out by editing the image I was going to use in Adobe Photoshop Elements 15, which is my favorite editing software. There are simply so many ways to make my photos better, and they make it easy. Super easy. And they think of everything! Let me show you just a few of the things I love…
I opened my photo (File>Open)…
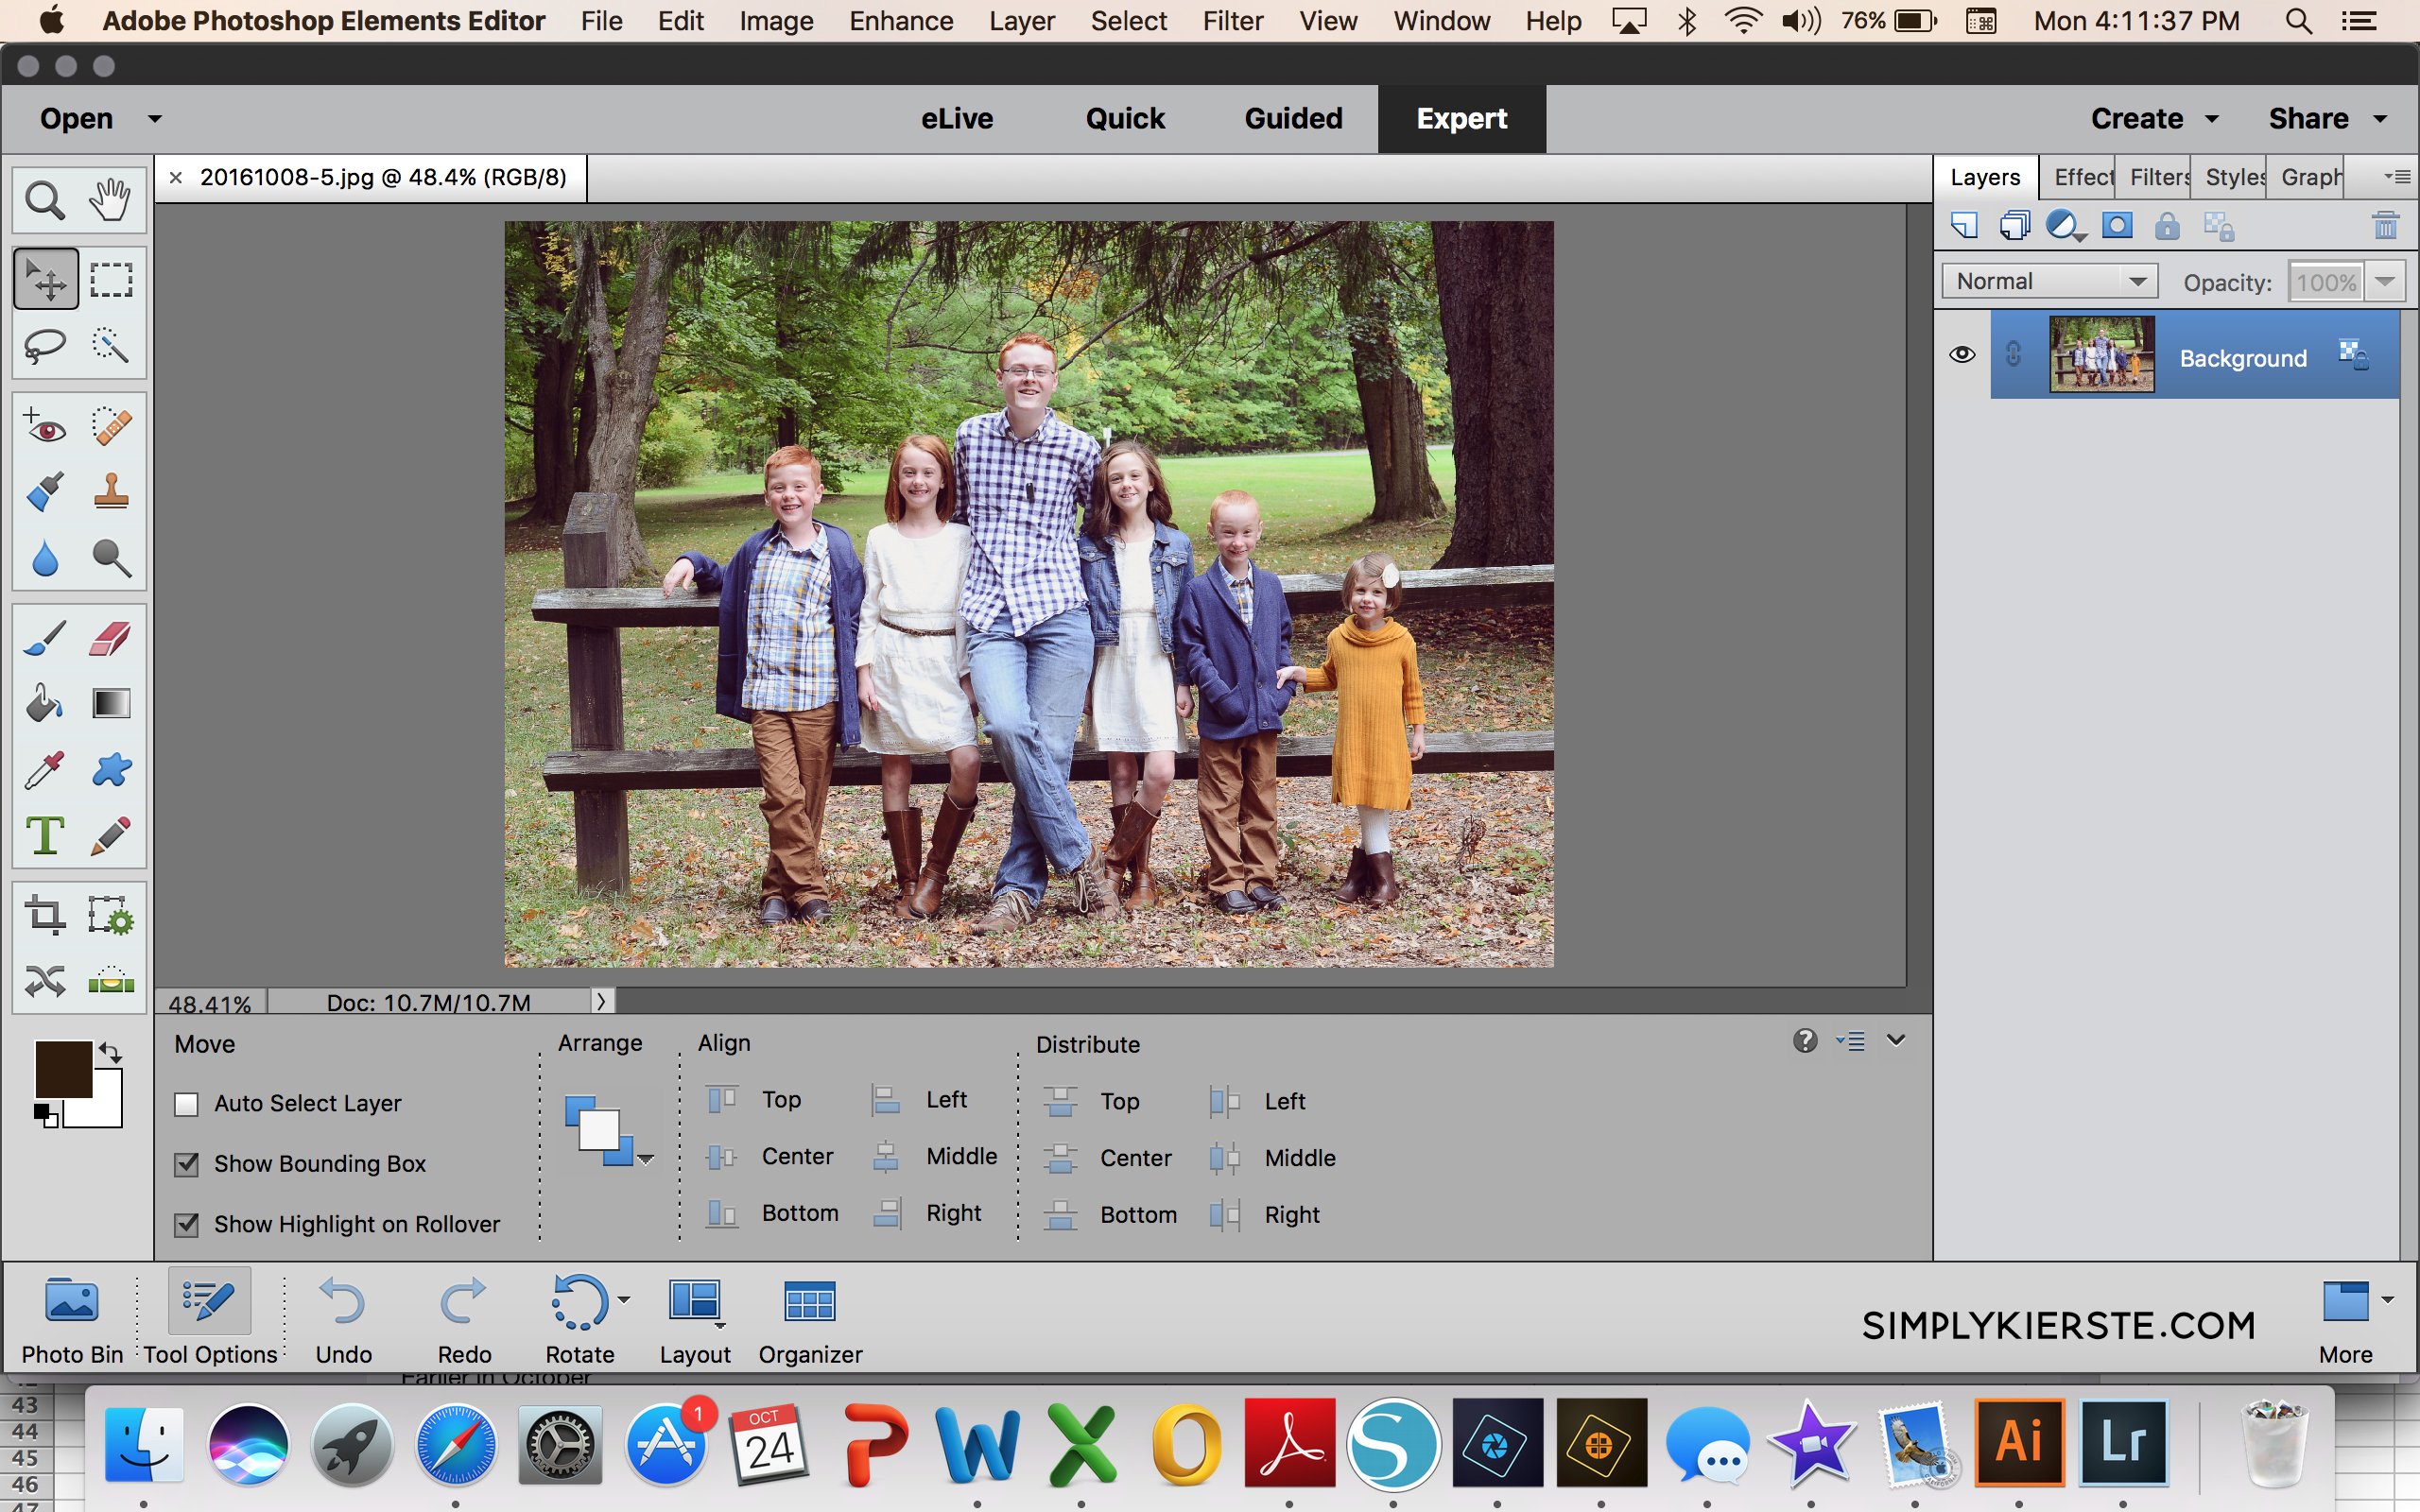
then clicked on the Quick tab at the top of the screen. When you want just a quick edit, this is the place to go! Right at your fingertips you have the ability to quickly change the exposure, lighting, color, and sharpness of the photo.

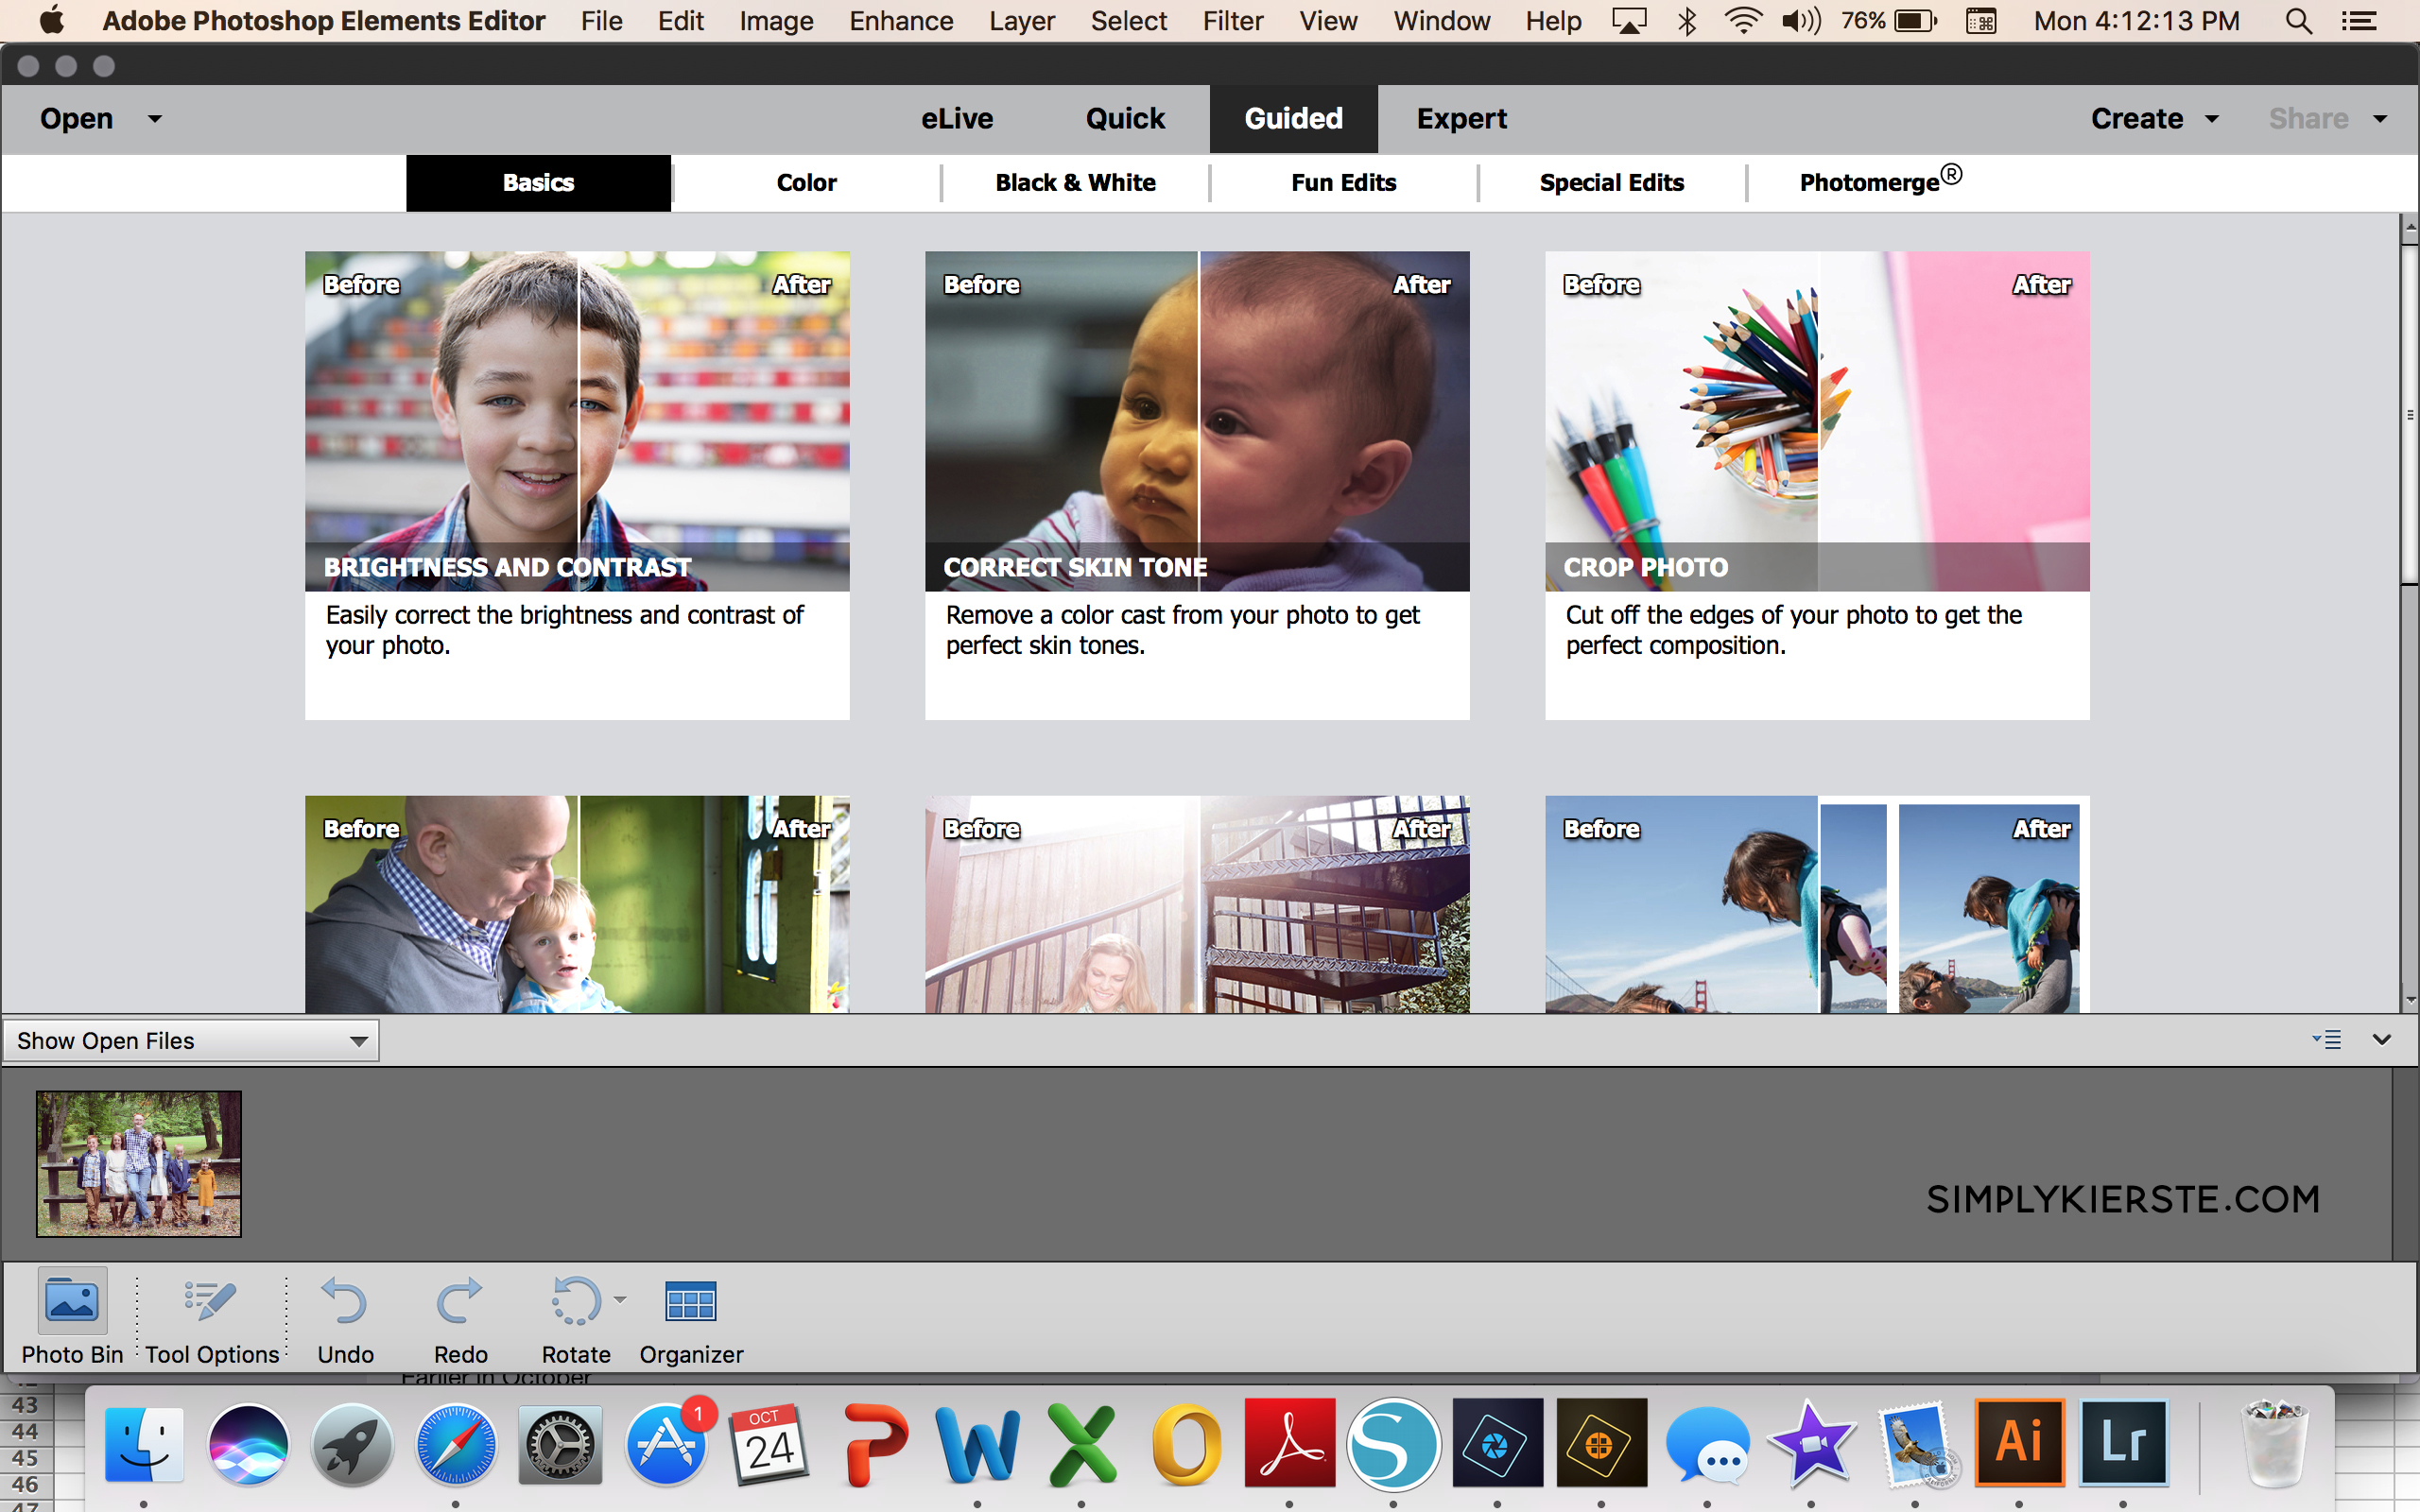
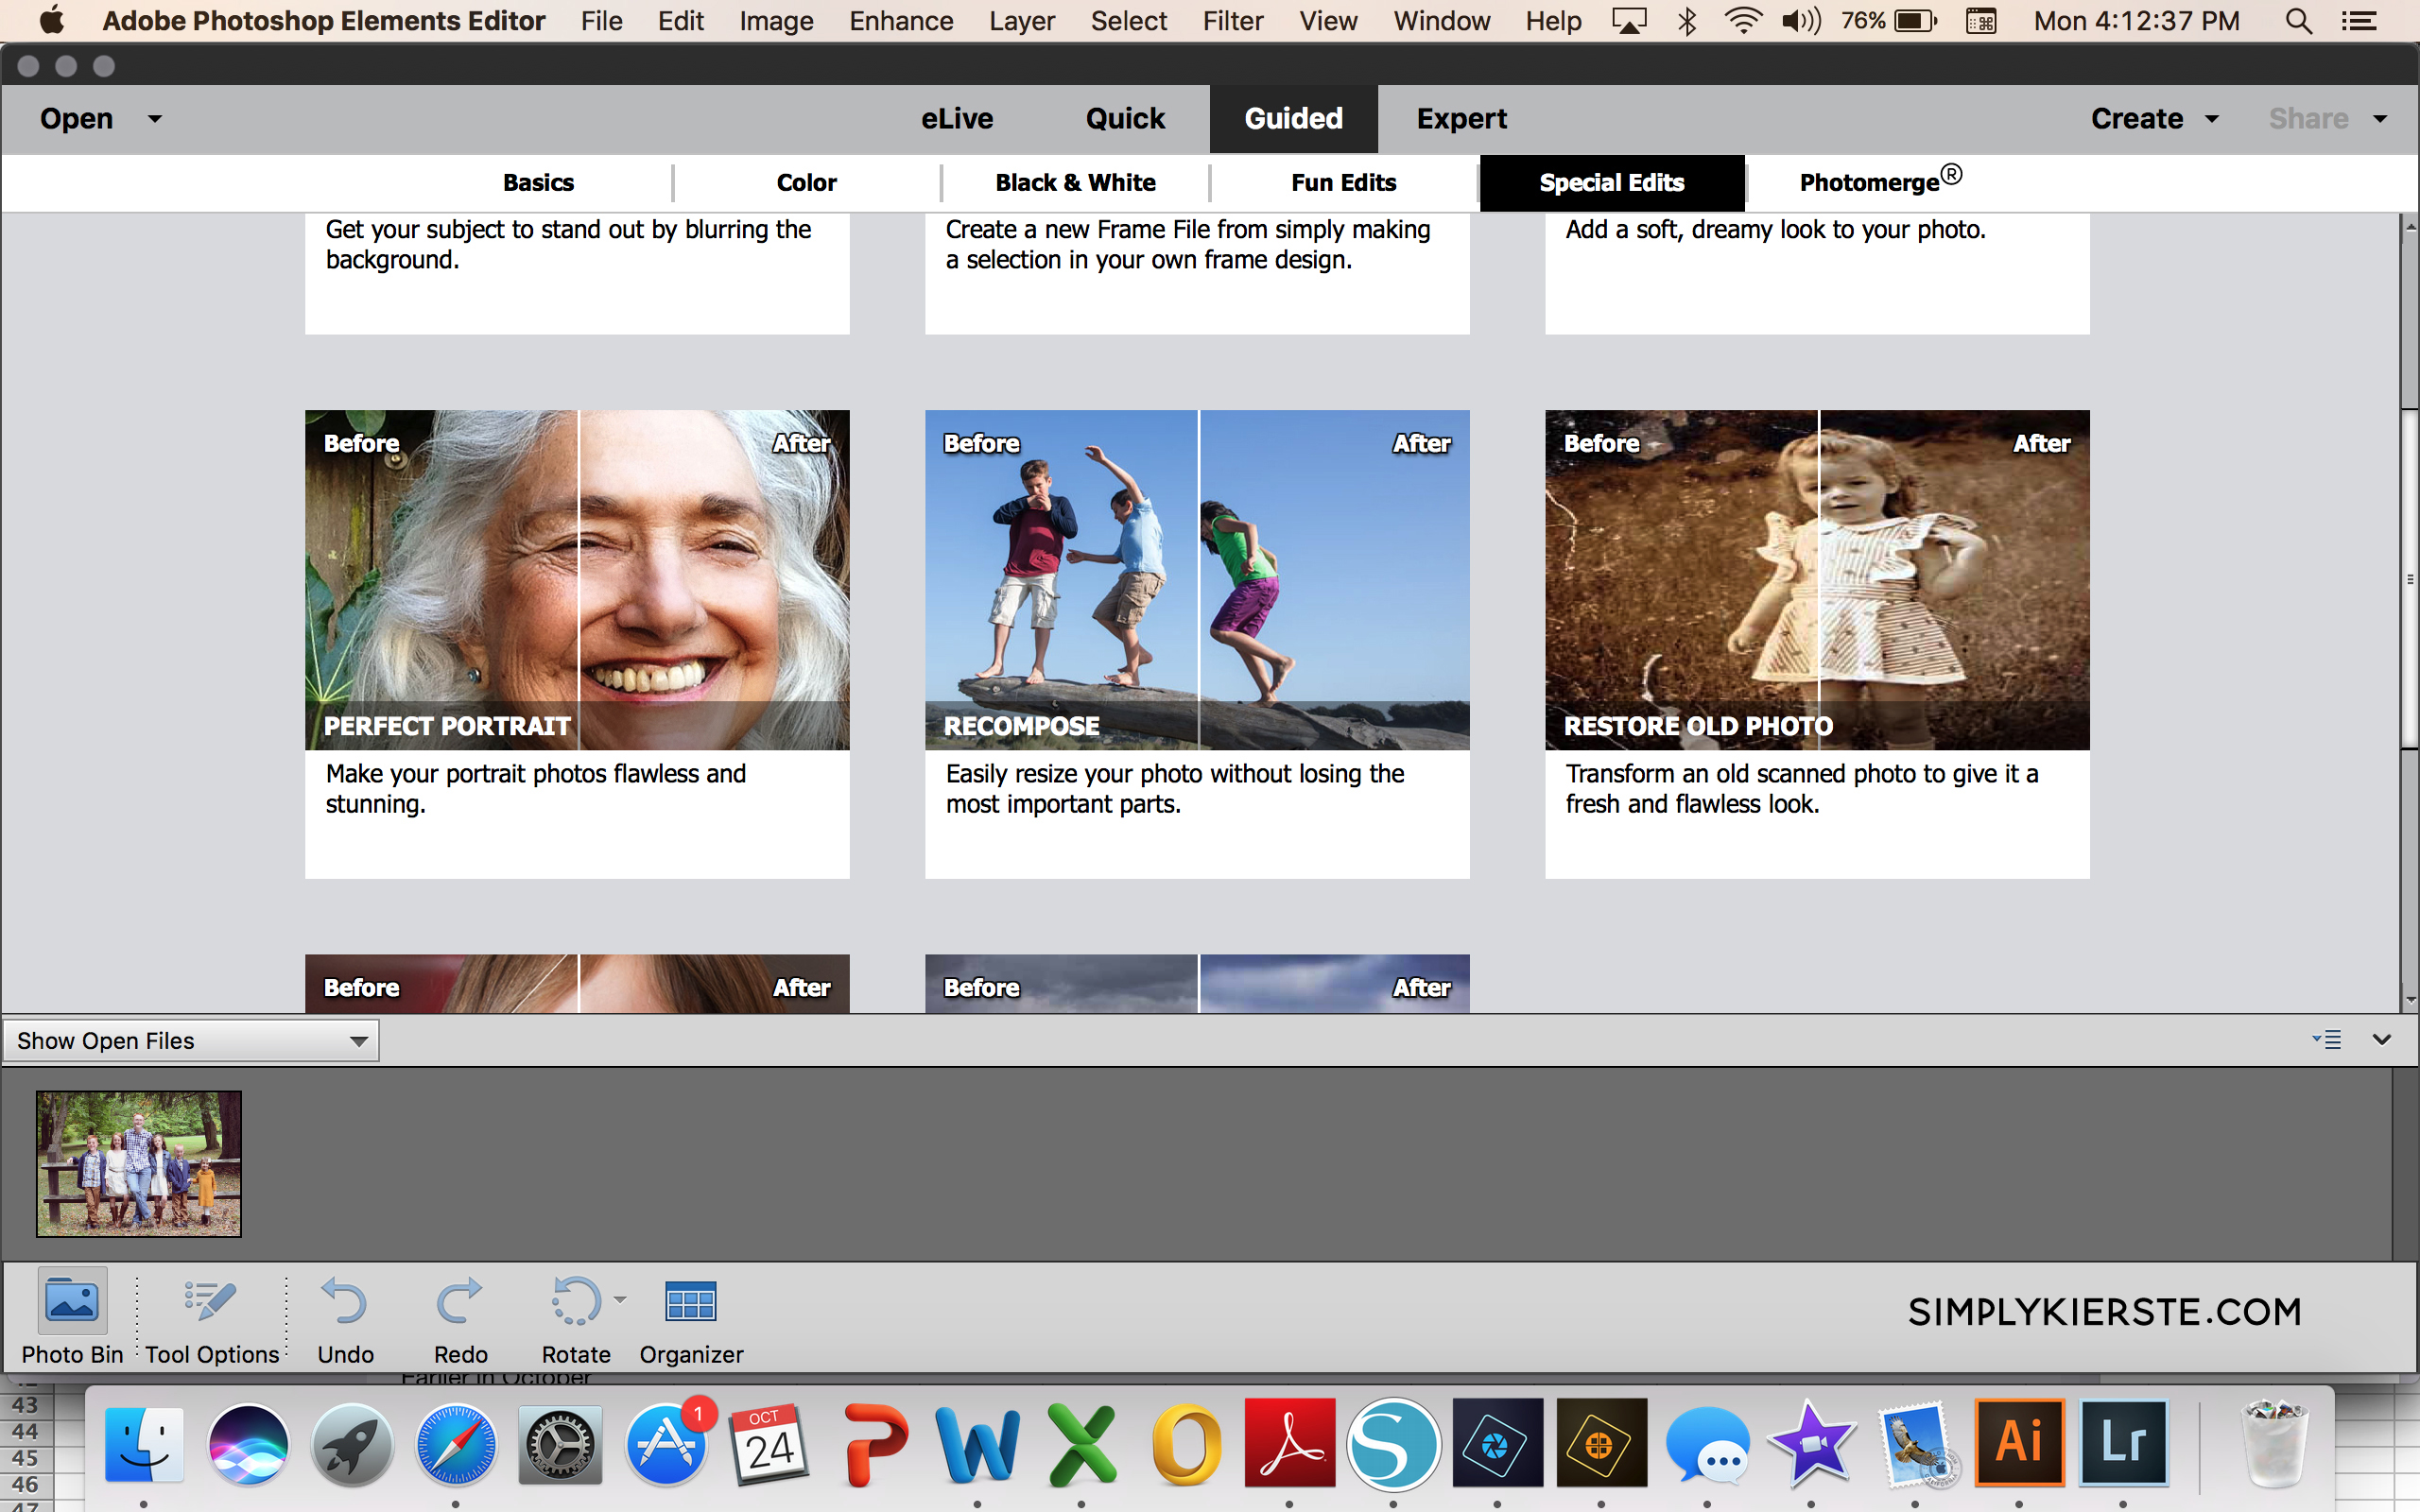
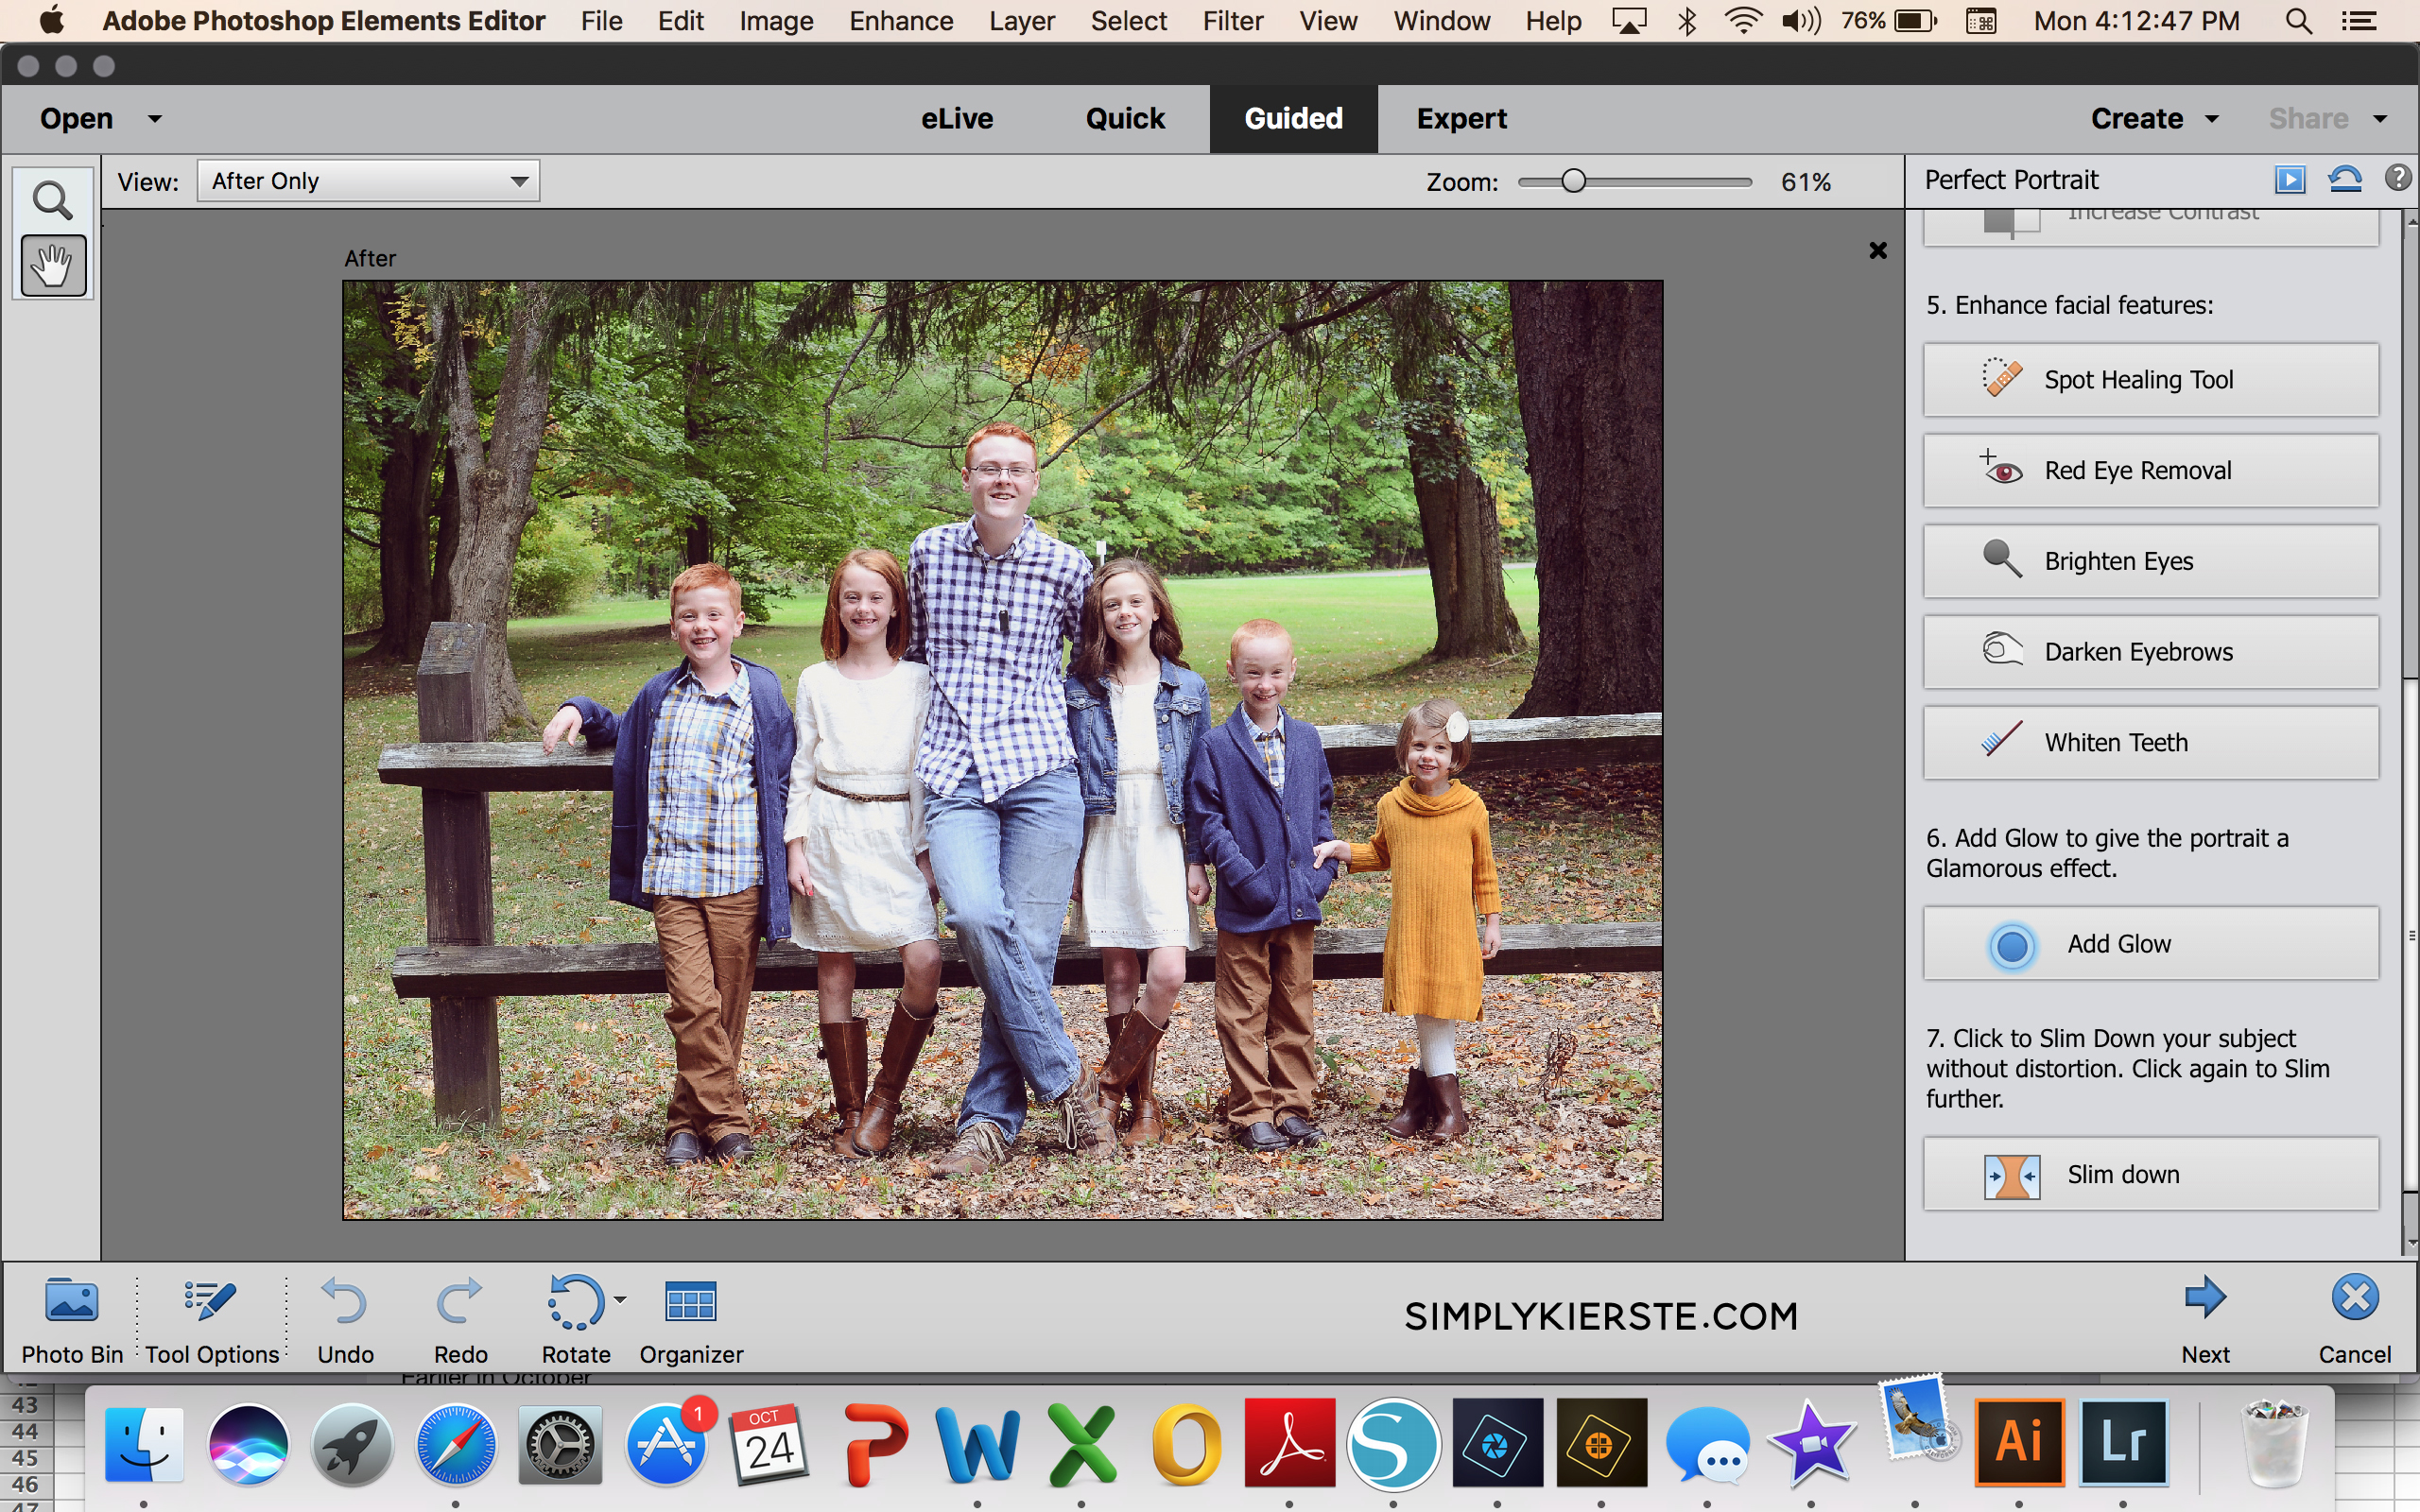
Some of my favorite new features of Photoshop Elements 15 are in the Guided section, the next tab over. There are SO many options and possibilities that not only help edit your photo, but also create fun edits and projects as well. One of my favorites is under the “Special Edits” section, called “Perfect Portrait”, which you can see below.
If you need to remove red eyes or brighten them, whiten teeth or take a few pounds off with the “Slim down” button (yes…you read that right!), this is the place to do it. When it comes to editing a family photo, there is always a tweak or two (or three) that needs to be done, and this just gives it that extra boost.
Have you ever had the perfect photo, minus the fact that one person isn’t smiling? I’m here to spread some super exciting news…you can actually give them a smile with Photoshop Elements 15! It’s true! I just love this feature, because with kids, trying to get them to smile when you want them to is so, so hard. Have you had that happen too? Trying to get a good picture of all of my kids at the same time seems pretty much impossible, but thankfully Photoshop Elements has come to the rescue. This is one of my favorite features, along with the ability to enhance all the other facial features as well.
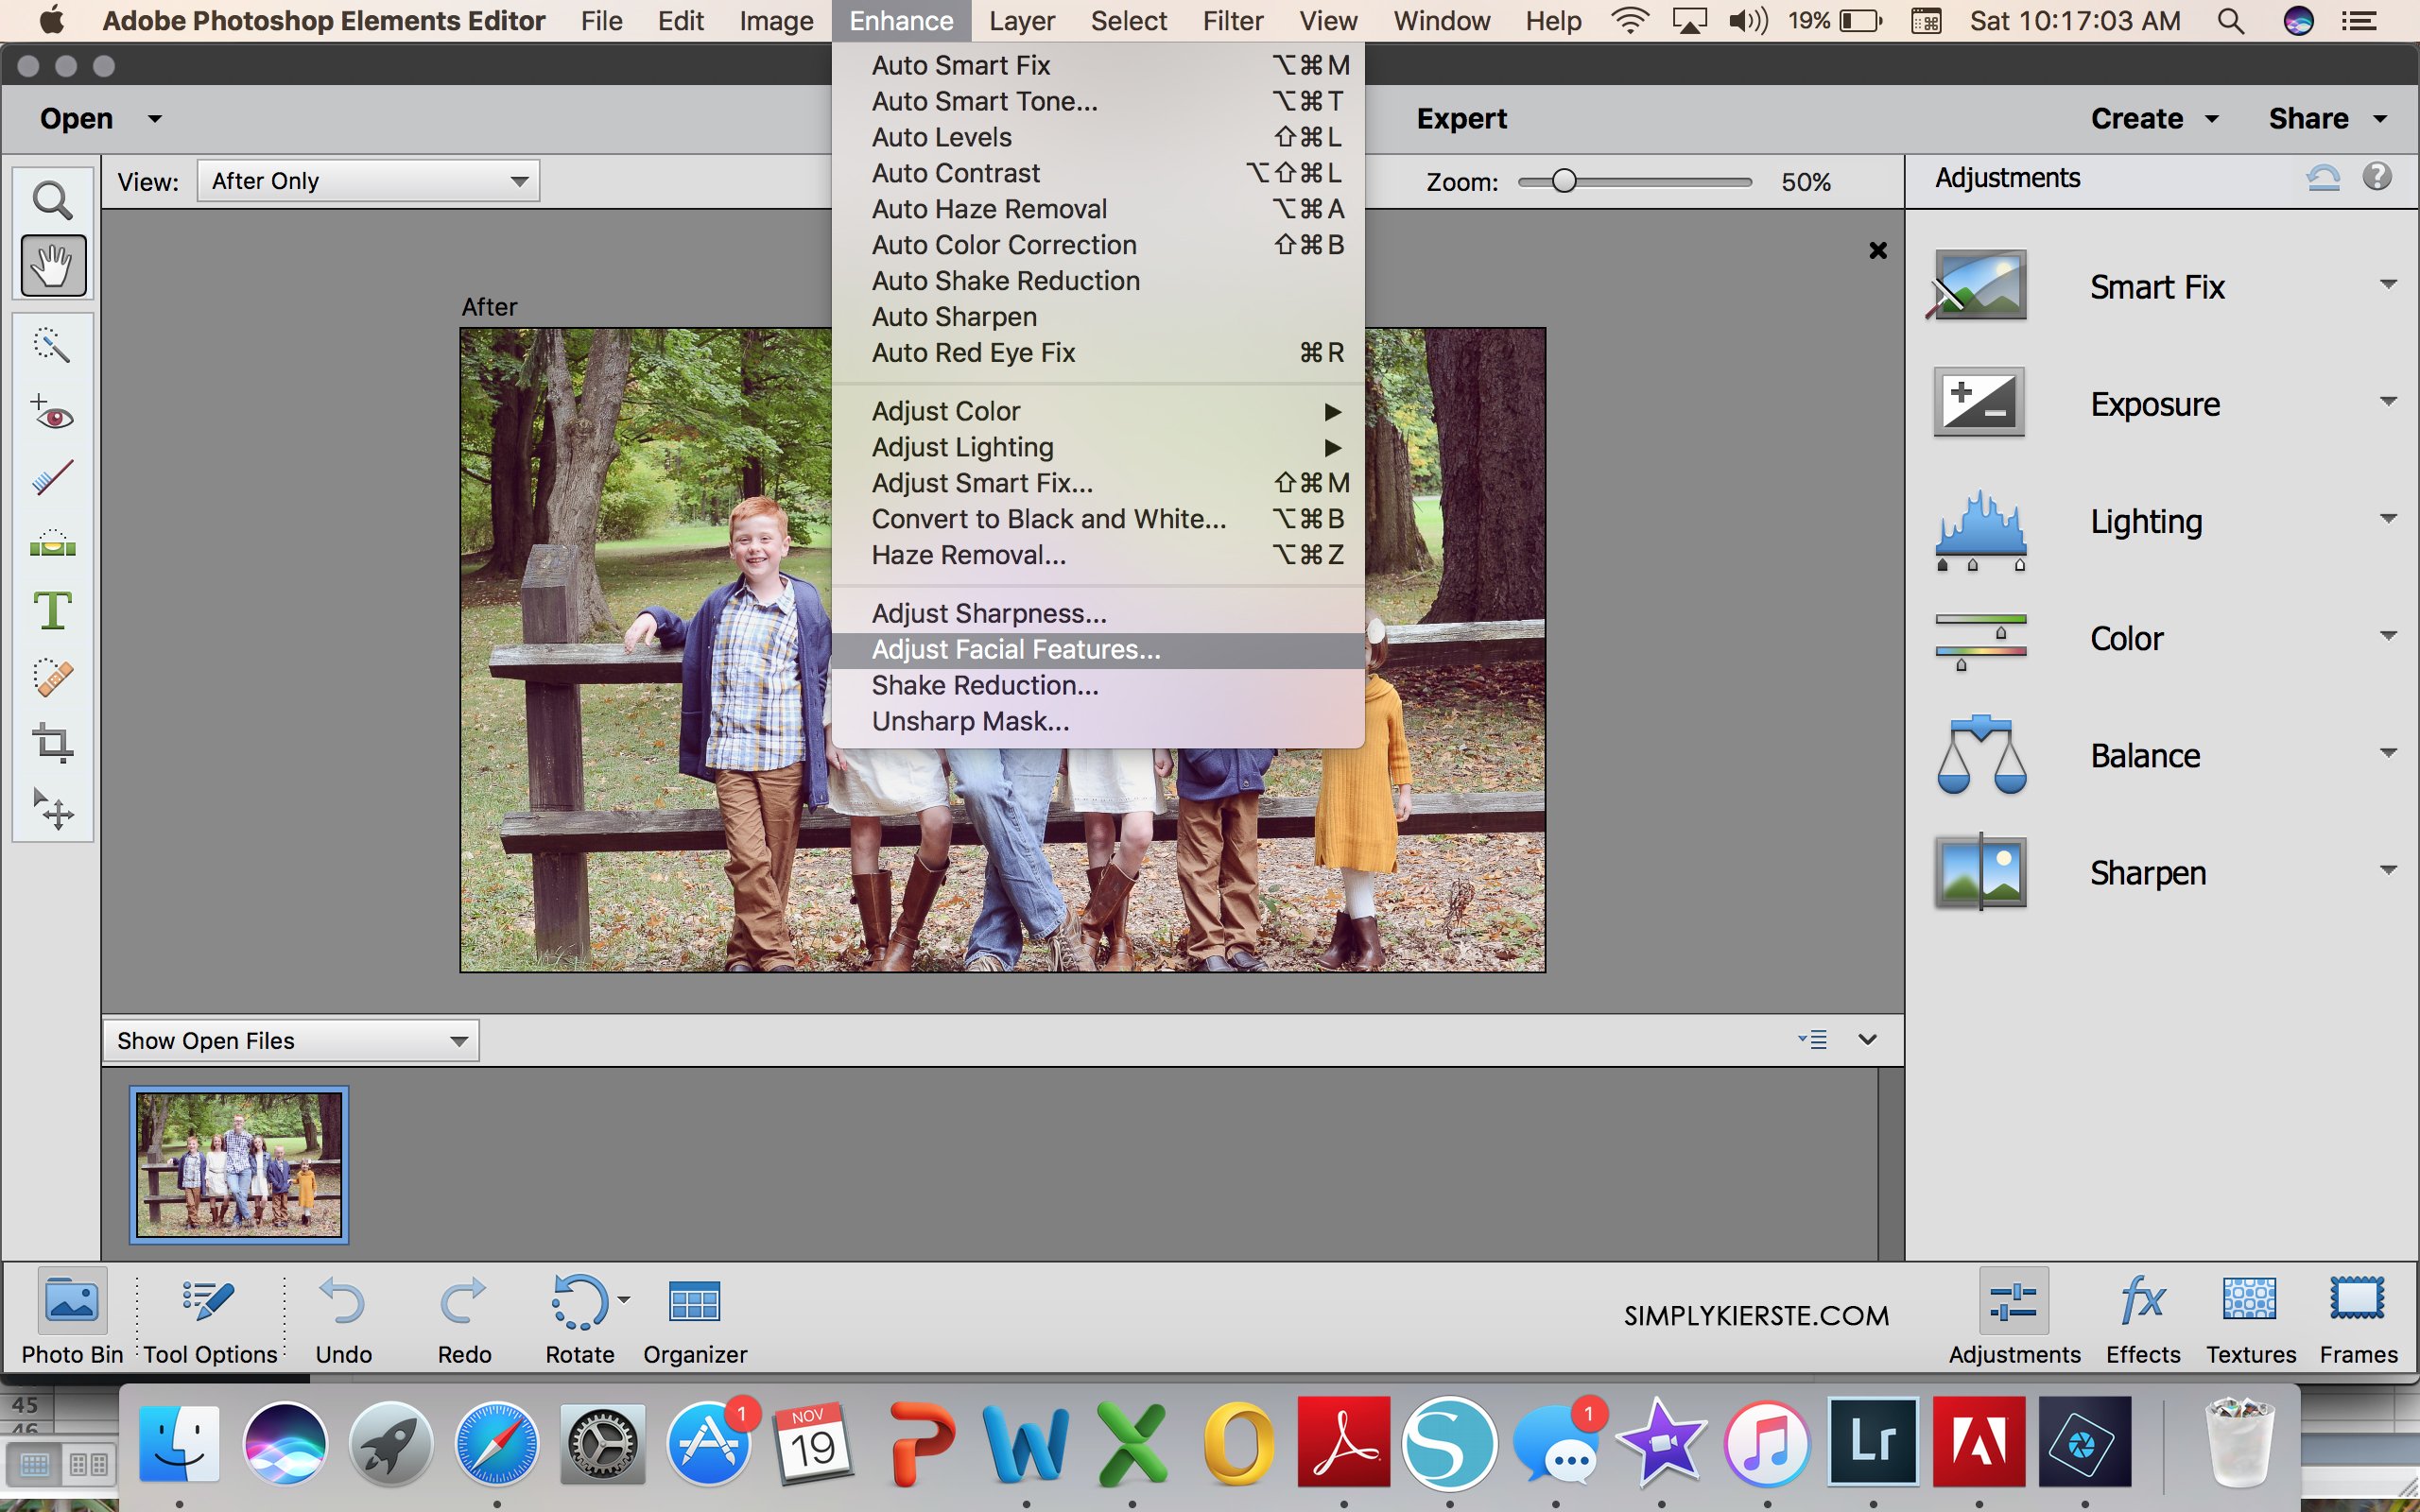
To do this, you need to click on the “Quick” tab at the top of the page, then Enhance > Adjust Facial Features.
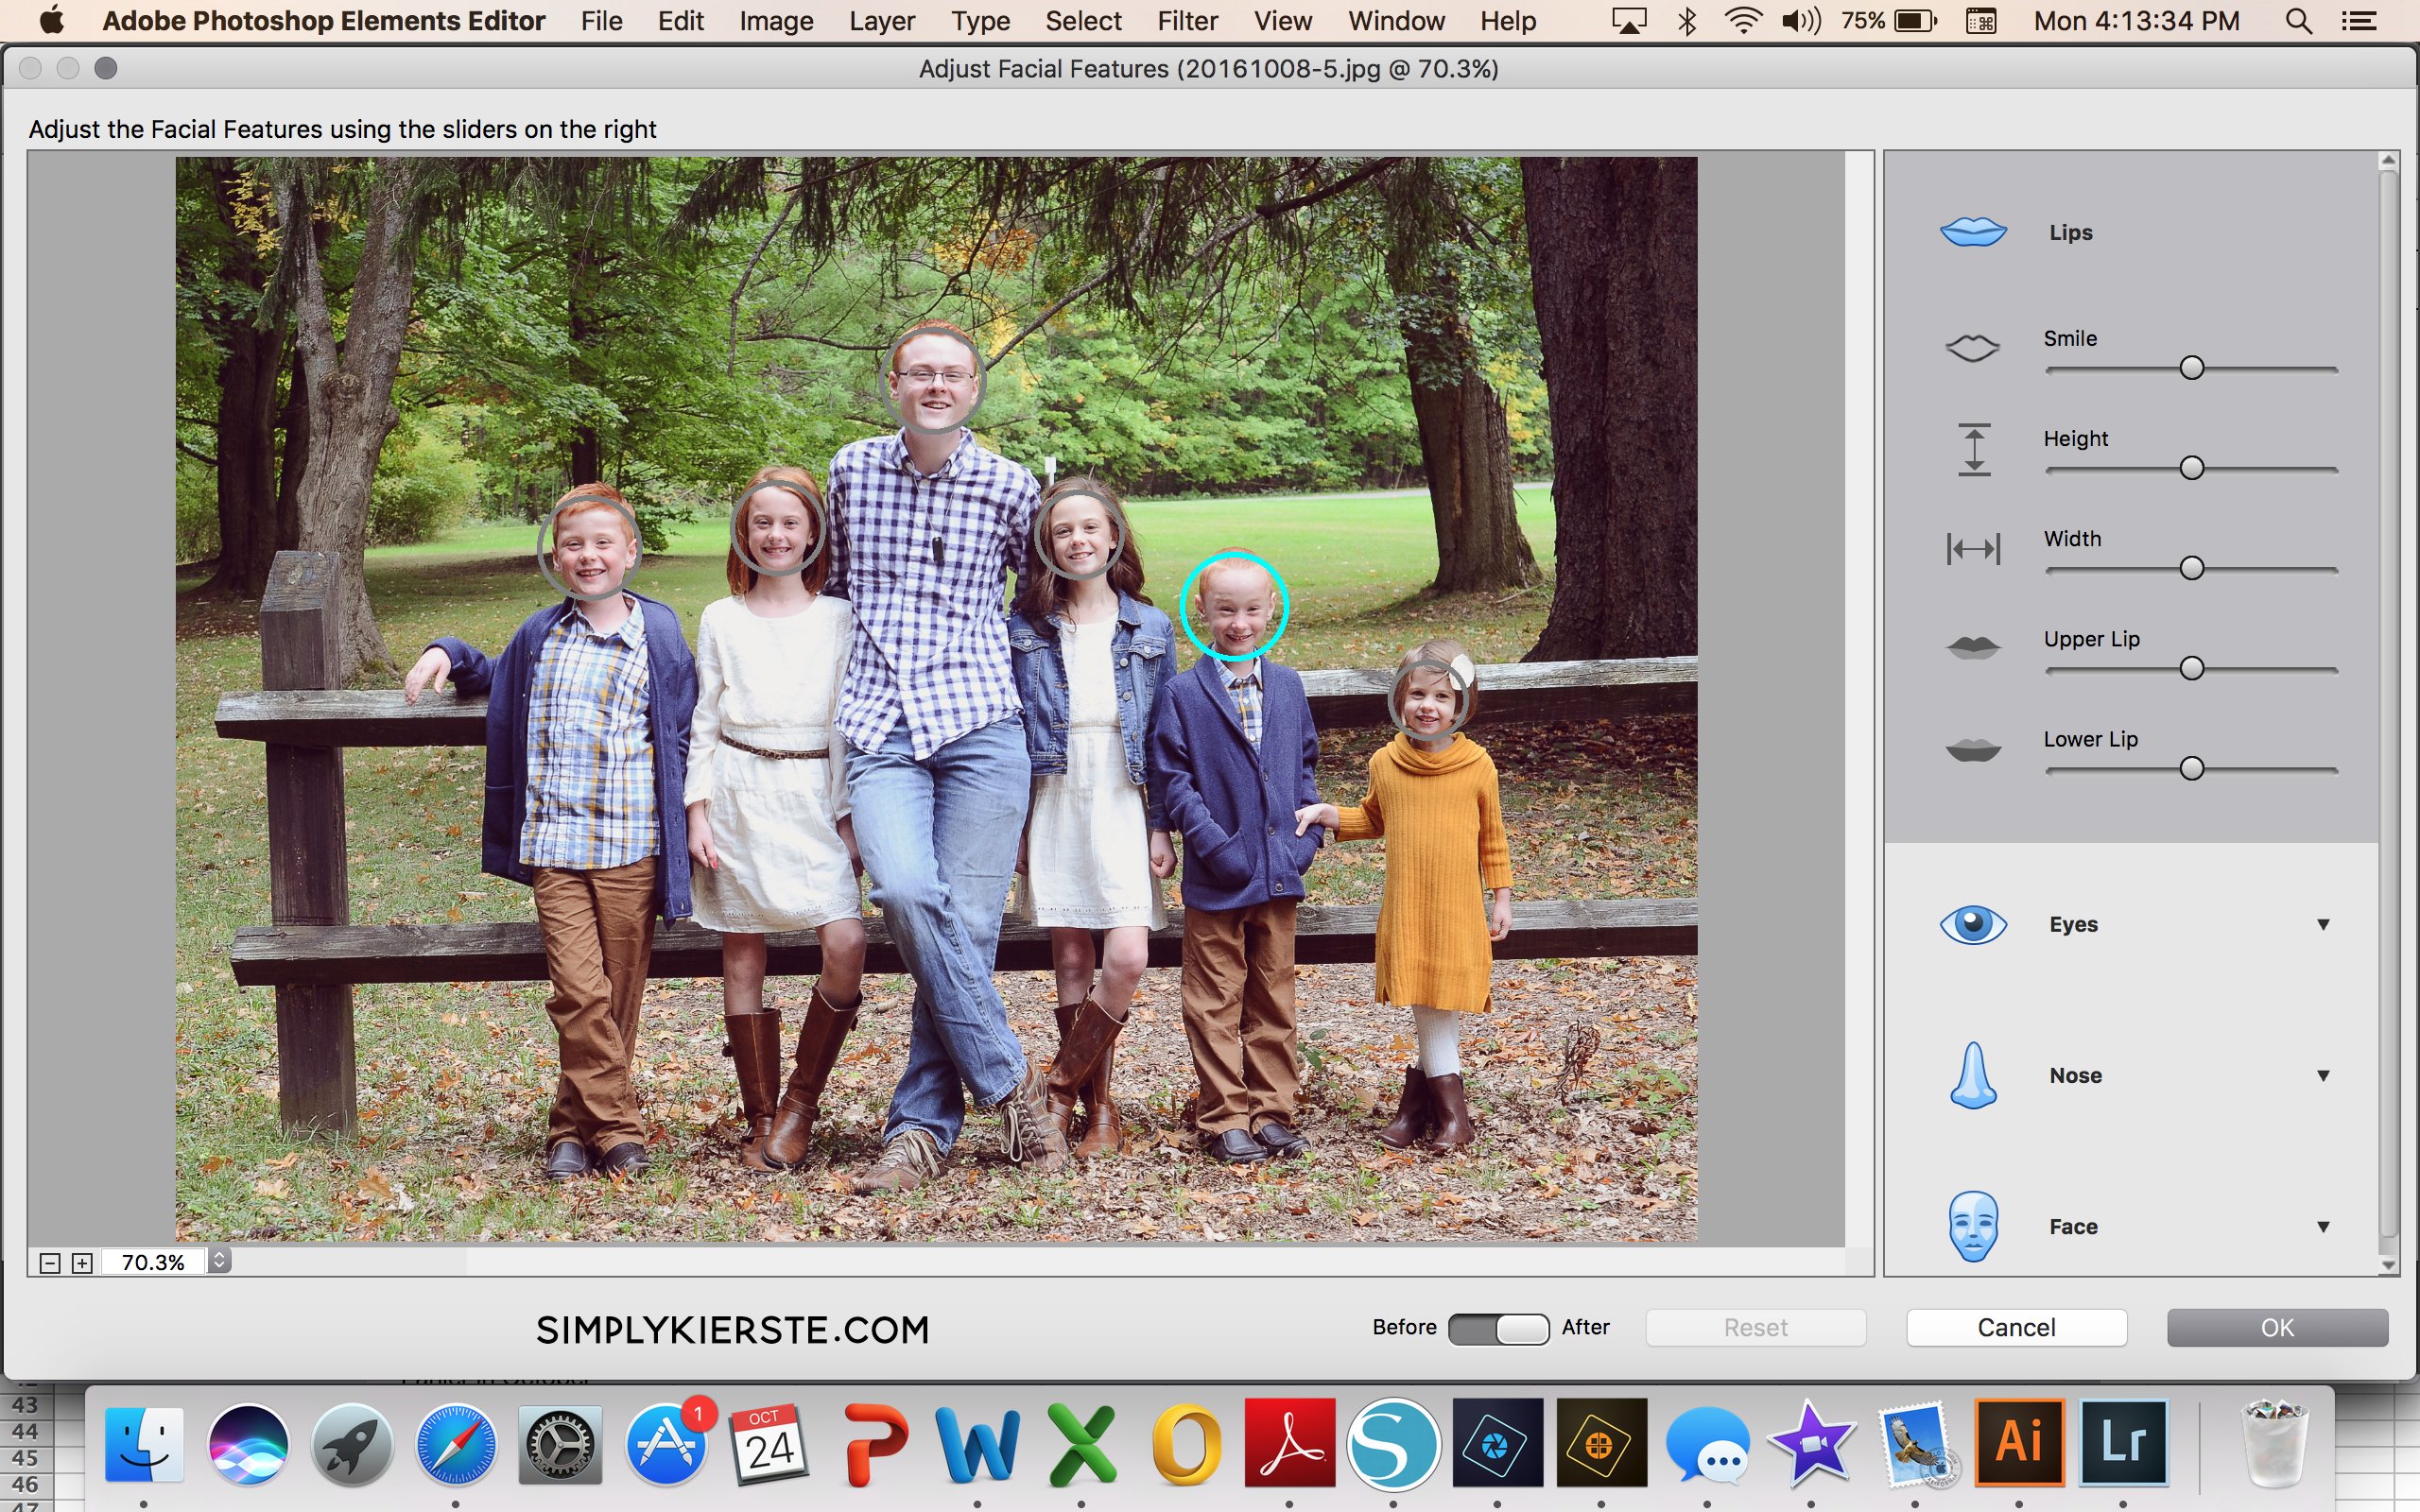
It opens up a menu that gives you choices for Smile, Nose, Eyes, and Lips. In this screenshot, I’ve clicked on Lips, so you can see the different options. If you want to add or reduce a smile, click on the sliding button and move it to one side or the other. You can tweak it as much or as little as you like. A circle will appear around each face–the face you have selected will be the aqua color, and the others are gray. Just click from face to face to make edits. Just the click of a button!
The eyes are also something I like to edit—make them bigger, wider, and even reduce squinting. Here’s the before picture of my darling little boy who was squinting in this picture…
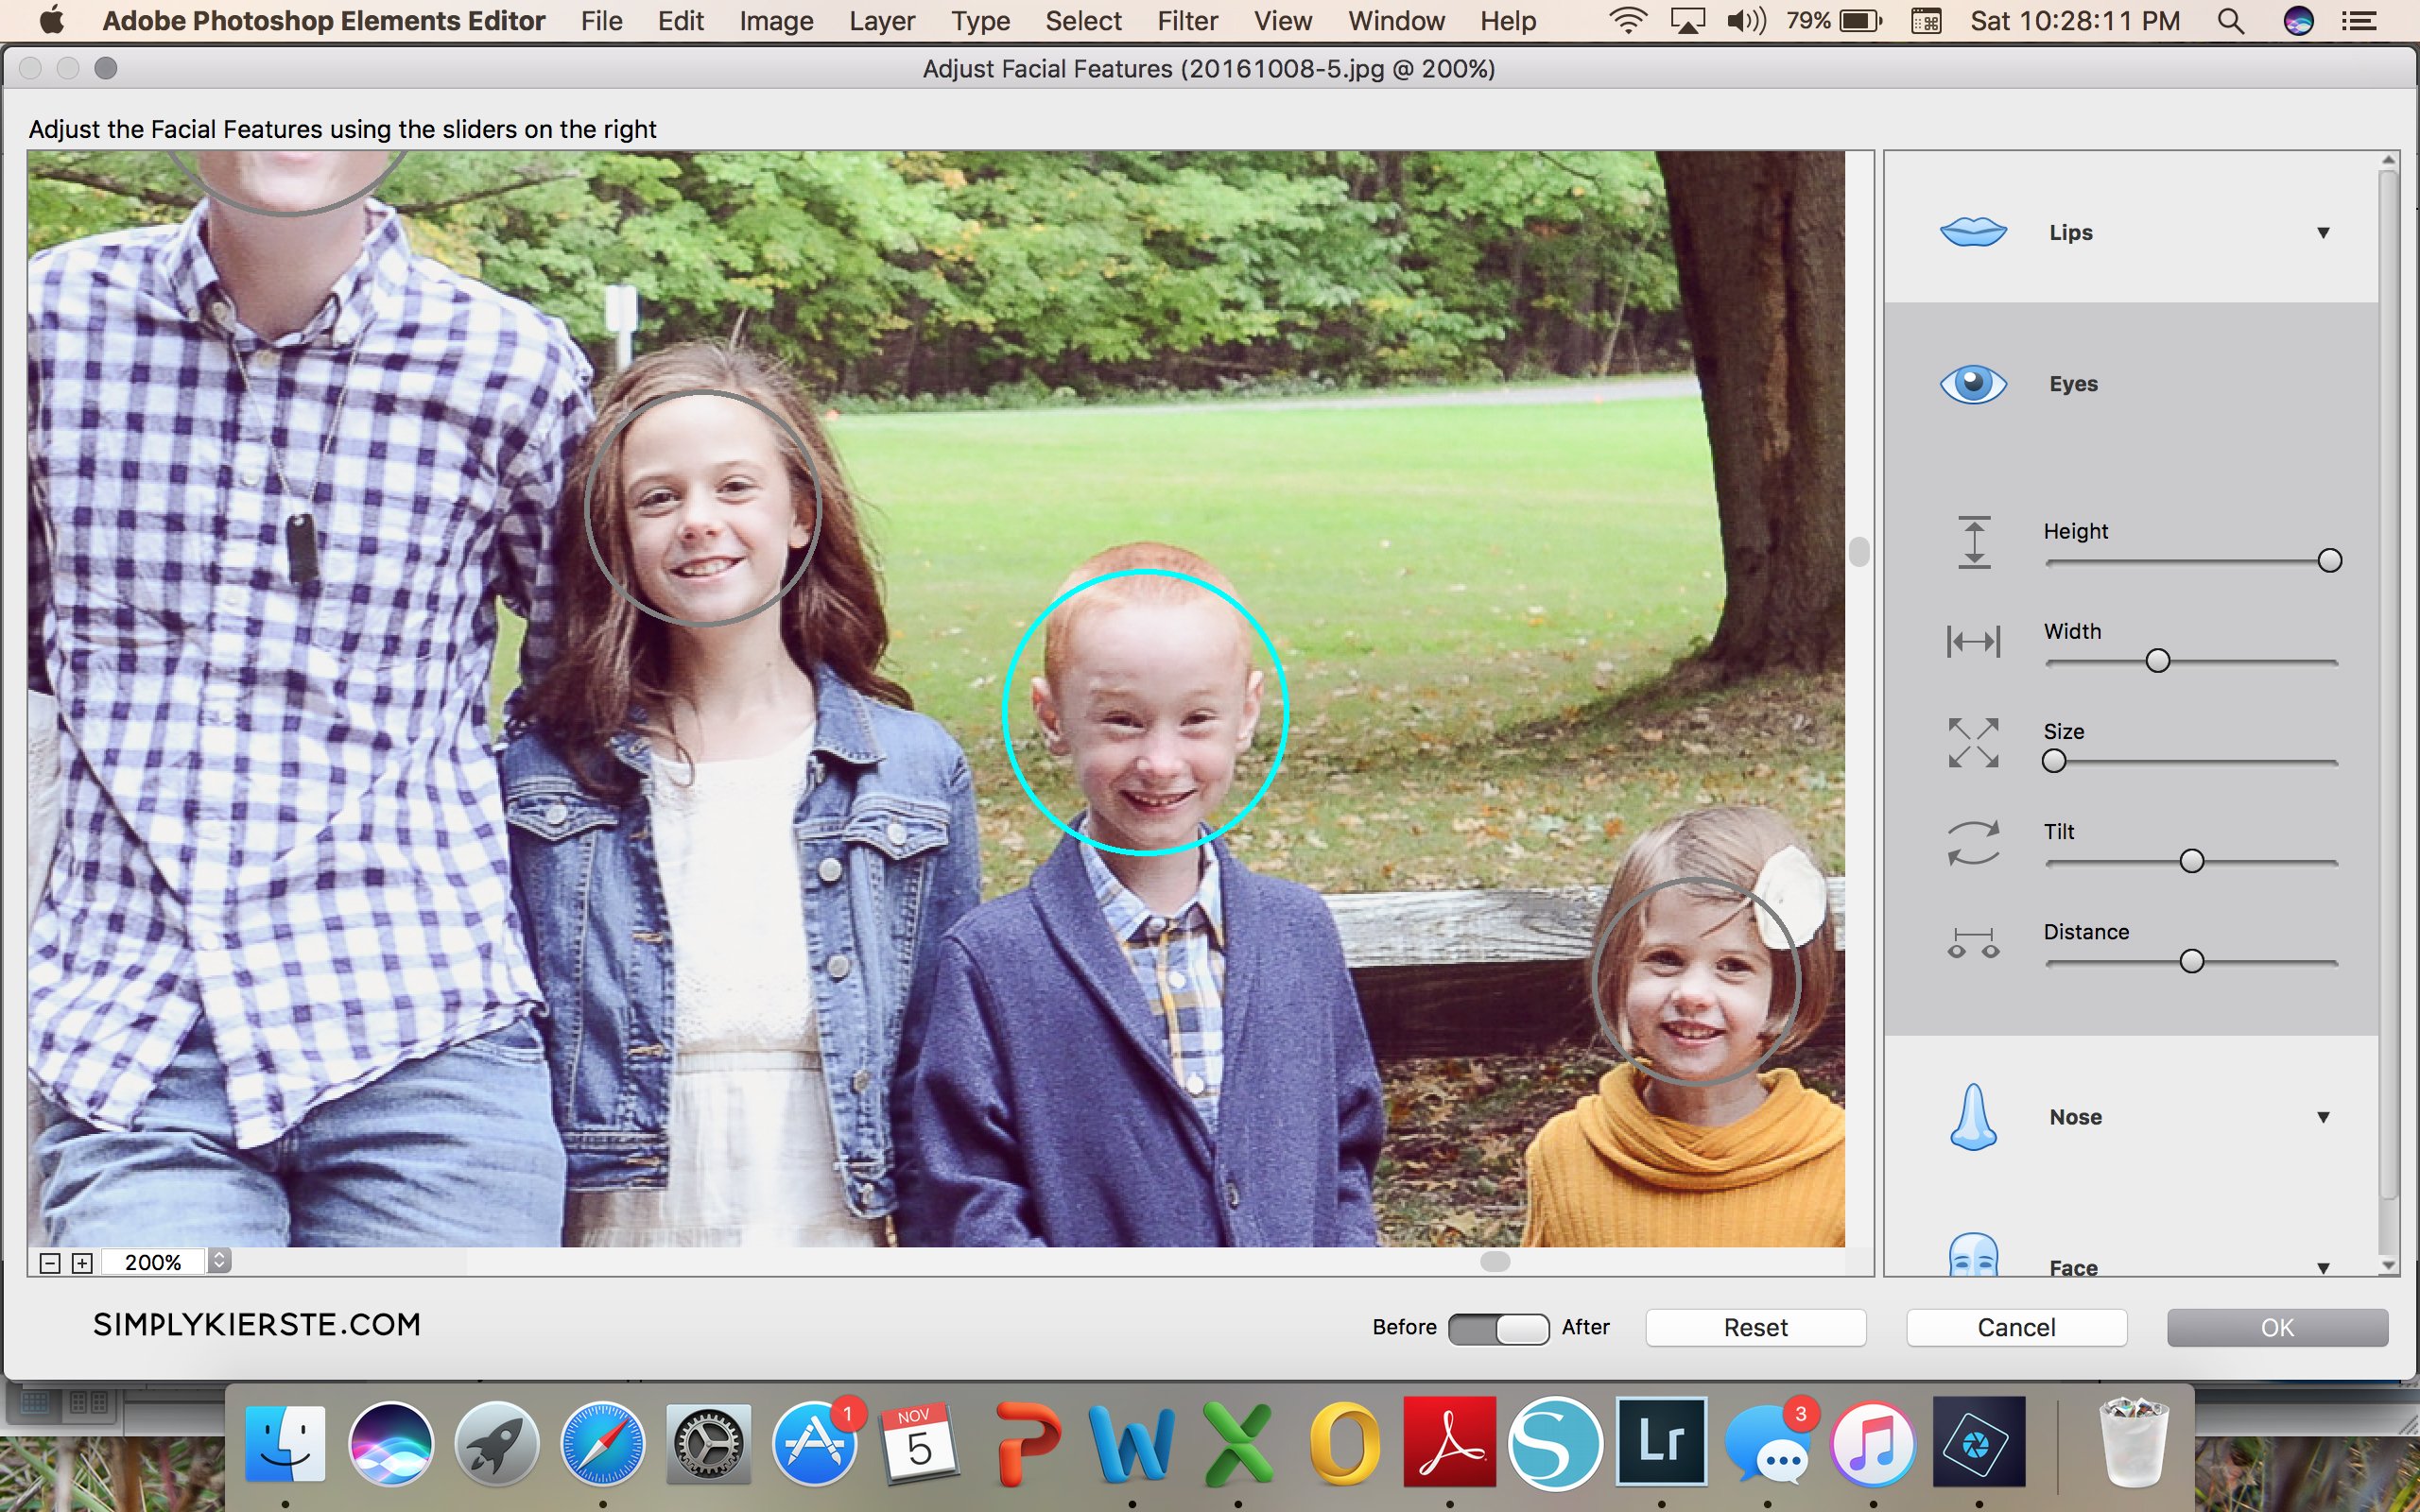
And here’s the after! You can see that I was able to open his eyes a little bit more, which I love. You can see on the sliders to the right of this picture how much I altered it.

Once I made all my photo edits, I was ready to resize it to fit my mug. It’s super easy to do!
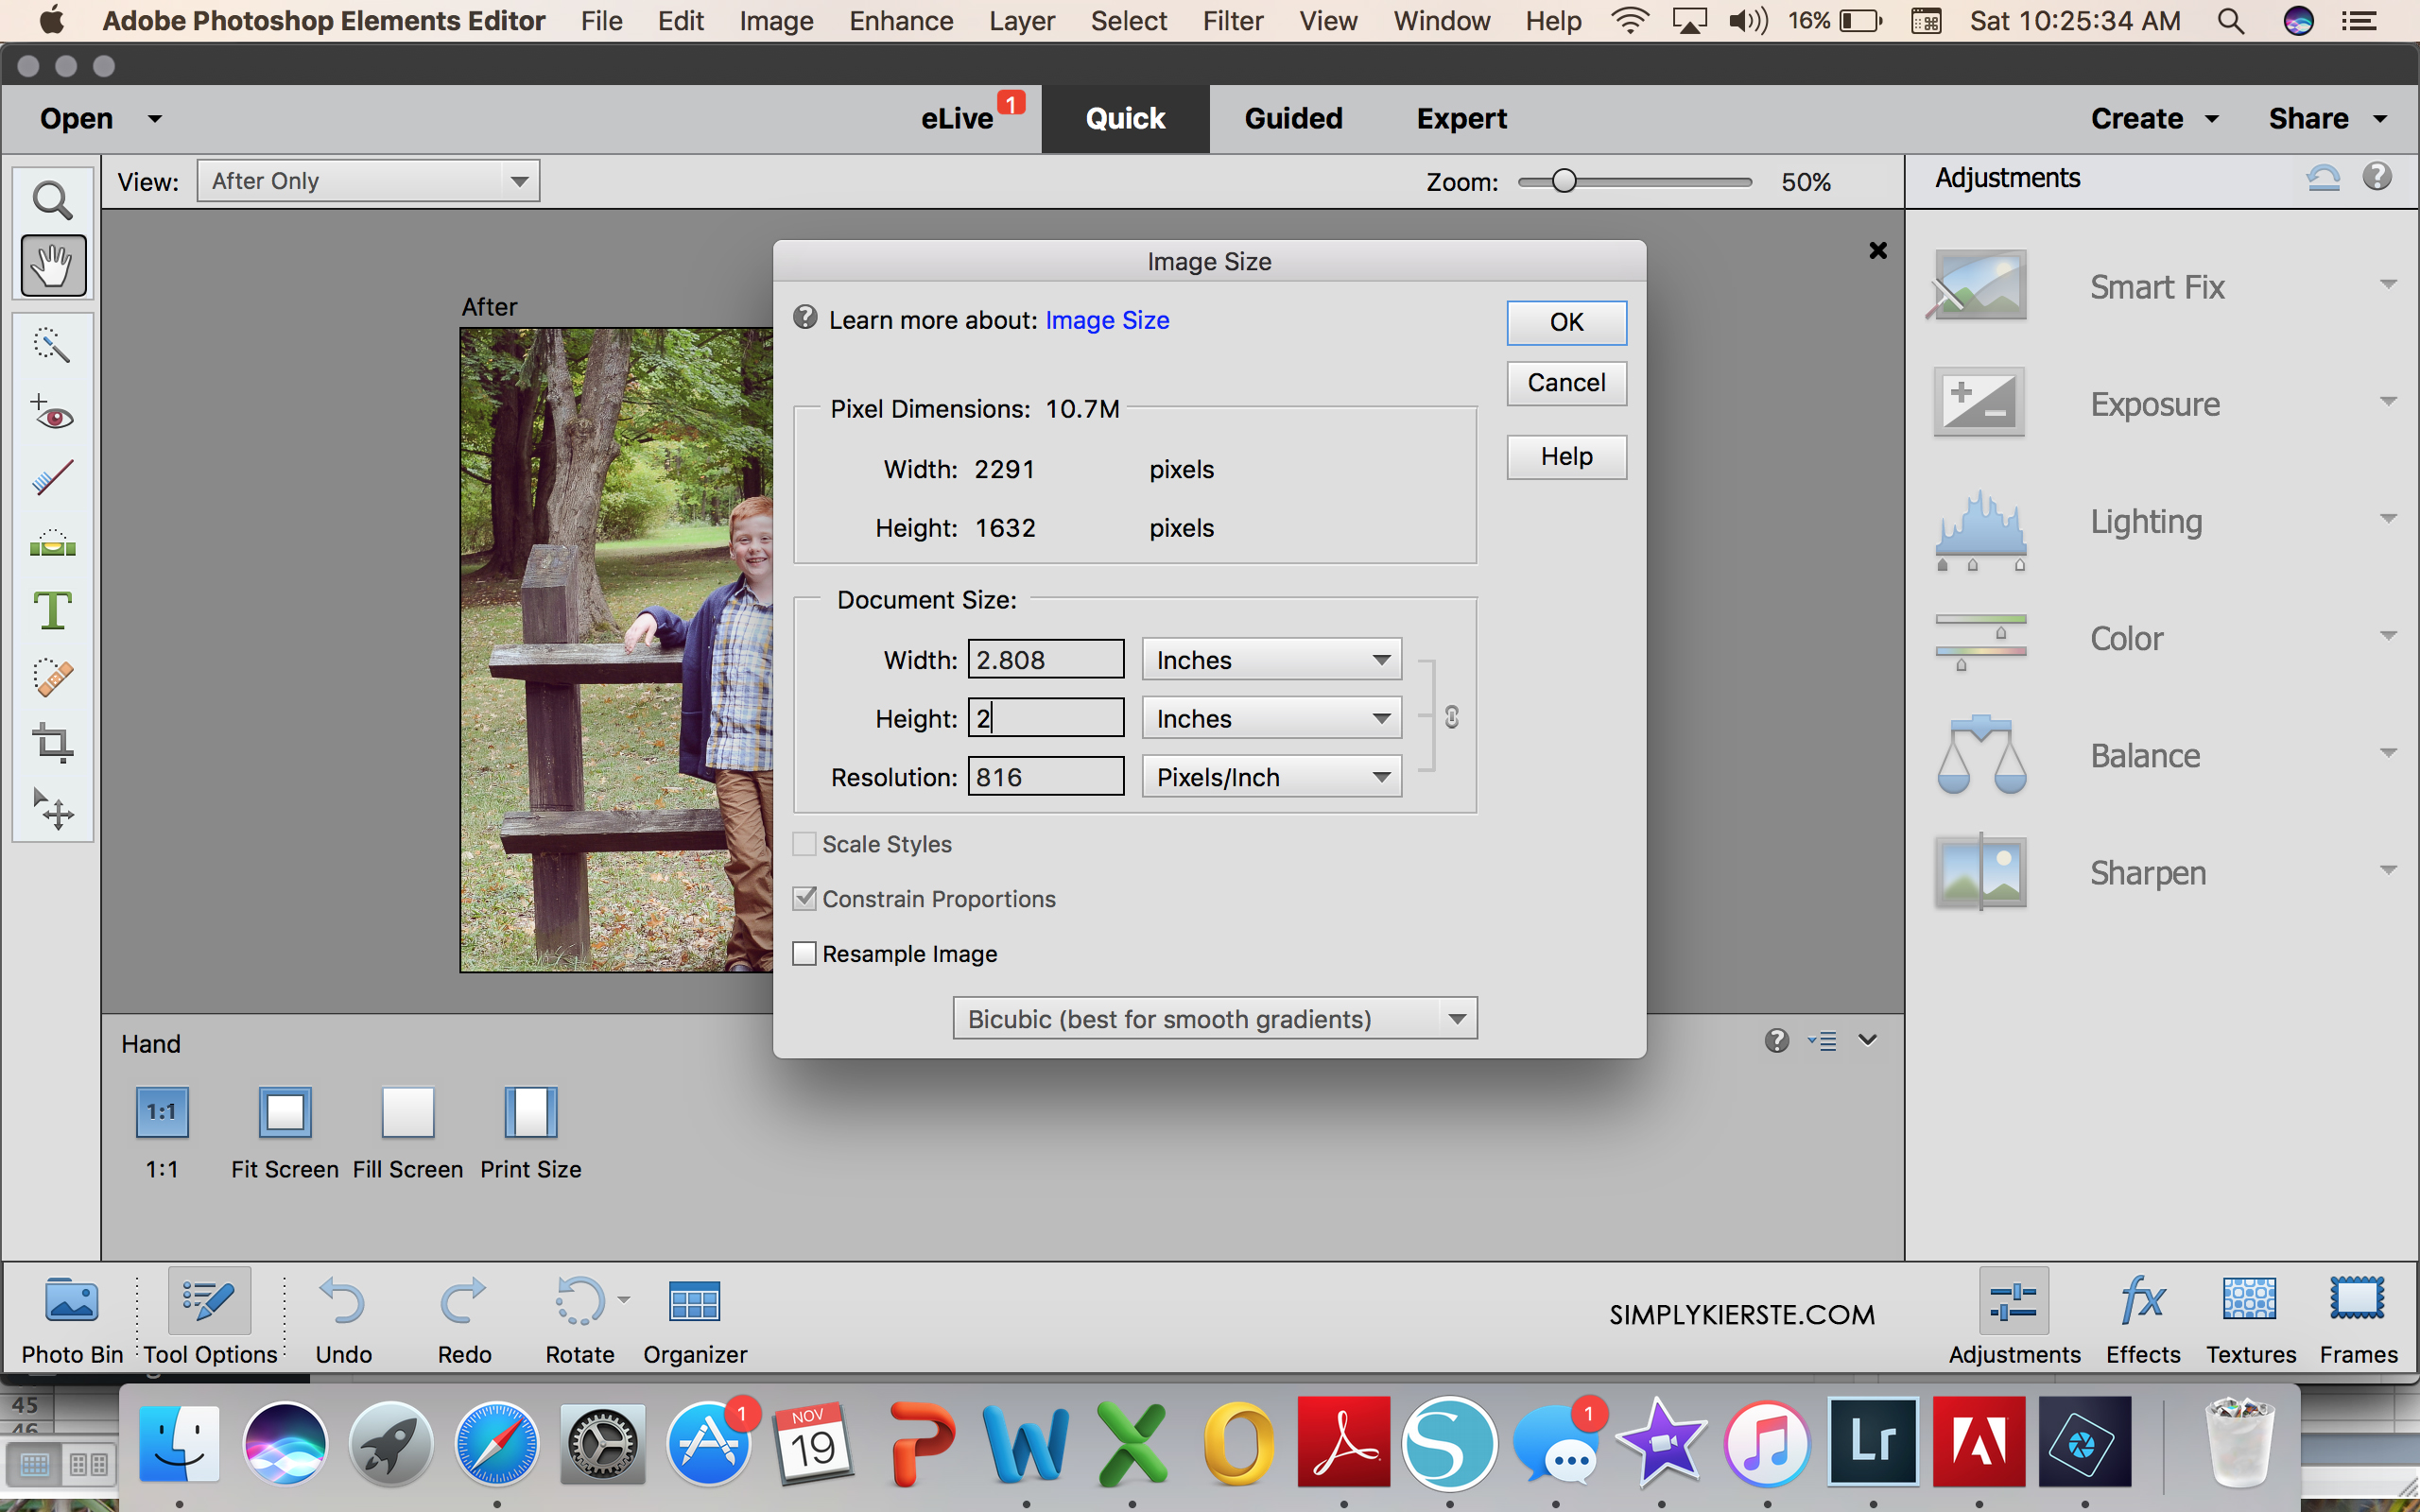
Go to Image > Resize > Image Size.
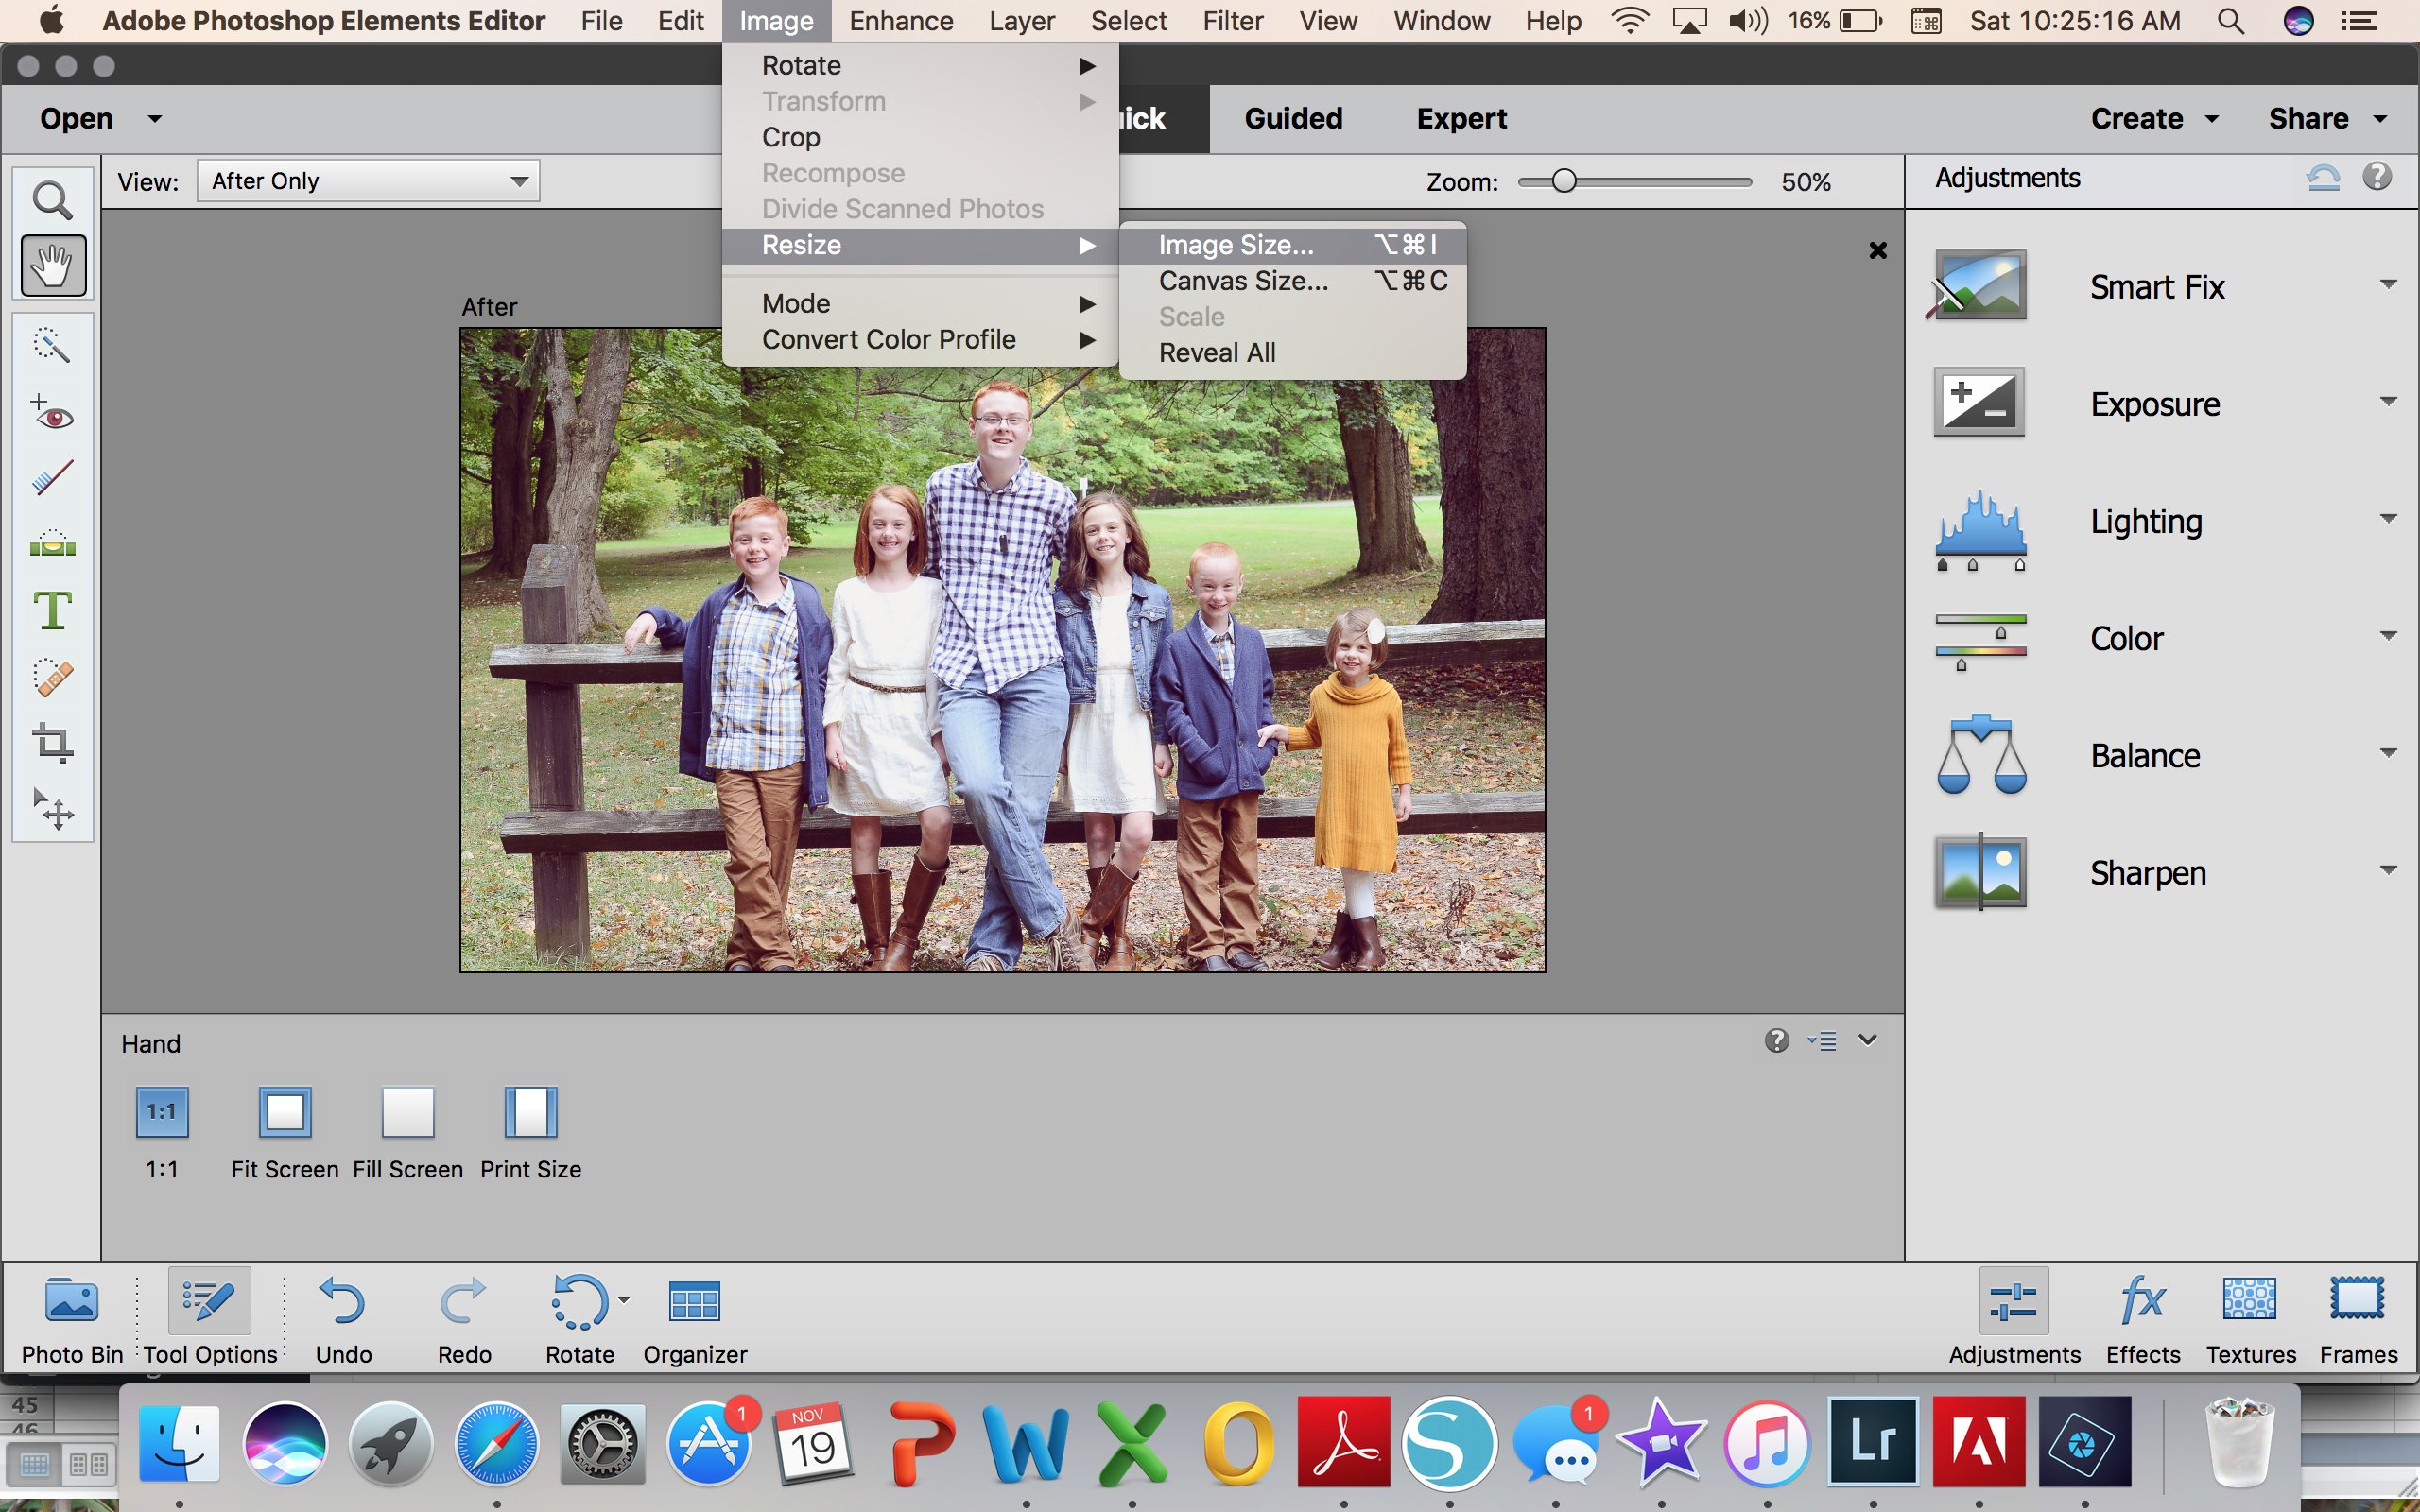
Type in the size you need your photo to be to fit on your mug. Make sure you have the box that says “constrain proportions” checked, because this will make sure that when you change the size, it maintains the correct proportions of the image, and ensures all the faces aren’t stretched funny!
Next I inserted my photo into Word, then printed it on to white cardstock.

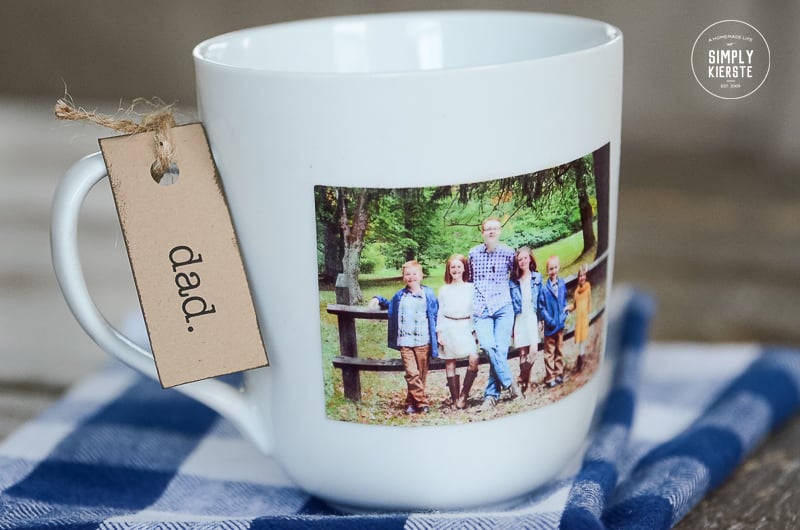
After it was printed, I ready to add the photo to my mug using dishwasher safe Mod Podge and a foam brush. I absolutely love how it turned out!
Here’s a short video tutorial that shows how I made the mug once I printed my photo…
Video: HOW TO MAKE A DIY PHOTO MUG
EASY DIY PHOTO MUG
SUPPLIES:
-mug
-white cardstock
-clear nail polish
-dishwasher safe Mod Podge
-foam brush
DIRECTIONS:
*Print your photo. You have a couple of options here. You can print your photo at a photo center as a tradition photo. If you do, you can skip the next step and go directly to the Mod Podge step. I decided to just print my photo at home on regular card stock, and it also saved me a trip to pick up a photo! After my photo was edited and re-sized in Adobe Photoshop Elements 15, I inserted it into Word and printed it on white cardstock.
*To help stop any colors from bleeding, I actually put a coat of clear nail polish over the top of the photo, and it dried in less than a minute. Once it was dry, I was ready to Mod Podge!
*Using your foam brush, put a layer of Mod Podge on the mug where you want the photo to be, and on the back of your photo. Gently place your photo on the mug, and use your foam brush to put a thin layer of Mod Podge on top of the photo. Follow the directions on the back of the Mod Podge bottle–there are specific directions about how many total layers you need, and what has to be done for it to be cured and dishwasher safe.
*Some color bleeding might still happen. I was super careful and cautious on that first coat, and used a paper towel to wipe away any color that came off. I would still do it that way again because it saved me so much time, and I like the final product, but if you want to be totally safe, then I would use an actual photo. You can even print a photo at home on photo paper if you prefer!
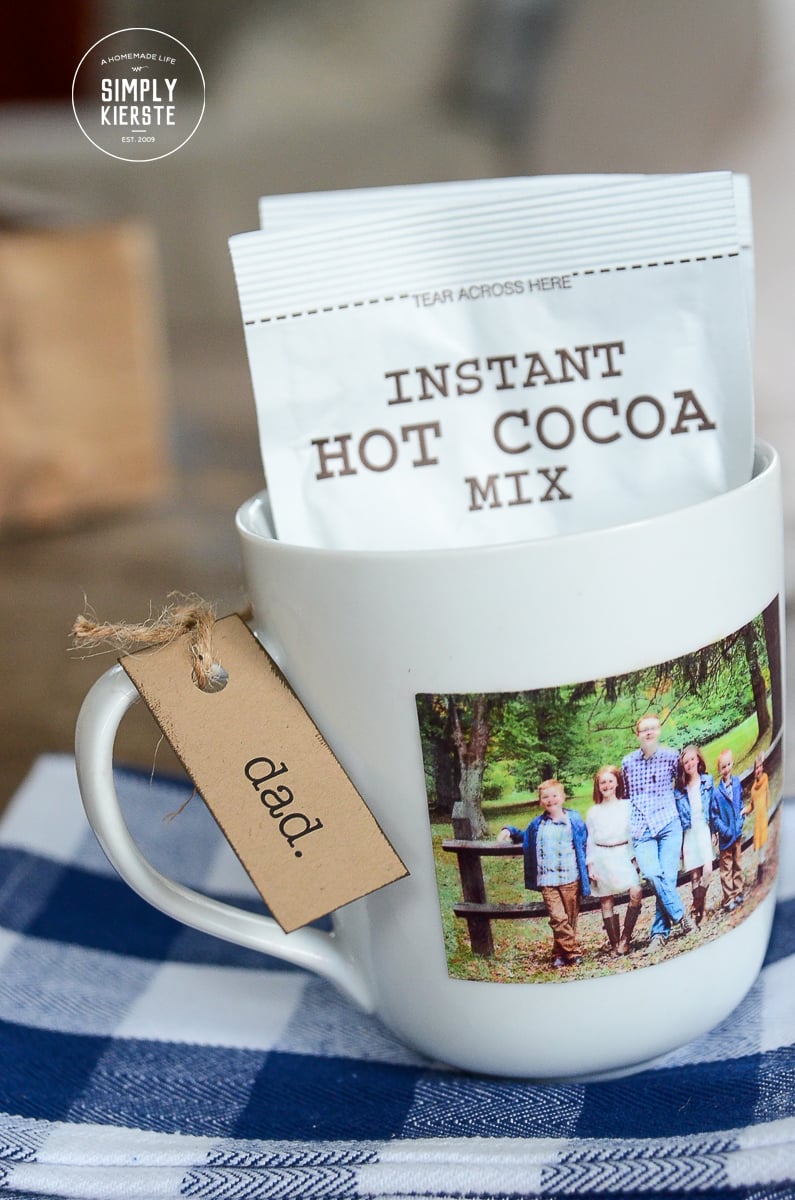
I can’t wait to make these darling photo mugs for Christmas gifts…they’re perfect for family (grandparents!) friends, teachers, and more!
Really great idea! Going to try this for friends this Christmas. I was just wondering if you found it hard to curve the cardstock once the clear nail polish dried? I’m thinking it will become crispy and stiff and difficult to bend around the mug..
Thanks!
Hi, Marnie! It worked fine for me–and didn’t make it too crispy or stiff to bend around the mug. You don’t need a lot of polish–just a thin coat to cover the picture. Hope that helps!! xoxo
Good Evening. I’ve researched this project for Christmas gifts and I love your method. I’ve decided to use photo paper and I read you don’t need the clear nail polish then, but before I go out and purchase the dishwasher safe mod podge, would you tell me how long it takes before you’re actually able to use the mug and wash it?
Thank you.
The label says to cure it for 28 days…and I highly recommend that you wait that amount of time before washing or using!
Hello! I have a question, if I were to use regular mod podge instead of dishwasher mod podge and just handwash the mug after using it, would it still hold up?
Lovely DIY by the way!
Hi, Kathryn! No, I wouldn’t recommend using regular Mod Podge, even with handwashing–it won’t hold up to water very well. I would definitely go with the dishwasher safe version!!
Hello! Leaving a comment again I have no idea if it disappeared. Looking to make this today. Very hard for me to find cardstock. You said you can use a traditional photo paper? Like the thick normal photo right? And so putting the dishwasher mod podge on it and and behind it and putting the photo face down? I just want to make sure this was done so beautifully!!
Yes–I meant an actual photo that you get printed, or the photo paper you can buy to print your own photo at home! Put mod podge on the mug, then the back of your photo, and place it so that the photo is facing up. Mod podge right on top of the photo and let dry! xoxo
I have tried to make a million mugs. I’ve used photo paper and card stock. How did you get the picture to not sick up on the curves of your mug. I have tried everything from curving the paper. Holding it down and using things around the house to hold the picture down … nothing has worked. Please help.
Alison, I’m so sorry it’s giving you so much trouble! It can be a little tricky. I always put mod podge on the mug, on the back of the paper, then use my fingers to press it down for a minute–until it becomes a little more tacky. Then I put the mod podge on top–you can even hold it down gently with your fingers at that point as well. Cardstock comes in different thicknesses, so it could have something to do with that.
Another thing to try is printing on regular copy paper instead of cardstock–it’s a lot thinner and will be easier to keep down on the curves. It isn’t as hearty as cardstock, so be extra gentle with the mod podge, but it should help.
Good luck! Let me know how it goes!
Can i use clear acrylic spray instead of modge podge or is there any alternative to the modge podge
I’m not sure if anything else would work—it really takes something pretty heavy duty like mod podge to keep the photo/paper on to the curves of the mug. However, it would be worth a try!!
what size card stock for mugs please and ty
What do you mean? I just used a regular 8.5 x 11 piece of cardstock, and printed my picture on to it—that was sized to the fit the mug I was using. Let me know if that wasn’t what you were asking. Hope that helps!!
Are these microwave safe?
There’s nothing on the dishwasher safe mod podge label that says anything about the microwave, so I’d probably avoid it for now. There may be some info out there on it though, and if you find anything out, I’d love to know!!
Thank you so much! I have been looking for a tutorial that did not use sublimation ink and one that was easy to do.
You’re so welcome! Glad you found what you were looking for!