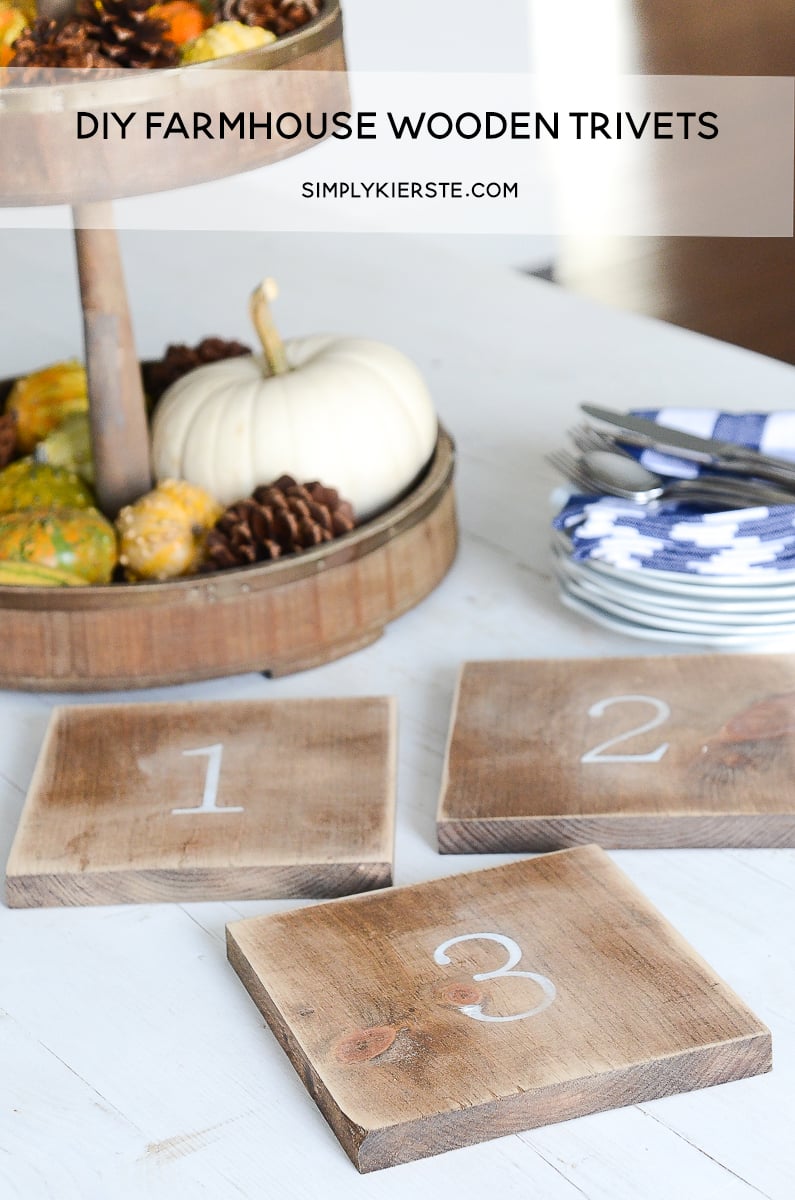
DIY Farmhouse Wooden Trivets
These darling wooden trivets are so easy to make, and add the perfect farmhouse charm to your kitchen!
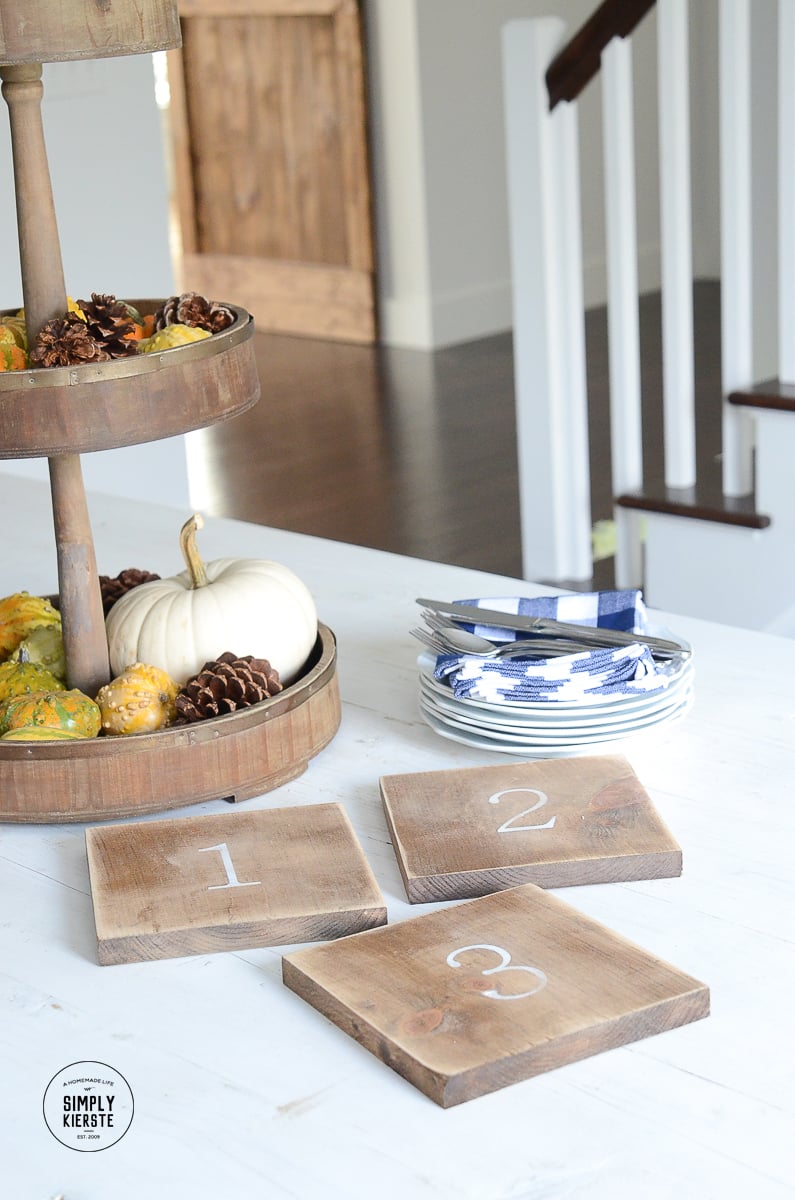
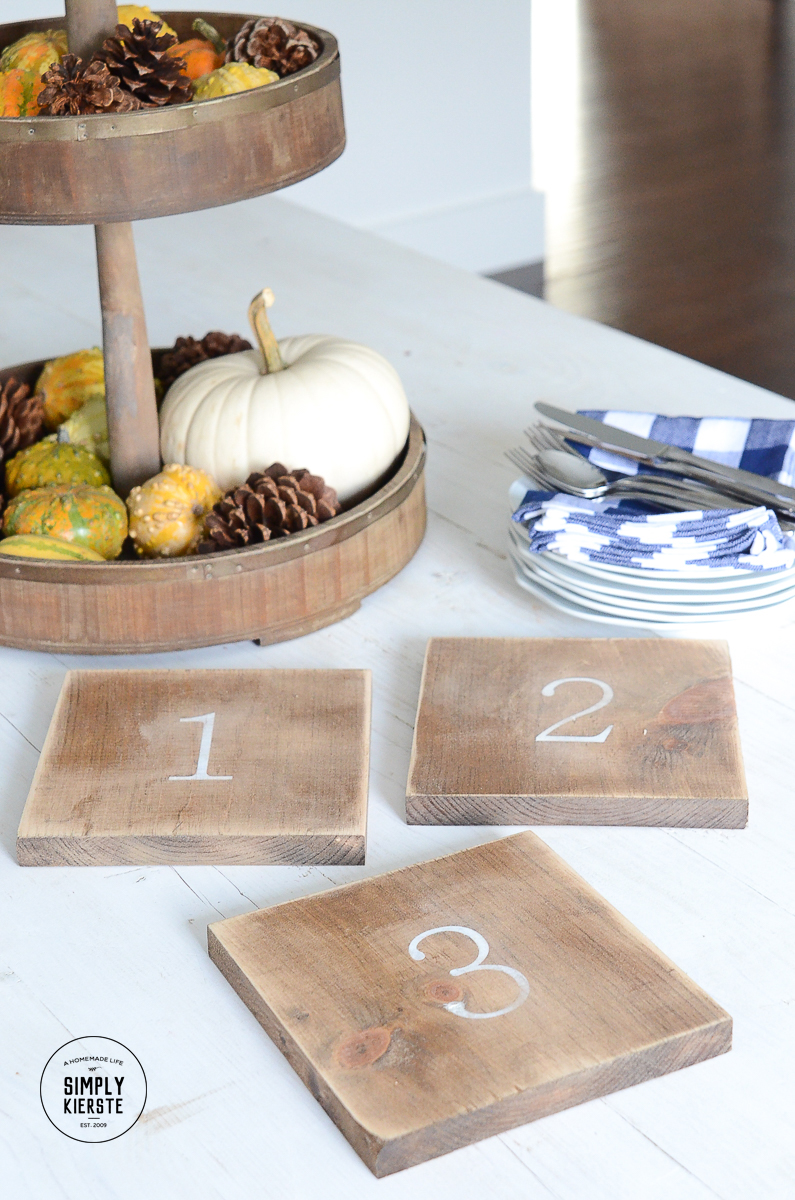
Aren’t they adorable? I LOVE them so much! Best of all, they’re a simple and quick project that can be done in under an hour and cost me about $4 for all three!
I don’t know how it happened, but we lost some things in our move to Old Salt Farm , including my wooden trivets. I like to have several in my kitchen, so I can protect my countertops and table tops from hot pots and pans, so I knew I needed to make a few more. All I needed was a few wood pieces, some stain, and a little paint, and I found myself with the cutest wood trivets ever!
Here’s how to make your very own set! (affiliate links are included below for your convenience!)
FARMHOUSE WOODEN TRIVETS
SUPPLIES:
-1×8 board or 8 inch wood scraps
–stain ( I used Minwax Provincial-my favorite!)
-white spray paint or craft paint
–desired stencil (I cut mine out on my Silhouette Cameo)
DIRECTIONS:
- Cut your 1×8 board into perfect squares. Make sure you measure the actual width of the board before cutting–even though it’s an 8 inch board, it’s not technically 8 inches, and they can vary. If it’s 7 3/8, then make your cut a the 7 3/8 mark so you’ll have a perfect square.
- Stain your wood pieces with your favorite stain and let dry completely.
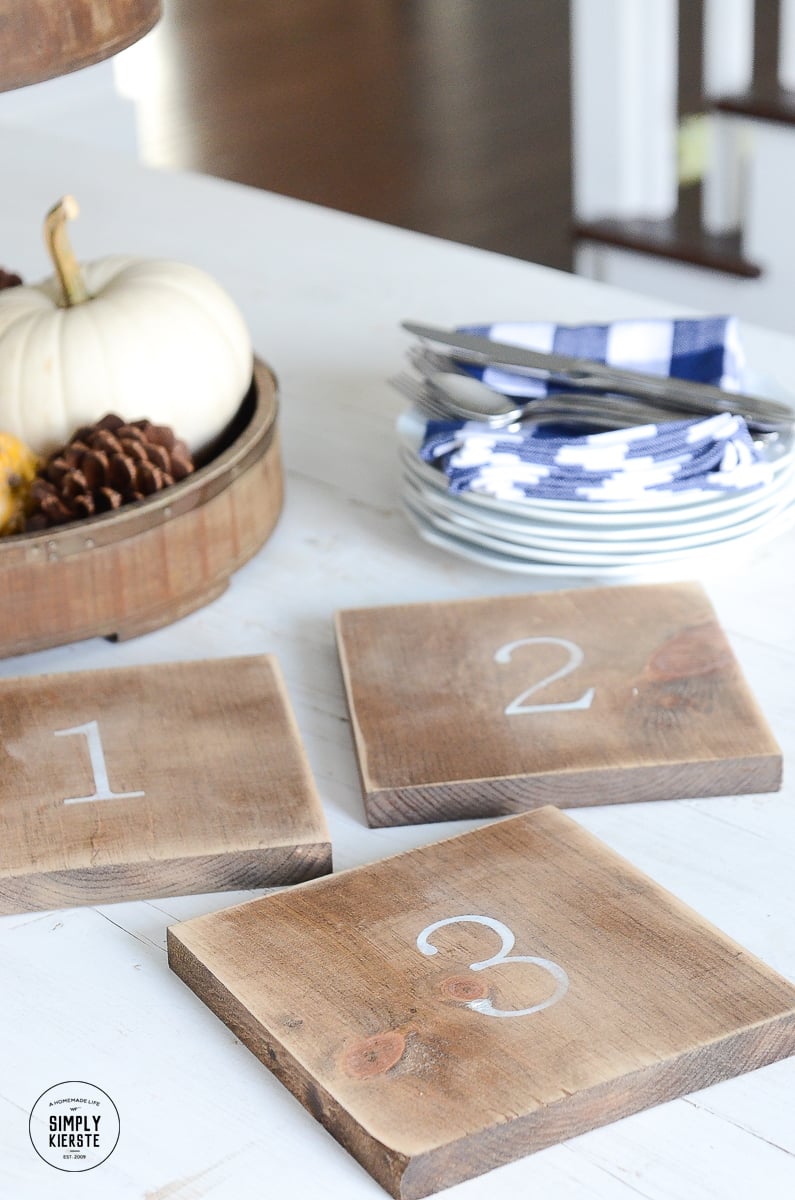
- Use your stencil and paint to apply it to your trivets. I used my Silhouette Cameo to cut out numbers (4 inches) , because they speak farmhouse to me! You could put anything you want on them though–names or initials for personalization, or even words like “farmhouse” or “eat”. As a note, I also prefer to use spray paint for a lot of my stenciling. I know, it sounds a little weird, but spray paint holds up much better than craft paint and goes on really well. I just shake the can well, spray some paint on a paper plate (not foam), then use a foam brush to apply it. I might have to spray the plate a few times throughout the process, but it works really well!
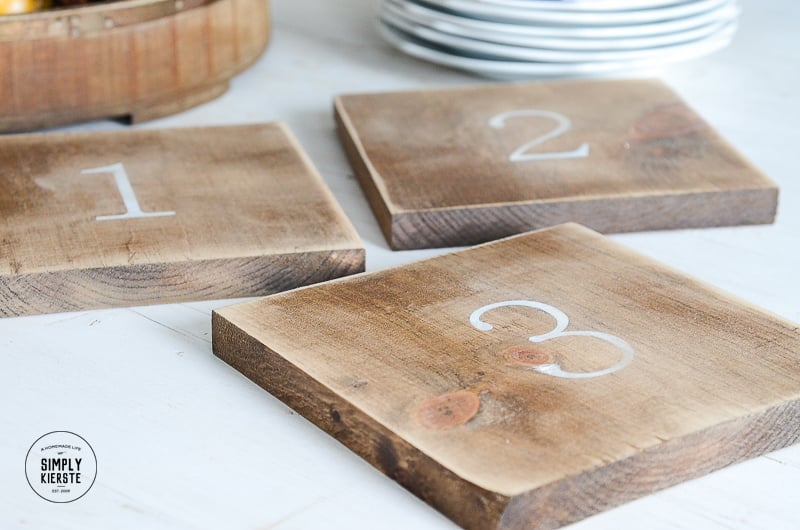
- Once the paint is dry, use a sander to go over the edges and stenciled paint to distress and weather it and give it that farmhouse look.
And you’re finished! And if you’re making yourself a set, think of people you might want to give them to…they make adorable gifts!