Chalk Paint Dresser
An easy makeover in my girls’ room this week — you’ll love how this easy chalk paint dresser changes the whole feel of the room. Fast, simple, and no fuss required.
I first used chalk paint many years ago, and fell in love with just how easy it is to use. Even my childhood upright piano got a makeover and the paint worked perfectly on the laminate surface. At the time, it was harder to find, and more of a niche purchase. There weren’t as many brands, and it tended to be expensive. Fast forward 15+ years, and now there are even more products on the market that make it less expensive and more accessible. It’s especially perfect for the projects where sanding would be difficult or time intensive.
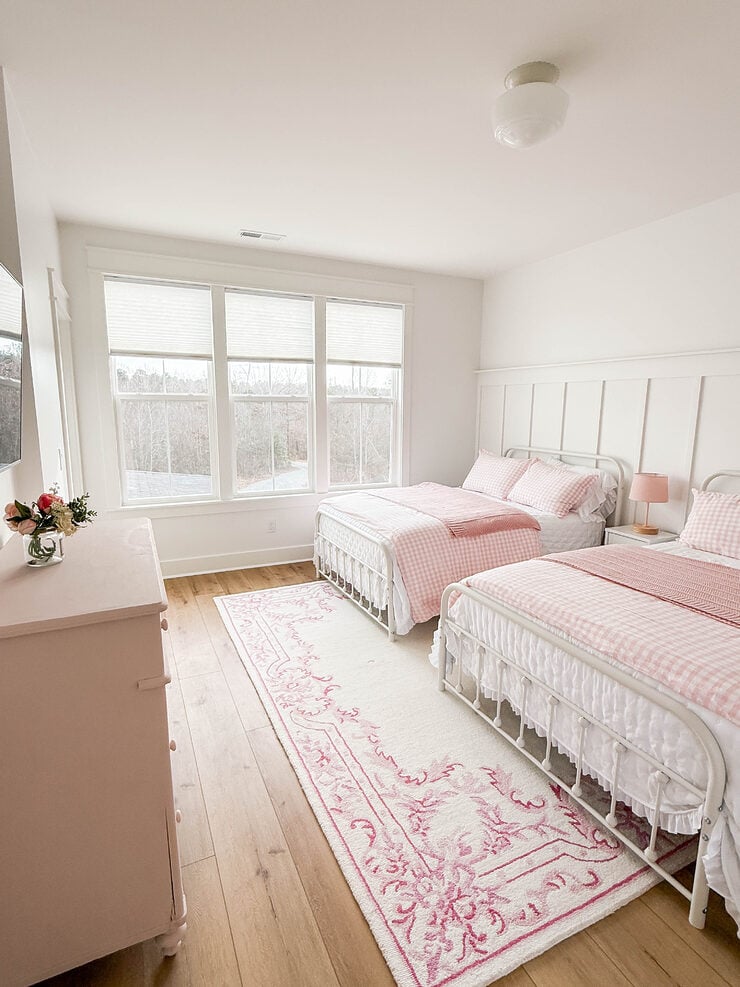
This dresser was in my room at Old Salt Farm, and then when we moved to Cottage on Blackberry Hill, it got a new home in my girls’ room. I still liked it, but it didn’t quite fit the space as well, and so I decided to give it a small makeover. Chalk paint was the perfect answer. No sanding or priming necessary, and I could paint it right. there in the room. So easy–it took an afternoon!
Table of contents
Supplies
- Chalk paint
- Brush (this one is great for chalk paint)
- Sandpaper – optional if needed
- Pieces of cardboard to go under the feet
- Wet rag
- I added these wood knobs – they’re the same as my cabinets and I love them!
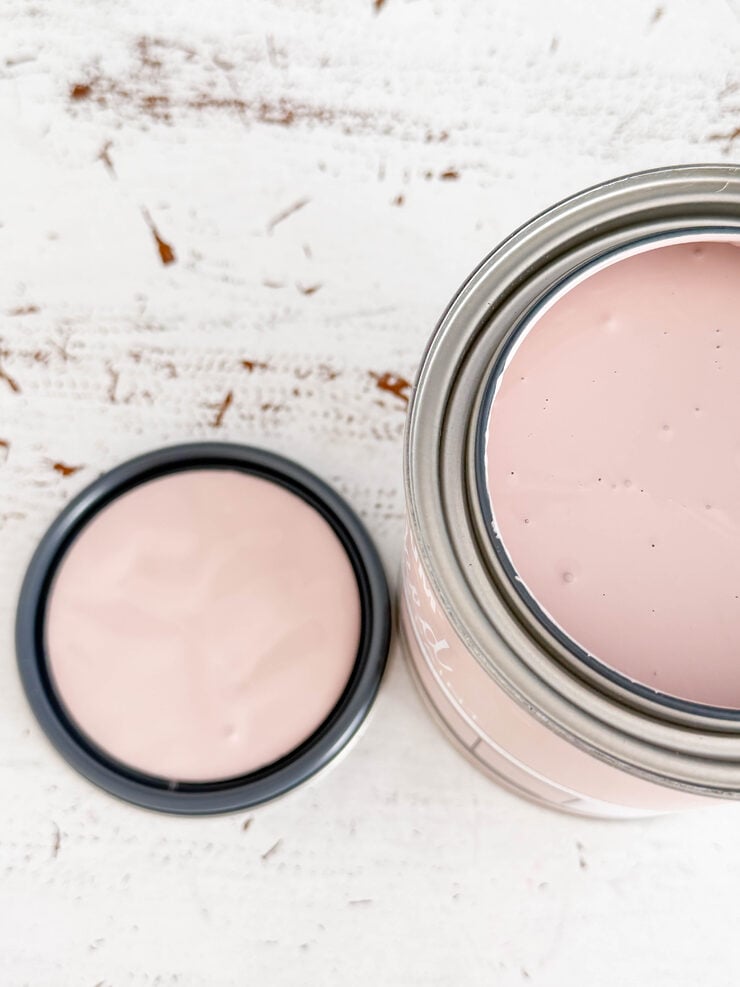
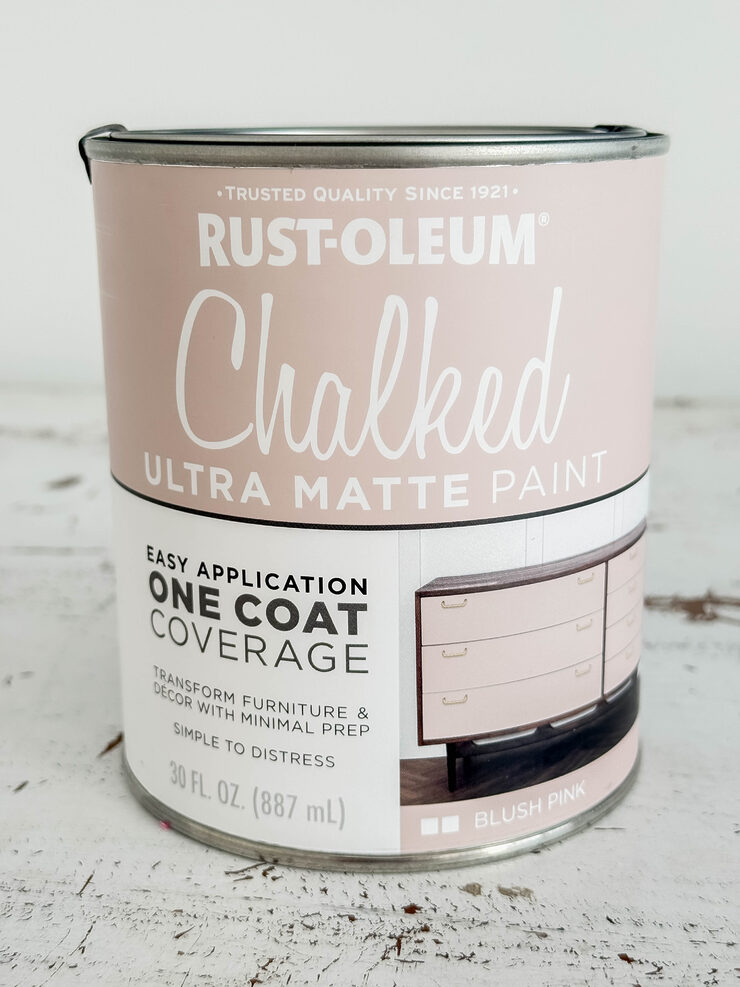
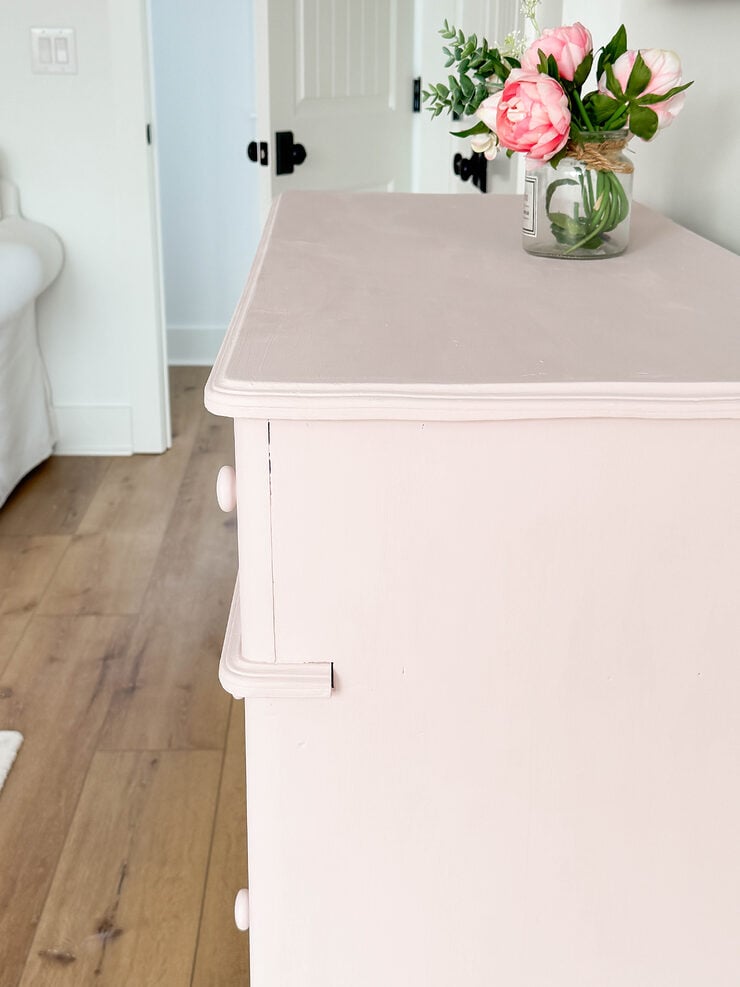
The paint is the loveliest blush pink chalk paint by Rustoleum (linked above), and it was exactly right for the space. They have other colors as well, or you can use your favorite chalk paint. There is also a product by BB Frosch that will transform your favorite latex paint into chalk paint, which is really nice if there is a specific color you want to use. I highly recommend using a brush that’s intended for chalk paint — it really does make a difference.
before picture
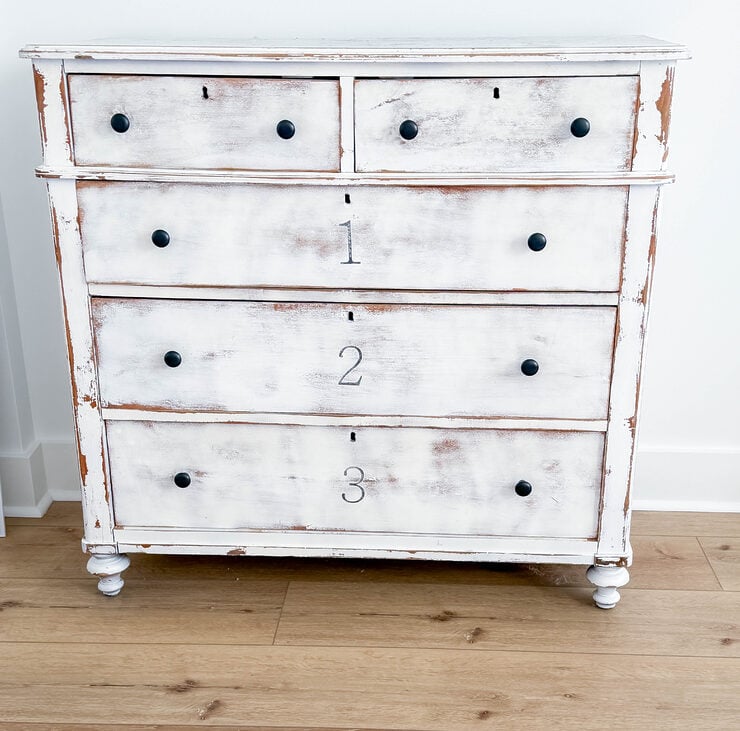
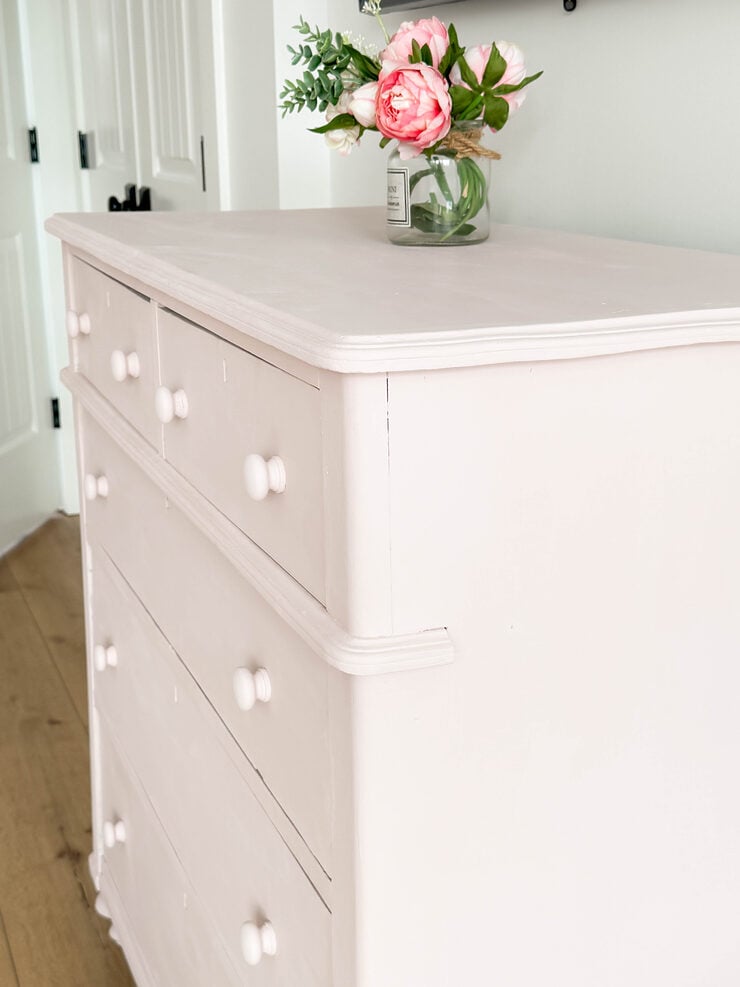
I absolutely love the lines and design of this dresser. The keyholes are so charming, and the legs are perfection. I found it at one of my favorite places, Habitat Restore. I’ve had the best luck, and most of our dressers were discovered there. While I still loved the numbers, it was time for an update.
Directions
Remove all the hardware and set aside.
Take a damp cloth and wipe down the entire dresser to remove all dust and debris. Let dry completely.
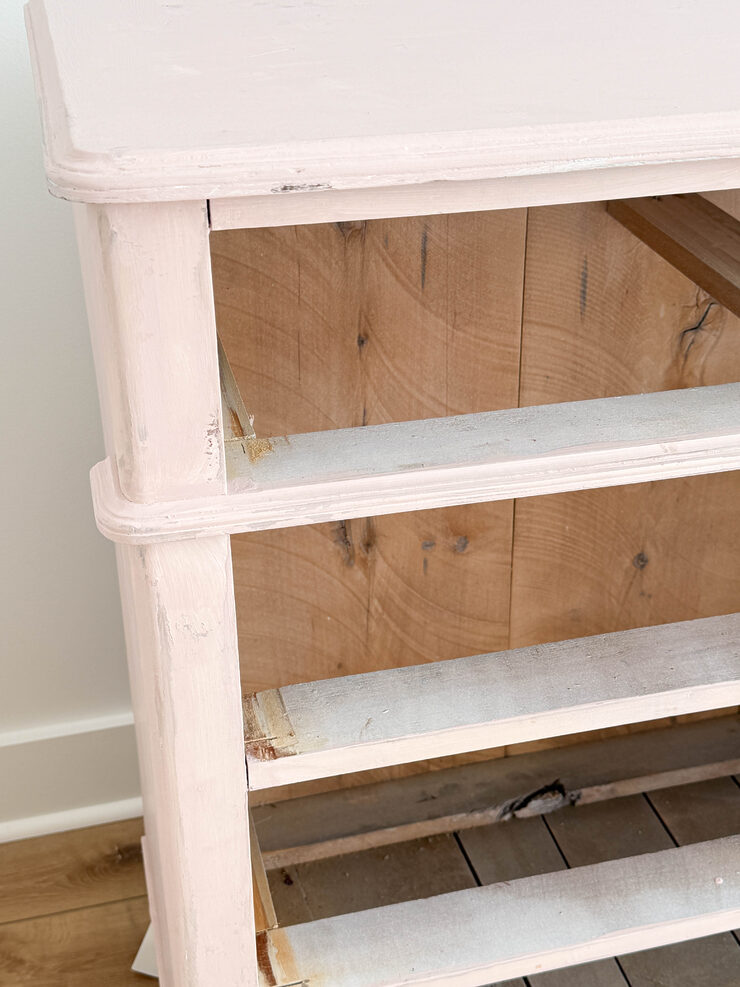
This paint says there is no sanding necessary, and I’ve found that to be 95% true. It really depends on what the surface is like before you start. If there is a lot of chipping paint and layers, sanding it down first is probably a good idea so it’s nice and smooth. But chalk paint does work really well even on slick or shiny surfaces (my piano was like this, and it worked like a charm–no sanding necessary).
This dresser was distressed, but all the layers were smooth, so I did not sand first. If you do sand, make sure to wipe down the surface after you’re finished.
Remove the drawers and set them down with the face up. Add pieces of cardboard underneath each of the legs.
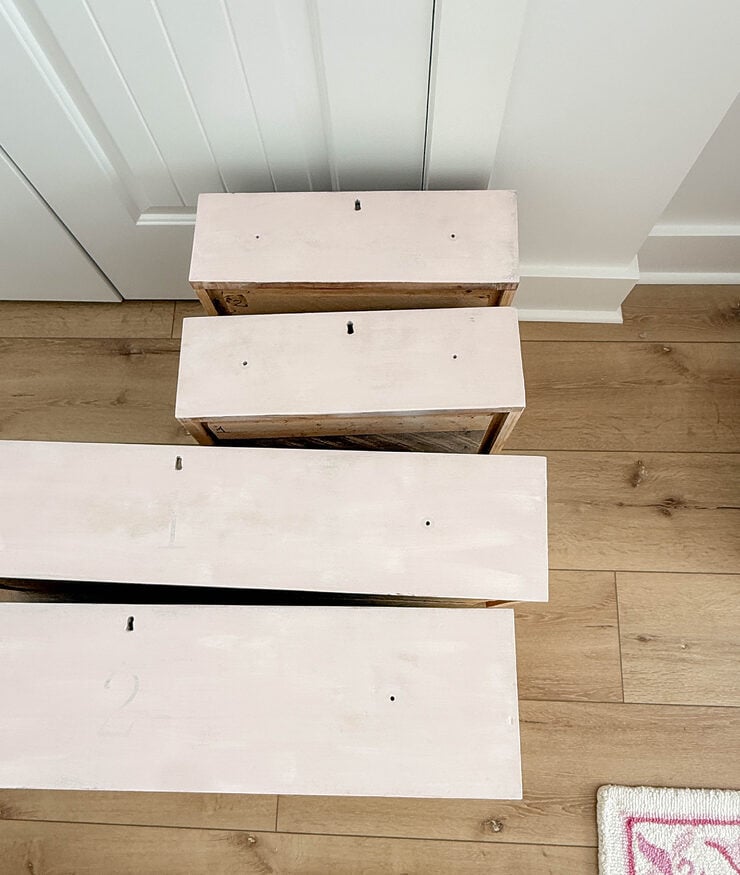
Using the chalk paint brush, paint the dresser in smooth and even strokes. The paint boasts just one coat is necessary. That may be the case for some projects, but I felt like mine needed two good coats to cover up all the distressing. If you need more than one coat, make sure to let the paint dry in between coats. It took about 60 minutes for me.
This is one coat on my dresser…
Once the final coat is dry, a topcoat is optional. This particular paint states it’s not necessary, but again, it depends on what it will be used for. I did not add a topcoat, as it will not get a lot of use, and it felt very smooth to the touch. If anything wet (drinking glasses, etc.) will sit on on the surface, I’d recommend some level of protection. Make sure you read the info on the paint you use — some require a topcoat. You can use a chalk paint wax, or this protective topcoat by Rustoleum that’s easy to apply.
Once everything is dry, wipe down with a clean cloth. Replace the hardware, and remove the cardboard from under the feet.
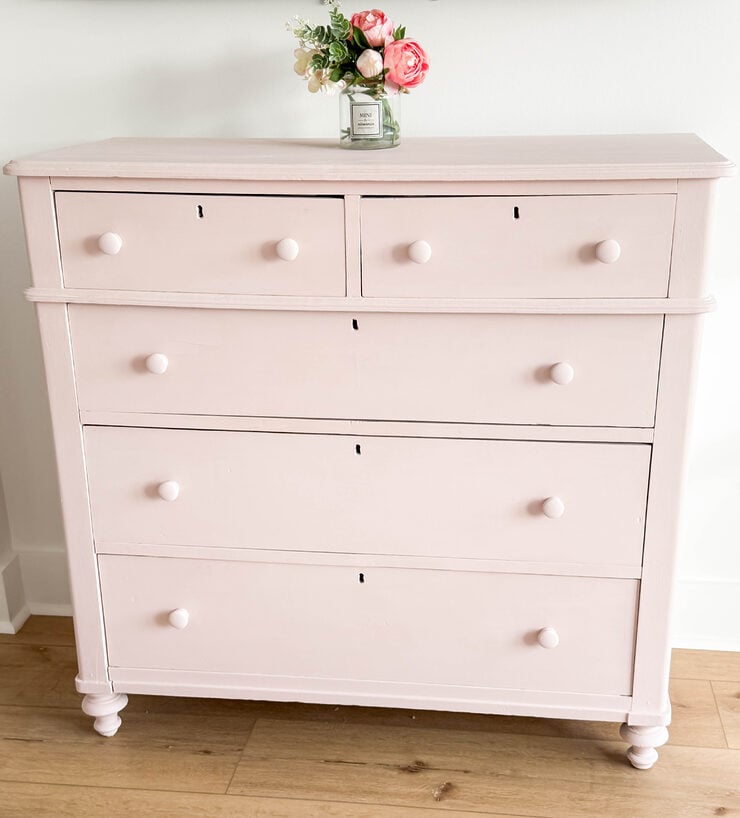
Now you have a beautiful “new” dresser in just a few hours!
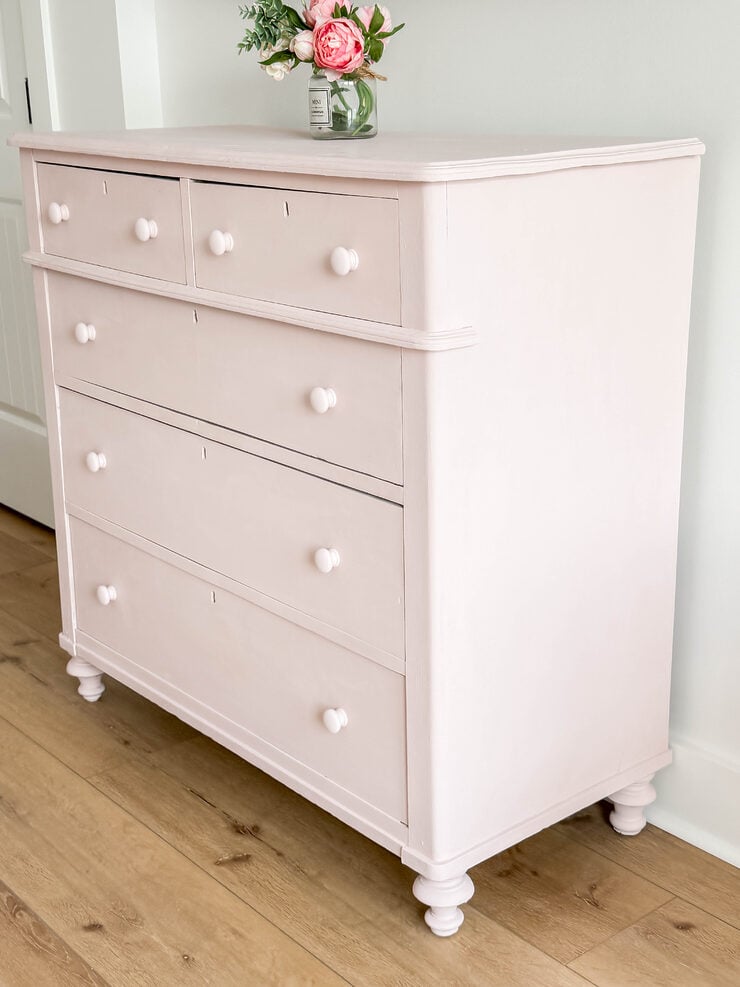

It totally transformed the room, I love it! The wood knobs were the perfect touch, and it has all the cottage vibes I was looking for.
FAQ
From start to finish, it was about 6 hours, which included all the drying time between coats.
I already had the brushes, so I just needed the paint, and the new knobs I used. It was around $40 for both.
I think it’s easier than using latex paint, especially if you make any mistakes along the way. Just let the paint dry, lightly sand, and then go over it again. This paint dries very quickly, so it’s also a faster process than other types of paint.
More home projects
Thanks so much for stopping by! Join me on Instagram for even more ideas and inspiration…I’d love to see you there. 🖤
