DIY Wooden American Flag
Make this DIY Wooden American Flag to add charming farmhouse style. It’s also adorable patriotic decor for the summer months, holidays, or all year round.
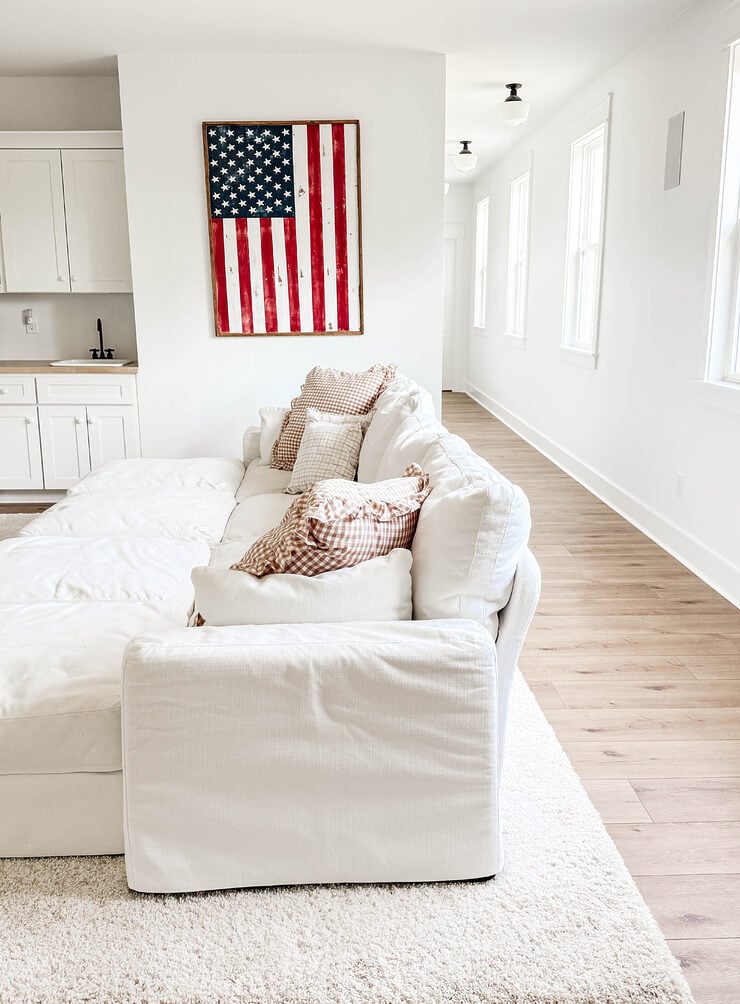
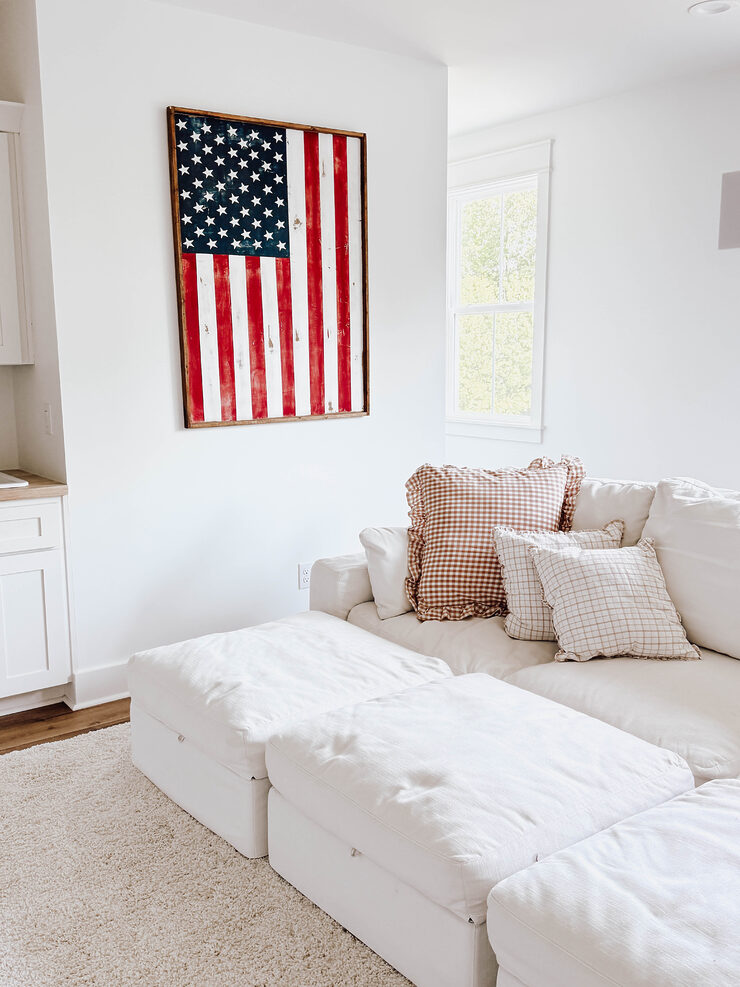
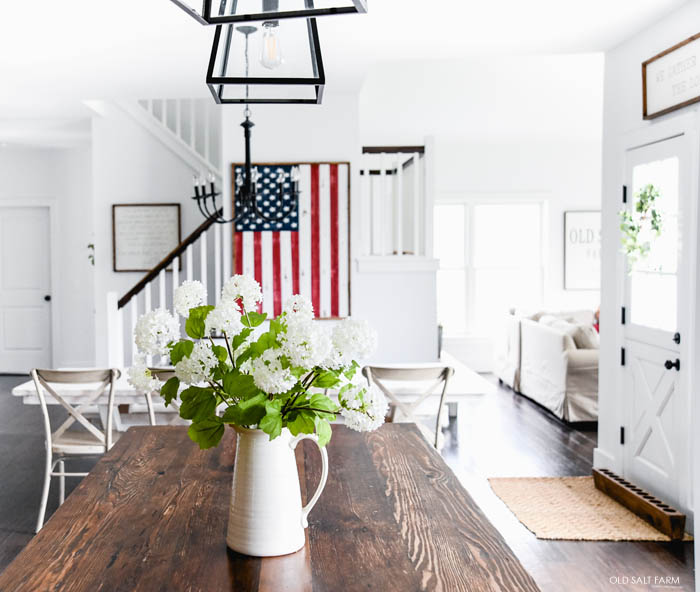
Patriotic holidays are my favorite, along with all things red, white, and blue. There are so many fun and easy ways to celebrate Memorial Day and the 4th of July, and I love making yummy food and decorating. Homemade ice cream (with or without a machine!) is a summer and 4th of July tradition, gingham pillows are a must on my patriotic porch, and making matching DIY handprint flag tees for my kids are so fun and easy to do. But I think my favorite project has been the giant wood flag I made when we first moved into Old Salt Farm. I hung it in my dining room and loved it there. When we moved to Cottage on Blackberry Hill I found the perfect spot in our rec room upstairs, and I think I’ll keep it up year round!
This wood flag is definitely perfect for all patriotic holidays. You can put it up a couple of weeks before Memorial Day and leave it up through the entirety of the summer. Sometimes I just leave it up for an entire year, because I love it so much! It’s still one of my very favorite projects ever. Best of all, it was simple to make, and I’m going to show you how with step-by-step instructions. Tutorials are included for painting and framing the flag.
Table of contents
This isn’t a hard project, but it will take some time. I’ll be honest, I slaved over getting the stripes just the right size, and I had the math perfectly figured out, but then I accidentally made the blue part too big (too many kids to distract me, ha!). Since the blue needs to line up exactly with the stripes, I ended up having to change it to 12 stripes to make everything work. I still think it looks pretty authentic! Anyway…it’s not the math that was wrong, just my focus, so don’t worry!
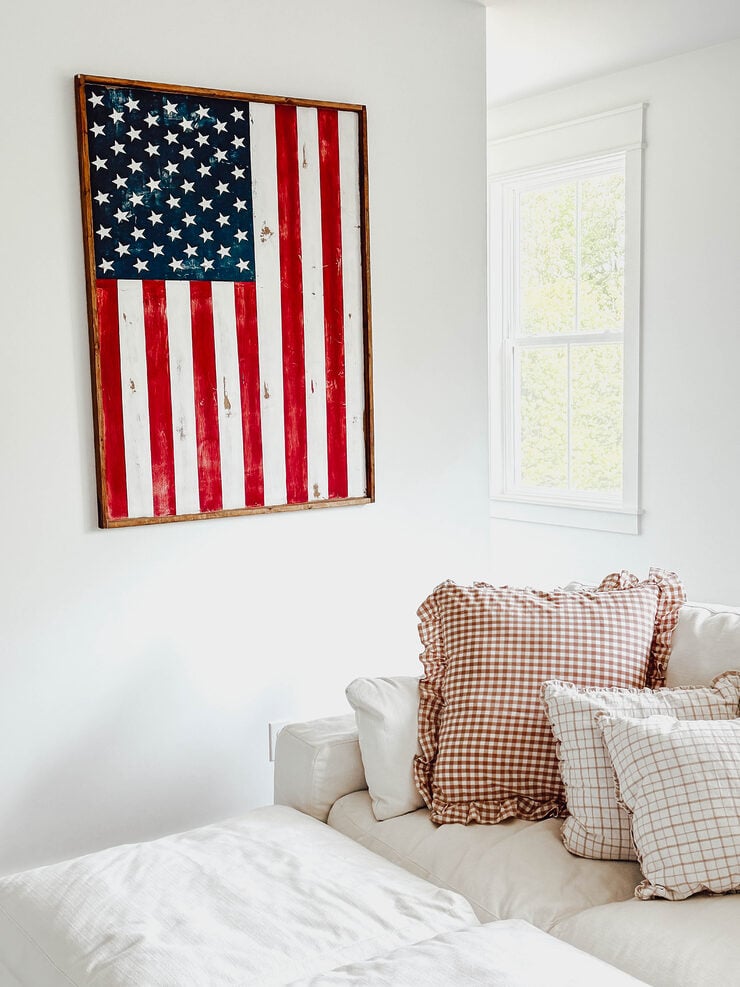
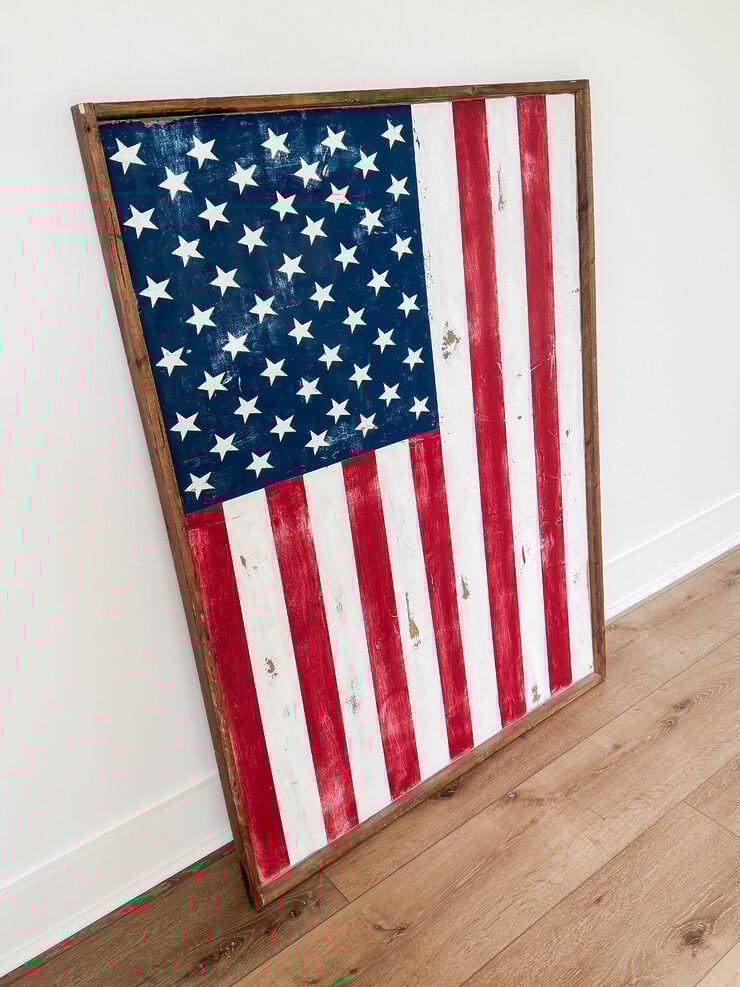
My flag is 3 feet wide and 4 feet long, painted to be hung vertically as opposed to horizontally. However, you can make your flag whatever dimensions you want or need them to be. And if you’d rather have it hang horizontally, you can do that too. You’ll just need to paint the stars and stripes accordingly.
P.S. This is the appropriate way to hang a flag when it’s hung vertically! The stars should be on the left. (SOURCE)
This isn’t a hard project, but it will take some time. I’ll be honest, I slaved over getting the stripes just the right size, and I had the math perfectly figured out, but then I accidentally made the blue part too big (too many kids to distract me, ha!). Since the blue needs to line up exactly with the stripes, I ended up having to change it to 12 stripes to make everything work. I still think it looks pretty authentic! Anyway…it’s not the math that was wrong, just my focus, so don’t worry! One day I’ll redo it to make the stripes exactly right (which I do think is important), but I just didn’t have the time to redo it right away.
Affiliate links are included below for products I used and love. Please see my full disclosure.
Supplies
- furring strips (for frame)
- 1/4 inch MDF board, cut to size
- white paint (I used leftover latex wall paint)
- red paint ( I don’t suggest spray paint for this project.)
- navy blue paint
- power sander
- 50 vinyl stars (I used my Silhouette Cameo to cut my stars, but you could use a Cricut–or if you don’t have a vinyl cutter that link is to a set of removable vinyl stars you can buy!)
- frog tape / painters tape
- wood glue
- nails
- nail gun
- backers, or a chain or wire and two screws (to hang the sign)
How to make
STEP 1: Measurements
First step is to get all of your measurements ready to go. With the stars and stripes, and getting them all nice and even, it’s critical to figure this out before you start. I made a 4 foot by 3 foot flag, and I’m sharing the measurements below. You can certainly make any size flag you like, you’ll just need to alter the measurements.
FLAG MEASUREMENTS (for a 4′ x 3′ flag):
- 13 stripes: 2.76 inches each (36 inches divided by 13)
- Navy blue area for stars: 19.4 inches across x 21 inches down
Since the math wasn’t exactly even, I rounded slightly up/down. If you want them exactly even and easy to measure out, and your space is somewhat flexible, then I suggest going backwards–instead of starting with an ending measurement (mine was 36 inches), then start with the stripes instead. If you want 3 inch stripes, then make your board 39 inches. Don’t forget, the frame will add inches on both sides, so don’t forget to factor that in.
STEP 2: Stars
If you’re using a Silhouette (or Cricut): I wish I could share my cut file and star stencil with you, but because the star came from the Silhouette library, it’s against copyright policy. However, I can tell you that the star came from set from the library called “Folk Heart & Star”, and the star I used is on the right. I sized it to 2 inches. (This fits the size of my flag just right, but you’ll probably need to alter the size up or down if you make a different size flag.) If you size one star, then go to Object >Replicate>Fill Page, it fills the whole page with that same star, perfectly lined up.
I sized my vinyl stencil page to 12×24, and 60 star shapes fits just right. I didn’t line them up in flag order on my Silhouette, because the rectangle is bigger than what it can cut. I could have done 2 or 3 lines, cut them out two or three times, and then placed them on there, but I was worried about lining them up exactly right. So, I placed them by hand, which is actually easier for me, and I prefer it for this project.
I laid the line on the left first, then the one on the right, then the one in the middle (rows of 6). Then I added the two lines of 5, that go in the middle of the lines of 6. It helps me line it up straight. You might want put them in flag lines before cutting, and that’s okay to–you’ll just need to do it a couple of times. Whatever you feel more comfortable with it totally fine!
If you don’t have a Silhouette or Cricut machine: Purchase already cut vinyl stars. I found these 2-inch vinyl stars that come in a pack of 90, so plenty for what you need and a few extra just in case!
STEP 3: Cut all of your wood to size using a circular saw or miter saw.
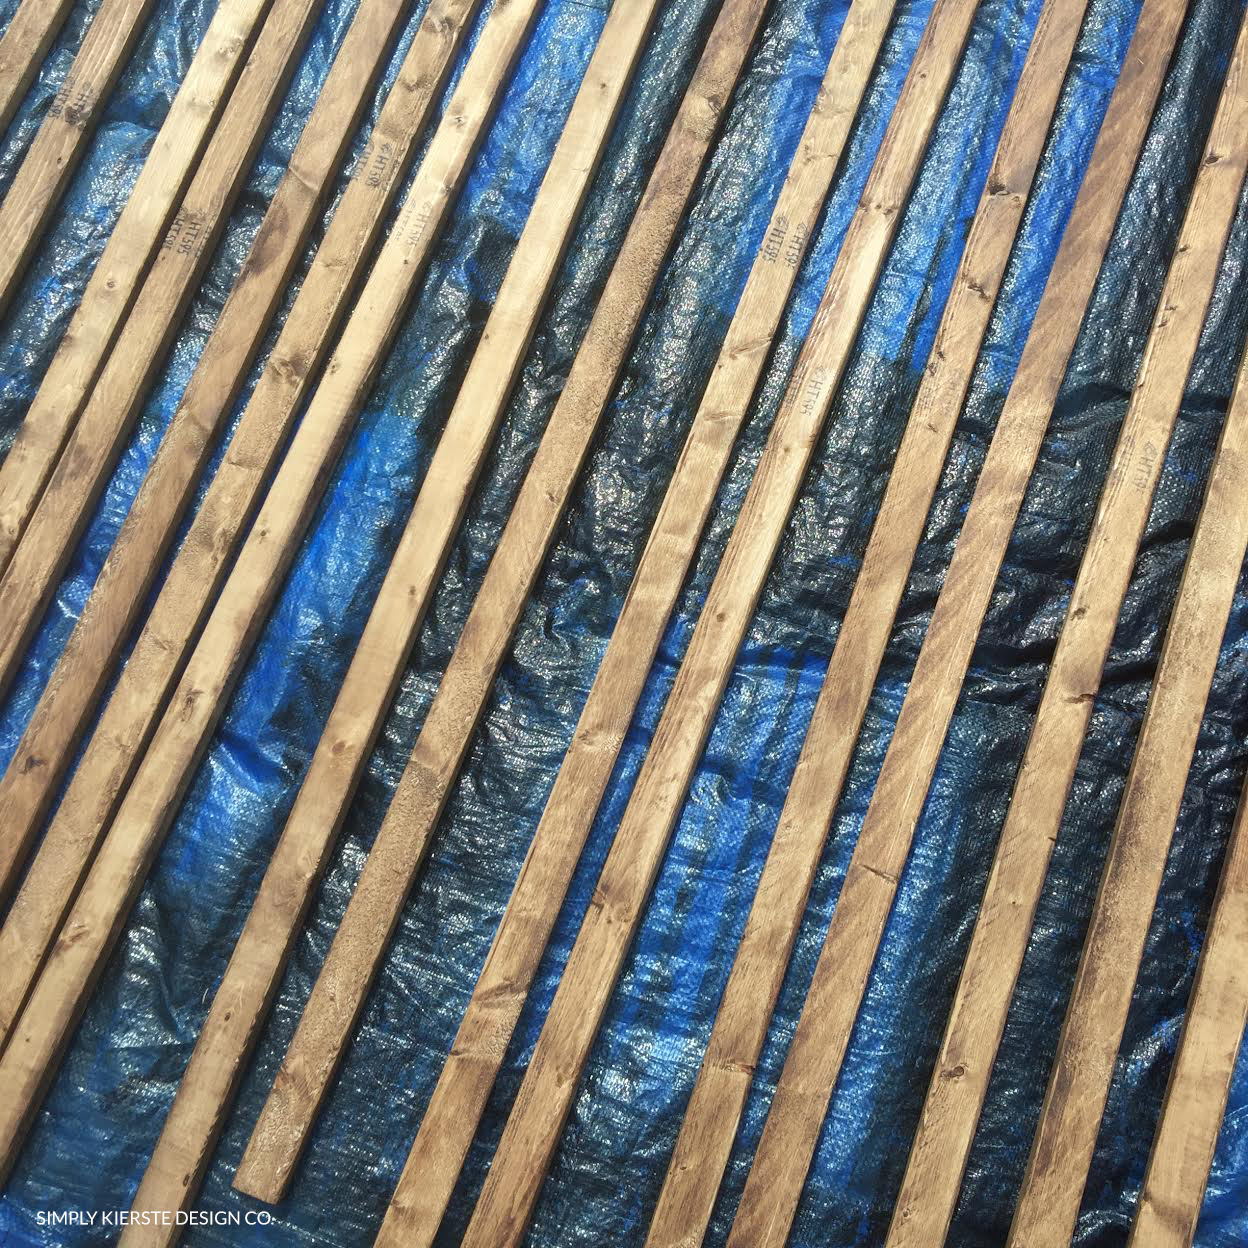
STEP 4: Stain the furring strips (all sides) and MDF board (if desired). Let dry completely.
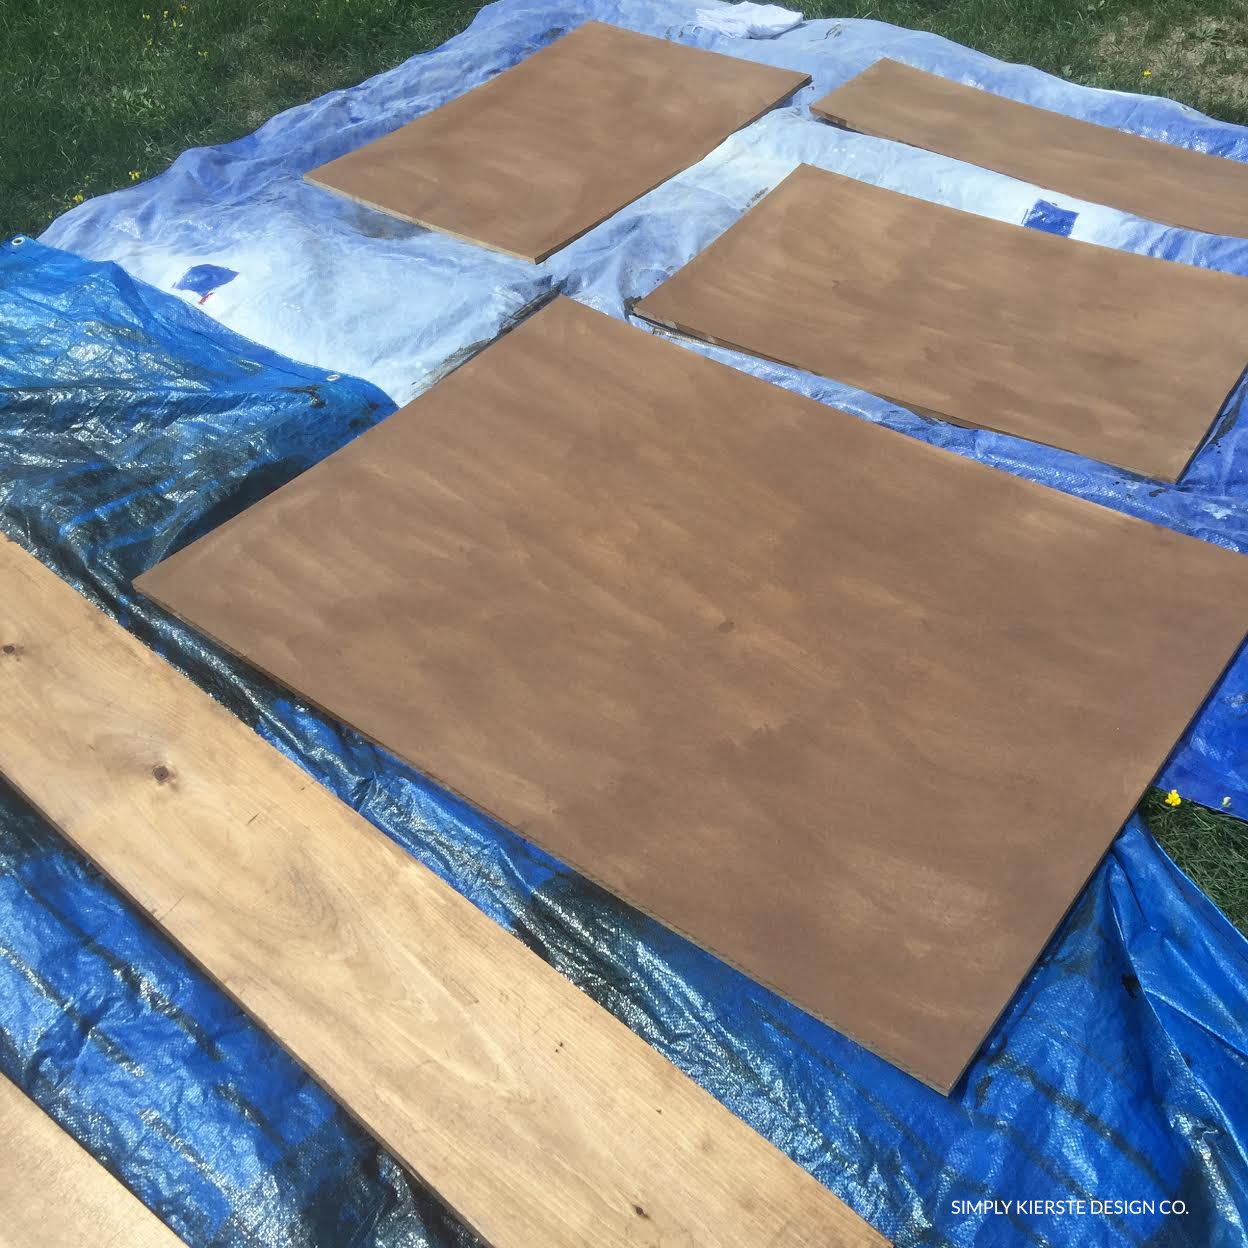
STEP 5: Paint the MDF board white. (I used white latex paint.)
It took several coats to completely cover. A roller is helpful, but you can also use a large foam brush. Let dry completely. You could also use plywood for this project, but it is typically more expensive. Ultimately this white will be the white stripes on the flag.
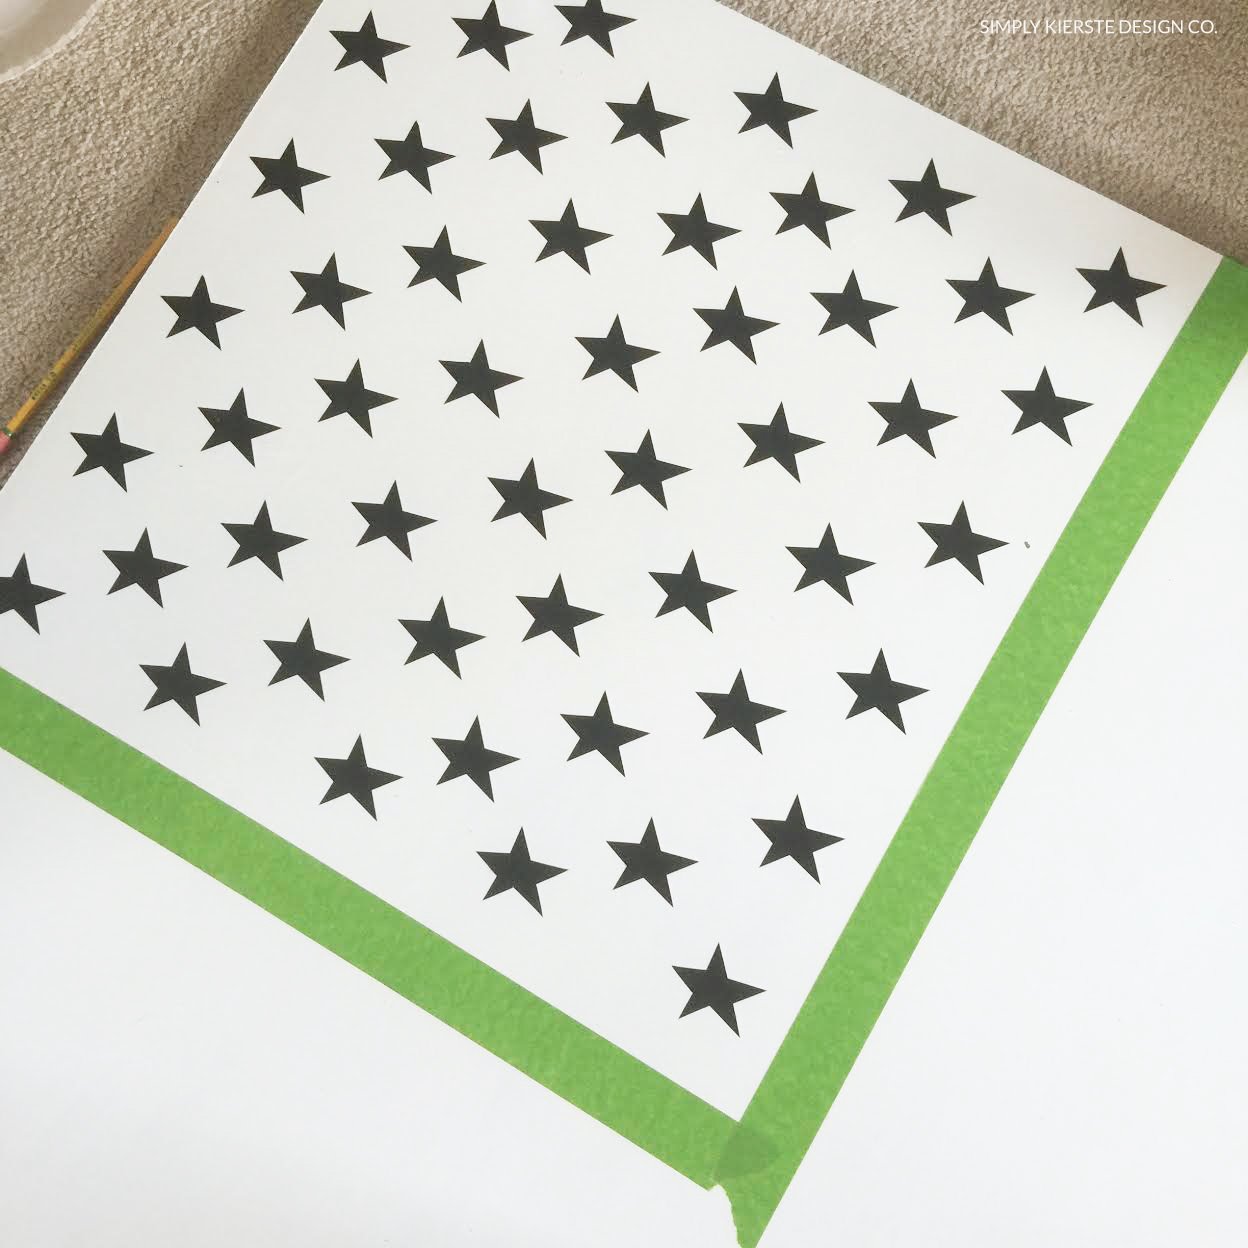
STEP 6: Carefully measure the rectangle that will be navy blue/star area, and tape it off with frog tape or painters tape.
I like to measure the stripes at the same time, just marking with a pencil before I tape the rectangle, since the edge of one of the stripes needs to line up exactly with the blue rectangle.
STEP 7: Place the 50 vinyl stars in rows–6, 5, 6, 5, 6, 5, 6, 5, 6. It can be helpful to use a credit card or other card to make sure the stars are firmly pressed into place.
STEP 8: Paint over the stars with navy blue craft paint.
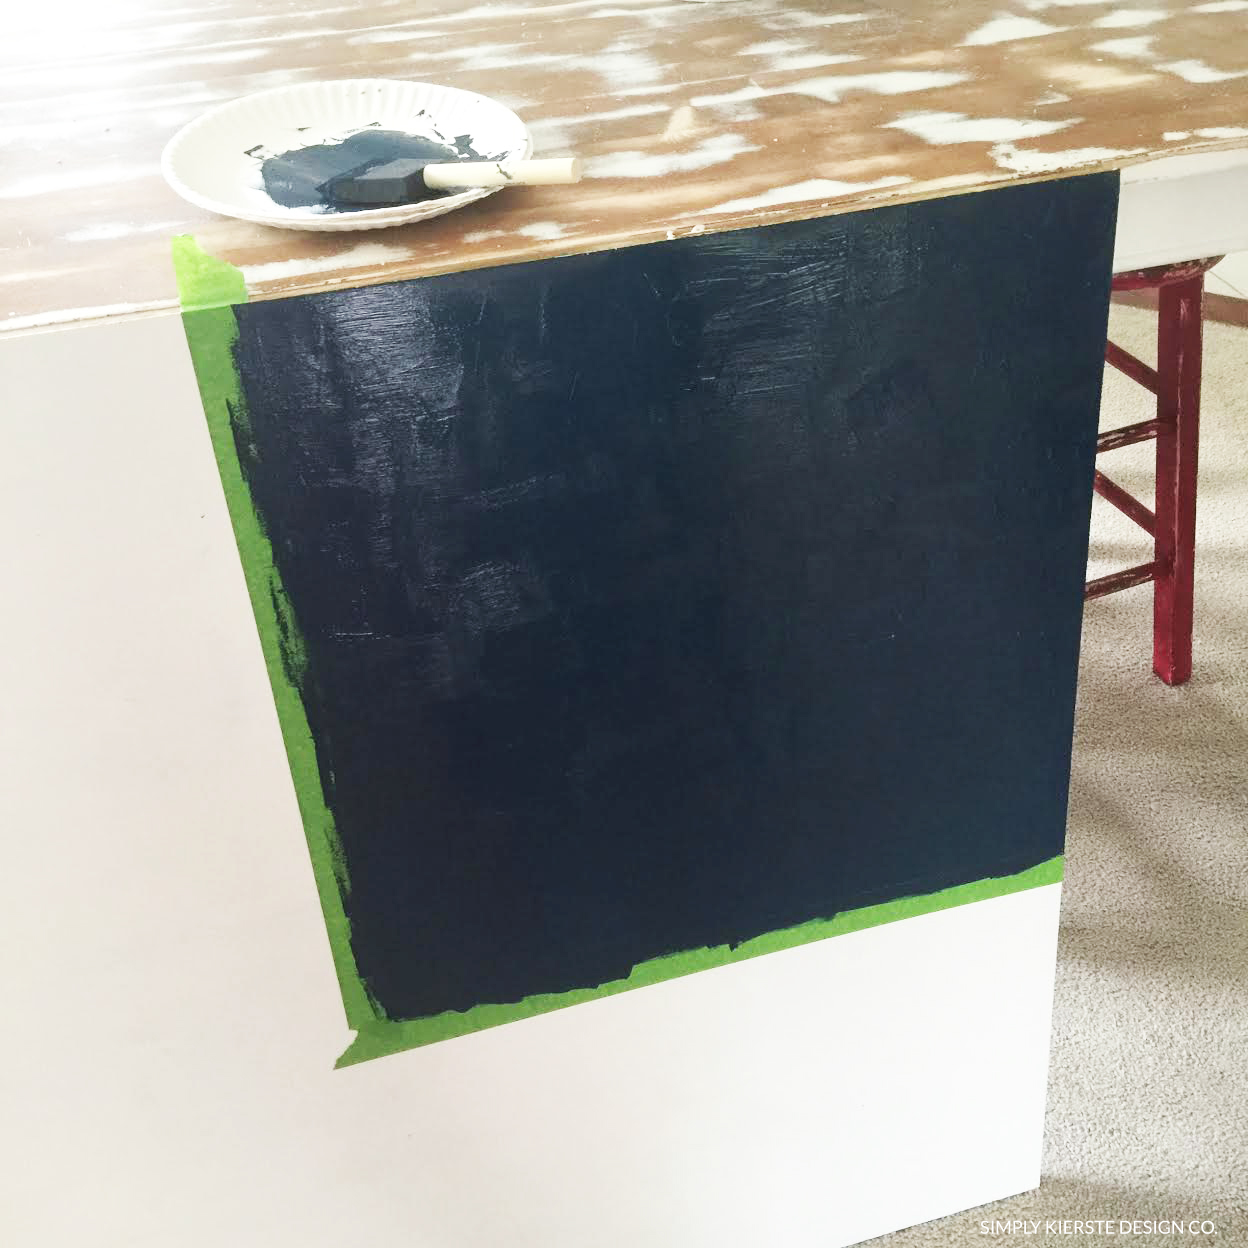
STEP 9: Once the paint is dry, pull off the vinyl stars and painters tape.

STEP 10: Tape off the spaces for the stripes, and paint every other stripe red.
I planned it so that the stripe laying right next to the long side of the blue rectangle would be white, so I didn’t have to worry about exactly lining up the painters tape and the red paint. Let the red stripes dry completely
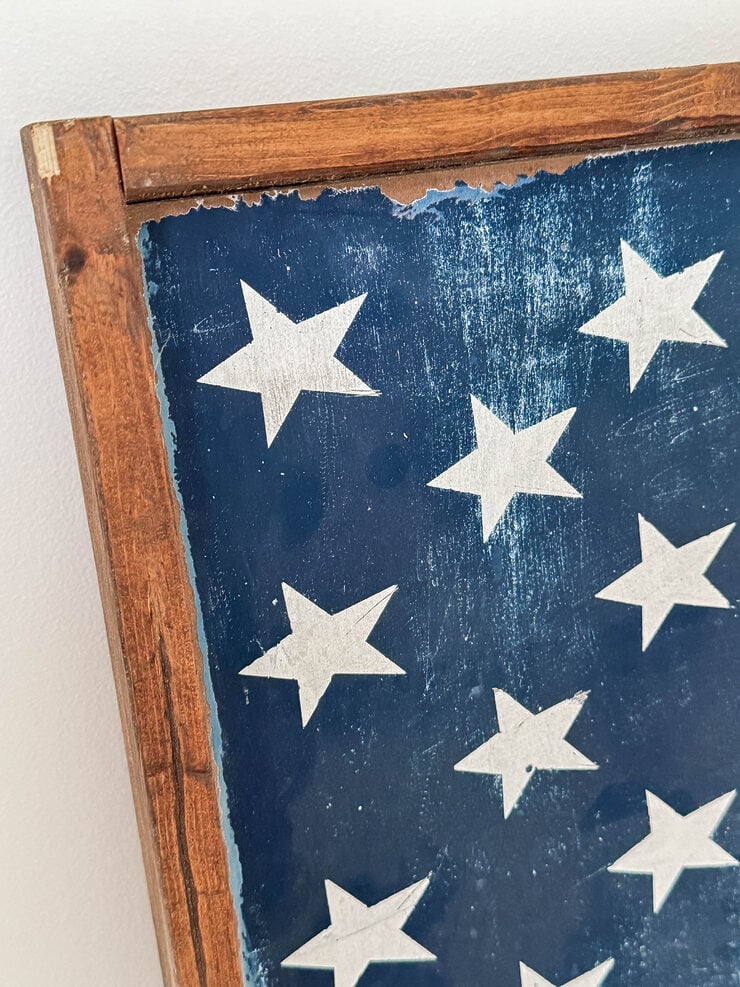
STEP 11: Sand, sand, sand!
I wanted mine pretty distressed, so I was pretty assertive with my sander. I did antique all the edges, and took the paint all the way down to the stained wood in several places, so it looked quite weathered. I prefer a medium grit sandpaper for this job. You can sand as little or as much as you like. Wipe off dust with a lint-free cloth.
STEP 12: Now you’re ready to frame your flag, adding the furring strips to the MDF/flag. Specific instructions for framing can be found in my DIY Farmhouse Sign post, HERE.
You’re finished! You will LOVE your rustic wooden flag. Hang it in your home, set it on a mantel, put it up on your porch…it will look darling anywhere you put it. It would also make a lovely gift for someone in your life that loves farmhouse or patriotic decor.
FAQ
Yes! You can certainly make any size that will fit your space best. Just alter the measurements of the stars and stripes.
I don’t recommend spray paint for this project.
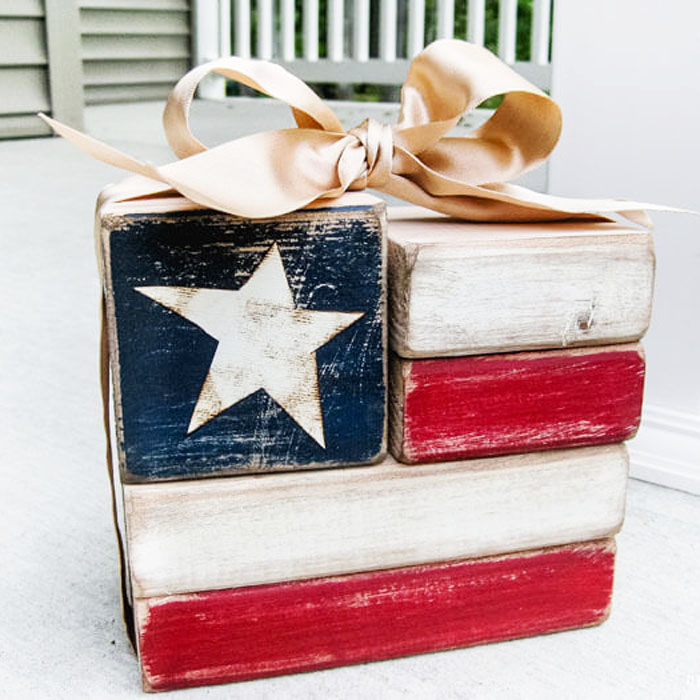
More flag ideas

Thanks so much for stopping by! Join me on Instagram for even more ideas and inspiration…I’d love to see you there. 🖤

*Originally posted 2017