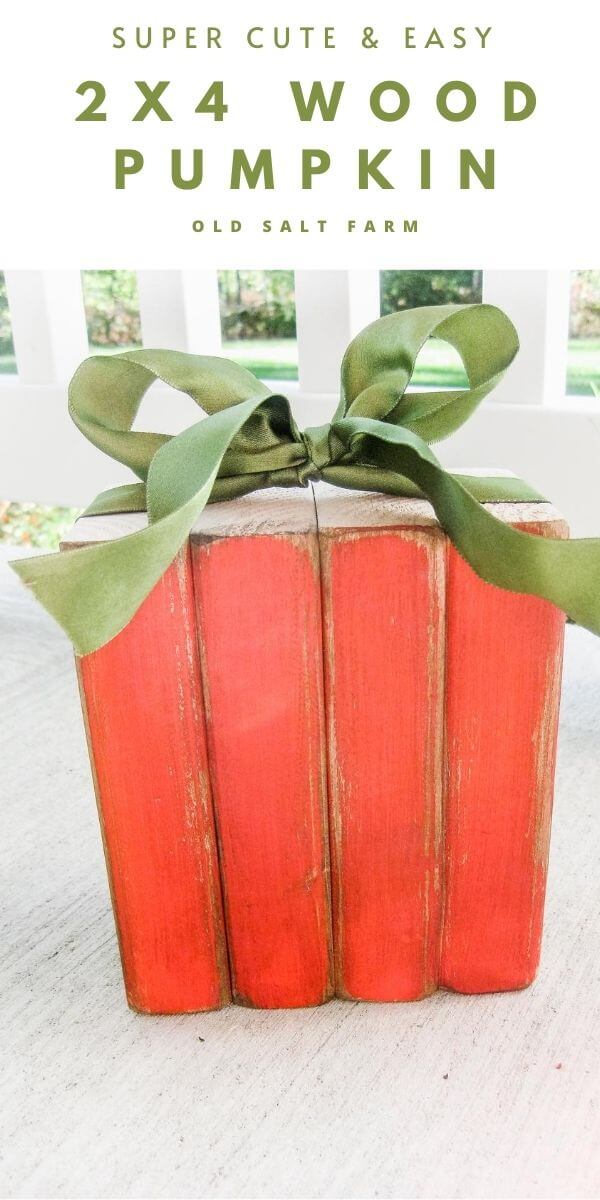
DIY 2×4 Wood Pumpkin
Fall is my most favorite season, and I love to decorate for it. I’m always on the lookout for easy, inexpensive and cute decor, and this 2×4 wood pumpkin fits the bill!
DIY 2×4 Wood Pumpkin
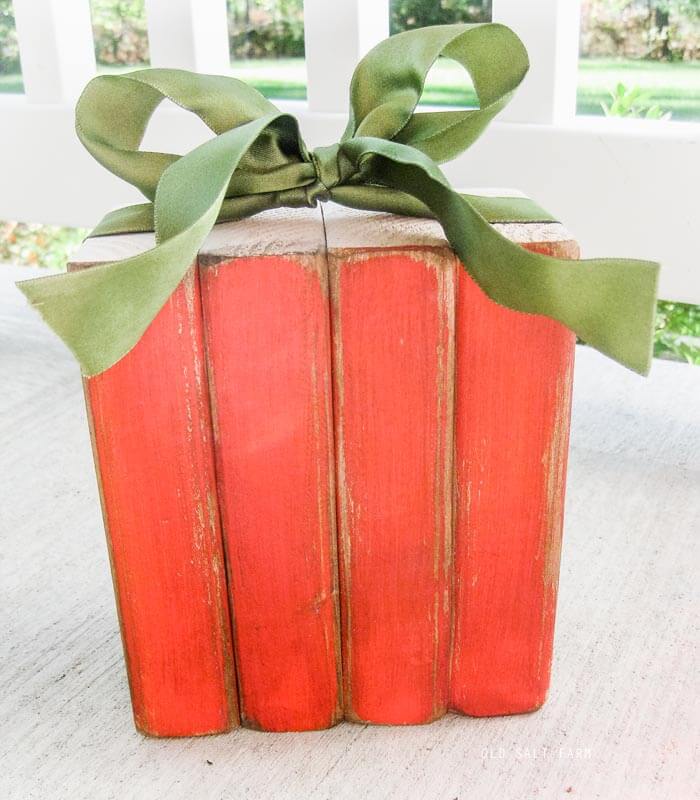
These darling wood pumpkins are so easy and fun to make! It’s a simple afternoon project, and most of the time is for the paint to dry. Pumpkins are perfect fall decor September through November, so you can make these and keep them up!
2×4 wood is so inexpensive, and because you can get several sets out of one board, this makes it the perfect project to do with someone (or as a group), or for gifts. Consider making them in different sizes in sets…for your porch, shelf, mantel, or counter.
These post contains affiliate links of products I use and love for your convenience. If you click on a link and make a purchase, I may receive a small commission at no extra cost to you.
Supplies:
- -2×4, cut into four 7 inch pieces (or whatever size you like)
- -orange spray paint or craft paint
- -dark stain (I used Minwax Dark Walnut)
- -lint free cloth (or an old tee shirt)
- -sandpaper/sander
- -green satin ribbon (I recommend wire ribbon)
Directions:
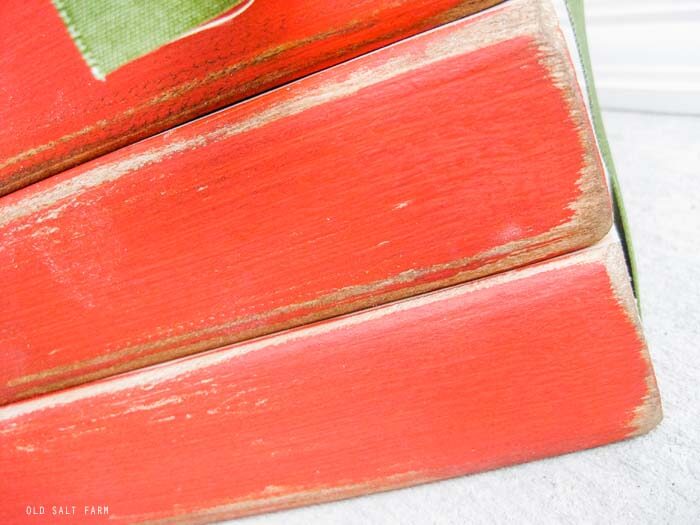
1. Paint the front, skinny edges of your wood pieces. You can paint the whole thing if you prefer, but I like the contrast that the wood gives it on the edges. Let it dry completely.
2. Sand the edges and front as much as you like! Take a lint free cloth, dip it in the stain, blot, then rub it gently along the edges and front where you sanded. A little goes A LONG way, so start out with a tiny bit and add more if you need it.
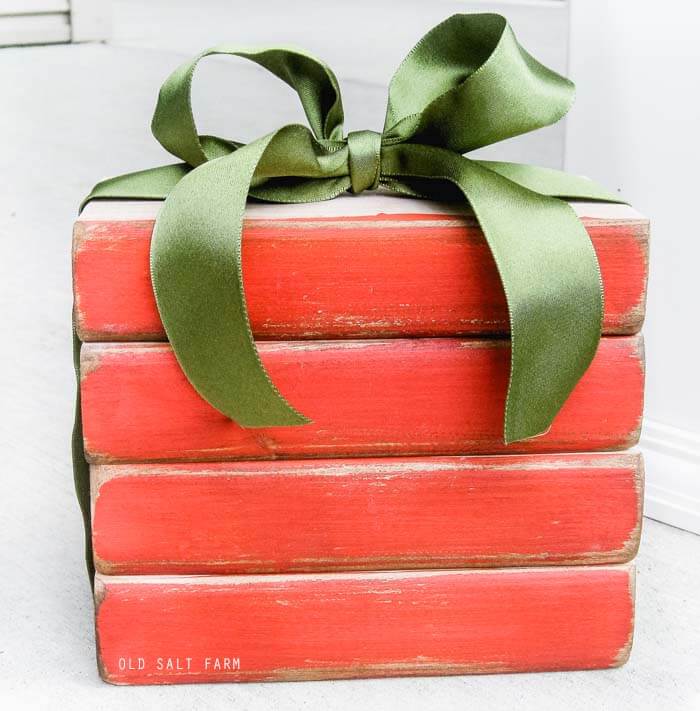
3. Tie your ribbon around the blocks, and you’re done!
Super simple, darling, and cheap. Can’t beat that!

*This is a vintage project, first posted in 2010! Updated 2020.

More fall ideas you might like…